body { background:#fff url("http://www.blogblog.com/dots/bg_dots.gif") 50% 0; margin:0; padding:0 10px; text-align:center; font:x-small Verdana,Arial,Sans-serif; color:#333; font-size/* */:/**/small; font-size: /**/small; } /* Page Structure ----------------------------------------------- */ @media all { #content { background:url("http://www.blogblog.com/dots/bg_3dots.gif") no-repeat 250px 50px; width:700px; margin:0 auto; padding:50px 0; text-align:left; } #main { width:450px; float:right; padding:50px 0 20px; font-size:85%; } #main2 { background:url("http://www.blogblog.com/dots/bg_dots2.gif") -100px -100px; padding:20px 10px 15px; } #sidebar { width:200px; float:left; font-size:85%; padding-bottom:20px; } #sidebar2 { background:url("http://www.blogblog.com/dots/bg_dots2.gif") 150px -50px; padding:5px 10px 15px; width:200px; width/* */:/**/180px; width: /**/180px; } } @media handheld { #content { width:90%; } #main { width:100%; float:none; } #sidebar { width:100%; float:none; } #sidebar2 { width:100%; } } html>body #main, html>body #sidebar { /* We only give this fade from white to nothing to browsers that can handle 24-bit transparent PNGs */ background/* */:/**/url("http://www.blogblog.com/dots/bg_white_fade.png") repeat-x left bottom; } /* Title & Description ----------------------------------------------- */ @media all { #blog-title { margin:0 0 .5em; font:250%/1.4em Georgia,Serif; color:#353; } #blog-title a { color:#353; text-decoration:none; } #description { margin:0 0 1.75em; color:#996; } #blog-mobile-title { display:none; } #description-mobile { display:none; } } @media handheld { #blog-title { display:none; } #description { display:none; } #blog-mobile-title { display:block; margin:0 0 .5em; font:250%/1.4em Georgia,Serif; color:#353; } #blog-mobile-title a { color:#353; text-decoration:none; } #description-mobile { display:block; margin:0 0 1.75em; color:#996; } } /* Links ----------------------------------------------- */ a:link { color:#488; } a:visited { color:#885; } a:hover { color:#000; } a img { border-width:0; } /* Posts ----------------------------------------------- */ .date-header { margin:0 0 .75em; padding-bottom:.35em; border-bottom:1px dotted #9b9; font:95%/1.4em Georgia,Serif; text-transform:uppercase; letter-spacing:.3em; color:#663; } .post { margin:0 0 2.5em; line-height:1.6em; } .post-title { margin:.25em 0; font:bold 130%/1.4em Georgia,Serif; color:#333; } .post-title a, .post-title strong { background:url("http://www.blogblog.com/dots/bg_post_title.gif") no-repeat 0 .25em; display:block; color:#333; text-decoration:none; padding:0 0 1px 45px; } .post-title a:hover { color:#000; } .post p { margin:0 0 .75em; } p.post-footer { margin:0; text-align:right; } p.post-footer em { display:block; float:left; text-align:left; font-style:normal; color:#996; } a.comment-link { /* IE5.0/Win doesn't apply padding to inline elements, so we hide these two declarations from it */ background/* */:/**/url("http://www.blogblog.com/dots/icon_comment.gif") no-repeat 0 .25em; padding-left:15px; } html>body a.comment-link { /* Respecified, for IE5/Mac's benefit */ background:url("http://www.blogblog.com/dots/icon_comment.gif") no-repeat 0 .25em; padding-left:15px; } .post img { margin:0 0 5px 0; padding:4px; border:1px solid #cca; } /* Comments ----------------------------------------------- */ #comments { margin:0; } #comments h4 { margin:0 0 10px; border-top:1px dotted #9b9; padding-top:.5em; font:bold 110%/1.4em Georgia,Serif; color:#333; } #comments-block { line-height:1.6em; } .comment-poster { background:url("http://www.blogblog.com/dots/icon_comment.gif") no-repeat 2px .35em; margin:.5em 0 0; padding:0 0 0 20px; font-weight:bold; } .comment-body { margin:0; padding:0 0 0 20px; } .comment-body p { margin:0 0 .5em; } .comment-timestamp { margin:0 0 .5em; padding:0 0 .75em 20px; color:#996; } .comment-timestamp a:link { color:#996; } .deleted-comment { font-style:italic; color:gray; } .paging-control-container { float: right; margin: 0px 6px 0px 0px; font-size: 80%; } .unneeded-paging-control { visibility: hidden; } /* More Sidebar Content ----------------------------------------------- */ .sidebar-title { margin:2em 0 .75em; padding-bottom:.35em; border-bottom:1px dotted #9b9; font:95%/1.4em Georgia,Serif; text-transform:uppercase; letter-spacing:.3em; color:#663; } #sidebar p { margin:0 0 .75em; line-height:1.6em; } #sidebar ul { margin:.5em 0 1em; padding:0 0px; list-style:none; line-height:1.5em; } #sidebar ul li { background:url("http://www.blogblog.com/dots/bullet.gif") no-repeat 3px .45em; margin:0; padding:0 0 5px 15px; } #sidebar p { margin:0 0 .6em; } /* Profile ----------------------------------------------- */ .profile-datablock { margin:0 0 1em; } .profile-img { display:inline; } .profile-img img { float:left; margin:0 8px 5px 0; border:4px solid #cc9; } .profile-data { margin:0; line-height:1.5em; } .profile-data strong { display:block; } .profile-textblock { clear:left; } /* Footer ----------------------------------------------- */ #footer { clear:both; padding:15px 0 0; } #footer hr { display:none; } #footer p { margin:0; } /* Feeds ----------------------------------------------- */ #blogfeeds { } #postfeeds { padding-left: 20px }

Prudent Baby

Get sewing how to, sewing tutorials, and sewing help to learn sewing. We offer sewing tutorial for sewing moms.

Monday, August 29, 2011

Chairs Before and After: 20 Inspiring Chair Makeovers
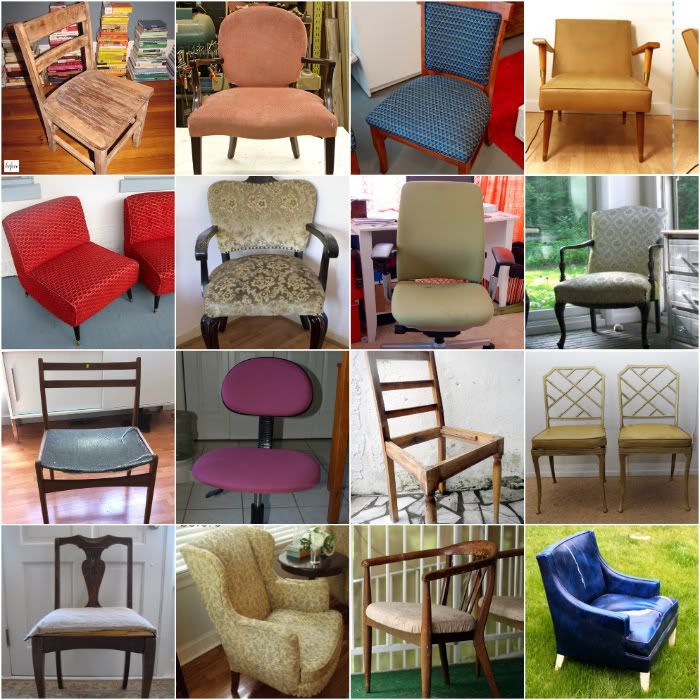

I love a good before and after! I also love chairs. So what could be better than checking out 20 inspiring before and after chair makeovers? There's nothing more satisfying than taking a thrifty find and turning it into a stunning new piece of furniture for your home. See all those before chairs up there? Don't you want to see what they look like now? Take a look at 20 Beautiful Before and After Chair Makeovers and get inspired.

Labels: , ,

How to Make Painted Cushions


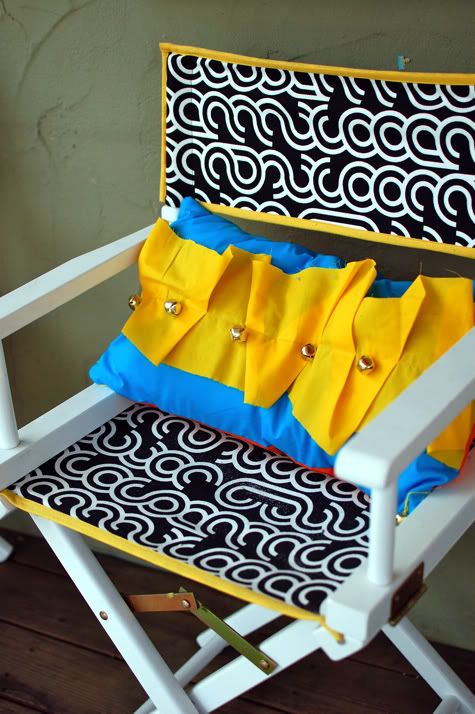
Ever since I saw these pillows from Wary Meyers I've been itching to try some painted accents for the home. As I mentioned in my recent Patio Low-Down, I had to get creative with one corner of my courtyard when I ran out of money. I loved the look of these chairs from Anthro and was inspired to put these old weather-worn folding chairs to work. Here's how I made my own painted chair cushions.


Read more »

Labels: , , , , , ,

Wednesday, August 17, 2011

The Laziest DIY Cushion Slipcover


After much research, I came to the conclusion that no fabric cushion was going to survive the soul-draining afternoon sun of my Texas Patio. Plan B - Disposable slipcovers. I set out to make the simplest possible covers for my existing cushions from inexpensive {but fun} fabric with the full intention of replacing them next season. Do you have a box cushion that you want to cover in a jiff? Here's how to make the Laziest DIY Cushion Slipcover.

And actually, I'm loving the way the black is fading (yes, it is already fading after a month) so maybe we will keep these around even longer than planned.


Read more »

Labels: , , , , , ,

Wednesday, March 23, 2011

The Craft Room Redesign Project: The Recovered Chair!

BEFORE:

I told you all about the Craft Room Redesign Project, then I asked for your advice on my thrifty finds that I've been scooping up from goodwill, thrift stores, ebay, craigslist, and also this chair I found abandoned on the side of the road. I thought about recovering it myself, but it looked like a pretty daunting project and many of y'all were being hardcore enablers in the comments - telling me I saved so much by thrifting all this stuff that I could splurge and get it recovered professionally. Well, that's what I did.
Check out the "after" pictures after the jump...
Read more »

Labels: , , ,

Monday, March 14, 2011

How to Sew A Sham Pillow with Zipper Closure


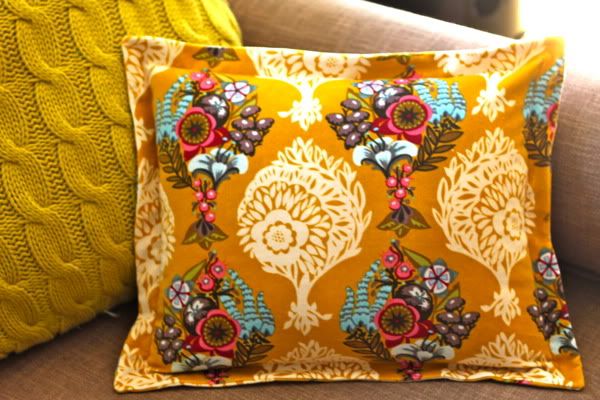
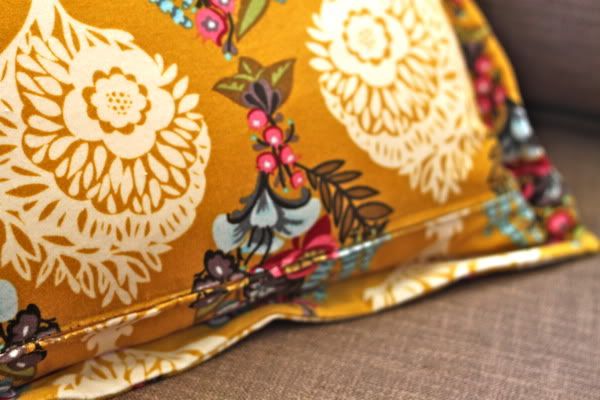
I have such lust in my heart for Anna Maria Horner's Innocent Crush velveteen fabrics, I just want to rub them on my cheeks all day long. So of course a pillow for my redesigned craft room had to be made. The velveteen lends itself perfectly to a sham with nice stiff edges, so I combined elements of Jacinda's Sham Style Pillowcase tutorial and the How to Sew a Zipper Pillow tutorial to create a pillow with both a zipper closure AND a sham edge.
It is much easier than you would imagine, and it will allow you to take the zipper off of the very edge of the pillow so you can add decorative trim and other fun goodness without having to use an envelope closure (like we did for the pom pom pillow tutorial). Find out how to sew a Sham Pillow with a Zipper Closure after the jump...

I'm making about ten thousand pillows for my new office, so I'll be sharing how to use zippers with trim and ruffles and whatnot soon. Is there a kind of pillow you want to know how to make? I'm on a pillow-roll so let me know in the comments. You could also win that skull-tastic fat quarter!
Read more »

Labels: , , , , , , ,

Thursday, March 10, 2011

The Craft Room Redesign Project: Advice for My Thrifty Finds?

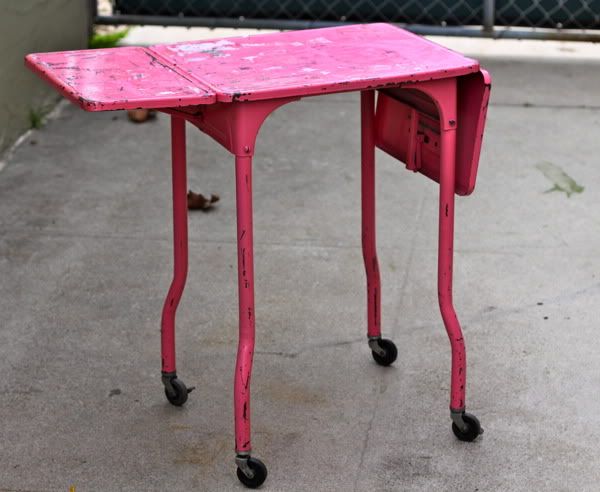
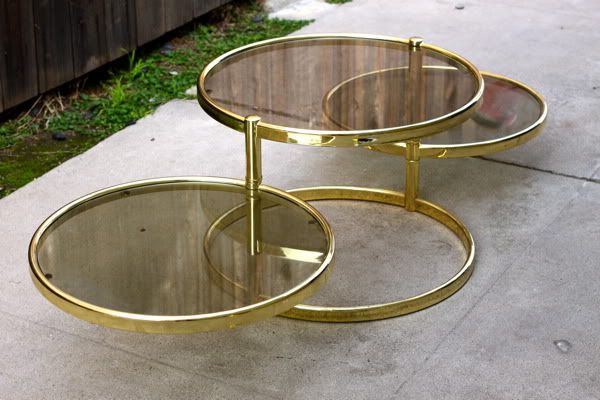
This craft room redesign project has been crazy fun so far, much less daunting then expected, thanks to all of your help here and on facebook. I've been scouring craigslist, ebay, local thrift shops, goodwill, and a nearby stored called TINI (stands for This is Not Ikea) for vintage and inexpensive stuff to outfit the new room. One piece I actually found just sitting on the street. Here's what I've found so far!


Any advice on what to do with it all? Leave me a comment, you could win some of Jacinda's pom pom trim in the color of you choice! Check out some more finds and questions after the jump...
Read more »

Labels: , , ,

Monday, March 7, 2011

How to Sew a Zipper Pillow

STOP! Do not turn away. You are going to conquer your fear of zippers right now.

I'm going to show you how to sew a pillow with a zipper closure and you are going to like it. It is VERY easy, a complete beginner project, and the results are polished goodness. Look at that pic above, you can barely see the zipper even though it's right up in your face.

You can use vintage fabrics like these, new fabrics, old sheets, a sweater, tea towels, a dirty t-shirt, something fabulous from Fabricworm, anything your heart desires - but when we are done you will be sewing zippers like a pro.

Learn How to Sew a Zipper Pillow after the jump...

Tell us the truth: do you fear the zipper? And do you fear it a little less after reading this tutorial? This week's favorite comment walks away with a fancy yard of pom pom trim!
Read more »

Labels: , , , , , ,

Monday, January 10, 2011

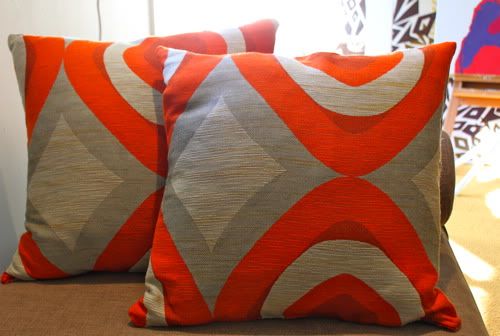
Beautiful Bolster Pillow Tutorial


This bolster pillow is just so GORG we had to ask Jessica of Sew Homegrown to share the whole Beautiful Bolster Pillow Tutorial with you! Take it away Jessica...

Thanks Prudent Baby girls for having me on - and good luck to 3rd time baby mama - Jacinda!  So I am trying to complete our master bedroom look.  I bought several accessories with my Christmas spending money, and then it was on to the pillow making!

Anthro is selling like 10 bolsters right now, so I thought it would be nice to make one for our bed, and show you how.  Get the full Beautiful Bolster Pillow Tutorial after the jump...
Read more »

Labels: , , , , ,

Monday, January 3, 2011

DIY Nap Mat / Bed Roll Part 2


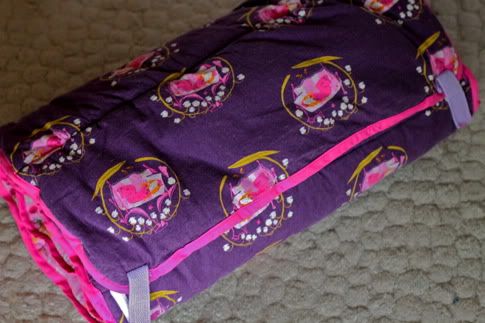
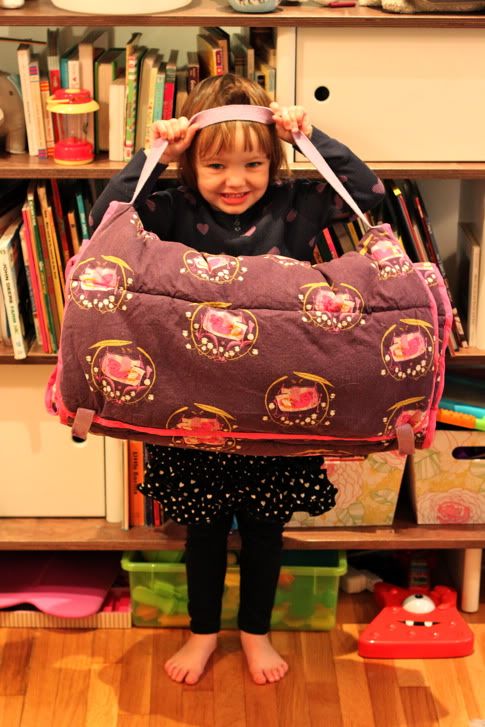
Ever since Jacinda posted her DIY Nap Mat Tutorial I've been sooo excited to make one for little Scarlet. So when my mom took her for the day, I got to work.

The only change I made was to make the pillow insert removable by creating an envelope flap. This is by far and away Scarlet's most favorite thing I have ever made for her.

I'll give you the measurements and details on the envelope flap and more pics of my DIY Nap Mat Part 2 after the jump...

And remember this week's favorite commenter gets to pick some pom pom trim from Jacinda's holiday stash!
Read more »

Labels: , , , , , ,

Thursday, October 7, 2010

I need your help

Dear prudent people who read Prudent Baby, I need your advice. During my trip to Canton, I acquired these two adorable rocking chairs. What should I do with them?

Should I leave this one as is, maybe just give the wood a dark stain? Or re-upholster?

I definitely want to reupholster this one. It has a crazy 1976 bicentennial fabric. You remember, it was on your grandpa's recliner? But should I keep the box pleat style at the bottom? It needs some type of skirt. Should I paint the wood? What color scheme? I want it to work for a boy down the road, is that not realistic? Any fabric ideas?

I have plans to actually get to some of these thrifting makeover projects this month because (1) they are starting to pile up and it's embarrassing and (2) I'm going to have my third child in January and will never have time to do anything ever, ever again. What do you think? Make it good and you will win that pretty Alexander Henry fat quarter up there.

Labels: , , , ,

Monday, September 20, 2010

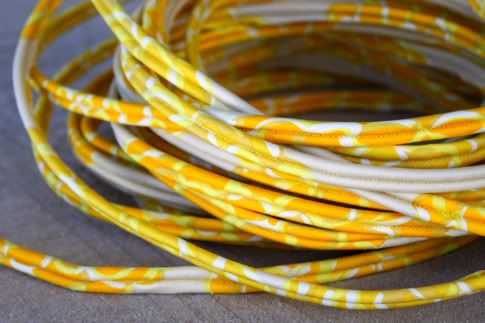
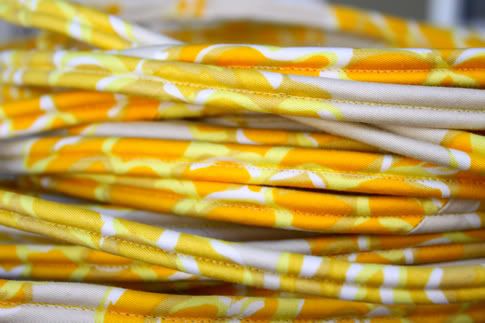
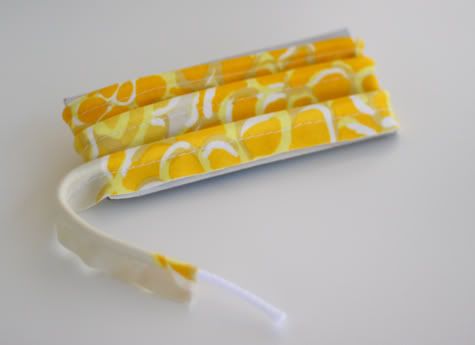
How to Make Double Welt Cord


What is double welt cord you ask? Why would I want to make that? Ok, it's for upholstery. I am sure you've had some item of furniture you wanted to have recovered, maybe a hand-me-down from grandma or a thrift store find. Then you found out how much it cost and you were like, dude, I could just buy a new one for that price. Enter this tutorial. It's actually quite easy to make your own double welt cord, AND once you know how to do it you can totally recover anything.

Get the full DIY Double Welt Cord Tutorial after the jump...

And remember, leave a comment on this or any post this week and you could be the proud owner of some fancy-schmancy new glues.
Read more »

Labels: , , , , , ,

Tuesday, June 15, 2010

How to Sew Piping


A couple weeks ago we shared How to Make Bias Tape.  Now let us make piping.  It's actually quite simple.  And every thing could use a little piping right?  Just don't sew through your finger.

Making piping is a two-step process:  Cutting bias strips, then sewing them around cord.  I'll show you How to Make Piping after the jump...
Read more »

Labels: , , , , , , ,

Monday, June 14, 2010

Recycled Rug Ottoman


It was getting really challenging swinging in the hammock, reading a book, AND holding a wine glass at the same time, ugh life can be so hard, right?  I needed some sort of pouf/table to ease this terrible burden.  Made with five of these $2.99 Ikea flatwoven rugs and stuffed with extra linens and such from around the house, the whole thing cost just $15 bucks and also acts like a little storage unit. Get the full DIY Recycled Rug Ottoman tutorial after the jump...
Read more »

Labels: , , , , ,

Thursday, May 27, 2010

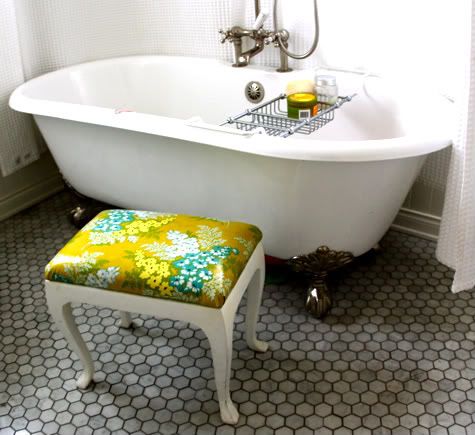
DIY Oil Cloth Bath Seat


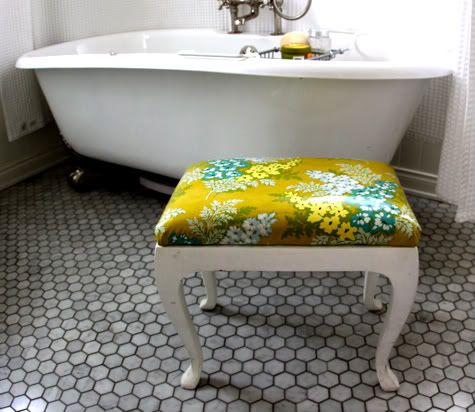
Does your back hurt? Mine does. All the time. Bending over the bathtub doesn't help. I found this stool at a thrift store for $10 and recovered it with this gorgeous Heather Bailey Nicey Jane oil cloth so now I can sit comfortably (yet water-resistantly) by the bath!

Visit our Refurbished Footstool DIY for the full tutorial (it's a super easy beginner project) and get thee to a thrift store! Your back will thank you.  And if you have any other back or hip-saving tips, please share them with me, I beg you.

Labels: , , , , ,

Tuesday, April 20, 2010

Jingle Pillow


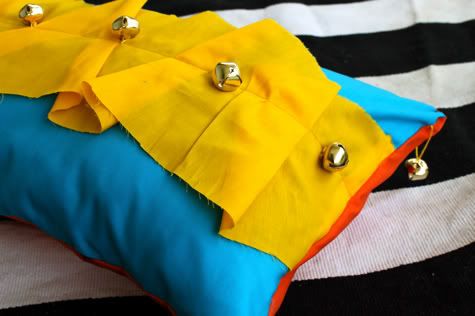
Here's another pillow from Scarlet's Indian Elephant Party.  The colors are a bit much but they matched the DIY Pouf Pillow and the Deceptively Simple Ruffle Stripe Pillow.  I guess it wouldn't be so comfortable to snuggle up to a pillow with metal bells on it, but it looks cute and that's what really matters. Or you could replace the bells with buttons or fabric flowers!

Get the full Jingle Pillow DIY after the jump...
Read more »

Labels: , , , , , , ,

Monday, April 19, 2010

Our DIY Bedroom Takes Shape...


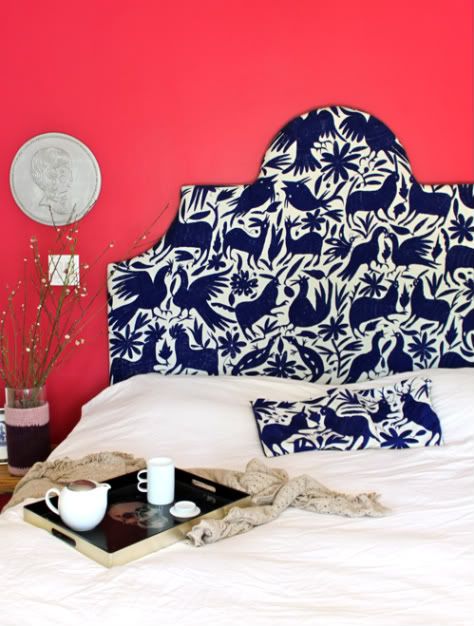
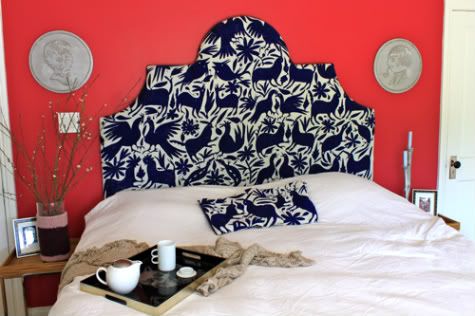
A few weeks back Hubby and I threw (and by threw I mean carefully painted five torturous layers) a coat of bright paint on the wall (color chosen because of its name: Frankly Scarlet) and finally hung our DIY King Size Headboard!

Get the full tutorial on how to make your own headboard, including free downloadable template, here.  And because I know you're going to ask, those awesome playful ceramic hangings were a Jonathan Adler splurge (he was there to sign them! how could i say no?).
So what do you think?  Time to sew a new duvet, right?

Labels: , , , , , ,

Thursday, March 18, 2010

Deceptively Simple Ruffle Stripe Pillow


So I mentioned I am putting together a mystery-event-to-be-revealed-later that features a bunch of crazy bright pillows and showed you how to sew a Pouf Pillow.  Here's another one that would work great for the home in a more subtle color combo.  Get the simple Ruffle Stripe Pillow DIY after the jump...
Read more »

Labels: , , , , , , ,

Friday, March 5, 2010

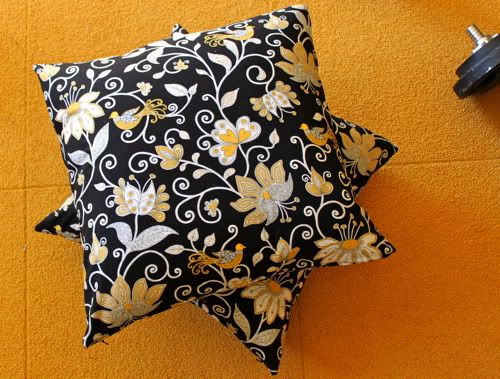
How to Make A Pouf Pillow


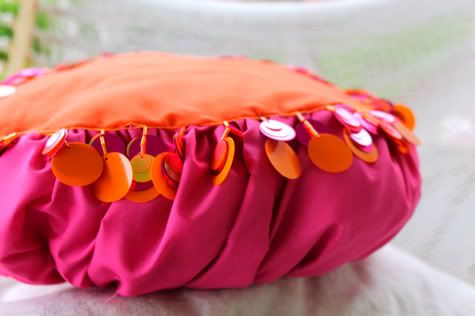
Ladies, I am about to start a deluge of pillow DIYs for you, I hope you don't mind.  They're all quite bright as they're themed for a mystery-event-to-be-revealed-later (I can't wait to tell you about it!).  First up is a pouf pillow, a little tuffet of sorts.  While I used some crazy sequin trim on clearance at Wal Mart, you may want something more subtle, perhaps Pom Pom Fringe, beaded ribbon, or piping.  This DIY pillow was great because I had to use actual geometry (remember that the circumference of a circle = 2r X pi?)...
Don't be alarmed, I do the math and give the whole scoop on How to Make A Pouf after the jump...
Read more »

Labels: , , , , , , ,

Friday, January 29, 2010

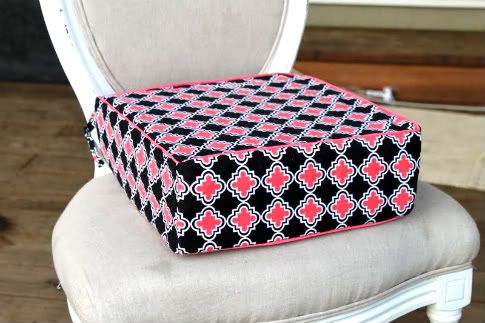
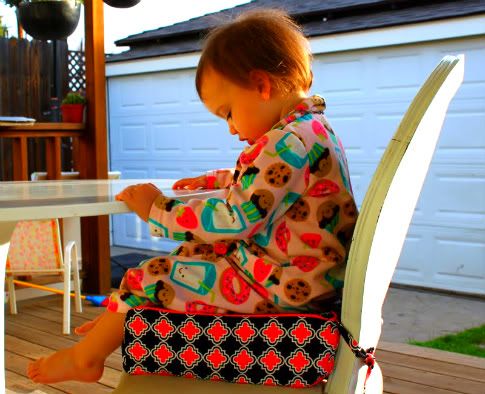
Modern & Comfy DIY Booster Seat


The phone book is a reliable tool for helping "big girls and boys" sit at the table with the grown-ups, but I think this handmade booster seat is way cuter. I hope you make one, if only because I sewed right through my finger making this (through the nail and out the other side - impaled) and I'd hate for that to be in vain.

Get the full DIY Booster Seat Pattern and How-to after the jump...
Read more »

Labels: , , , , , , , ,

Monday, January 4, 2010

Handmade King Size Headboard

One of my new year's resolutions is to get our bedroom decorated.  I will take you all on the journey with me, revealing the change bit by bit.  We just bought a new king size bed so step one is a new headboard.  I was inspired by Grace of Design Sponge and her gorgeous DIY otomi headboard so I made one of my own!  Her video tutorial is here, and mine is after the jump.  The only difference is that my headboard is King size and I had to make it with pieces of wood that would fit in my car.  And I have a small car.  Get the full how-to after the jump!

Update:  Check out pictures of the headboard hanging in our bedroom here.
Read more »

Labels: , , , , , , , ,