body { background:#fff url("http://www.blogblog.com/dots/bg_dots.gif") 50% 0; margin:0; padding:0 10px; text-align:center; font:x-small Verdana,Arial,Sans-serif; color:#333; font-size/* */:/**/small; font-size: /**/small; } /* Page Structure ----------------------------------------------- */ @media all { #content { background:url("http://www.blogblog.com/dots/bg_3dots.gif") no-repeat 250px 50px; width:700px; margin:0 auto; padding:50px 0; text-align:left; } #main { width:450px; float:right; padding:50px 0 20px; font-size:85%; } #main2 { background:url("http://www.blogblog.com/dots/bg_dots2.gif") -100px -100px; padding:20px 10px 15px; } #sidebar { width:200px; float:left; font-size:85%; padding-bottom:20px; } #sidebar2 { background:url("http://www.blogblog.com/dots/bg_dots2.gif") 150px -50px; padding:5px 10px 15px; width:200px; width/* */:/**/180px; width: /**/180px; } } @media handheld { #content { width:90%; } #main { width:100%; float:none; } #sidebar { width:100%; float:none; } #sidebar2 { width:100%; } } html>body #main, html>body #sidebar { /* We only give this fade from white to nothing to browsers that can handle 24-bit transparent PNGs */ background/* */:/**/url("http://www.blogblog.com/dots/bg_white_fade.png") repeat-x left bottom; } /* Title & Description ----------------------------------------------- */ @media all { #blog-title { margin:0 0 .5em; font:250%/1.4em Georgia,Serif; color:#353; } #blog-title a { color:#353; text-decoration:none; } #description { margin:0 0 1.75em; color:#996; } #blog-mobile-title { display:none; } #description-mobile { display:none; } } @media handheld { #blog-title { display:none; } #description { display:none; } #blog-mobile-title { display:block; margin:0 0 .5em; font:250%/1.4em Georgia,Serif; color:#353; } #blog-mobile-title a { color:#353; text-decoration:none; } #description-mobile { display:block; margin:0 0 1.75em; color:#996; } } /* Links ----------------------------------------------- */ a:link { color:#488; } a:visited { color:#885; } a:hover { color:#000; } a img { border-width:0; } /* Posts ----------------------------------------------- */ .date-header { margin:0 0 .75em; padding-bottom:.35em; border-bottom:1px dotted #9b9; font:95%/1.4em Georgia,Serif; text-transform:uppercase; letter-spacing:.3em; color:#663; } .post { margin:0 0 2.5em; line-height:1.6em; } .post-title { margin:.25em 0; font:bold 130%/1.4em Georgia,Serif; color:#333; } .post-title a, .post-title strong { background:url("http://www.blogblog.com/dots/bg_post_title.gif") no-repeat 0 .25em; display:block; color:#333; text-decoration:none; padding:0 0 1px 45px; } .post-title a:hover { color:#000; } .post p { margin:0 0 .75em; } p.post-footer { margin:0; text-align:right; } p.post-footer em { display:block; float:left; text-align:left; font-style:normal; color:#996; } a.comment-link { /* IE5.0/Win doesn't apply padding to inline elements, so we hide these two declarations from it */ background/* */:/**/url("http://www.blogblog.com/dots/icon_comment.gif") no-repeat 0 .25em; padding-left:15px; } html>body a.comment-link { /* Respecified, for IE5/Mac's benefit */ background:url("http://www.blogblog.com/dots/icon_comment.gif") no-repeat 0 .25em; padding-left:15px; } .post img { margin:0 0 5px 0; padding:4px; border:1px solid #cca; } /* Comments ----------------------------------------------- */ #comments { margin:0; } #comments h4 { margin:0 0 10px; border-top:1px dotted #9b9; padding-top:.5em; font:bold 110%/1.4em Georgia,Serif; color:#333; } #comments-block { line-height:1.6em; } .comment-poster { background:url("http://www.blogblog.com/dots/icon_comment.gif") no-repeat 2px .35em; margin:.5em 0 0; padding:0 0 0 20px; font-weight:bold; } .comment-body { margin:0; padding:0 0 0 20px; } .comment-body p { margin:0 0 .5em; } .comment-timestamp { margin:0 0 .5em; padding:0 0 .75em 20px; color:#996; } .comment-timestamp a:link { color:#996; } .deleted-comment { font-style:italic; color:gray; } .paging-control-container { float: right; margin: 0px 6px 0px 0px; font-size: 80%; } .unneeded-paging-control { visibility: hidden; } /* More Sidebar Content ----------------------------------------------- */ .sidebar-title { margin:2em 0 .75em; padding-bottom:.35em; border-bottom:1px dotted #9b9; font:95%/1.4em Georgia,Serif; text-transform:uppercase; letter-spacing:.3em; color:#663; } #sidebar p { margin:0 0 .75em; line-height:1.6em; } #sidebar ul { margin:.5em 0 1em; padding:0 0px; list-style:none; line-height:1.5em; } #sidebar ul li { background:url("http://www.blogblog.com/dots/bullet.gif") no-repeat 3px .45em; margin:0; padding:0 0 5px 15px; } #sidebar p { margin:0 0 .6em; } /* Profile ----------------------------------------------- */ .profile-datablock { margin:0 0 1em; } .profile-img { display:inline; } .profile-img img { float:left; margin:0 8px 5px 0; border:4px solid #cc9; } .profile-data { margin:0; line-height:1.5em; } .profile-data strong { display:block; } .profile-textblock { clear:left; } /* Footer ----------------------------------------------- */ #footer { clear:both; padding:15px 0 0; } #footer hr { display:none; } #footer p { margin:0; } /* Feeds ----------------------------------------------- */ #blogfeeds { } #postfeeds { padding-left: 20px }

Prudent Baby

Get sewing how to, sewing tutorials, and sewing help to learn sewing. We offer sewing tutorial for sewing moms.

Monday, August 29, 2011

How to Make Painted Cushions


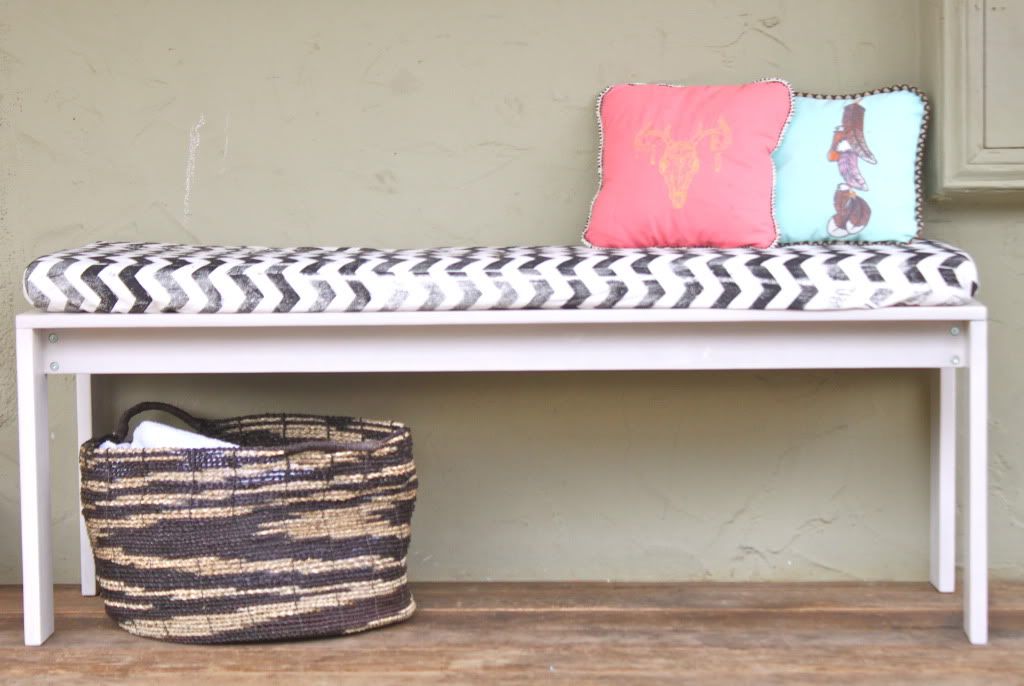
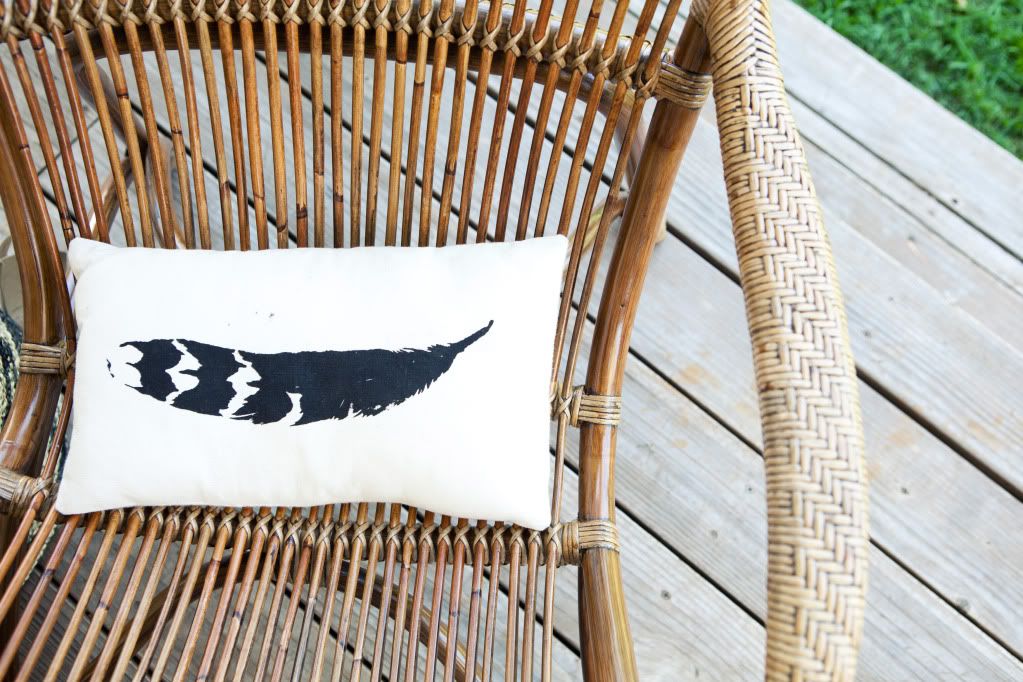
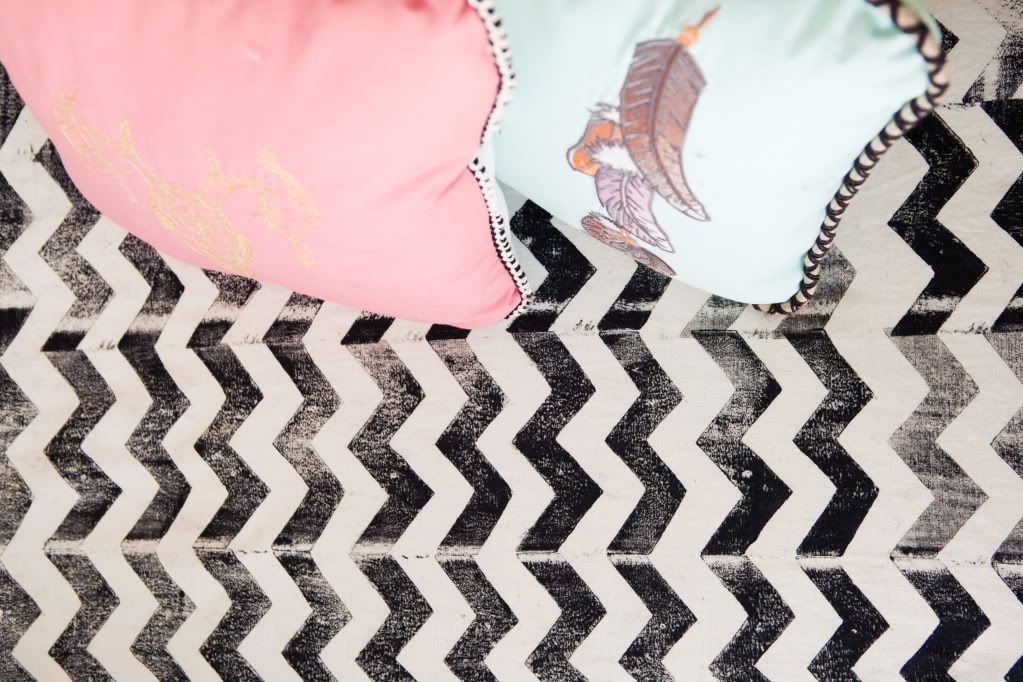
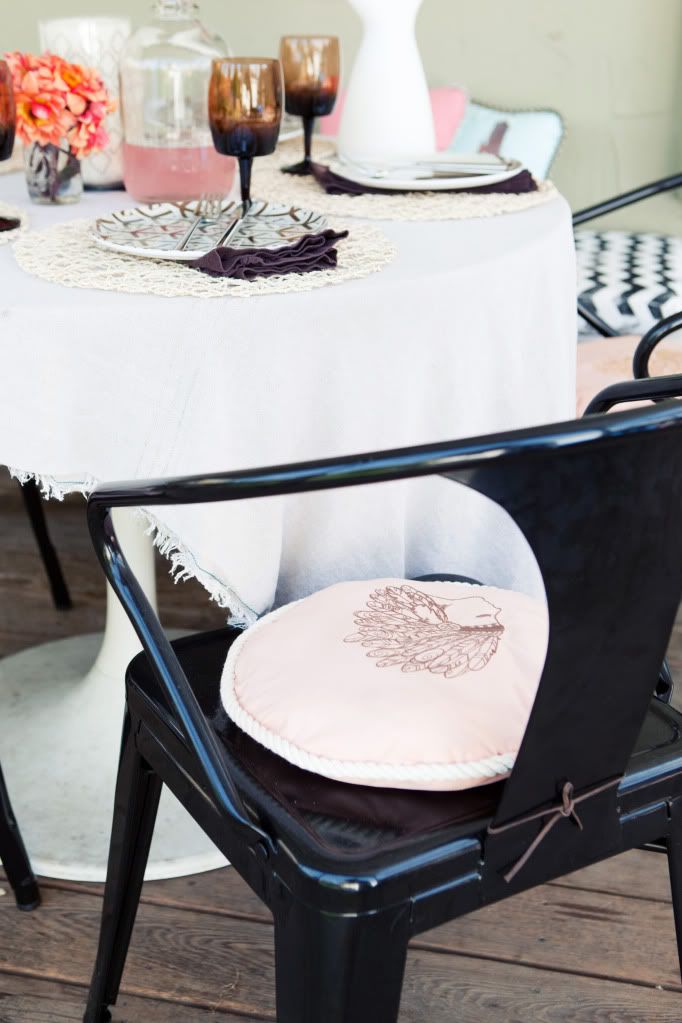
Ever since I saw these pillows from Wary Meyers I've been itching to try some painted accents for the home. As I mentioned in my recent Patio Low-Down, I had to get creative with one corner of my courtyard when I ran out of money. I loved the look of these chairs from Anthro and was inspired to put these old weather-worn folding chairs to work. Here's how I made my own painted chair cushions.


Read more »

Labels: , , , , , ,

Tuesday, August 23, 2011

The Patio Low Down


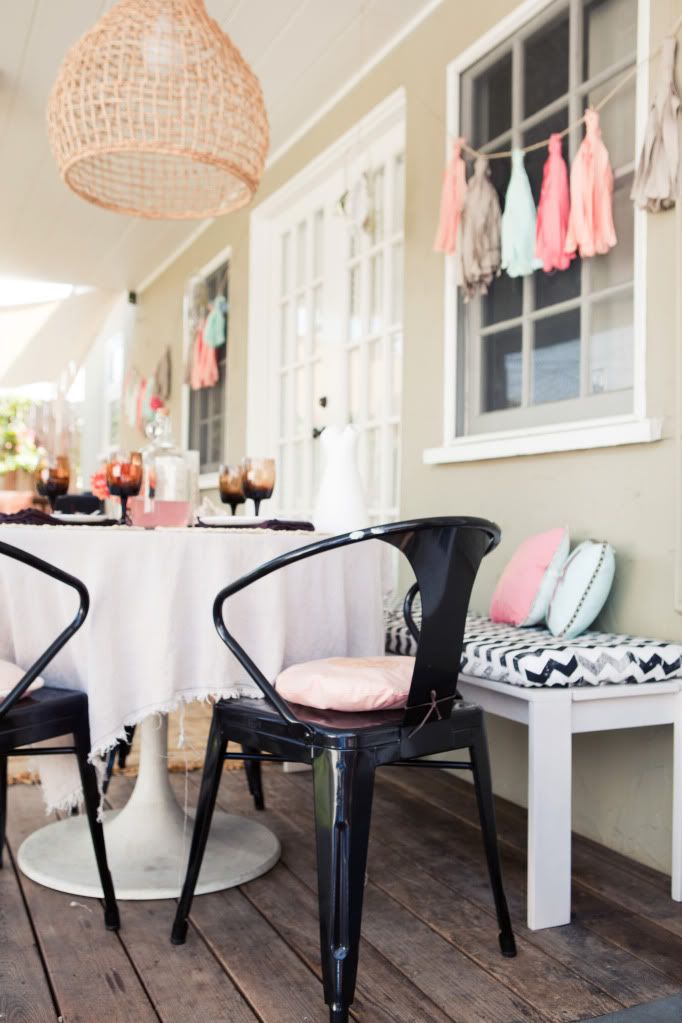
Last week I shared some pics of my newly made-over patio but now I want to share the nitty-gritty of the process. We refinished a few pieces that were destined for the curbside, made a few pieces with basic carpentry, found some cool stuff to buy with American Express Membership Rewards Points (of course) and DIYed the rest. I'm excited to give you the scoop.

If you happened to read my "before" post, you know that one of our biggest challenges was the big gray cement floor in the courtyard. We considered many excellent suggestions from staining cement to area rugs to decking...
Read more »

Labels: , ,

Wednesday, August 17, 2011

The Laziest DIY Cushion Slipcover


After much research, I came to the conclusion that no fabric cushion was going to survive the soul-draining afternoon sun of my Texas Patio. Plan B - Disposable slipcovers. I set out to make the simplest possible covers for my existing cushions from inexpensive {but fun} fabric with the full intention of replacing them next season. Do you have a box cushion that you want to cover in a jiff? Here's how to make the Laziest DIY Cushion Slipcover.

And actually, I'm loving the way the black is fading (yes, it is already fading after a month) so maybe we will keep these around even longer than planned.


Read more »

Labels: , , , , , ,

Monday, August 15, 2011

How to Make a God's Eye


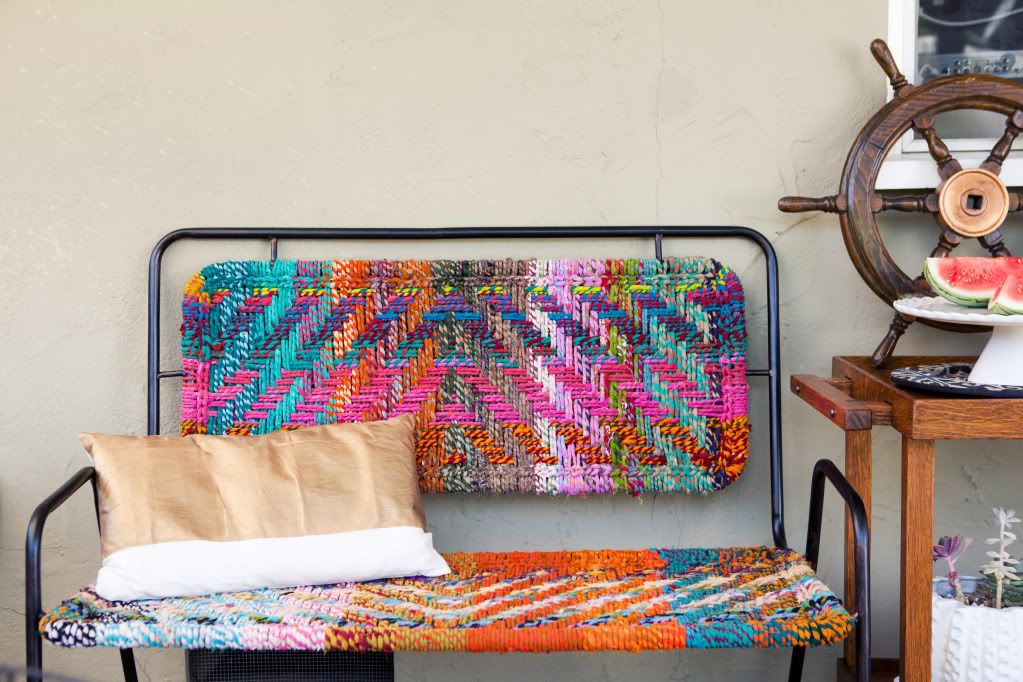
When Jaime and I were brainstorming ideas for our patio makeovers we talked a lot about embracing the southwest but with a modern twist. I love how these Native-American-inspired elements contribute to a stylish yet relaxed and approachable space. One of the DIY project that took on the southwest more literally is this giant God's Eye that I made for over my bench. I was out of cash for the patio but needed something large and eye-catching(ha). This did the trick coming in at $3.98 for the two wooden dowels. If you have some nice straight sticks you can make this with materials you already have at home! Your yarn choices can help pull the colors of your entire space together. On a personal level, this project makes me really happy because we had a similar God's Eye that my mother had made, in our house growing up.
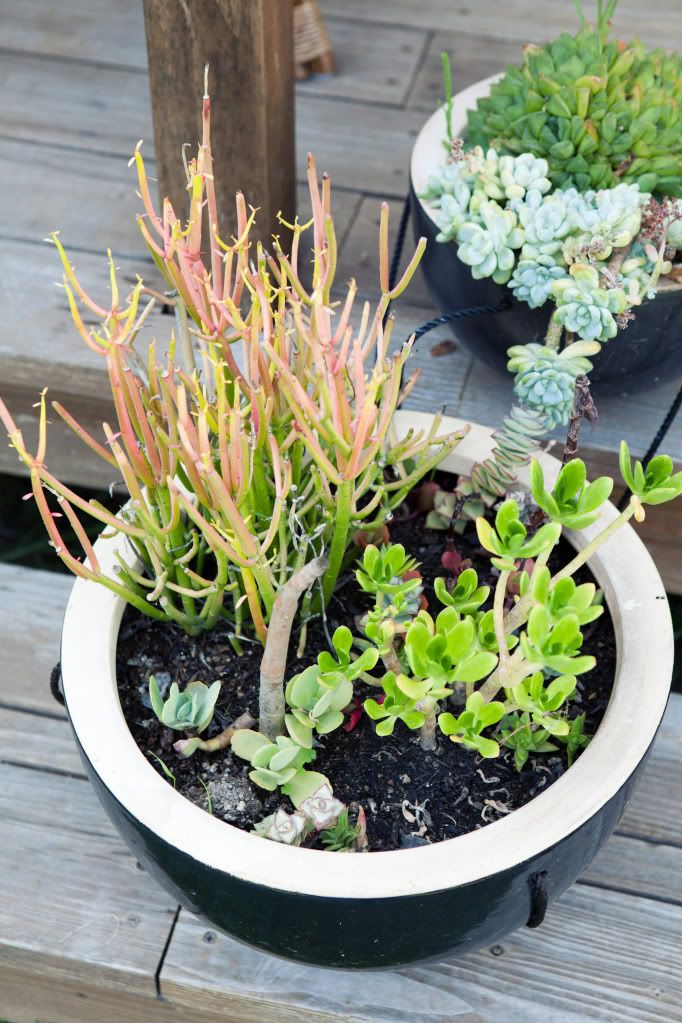
I'm not sure how long we will keep this outside. Although it's a covered area, I know this is too fragile for the winds of the wild west. Although since it was so inexpensive I can always make another when it starts to look tired. Want to learn how to make your own yarn-stash-busting God's Eye?
Read more »

Labels: , , , , , , ,

Thursday, August 11, 2011

The Courtyard Makeover REVEAL!


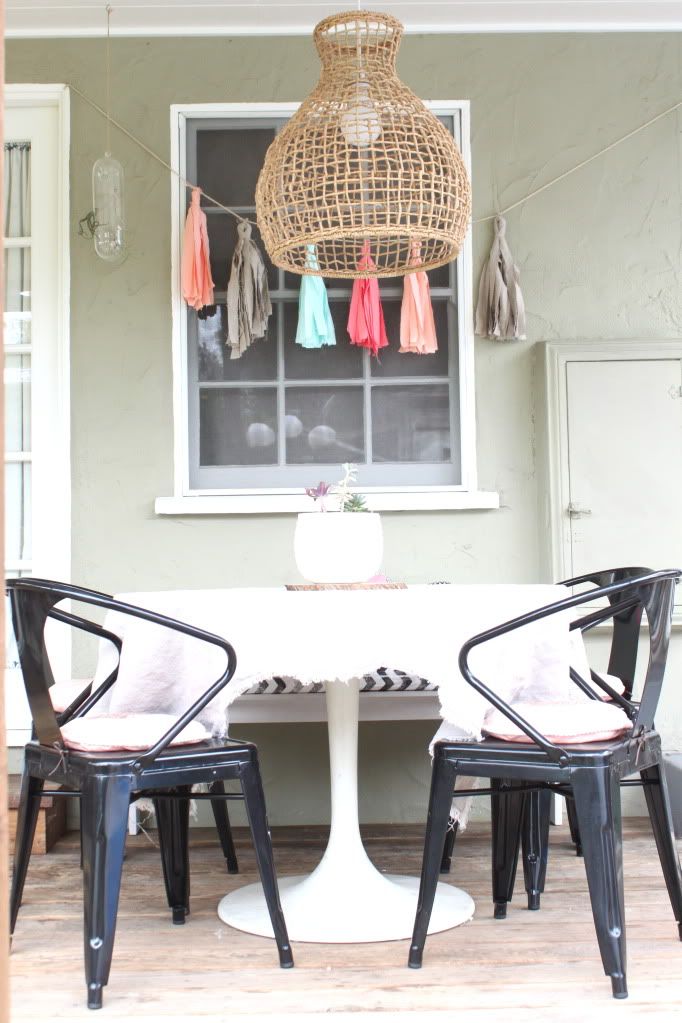
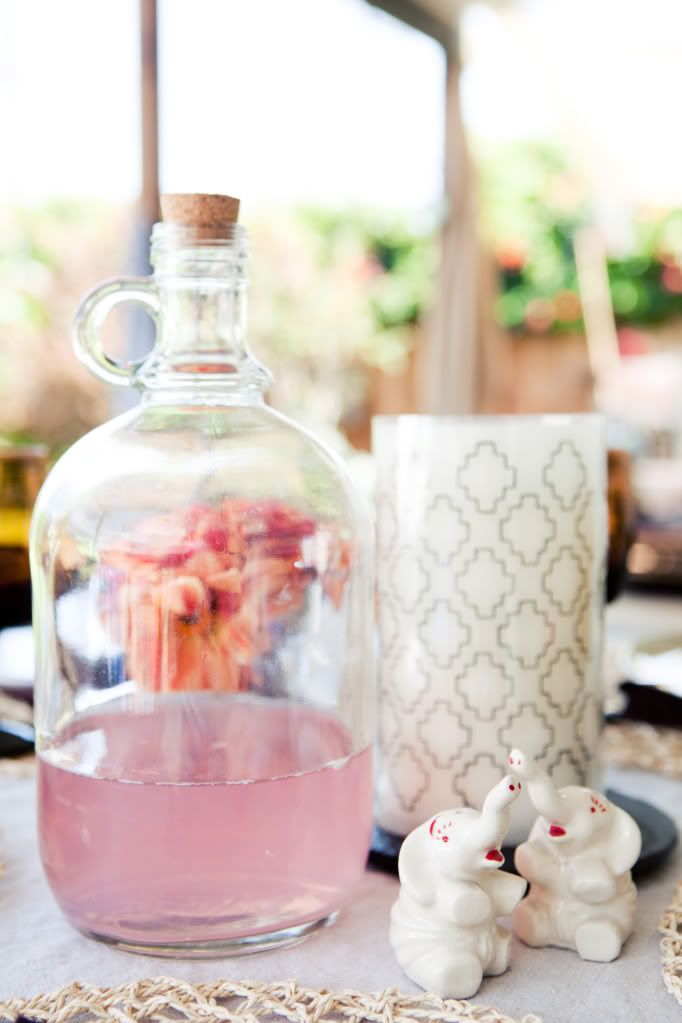
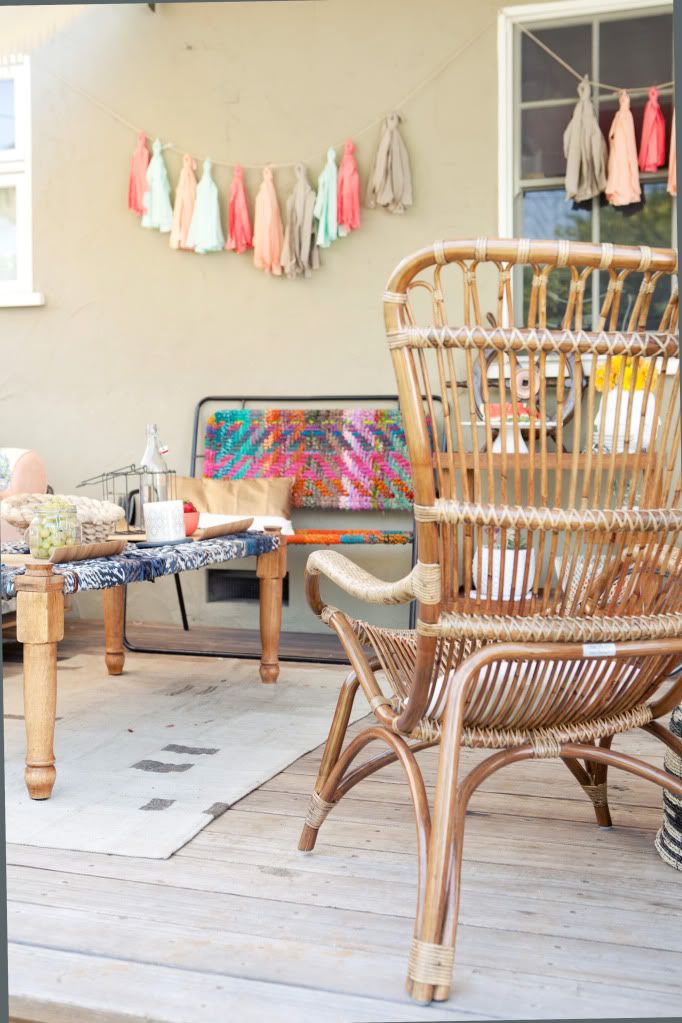
Back in May I asked you to advise me on making my courtyard a lovely entry to my home and a place to entertain (prudently). I gave you a whole rundown of the scenario and a bunch of before pics and you offered up fantastic suggestions that had me all excited to redecorate (or, umm, just actually decorate). Since then I've been diligently working away, parsing out my American Express Membership Rewards points to avoid spending cash and DIYing just about every detail. I'll share all of the sources, a few DIYs, and a behind the scenes peek at my renovation projects. NOTHING got tossed, not that there was much there to begin with. Until then, here it is! We have already been enjoying it like it's a new room in our home!


Read on to see more photos of my DIY courtyard and our first outdoor brunch!
Read more »

Labels: , ,

Monday, August 1, 2011

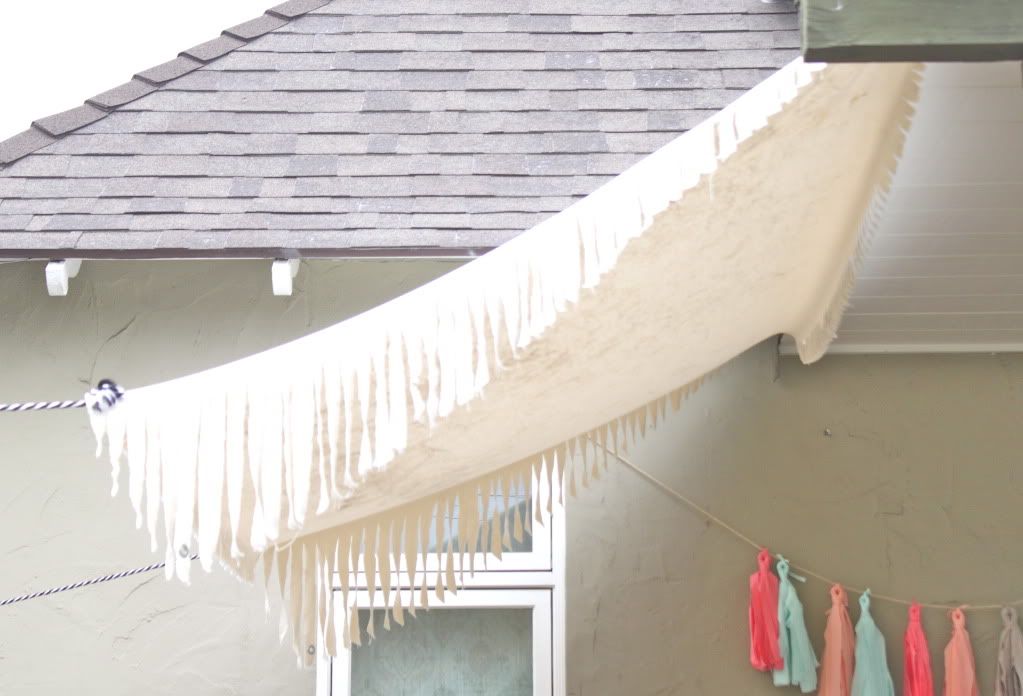
How to Make A Simple Canvas Awning


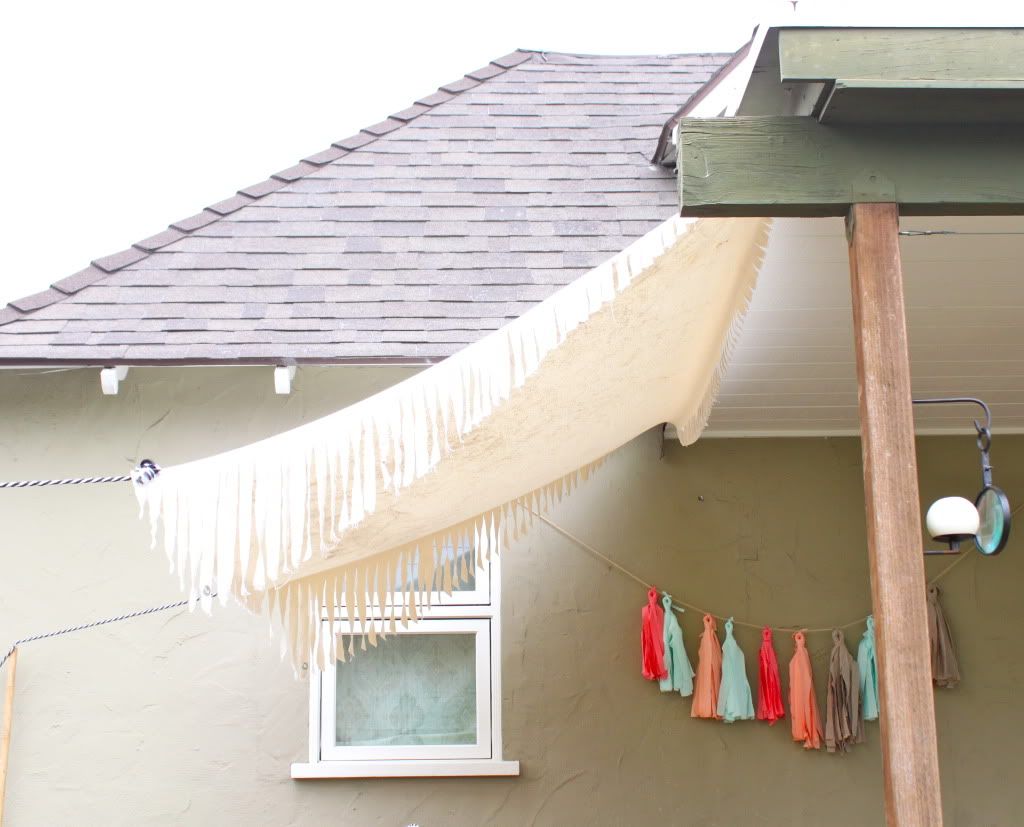
This awning is the simplest thing in the world. After struggling with how to provide some shade over the pallet bed I made for My New Backyard, I finally abandoned all my crazy plans and got back to basics. Though it's not particularly fancy, I love the way my canvas awning turned out.

Let me show you how I made my simple awning, maybe you will find some inspiration...
Read more »

Labels: , , ,

Monday, July 25, 2011

How to Build a Pallet Daybed


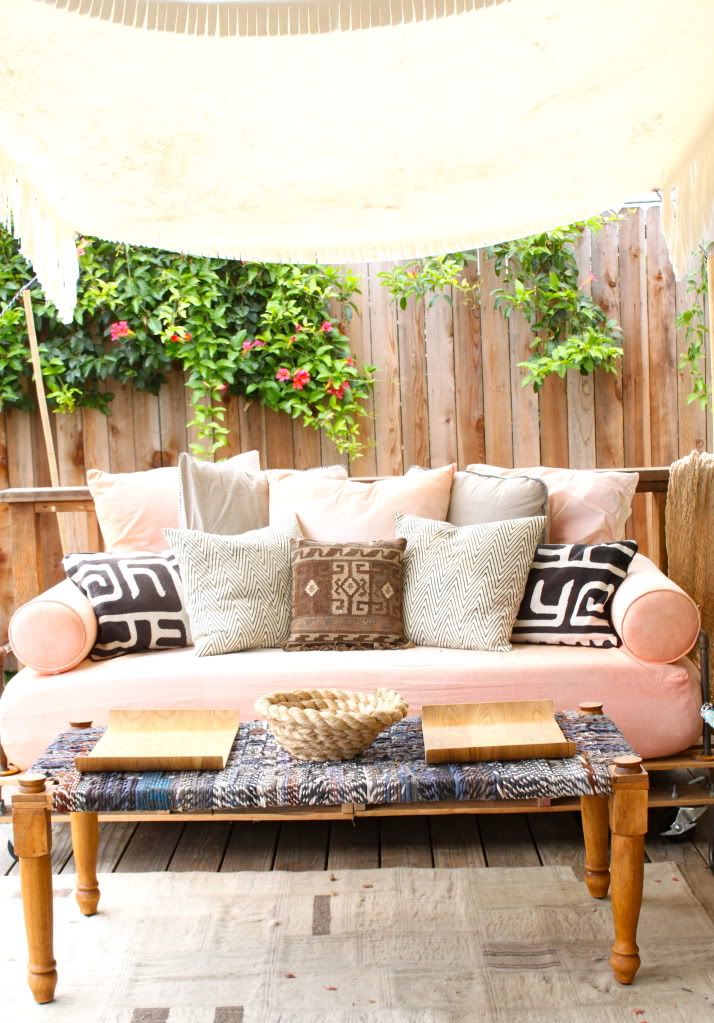
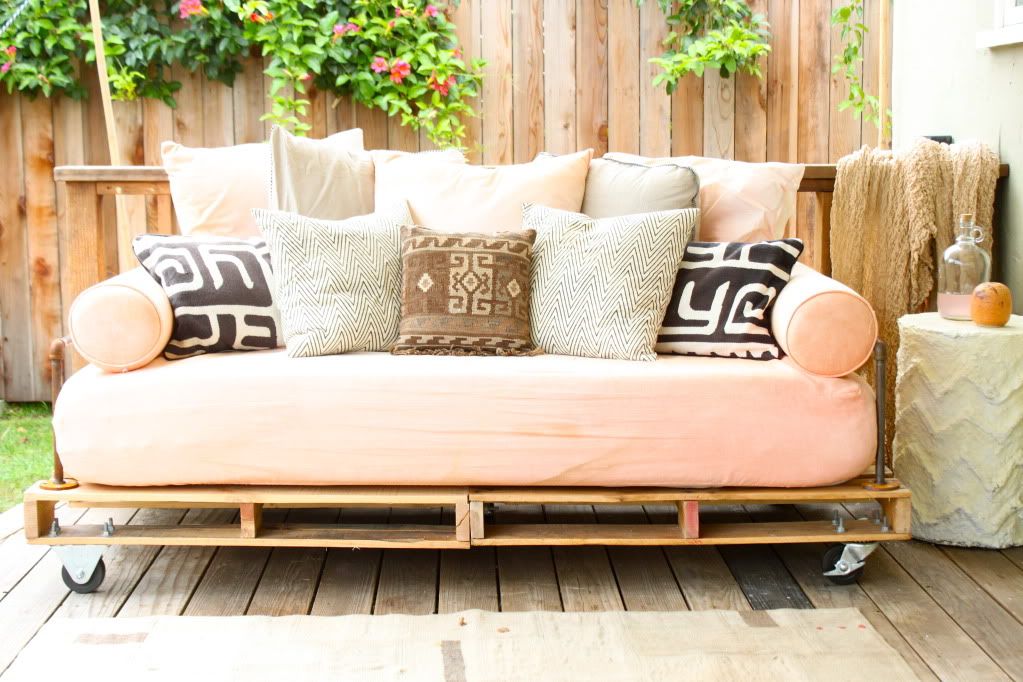
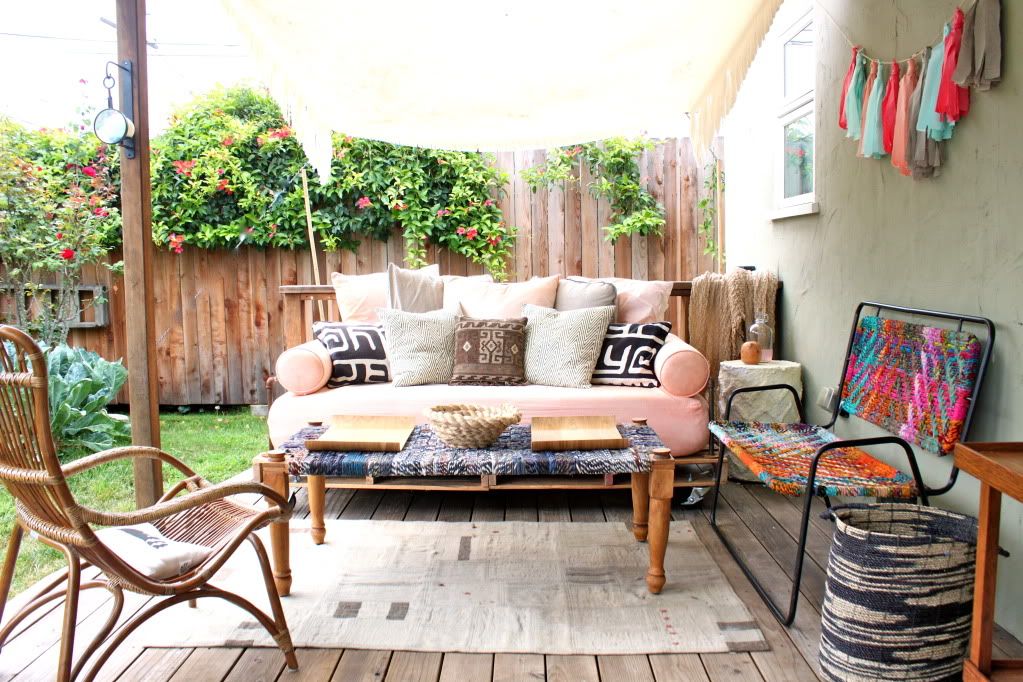
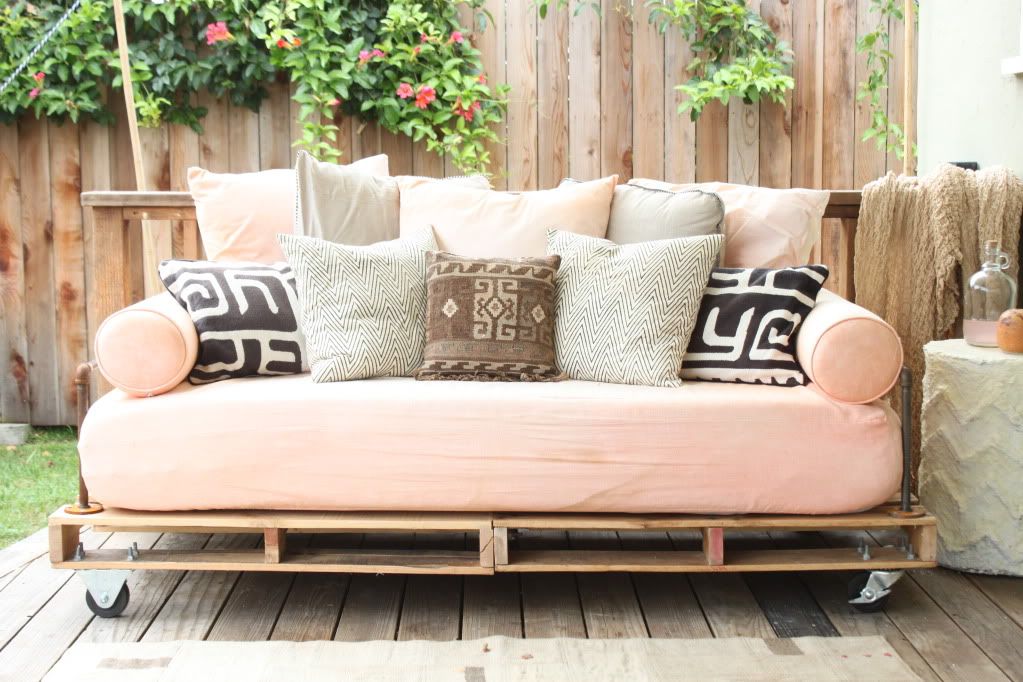
The highlight of My New Backyard patio redecorating scheme has most definitely been this pallet daybed. I really wanted a place to sleep outside with my daughter, and a comfy couch to relax on with friends. I didn't have the funds to invest in a fancy piece of outdoor furniture, and I knew that with the weather as it is in Los Angeles, I could leave this outside pretty much all summer. I also knew that I would, at some point, need to move it under the awning to keep it dry, so I put it on wheels. And finally, I knew I would need arms, because I'm just not comfy on a couch without arms. So here is the DIY Pallet Daybed I came up with.


I built this myself, with no help at all, in just a few days. I'm a crafty person and comfortable with tools, but I'm not an advanced woodworker by any stretch of the imagination, and this project was simple enough for me, so I know you can do it if you want to. Let me show you how to make your own DIY Pallet Daybed after the jump.
Read more »

Labels: , , , ,

Thursday, July 14, 2011

My New Backyard (and Where to Buy)


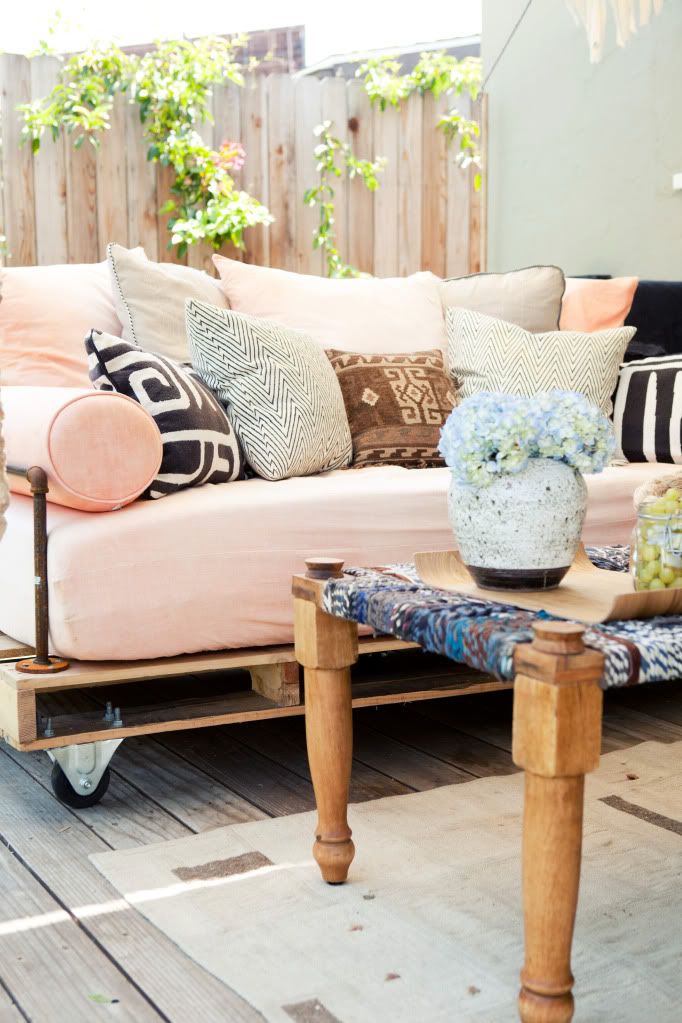
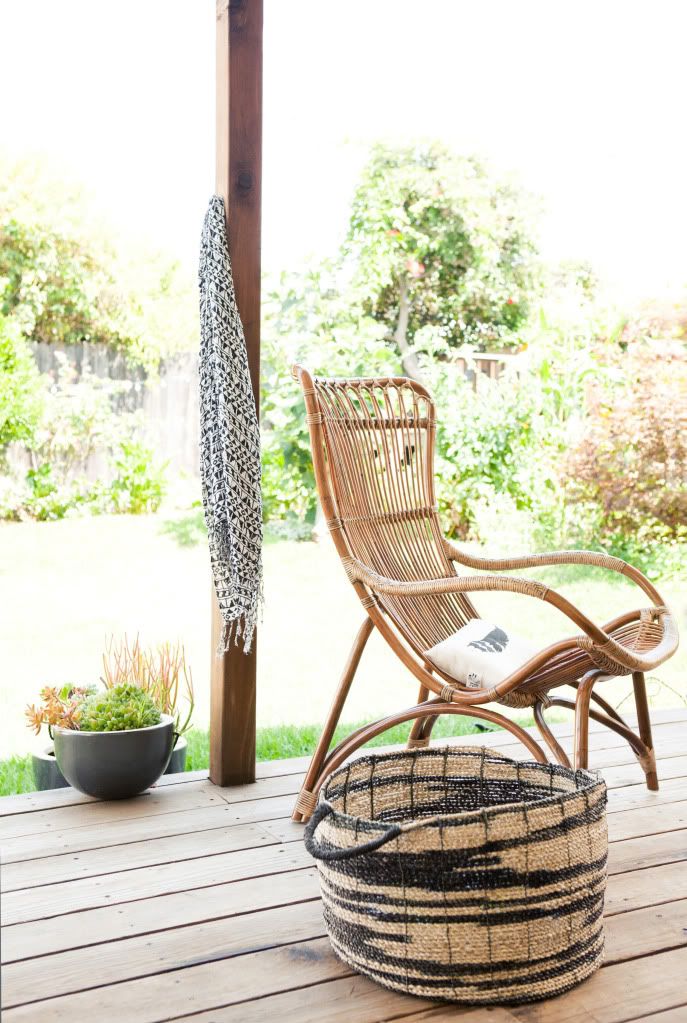
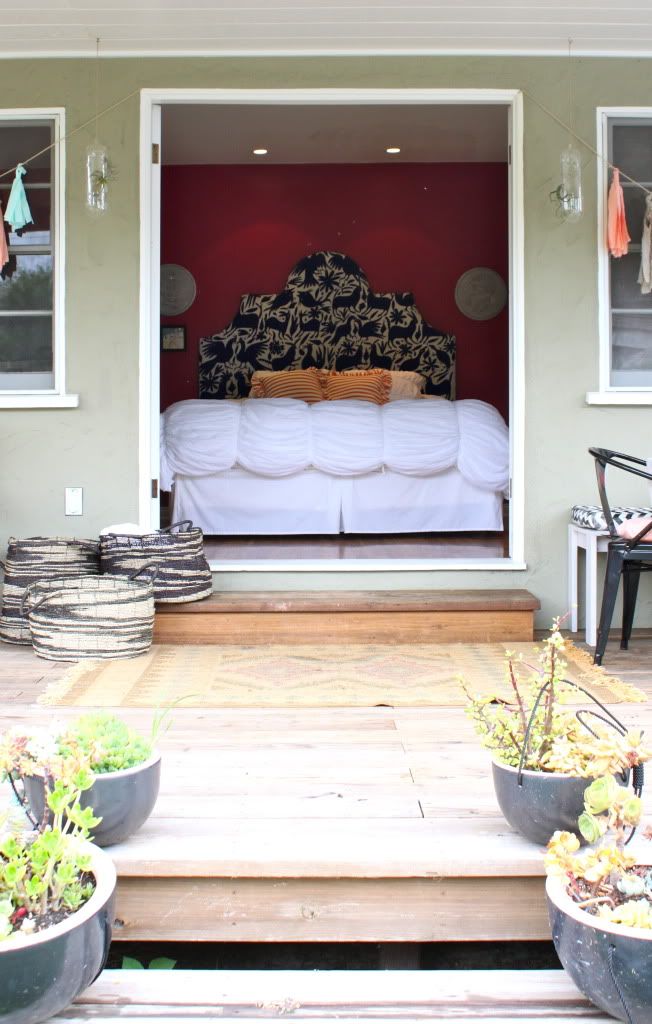
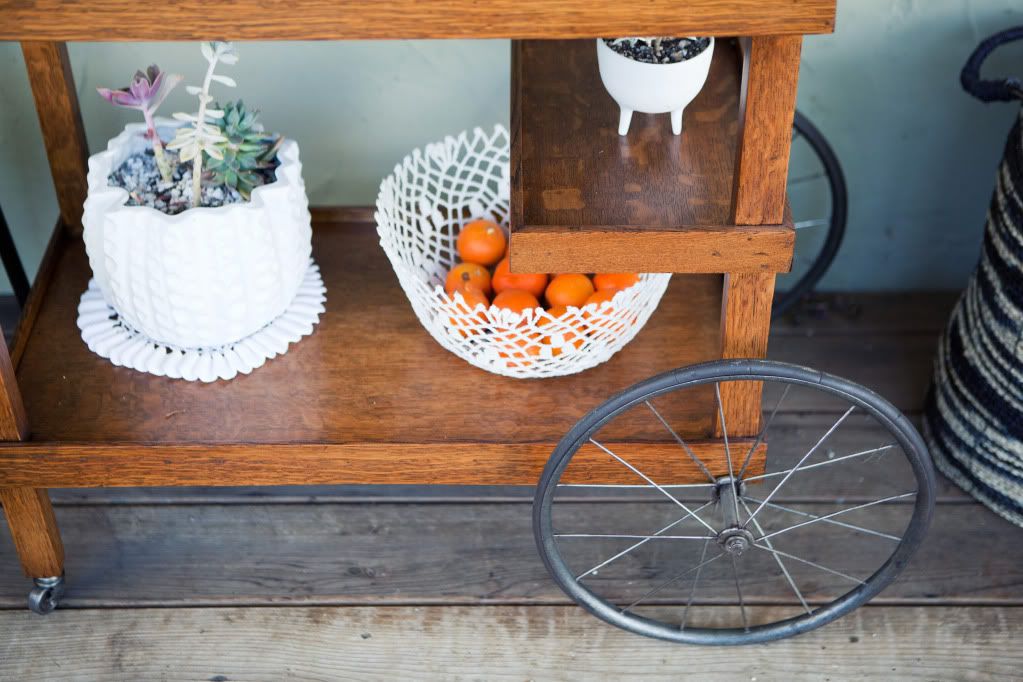
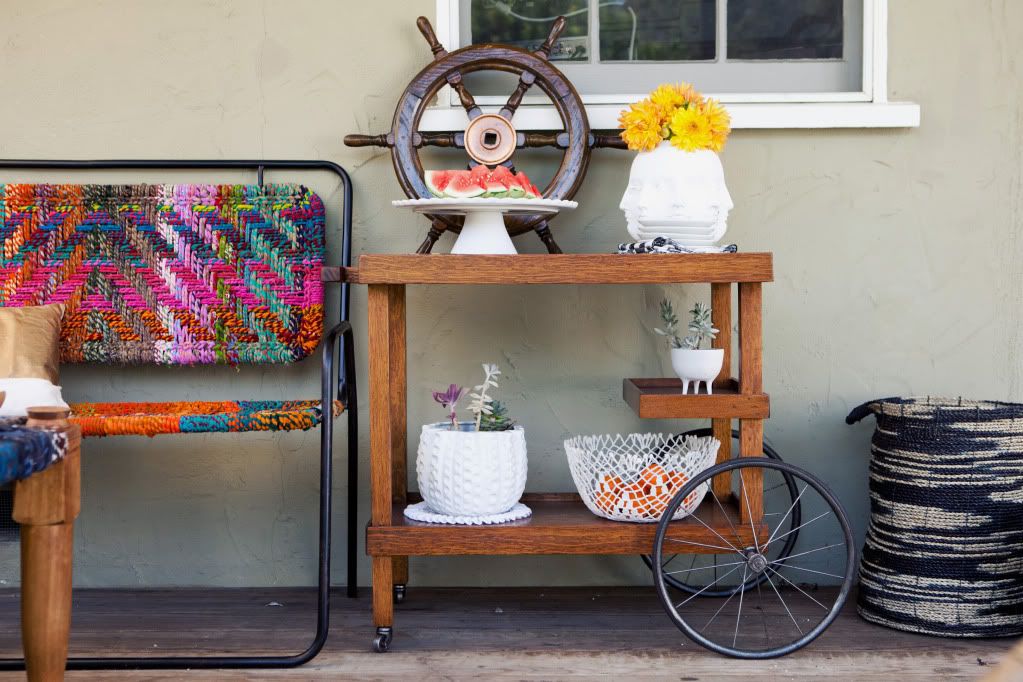
Last week I showed you the time-lapse video love letter I made to my new backyard. A month or so before that I showed you the before pictures here. Now, if you'll indulge me, here are some lovely photos by Raya of Raya Photography (she does weddings and family photography too, book her if you're in the market, she's amazing).

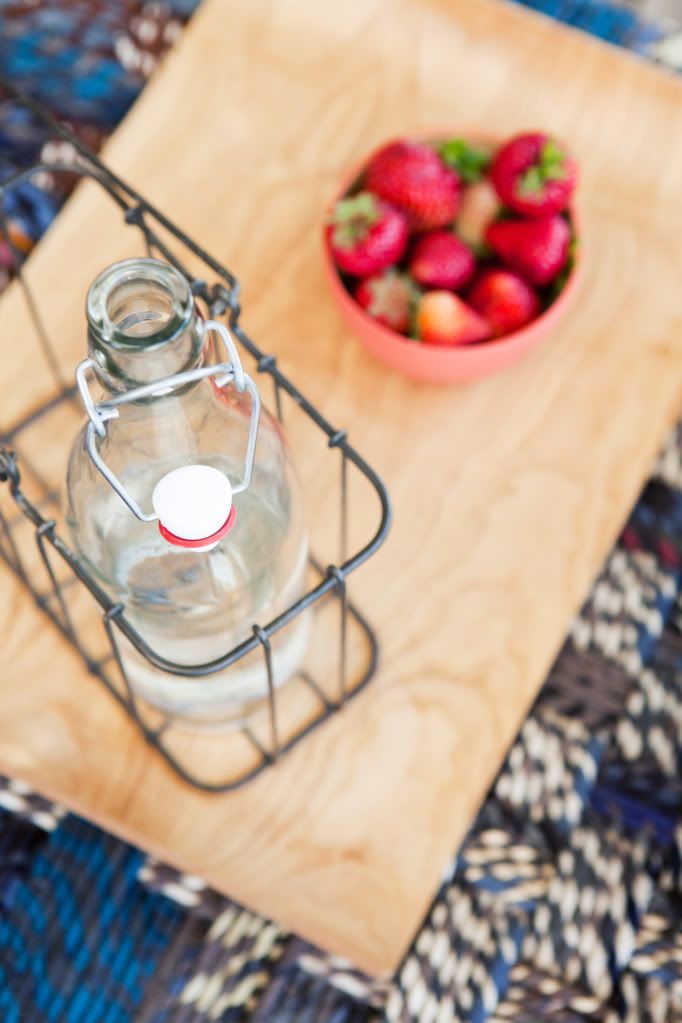
That's me and my friend champagne! Let me show you some more of her lovely shots and tell you where I bought everything (90% with my membership rewards points, i shelled out almost no actual cash money=if you have an amex, you'll likely be shocked by the number of places you can use those things) in case you see something you want to snag...


To see a slideshow with links and info on where to buy just about everything on my patio, except for the DIY stuff of course, click on this link: My New Backyard: A Source List.

Labels: , ,

Wednesday, July 13, 2011

How to Make A Fabric Tassel Garland (No Sew!)


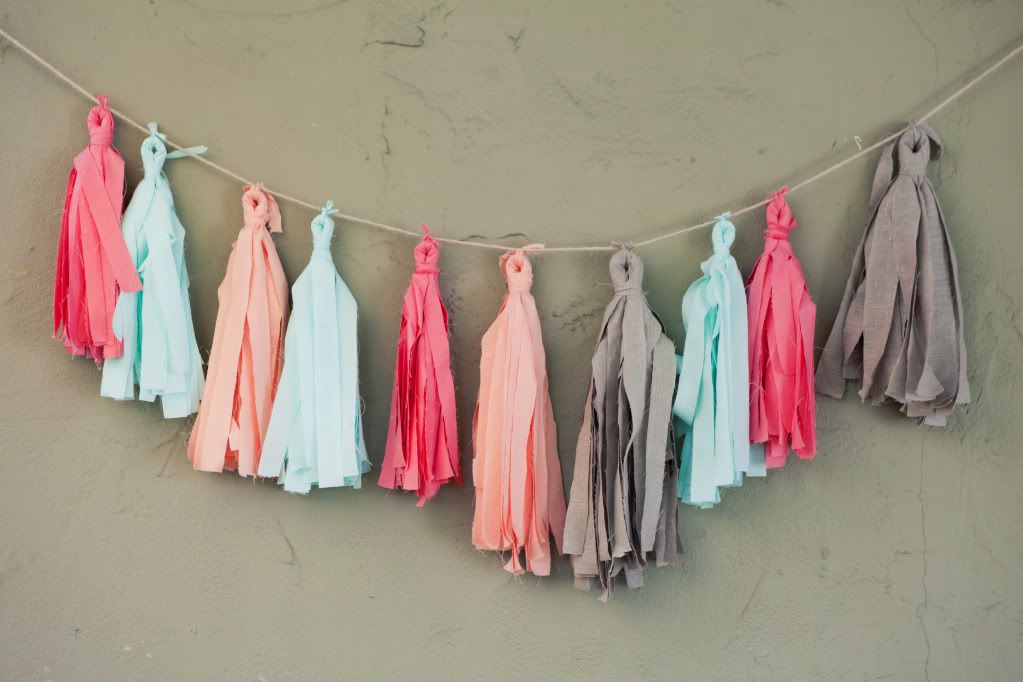
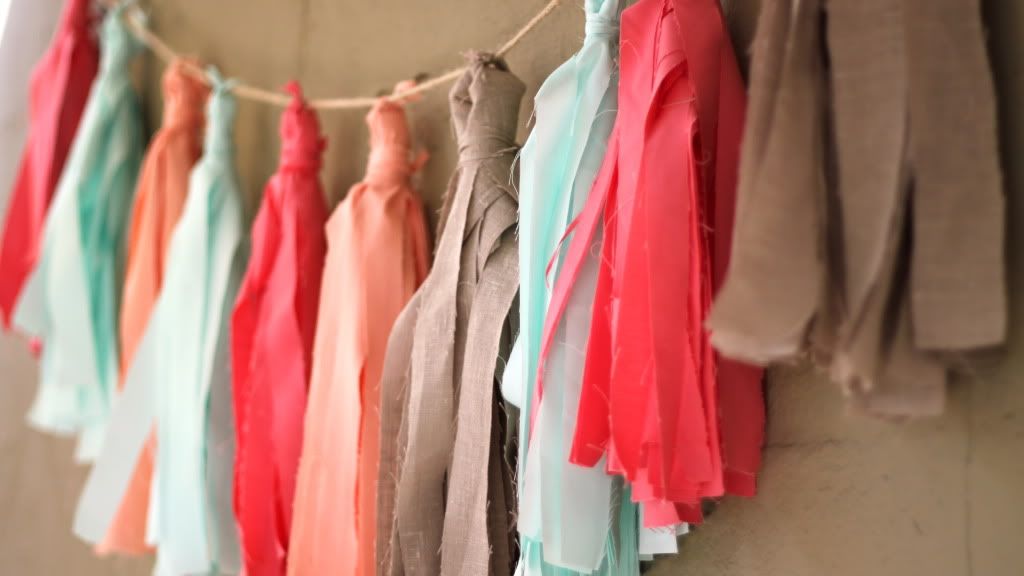
Last week I shared the big reveal of My New Backyard with y'all. One of my favorite little touches are these fabric tassel garlands.

After our one millionth skype conversation/patio critique session, Jacinda suggested a tassel garland like these from Confetti System. I loved the idea, but those are tissue paper, so not ideal for outside. Hmm.

I decided to whip some up with fabric, so I ordered some Kona Solids from Fabricworm in shades of peach, coral, and blue, as well as some natural linen, and got to work. These are easy as pie and no-sew. Learn how to make a Fabric Tassel Garland after the jump...
Read more »

Labels: , , , ,

Thursday, July 7, 2011

To My New Backyard (A Love Letter)


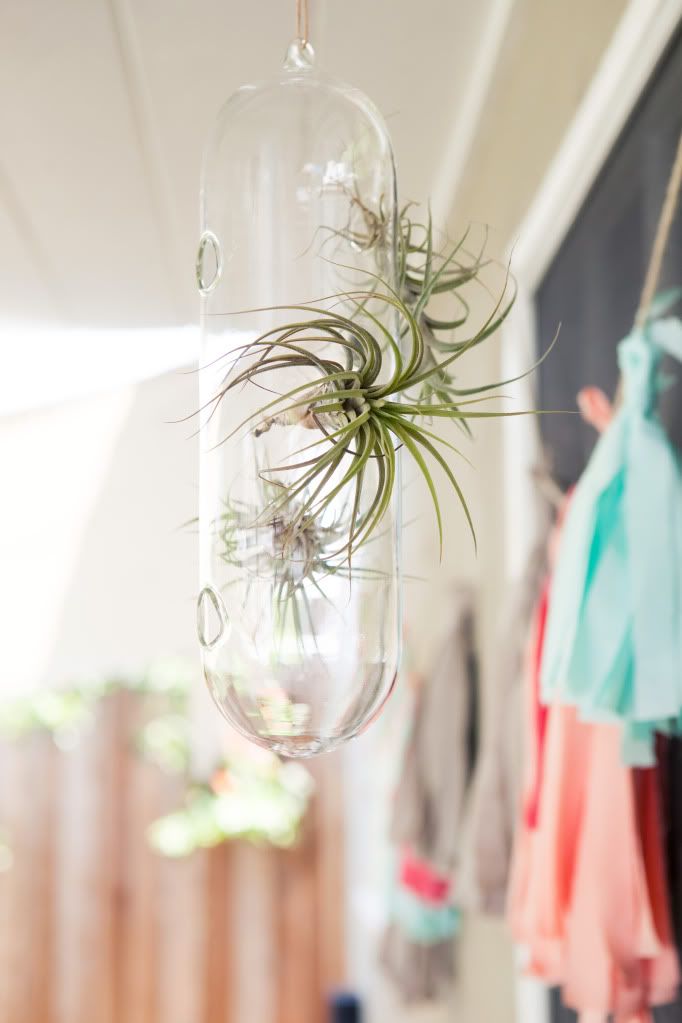
Back in May I asked you for help turning my patio into a place of relaxation and beauty (prudently). I gave you a whole rundown of the scenario and a bunch of before pics and you offered up fantastic suggestions that had me all excited to redecorate (or, umm, just actually decorate). Since then I've been diligently working away, parsing out my American Express Membership Rewards points to avoid spending cash and DIYing just about every detail. I can't wait to share my source list, show you how to build a pallet daybed (with arms!), block print your own fabric, make fabric tassel garlands, sew embroidered seat cushions, ombre dye bedding, and more. You can learn a little more about the elements on Design Sponge today too. But for now, I just wanted to share the transformation with you in this little time lapse video. I can't wait to hear what you think.
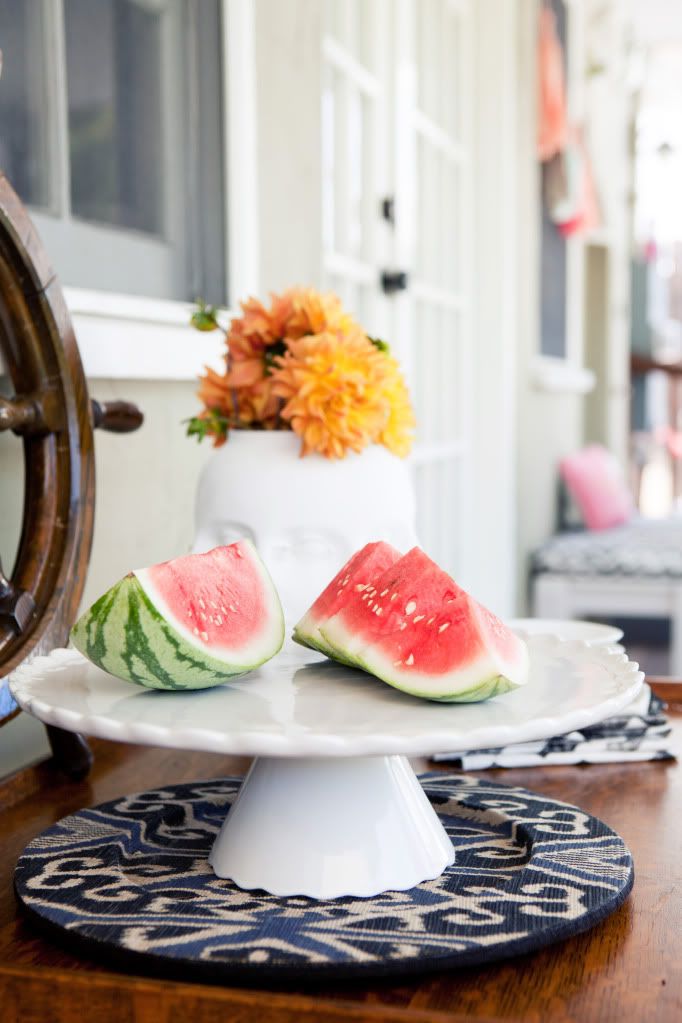
P.S. If you watch closely you can see me toasting the Prudent Mamas with a glass of champagne at one point. XO

P.P.S. That amazing song is by Twin Sister.

UPDATE: See the photo spread and source list here.

Labels: , , , , ,