How to Make Double Welt Cord
What is double welt cord you ask? Why would I want to make that? Ok, it's for upholstery. I am sure you've had some item of furniture you wanted to have recovered, maybe a hand-me-down from grandma or a thrift store find. Then you found out how much it cost and you were like, dude, I could just buy a new one for that price. Enter this tutorial. It's actually quite easy to make your own double welt cord, AND once you know how to do it you can totally recover anything.
Get the full DIY Double Welt Cord Tutorial after the jump...
And remember, leave a comment on this or any post this week and you could be the proud owner of some fancy-schmancy new glues.
How to Make Double Welt Cord for Upholstery
First of all let me just show you the purpose of this stuff. This is when you need double welt cord: You're upholstering something (in this case my dining room chairs) and the edges of the fabric have staples like so:
You use double welt cord to cover those staples. You can buy something called "gimp" but it won't match your fabric and it will cost a ton more than just buying these supplies and making it yourself. So to be awesome you make your matching double welt cord, then simply hot glue it on to your furniture. It's a lot like making piping (get that tutorial here: How to Sew Piping), but different.
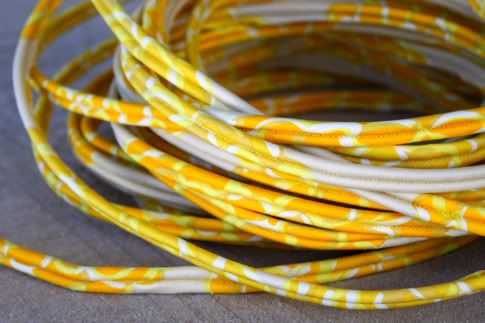
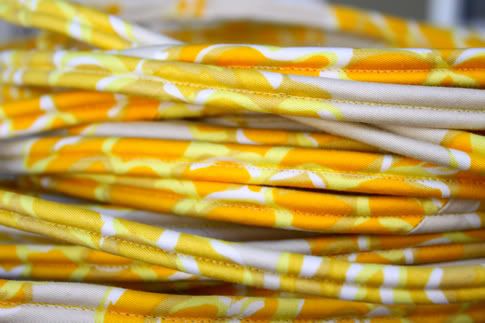
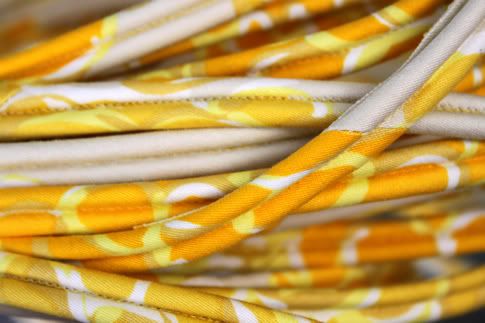
So first you need some very specific supplies. #1 on the list is some actual double welt cord. You can buy this in yards at many fabric stores and definitely at upholstery supply stores. However, if you are going to be making a bunch of it, I recommend buying a giant roll as it is WAY cheaper. I bought mine here.
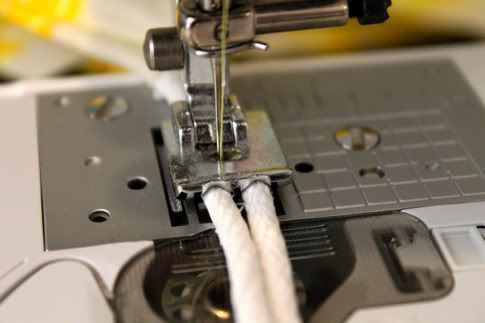
This next thing you need is a double welt cord foot for your sewing machine. You could do it with a piping foot but it's SO much easier this way. I recommend skipping the piping foot and just getting a double welt cord foot because you can also use it to make single-cord piping. For some reason new sewers are scared of sewing machine feet, but you shouldn't be - they make life easier, not harder. You can find one by googling your machine brand and "double welt cord foot" or "welt cord piping foot". The double welt cord foot looks like this, I put the cord in there without any fabric so you can see how it holds your cord:
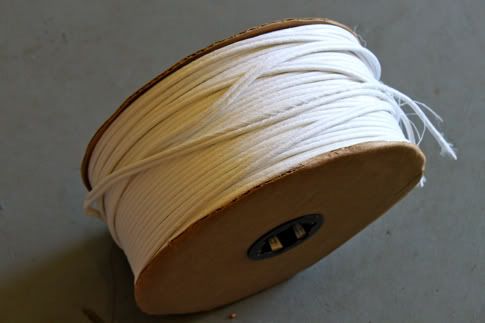
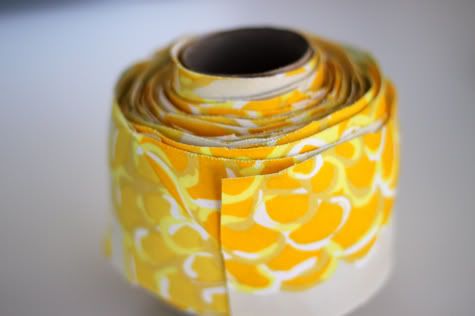
And then you need your home decor or upholstery weight fabric cut and sewn into bias strips, which you can learn how to do on our "How to Sew Piping" post:
And you'll need a heavyweight needle in your machine (how heavy depends on your fabric).
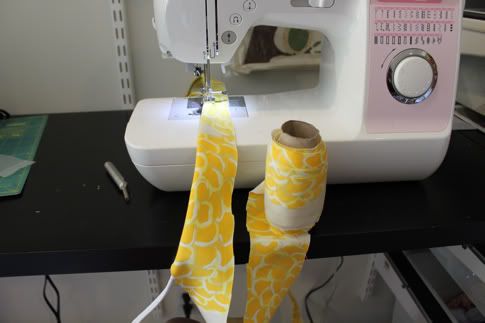
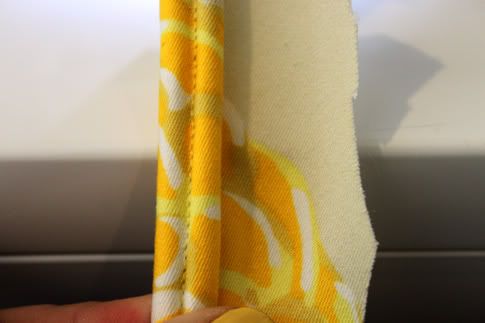
1. Now get yourself set up, with your cord to your left on the floor and your bias strips in your lap or slightly off to the right:
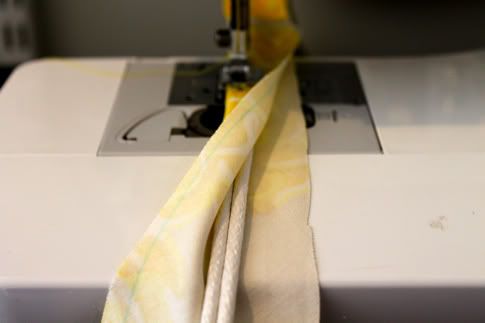
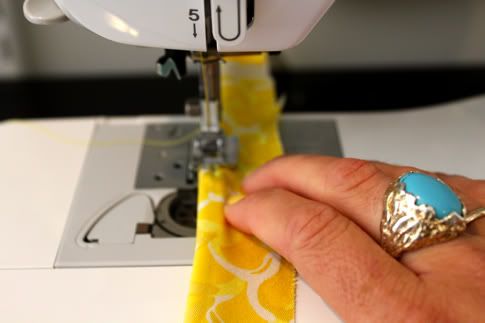
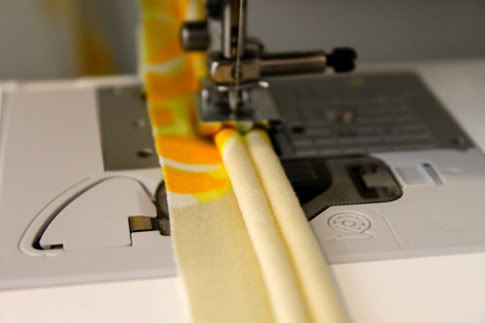
2. Put your double welt cord foot on your machine. Wrap the fabric around your cord and put it all under your foot:
It looks like this all folded up:

Now sew it on with a simple straight stitch. The foot will keep everything nicely in place, your main goal here is to keep the fabric snug so it doesn't get bunched up. Do that by holding it taught on the right side:
3. Now it looks like this:
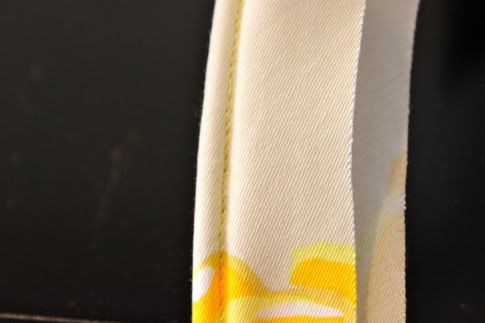
When you pull the fabric back it looks like this:
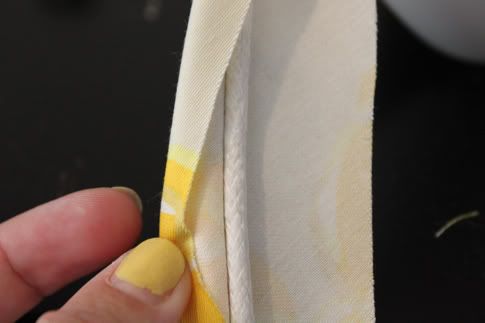
So grab it in your left hand and roll it:
So it looks like this:
Now put it all back in the machine:
And sew in place with a straight stitch.
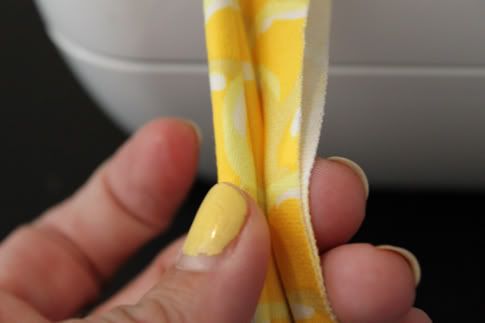
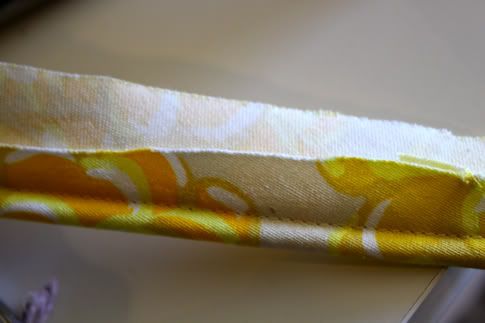
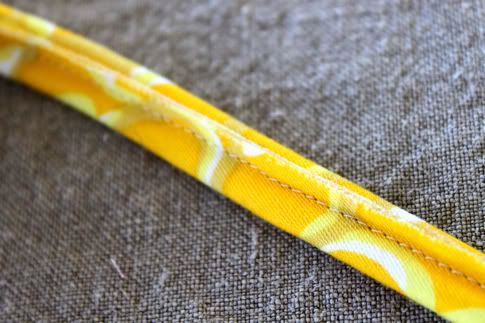
4. Now it looks like this from the front:
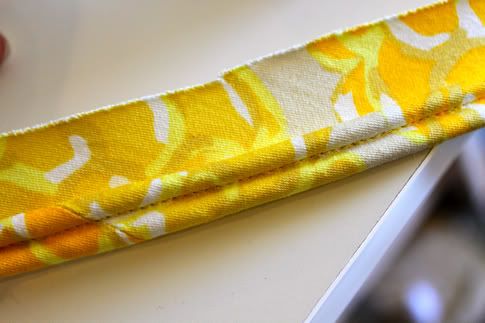
and like this from the back:
So go ahead and cut off the excess fabric close to the seam, like so:
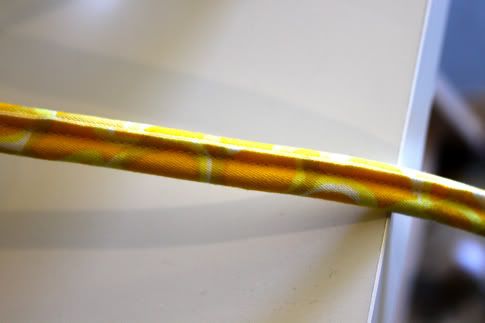
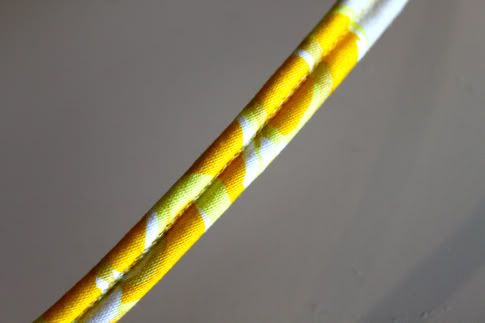
You are done. So here is the back of your welt cord, the part that will be glued onto the furniture:
And here is the front:
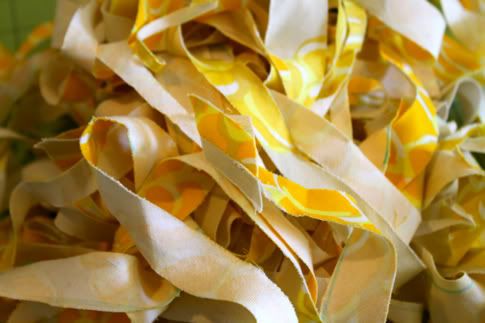
Random note, I like to save these kinds of fabric scraps and use them for shipping or gift packaging at a later date:
So I guess now that I made this, I have to finish the dining room chairs. They've only been half-done for six months, what's a few more years...
Labels: Decor, DIY, Furniture, In One Evening, Sewing, Supplies, Upholstery
posted by Jaime @ 3:30 AM
![]()

26 Comments:
Oh wow. Double Welt Cord where have you been all my life. We have this ancient chair sitting in a barn at my in-laws farm that I am dying to recover, but was a little scared, this makes it seem a little less impossible.
Do you use the glue that you are giving away for gluing on the double welt?!!?! just curious, oh wait. i read more carefully and you did say "hot glue"
Thanks for that!
WOW! Thanks for sharing this tutorial! I had no idea that this was so easy- I'll definitely have to try it out! Now I just need the right project for it.. :)
Sweet mother of tutorials. This is is getting saved permanently for when I redo my dining room chairs.
Sweet! This post is exciting, however I think I still have podophobia of the sewing machine! Maybe some day I will get over it.
Wow! You make it look so easy! I don't have anything to recover at the moment, but you better believe I'm going to bookmark this! Tumble it, too! :)
Podophobia- Fear of feet it a typical phobic condition in which you feel disturbed and irritated when you look at feet, touch feet or even talk about feet.
Sara - I'm dying. So funny. I think we need to start a series of these posts to cure you.
Can't wait to see your finished chairs! And I love that your nail polish coordinates with this project- I bet you do that all the time, right? ;)
Wow! it looks so easy, I might have to get that welt cord foot for sure! Apparently, I've been doing it the hard way :)
Thanks for sharing! This just gave me the motivation to pick up a tedious furniture project I have been slacking on. THANKS!!!
April
Wow, this is amazing! I have the chair...I have the fabric...now I just need the guts to start the project...and some Double Welt Cord!
Thanks for sharing!
I would never have known there was such a thing as a double welt cord foot! You have to finish those chairs so we know what kind of glue you use. That chair looks beautiful!
this is great! i can't wait to see a picture of the finished project ;-) this double welt cord looks so awesome it makes me wish i was working on an upholstery project right now!
Yeah!! That is awesome. I have been in this exact situation since acquiring DHs Grandpa's beloved chair. Many in the family covet it in idea, but didn't want it because of its burnt orange color. Now I can make it beautiful again and save some money ~ woohooo!!
BTW it is currently in the nursery covered by the blanket that you cannot use in the crib that comes with the crib bedding. Babies don't care what things look like, they just want to be fed, and held and rocked : )
Ooooh.... we have this beyond comfortable green chair that one of my cats also loved... a little too much. I've been trying to figure out how to recover it... this is definitely a start!
Aha! You have just opened up a whole new world of furniture redos for me-THANK YOU! I've added this to my project to do list!
yay!!! i have a wingback chair that was a hand me down. i've been so sick of looking at the ugly slip cover that currently adorns it's surface. but now i see a glimmer of hope for that lovely piece of furniture! off to find the perfect fabric....
GORGEOUS fabric. where did you get it? if you don't mind me asking...
HELLO awesome tute. I have a chair awaiting inspiration and time in my garage that is just begging for a makeover. Now I'm all excited to use double welt for a nice finish! Thanks for the tutorial!
Hi, just wondering what type of foot you use. I googled it for my Kenmore and came up with a 3/16, a 1/4, and a 1/8 high double welt cord foot? Thanks so much!!!!
Thank you for this tutorial! I think I will be needing it in the future.
Perfect timing I just bought a great used rocker for the new nursery, only problem is the cushions are noisy sweaty vinyl, now I can fix it!
Found you through One Pretty Thing. This post has really opened doors for me. No longer will I have to be content with storebought, craptacular, gimp! Thanks
I'm thinking that could make a great bag handle somehow.
Just ordered a double welt foot, getting ready to do an antique chair. I am an Upholsterer, but have never ran into double welt till now. I knew it had to be easy.
Thanks for a great tutorial! I am tearing apart an old sofa with a carved wood frame where I will need to use this technique.
Thank you! Great tutorial! This is the only place that I've found that actually shows how to sew double welt cord.
Post a Comment
Subscribe to Post Comments [Atom]
<< Home