body { background:#fff url("http://www.blogblog.com/dots/bg_dots.gif") 50% 0; margin:0; padding:0 10px; text-align:center; font:x-small Verdana,Arial,Sans-serif; color:#333; font-size/* */:/**/small; font-size: /**/small; } /* Page Structure ----------------------------------------------- */ @media all { #content { background:url("http://www.blogblog.com/dots/bg_3dots.gif") no-repeat 250px 50px; width:700px; margin:0 auto; padding:50px 0; text-align:left; } #main { width:450px; float:right; padding:50px 0 20px; font-size:85%; } #main2 { background:url("http://www.blogblog.com/dots/bg_dots2.gif") -100px -100px; padding:20px 10px 15px; } #sidebar { width:200px; float:left; font-size:85%; padding-bottom:20px; } #sidebar2 { background:url("http://www.blogblog.com/dots/bg_dots2.gif") 150px -50px; padding:5px 10px 15px; width:200px; width/* */:/**/180px; width: /**/180px; } } @media handheld { #content { width:90%; } #main { width:100%; float:none; } #sidebar { width:100%; float:none; } #sidebar2 { width:100%; } } html>body #main, html>body #sidebar { /* We only give this fade from white to nothing to browsers that can handle 24-bit transparent PNGs */ background/* */:/**/url("http://www.blogblog.com/dots/bg_white_fade.png") repeat-x left bottom; } /* Title & Description ----------------------------------------------- */ @media all { #blog-title { margin:0 0 .5em; font:250%/1.4em Georgia,Serif; color:#353; } #blog-title a { color:#353; text-decoration:none; } #description { margin:0 0 1.75em; color:#996; } #blog-mobile-title { display:none; } #description-mobile { display:none; } } @media handheld { #blog-title { display:none; } #description { display:none; } #blog-mobile-title { display:block; margin:0 0 .5em; font:250%/1.4em Georgia,Serif; color:#353; } #blog-mobile-title a { color:#353; text-decoration:none; } #description-mobile { display:block; margin:0 0 1.75em; color:#996; } } /* Links ----------------------------------------------- */ a:link { color:#488; } a:visited { color:#885; } a:hover { color:#000; } a img { border-width:0; } /* Posts ----------------------------------------------- */ .date-header { margin:0 0 .75em; padding-bottom:.35em; border-bottom:1px dotted #9b9; font:95%/1.4em Georgia,Serif; text-transform:uppercase; letter-spacing:.3em; color:#663; } .post { margin:0 0 2.5em; line-height:1.6em; } .post-title { margin:.25em 0; font:bold 130%/1.4em Georgia,Serif; color:#333; } .post-title a, .post-title strong { background:url("http://www.blogblog.com/dots/bg_post_title.gif") no-repeat 0 .25em; display:block; color:#333; text-decoration:none; padding:0 0 1px 45px; } .post-title a:hover { color:#000; } .post p { margin:0 0 .75em; } p.post-footer { margin:0; text-align:right; } p.post-footer em { display:block; float:left; text-align:left; font-style:normal; color:#996; } a.comment-link { /* IE5.0/Win doesn't apply padding to inline elements, so we hide these two declarations from it */ background/* */:/**/url("http://www.blogblog.com/dots/icon_comment.gif") no-repeat 0 .25em; padding-left:15px; } html>body a.comment-link { /* Respecified, for IE5/Mac's benefit */ background:url("http://www.blogblog.com/dots/icon_comment.gif") no-repeat 0 .25em; padding-left:15px; } .post img { margin:0 0 5px 0; padding:4px; border:1px solid #cca; } /* Comments ----------------------------------------------- */ #comments { margin:0; } #comments h4 { margin:0 0 10px; border-top:1px dotted #9b9; padding-top:.5em; font:bold 110%/1.4em Georgia,Serif; color:#333; } #comments-block { line-height:1.6em; } .comment-poster { background:url("http://www.blogblog.com/dots/icon_comment.gif") no-repeat 2px .35em; margin:.5em 0 0; padding:0 0 0 20px; font-weight:bold; } .comment-body { margin:0; padding:0 0 0 20px; } .comment-body p { margin:0 0 .5em; } .comment-timestamp { margin:0 0 .5em; padding:0 0 .75em 20px; color:#996; } .comment-timestamp a:link { color:#996; } .deleted-comment { font-style:italic; color:gray; } .paging-control-container { float: right; margin: 0px 6px 0px 0px; font-size: 80%; } .unneeded-paging-control { visibility: hidden; } /* More Sidebar Content ----------------------------------------------- */ .sidebar-title { margin:2em 0 .75em; padding-bottom:.35em; border-bottom:1px dotted #9b9; font:95%/1.4em Georgia,Serif; text-transform:uppercase; letter-spacing:.3em; color:#663; } #sidebar p { margin:0 0 .75em; line-height:1.6em; } #sidebar ul { margin:.5em 0 1em; padding:0 0px; list-style:none; line-height:1.5em; } #sidebar ul li { background:url("http://www.blogblog.com/dots/bullet.gif") no-repeat 3px .45em; margin:0; padding:0 0 5px 15px; } #sidebar p { margin:0 0 .6em; } /* Profile ----------------------------------------------- */ .profile-datablock { margin:0 0 1em; } .profile-img { display:inline; } .profile-img img { float:left; margin:0 8px 5px 0; border:4px solid #cc9; } .profile-data { margin:0; line-height:1.5em; } .profile-data strong { display:block; } .profile-textblock { clear:left; } /* Footer ----------------------------------------------- */ #footer { clear:both; padding:15px 0 0; } #footer hr { display:none; } #footer p { margin:0; } /* Feeds ----------------------------------------------- */ #blogfeeds { } #postfeeds { padding-left: 20px }

Prudent Baby

Get sewing how to, sewing tutorials, and sewing help to learn sewing. We offer sewing tutorial for sewing moms.

Monday, October 10, 2011

How to Make A Hamper from A Pillowcase
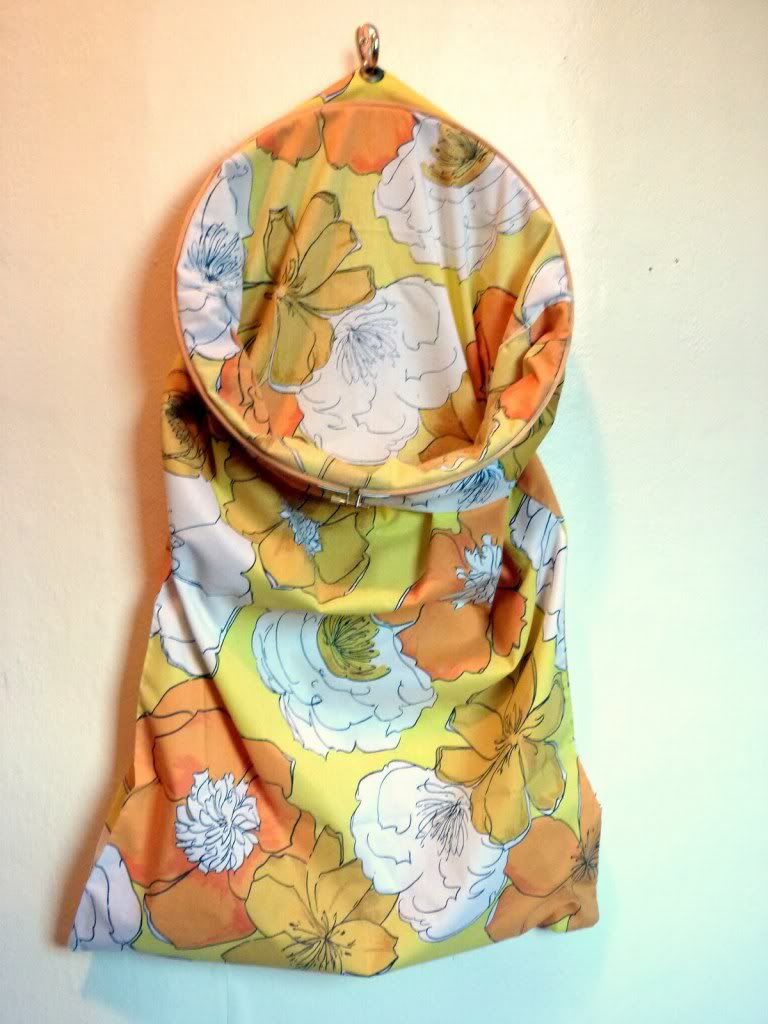

A little while back Jaime spotted a totally adorable Pillowcase Hamper Tutorial made by Sarah from Emmyloubeedoo. It's a vintage pillowcase turned into a gorg way to store laundry - obviously, we had to ask if she would please, please guest post this one-of-a-kind creation for us. Thankfully, Sarah agreed and is very excited to share her tutorial below.

Make sure to stop by her site, Emmyloubeedoo, to see many more creative tutorials such as the Foxy Pillow and the Sunshine Swimsuit. She even shows us that no spot is too small for a creative nook in her Sewing Room Re-Reveal post. Take it away Sarah...


Hello Prudent Baby readers! I'm Sarah and I'm crazy excited to be here today! I blog over at EmmylouBeeDoo where I share my sewing and crafty projects. Come over and say hey!

So do you want to make a hamper?! For like, less than 10 bucks with one of those vintage pillowcases you've been collecting fo-evah?!

Yay! Let's, then! Get the full Pillowcase Hamper Tutorial after the jump...
Read more »

Labels: , , , , ,

Tuesday, August 16, 2011

25 FREE Mobile Tutorials {A Slideshow}


Looking to make something lovely for above baby's crib? I remember having difficulty finding a pretty mobile for Clare to gaze upon just a few years ago, now there are so many gorgeous options both to buy and make! Here are 25 FREE Mobile Tutorials for you to pick from.

Labels: , , ,

Monday, July 11, 2011

Gordon's Nursery: A Slideshow


I am sharing a little slideshow of Gordon's Nursery over on Babble today. Links to all the DIY's and sources for all the products are included. How perfect is that Flash Gordon Poster? He is so happy to have a room with some pictures on the walls. He told me so.

Labels: , ,

Striped Grommet Curtains made from Designer Fabric and Sheets!


These stripy curtains add details of designer fabric without the price tag. By combining three half-yards of Monaluna for Birch Fabrics Beach Mod with a bed sheet, I was able to stretch my budget with nice results. And Gordon won't mind, the best fabric is right at his eye level!


Here's how to make your own Striped Grommet Curtains...
Read more »

Labels: , , ,

Monday, June 27, 2011

Make for Baby: 20 Easy Projects to Make Your Own Bedding, Gear, and Nursery Stuff


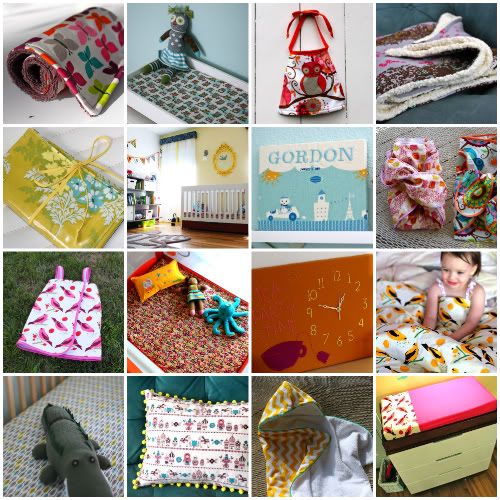
You want to create a nursery as unique as your baby, but sometimes you can’t find just-the-right-thing. Well here’s 20 projects we've dreamed up that you can do yourself to create custom baby bedding (crib sheets, changing pad covers, pack n play sheets, blankets), nursery decor (curtains, pillows, wall art), and baby gear (hooded towels, bibs, burp cloths). Many are first-timer tutorials, perfect for beginners who are feeling the nesting instinct. Get the slideshow here: 20 Easy Projects to Make Your Own Bedding, Gear, and Nursery Stuff. Have you made any of these projects? Tell us about it in the comments, you could win this week's beautiful Fabric Friday yard from Anna Maria's new loulouthi collection!

Labels: , , ,

Thursday, March 17, 2011

Need your Advice!


We moved the girls into a shared bedroom this past weekend. It's going ok. They fall asleep eventually, and isn't that half the fun of sharing a room with your sister... chatting and getting into a little mischief?
But enough of the parenting business, let's move on to more important things like fabric and decorating!

The bedroom already has gorgeous DIY (Thanks awesome MIL!) ceiling to floor curtains in Jessica Jones Amusement Park, Fireworks  and the walls are a light peachy pink. Now I want to make some bedding. Not everything matchy-matchy but maybe some fitted sheets and a few throw pillows. These girlies already LOVE their pillows. So that's where I need your help. What fabric(s) should we add to the room?

Here are a few that I like. What do you think? Maybe too coordinated? Any other suggestions?
Read more »

Labels: , , ,

Monday, February 28, 2011

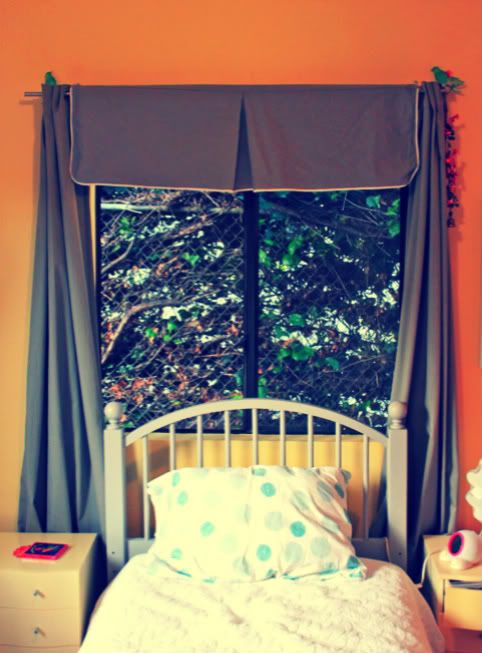
Recycle a Crib Skirt into a Window Valance


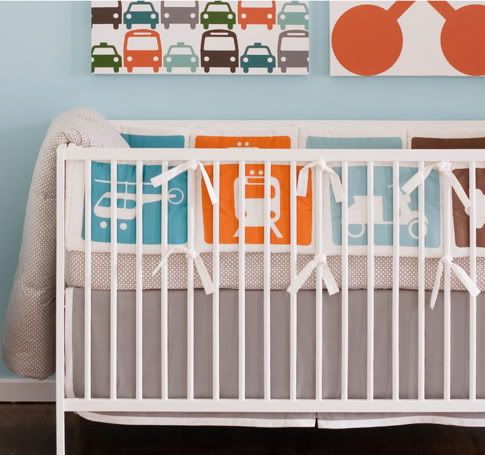
What can you do with a crib skirt when you don't need it anymore? You spent a ton on it. It's adorable. But it's kind of useless once kiddo moves to a toddler bed (or even once he/she is standing and the crib mattress gets lowered). Well, we have an idea of what you can do with a crib skirt: Turn it into a window valance!

My friend Anna called me ever so excited with her brilliant idea and asked me if I thought I could make it happen. I was like, girl, you're a genius! Not only did we make it happen - it's a NO SEW project! Crazy easy! And the windows still match the bedding, woo hoo!

Learn How to Turn an old Crib Skirt into a Window Valance after the jump. What do you do with old crib skirts or bumpers?  Let us know in the comments, this week's favorite comment wins that adorbs elephant sewing pattern!
Read more »

Labels: , , , , , , , ,

Tuesday, February 22, 2011

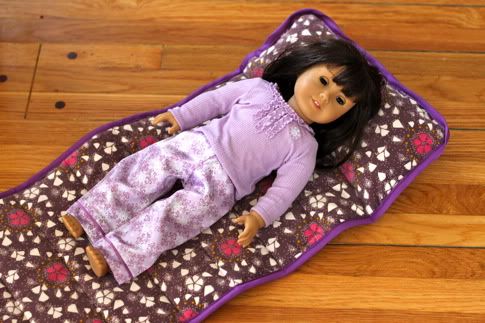
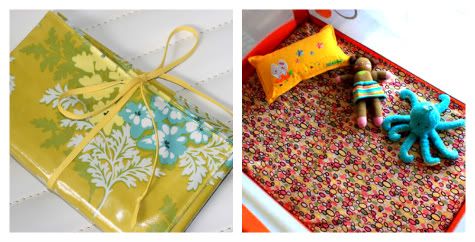
DIY Nap Mat Part 3: DOLL VERSION!


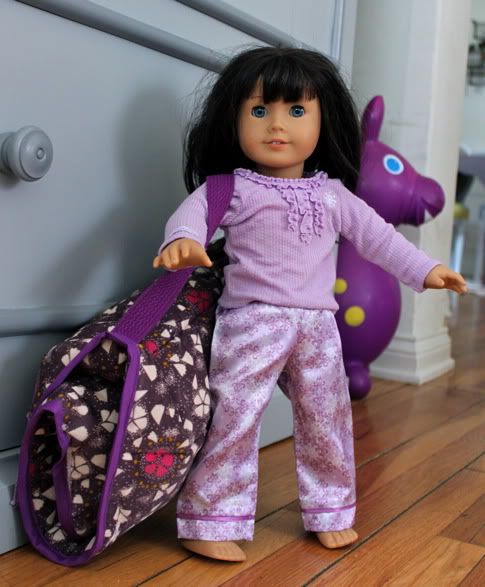
So we are now American Girl fans in the Curtis household.  Well, Scarlet is a fan of her doll (and I admit I am kind of living out some childhood fancy-doll fantasies myself, don't judge me), but the Prudent Dad and I are not so much a fan of shelling out tons of cash on doll accessories.  So in the Prudent Mama spirit, I tried to make doll clothes. Then realized I would rather dump cash on clothes then get arthritis piecing together teensy seams all day long.  Hmmm, what could I make this doll?

Then it hit me - Scarlet's favorite thing in the world is her nap mat, so why not make one for her doll?  As you can see, both Dolly and Scarlet are huge fans.

Check out more creepy Doll Nap Mat pics after the jump. What cool things have you whipped up for dolls?  Leave us some comments, this week's favorite comment takes home a whole yard of Dan Stiles fabric from Fabricworm!
Read more »

Labels: , , , , ,

Tuesday, January 25, 2011

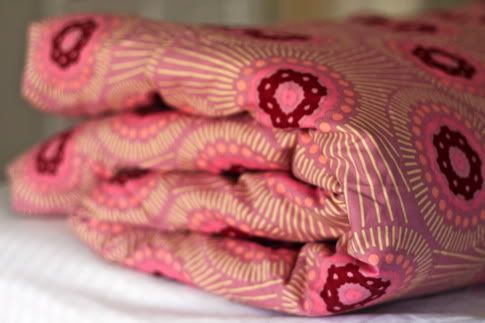
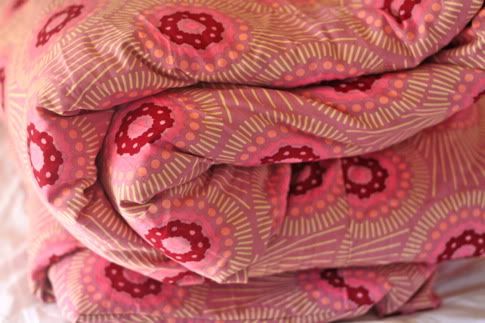
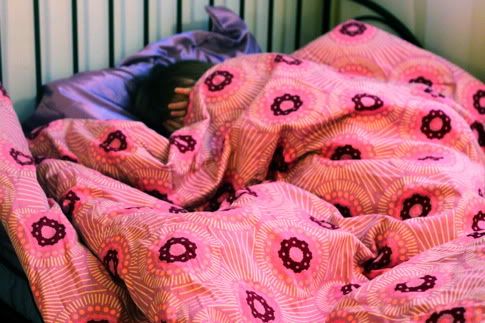
How to Sew A Twin Duvet Cover


First we showed you How to Sew A Duvet Cover and gave you measurements for all different sizes.  Well, Scarlet outgrow the crib size duvet I made, so it was time for a twin.

How much fabric do you need to sew a twin duvet cover? This question is so hard to find an answer to out there on the Internets - so much conflicting info.

So, I was left to my own devices to figure it out, and because I love you, I will tell you how much fabric you need to sew a twin duvet cover, and how I pieced it together to get the most of my yardage.

Check out How to Sew a Twin Duvet Cover after the jump...

This week your comments could win you some pretty potholder fabric & bias tape.
Read more »

Labels: , , , ,

Wednesday, January 19, 2011

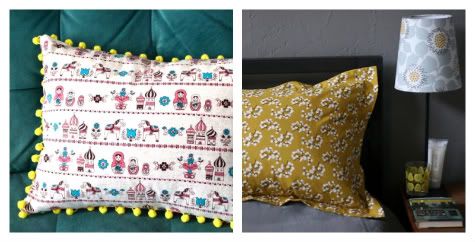
The Sleepover Pillowcase Tutorial


Christie from Lemon Squeezy is here with a tutorial for an adorable and super handy sleepover pillowcase with a secret zipper compartment. Cool! Leave Christie a comment here and you could win a yard of pom-pom trim from my stash in your choice of color!

Thanks Christie! Take it away!
Read more »

Labels: , , ,

Tuesday, January 4, 2011

PJ Pillow Tutorial

Virginia from Gingercake is here to share another brilliant tutorial with us. Clare needs a PJ Pillow ASAP. She would totally dig the secret compartment in the back for tucking gently worn jammies!
Click on thru for the full PJ Pillow Tutorial. Thanks Virginia!

And leave Virginia a comment, you might get to pick-a-pom-pom trim!
Read more »

Labels: , ,

Monday, January 3, 2011

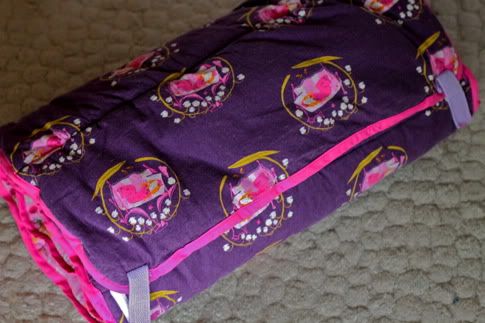
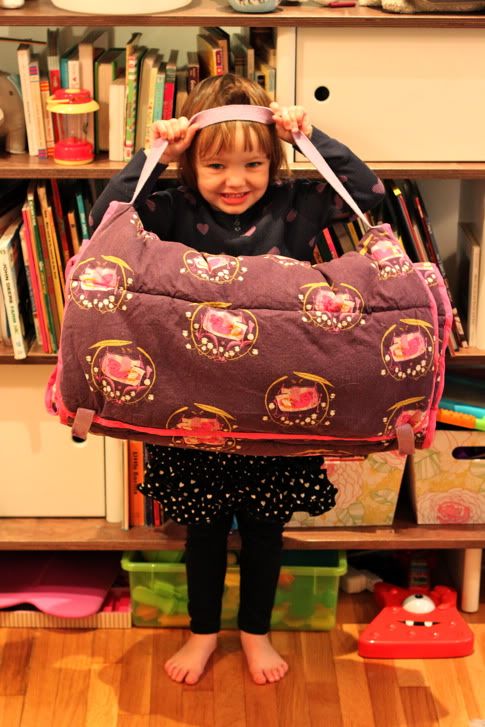
DIY Nap Mat / Bed Roll Part 2


Ever since Jacinda posted her DIY Nap Mat Tutorial I've been sooo excited to make one for little Scarlet. So when my mom took her for the day, I got to work.

The only change I made was to make the pillow insert removable by creating an envelope flap. This is by far and away Scarlet's most favorite thing I have ever made for her.

I'll give you the measurements and details on the envelope flap and more pics of my DIY Nap Mat Part 2 after the jump...

And remember this week's favorite commenter gets to pick some pom pom trim from Jacinda's holiday stash!
Read more »

Labels: , , , , , ,

Wednesday, November 3, 2010

Easy Fabric Strip Garland


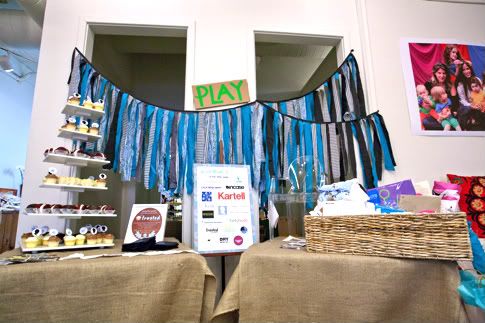
I made these for the Prudent Advice Launch Party, and they were so easy and quick. I love the way they turned out. They were also a great excuse to put my new Simplicity Rotary Cutting and Embossing Machine to good use. It's so awesome and fun!
This garland would make a great addition to any party and put all your fabric scraps to awesome use. It would also be cute in a nursery as a fresh take on the pennant garland.

Get the full Easy Fabric Strip Garland DIY after the jump...

And remember, leave a comment on this or any post this week and you could win that cute little decoupage kit up there on the left!

Read more »

Labels: , , , , , ,

Thursday, September 2, 2010

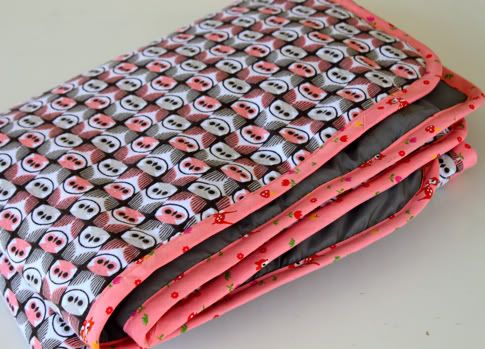
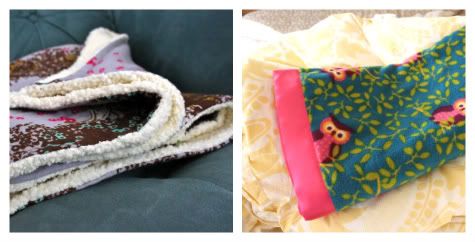
Beginner's Baby Blanket #3


So we've shared with you the Simple Snuggly Baby Blanket Tutorial, which is a great very first blanket to try. Then we told you how to make a Silky Baby Blanket using satin and creating mitered corners with satin binding. We even showed you how to make a Swaddle Blanket. BUT Scarlet has asked me for a new blanket, so here's another style to try.

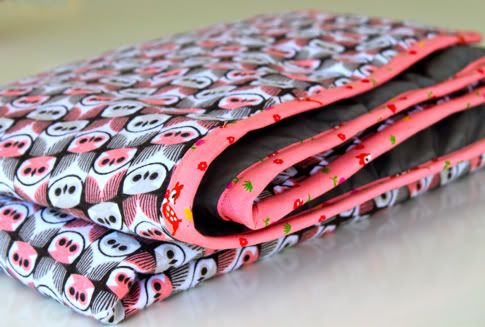
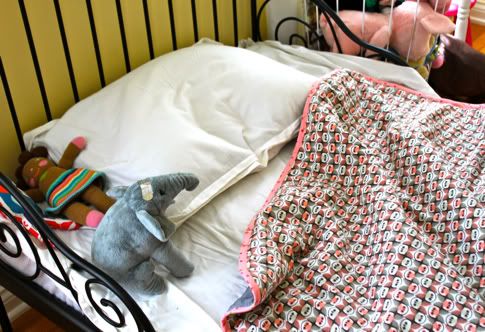
Isn't the impression your kid's head leaves on the pillow the cutest thing ever? This blanket is silky on one side (because she demands to have silkiness on her belly at every nap). The other side is lovely Cloud9 Organic Flannel Forest Friends G'Nite Owls in Shell that she picked out herself.

So this blanket is really like a quilt without the piecing or the quilting, because it uses a layer of batting. I thought that would be nice for the winter months ahead. It's very simple. Get the full Beginner's Baby Blanket Tutorial after the jump...
Read more »

Labels: , , , , , , , ,

Tuesday, June 1, 2010

DIY Yarn Sun Wall Art


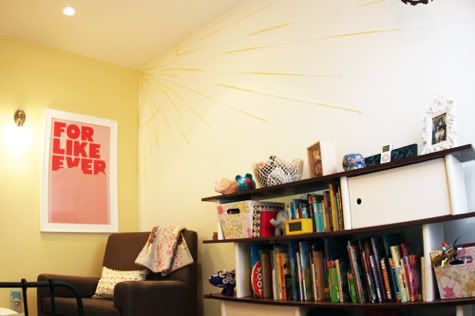
Here's a no-skills-required way to decorate a wall with just yarn and some pins. Perhaps I should have made it a color you can actually see in a photograph, oops. We love LELLOW over here, what can I say...

I originally made this last winter for the fabulous La Petite Mag, now
get the full Yarn Sun Wall Art DIY after the jump...
Read more »

Labels: , , , , , ,

Tuesday, May 11, 2010

Nursery Bedding Tutorial Round Up

We've given you DIYs for just about every item of nursery bedding you could possibly make. Did we miss anything? Let us know in the comments!

How to Sew A Crib Sheet and a Duvet:


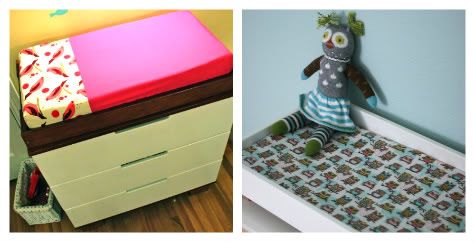
and for travel make a Travel Changing Pad and a Pack n Play Sheet!

Labels: , , , , , ,

Monday, May 3, 2010

DIY Duvet Cover Tutorial


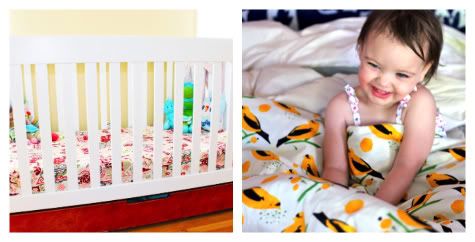
If you bought a crib set you probably have an unused comforter lolling about in a closet somewhere.  Now that Scarlet is in her toddler bed I deem the comforter safe for her, so I sewed a sweet duvet cover using this beloved fabric: Alexander Henry Bird Seed in Yellow that I picked up at favorite fabric resource Fabricworm.

Making a duvet cover is a simple beginner sewing project with an added bonus: when your child moves into a big-girl bed you can re-use the fabric for some other cuteness.  If you want to sew a duvet for a twin, full, queen, or king size bed, this same method applies and I'll share the measurements with you and the full DIY Duvet Cover Tutorial after the jump...
Read more »

Labels: , , , , , , , ,

Friday, April 23, 2010

DIY Sham Pillowcase Part 2


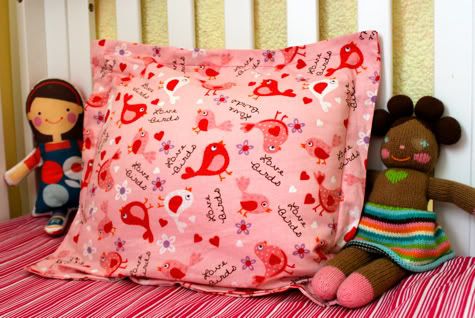
My little one has become increasingly resistant to bedtime (you have no idea what that's like right?) so I thought it might help if I let her dip into the fabric collection and pick anything she wanted for mommy to make her a special pillow.  She chose this cute birdie fabric her auntie gave me (as part of the best gift ever) and I whipped up one of Jacinda's Sham Pillowcases in under twenty minutes.

I'm not gonna lie and say it made bedtime a breeze, but she certainly adores it.  Get the full Sham Pillowcase Tutorial here.  And if your child loves a silky blanket as much as mine, also check out the DIY for the fleece and satin blanket pictured (and learn how to sew mitered corners) here: Silky Baby Blanket.

Labels: , , , , , , , ,

Tuesday, April 20, 2010

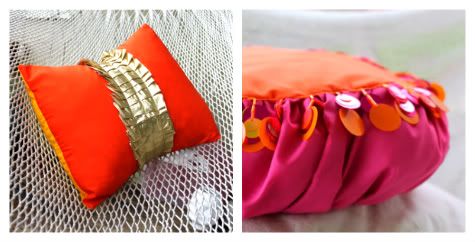
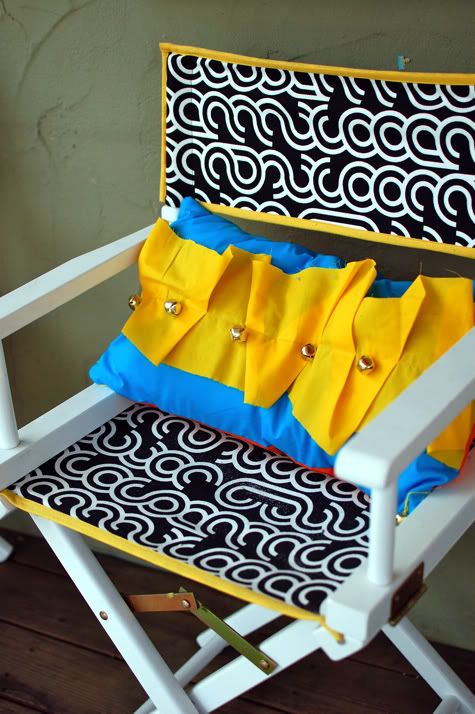
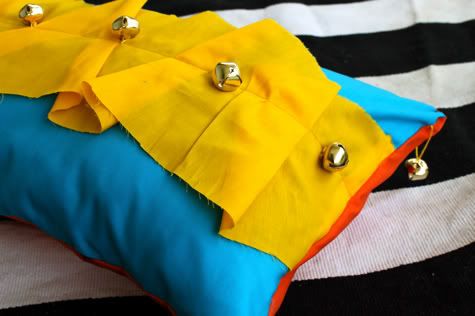
Jingle Pillow


Here's another pillow from Scarlet's Indian Elephant Party.  The colors are a bit much but they matched the DIY Pouf Pillow and the Deceptively Simple Ruffle Stripe Pillow.  I guess it wouldn't be so comfortable to snuggle up to a pillow with metal bells on it, but it looks cute and that's what really matters. Or you could replace the bells with buttons or fabric flowers!

Get the full Jingle Pillow DIY after the jump...
Read more »

Labels: , , , , , , ,

Monday, April 19, 2010

Our DIY Bedroom Takes Shape...


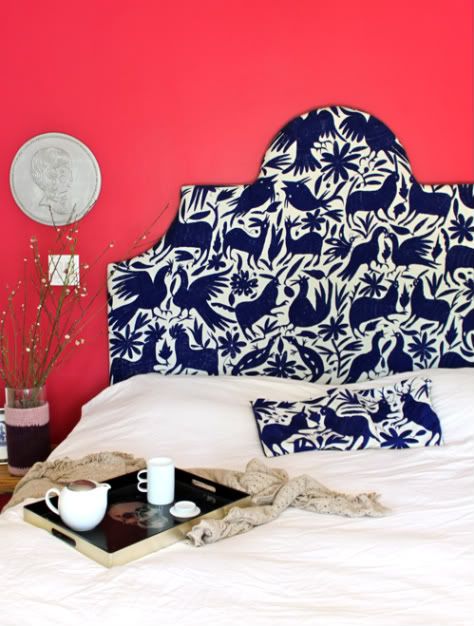
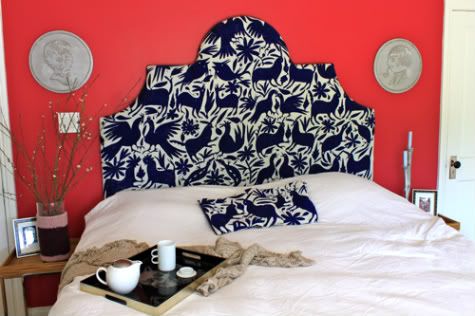
A few weeks back Hubby and I threw (and by threw I mean carefully painted five torturous layers) a coat of bright paint on the wall (color chosen because of its name: Frankly Scarlet) and finally hung our DIY King Size Headboard!

Get the full tutorial on how to make your own headboard, including free downloadable template, here.  And because I know you're going to ask, those awesome playful ceramic hangings were a Jonathan Adler splurge (he was there to sign them! how could i say no?).
So what do you think?  Time to sew a new duvet, right?

Labels: , , , , , ,