body { background:#fff url("http://www.blogblog.com/dots/bg_dots.gif") 50% 0; margin:0; padding:0 10px; text-align:center; font:x-small Verdana,Arial,Sans-serif; color:#333; font-size/* */:/**/small; font-size: /**/small; } /* Page Structure ----------------------------------------------- */ @media all { #content { background:url("http://www.blogblog.com/dots/bg_3dots.gif") no-repeat 250px 50px; width:700px; margin:0 auto; padding:50px 0; text-align:left; } #main { width:450px; float:right; padding:50px 0 20px; font-size:85%; } #main2 { background:url("http://www.blogblog.com/dots/bg_dots2.gif") -100px -100px; padding:20px 10px 15px; } #sidebar { width:200px; float:left; font-size:85%; padding-bottom:20px; } #sidebar2 { background:url("http://www.blogblog.com/dots/bg_dots2.gif") 150px -50px; padding:5px 10px 15px; width:200px; width/* */:/**/180px; width: /**/180px; } } @media handheld { #content { width:90%; } #main { width:100%; float:none; } #sidebar { width:100%; float:none; } #sidebar2 { width:100%; } } html>body #main, html>body #sidebar { /* We only give this fade from white to nothing to browsers that can handle 24-bit transparent PNGs */ background/* */:/**/url("http://www.blogblog.com/dots/bg_white_fade.png") repeat-x left bottom; } /* Title & Description ----------------------------------------------- */ @media all { #blog-title { margin:0 0 .5em; font:250%/1.4em Georgia,Serif; color:#353; } #blog-title a { color:#353; text-decoration:none; } #description { margin:0 0 1.75em; color:#996; } #blog-mobile-title { display:none; } #description-mobile { display:none; } } @media handheld { #blog-title { display:none; } #description { display:none; } #blog-mobile-title { display:block; margin:0 0 .5em; font:250%/1.4em Georgia,Serif; color:#353; } #blog-mobile-title a { color:#353; text-decoration:none; } #description-mobile { display:block; margin:0 0 1.75em; color:#996; } } /* Links ----------------------------------------------- */ a:link { color:#488; } a:visited { color:#885; } a:hover { color:#000; } a img { border-width:0; } /* Posts ----------------------------------------------- */ .date-header { margin:0 0 .75em; padding-bottom:.35em; border-bottom:1px dotted #9b9; font:95%/1.4em Georgia,Serif; text-transform:uppercase; letter-spacing:.3em; color:#663; } .post { margin:0 0 2.5em; line-height:1.6em; } .post-title { margin:.25em 0; font:bold 130%/1.4em Georgia,Serif; color:#333; } .post-title a, .post-title strong { background:url("http://www.blogblog.com/dots/bg_post_title.gif") no-repeat 0 .25em; display:block; color:#333; text-decoration:none; padding:0 0 1px 45px; } .post-title a:hover { color:#000; } .post p { margin:0 0 .75em; } p.post-footer { margin:0; text-align:right; } p.post-footer em { display:block; float:left; text-align:left; font-style:normal; color:#996; } a.comment-link { /* IE5.0/Win doesn't apply padding to inline elements, so we hide these two declarations from it */ background/* */:/**/url("http://www.blogblog.com/dots/icon_comment.gif") no-repeat 0 .25em; padding-left:15px; } html>body a.comment-link { /* Respecified, for IE5/Mac's benefit */ background:url("http://www.blogblog.com/dots/icon_comment.gif") no-repeat 0 .25em; padding-left:15px; } .post img { margin:0 0 5px 0; padding:4px; border:1px solid #cca; } /* Comments ----------------------------------------------- */ #comments { margin:0; } #comments h4 { margin:0 0 10px; border-top:1px dotted #9b9; padding-top:.5em; font:bold 110%/1.4em Georgia,Serif; color:#333; } #comments-block { line-height:1.6em; } .comment-poster { background:url("http://www.blogblog.com/dots/icon_comment.gif") no-repeat 2px .35em; margin:.5em 0 0; padding:0 0 0 20px; font-weight:bold; } .comment-body { margin:0; padding:0 0 0 20px; } .comment-body p { margin:0 0 .5em; } .comment-timestamp { margin:0 0 .5em; padding:0 0 .75em 20px; color:#996; } .comment-timestamp a:link { color:#996; } .deleted-comment { font-style:italic; color:gray; } .paging-control-container { float: right; margin: 0px 6px 0px 0px; font-size: 80%; } .unneeded-paging-control { visibility: hidden; } /* More Sidebar Content ----------------------------------------------- */ .sidebar-title { margin:2em 0 .75em; padding-bottom:.35em; border-bottom:1px dotted #9b9; font:95%/1.4em Georgia,Serif; text-transform:uppercase; letter-spacing:.3em; color:#663; } #sidebar p { margin:0 0 .75em; line-height:1.6em; } #sidebar ul { margin:.5em 0 1em; padding:0 0px; list-style:none; line-height:1.5em; } #sidebar ul li { background:url("http://www.blogblog.com/dots/bullet.gif") no-repeat 3px .45em; margin:0; padding:0 0 5px 15px; } #sidebar p { margin:0 0 .6em; } /* Profile ----------------------------------------------- */ .profile-datablock { margin:0 0 1em; } .profile-img { display:inline; } .profile-img img { float:left; margin:0 8px 5px 0; border:4px solid #cc9; } .profile-data { margin:0; line-height:1.5em; } .profile-data strong { display:block; } .profile-textblock { clear:left; } /* Footer ----------------------------------------------- */ #footer { clear:both; padding:15px 0 0; } #footer hr { display:none; } #footer p { margin:0; } /* Feeds ----------------------------------------------- */ #blogfeeds { } #postfeeds { padding-left: 20px }

Prudent Baby

Get sewing how to, sewing tutorials, and sewing help to learn sewing. We offer sewing tutorial for sewing moms.

Thursday, September 1, 2011

Scarlet's How to Sew a Heart Pillow Tute
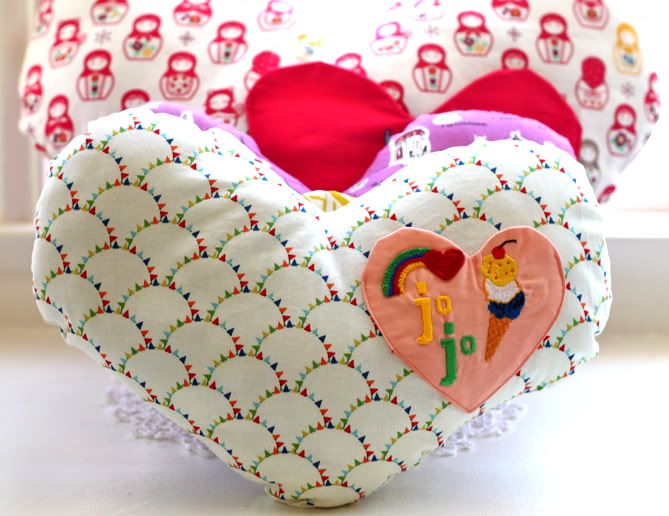

My daughter is the light of my life, and nothing sounds more lovely to my crafty ears than hearing her beg "mama, I want to sew! puhhhhleeeaaaassseeeee!!!"
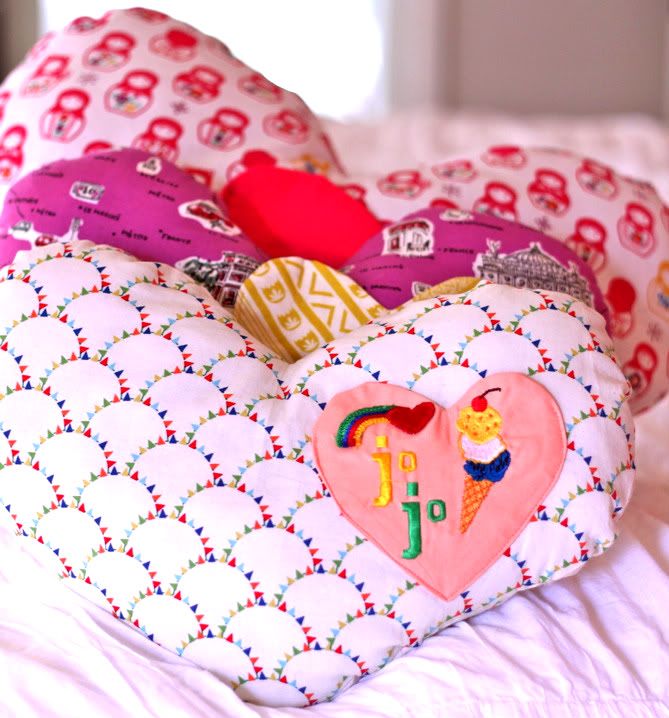
But also it's sort of a double edged sword, because 3 year olds can't really sew. What they can do is bounce about a room filled with scissors, needles, and heavy machinery, pulling any remotely-pink fabric off the shelves and squealing with glee and determination to help while unraveling every roll of sparkly thread and pom poms they set their little eyes on. In this case, I told her we could sew a new naptime pillow for school. All of my suggestions for pillow styles were rebuffed, as she had already designed the perfect pillow in her head. Her description was clear: "Mom, I want a pillow in the shape of a heart. I want a heart pocket too. I want a plain pink heart pocket and I want a tinkerbell on it." Umm, ok. I told her to pick out her fabric and we got to work.
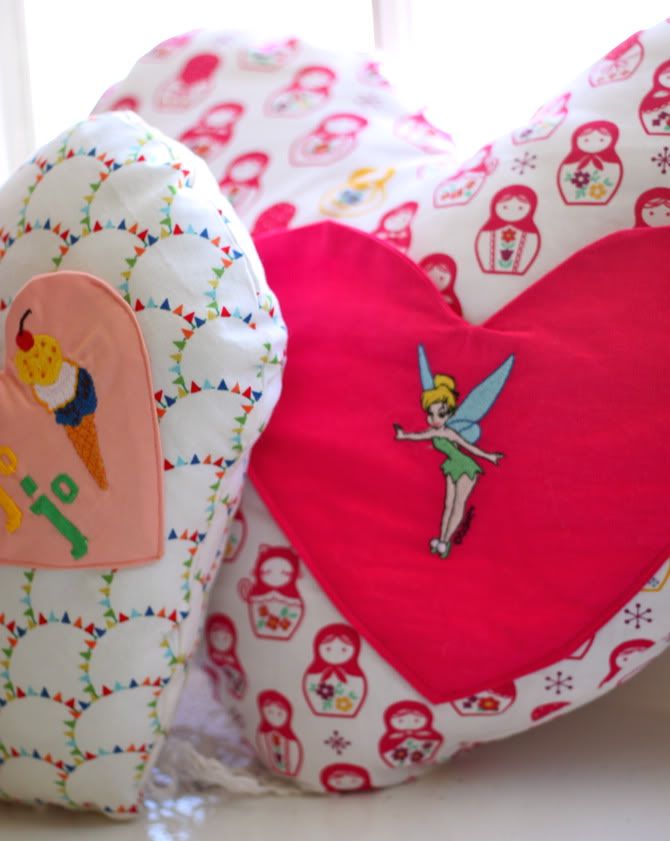
She really liked the results.

I also thought it turned out pretty cute, so we made a few more (including one for her cousin JoJo). So Scarlet has created her first design, what do you think? Let me share with you How to Make a Heart Shaped Pillow after the jump...
Read more »

Labels: , , , ,

Wednesday, August 17, 2011

The Laziest DIY Cushion Slipcover


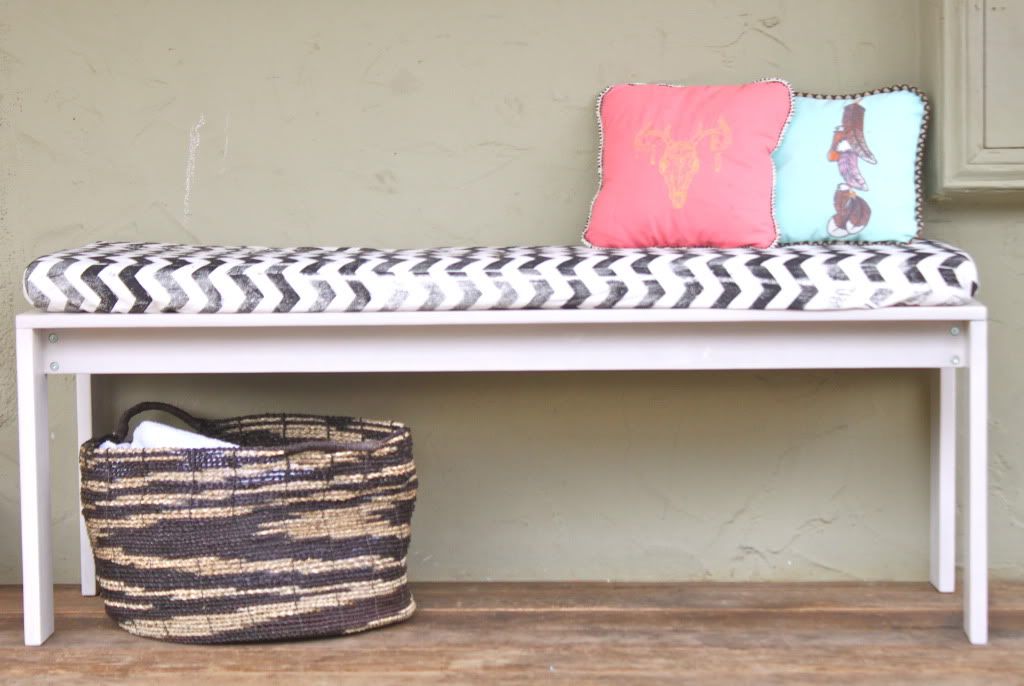
After much research, I came to the conclusion that no fabric cushion was going to survive the soul-draining afternoon sun of my Texas Patio. Plan B - Disposable slipcovers. I set out to make the simplest possible covers for my existing cushions from inexpensive {but fun} fabric with the full intention of replacing them next season. Do you have a box cushion that you want to cover in a jiff? Here's how to make the Laziest DIY Cushion Slipcover.

And actually, I'm loving the way the black is fading (yes, it is already fading after a month) so maybe we will keep these around even longer than planned.


Read more »

Labels: , , , , , ,

Wednesday, July 27, 2011

How to Sew Zipper Pillows with Piping


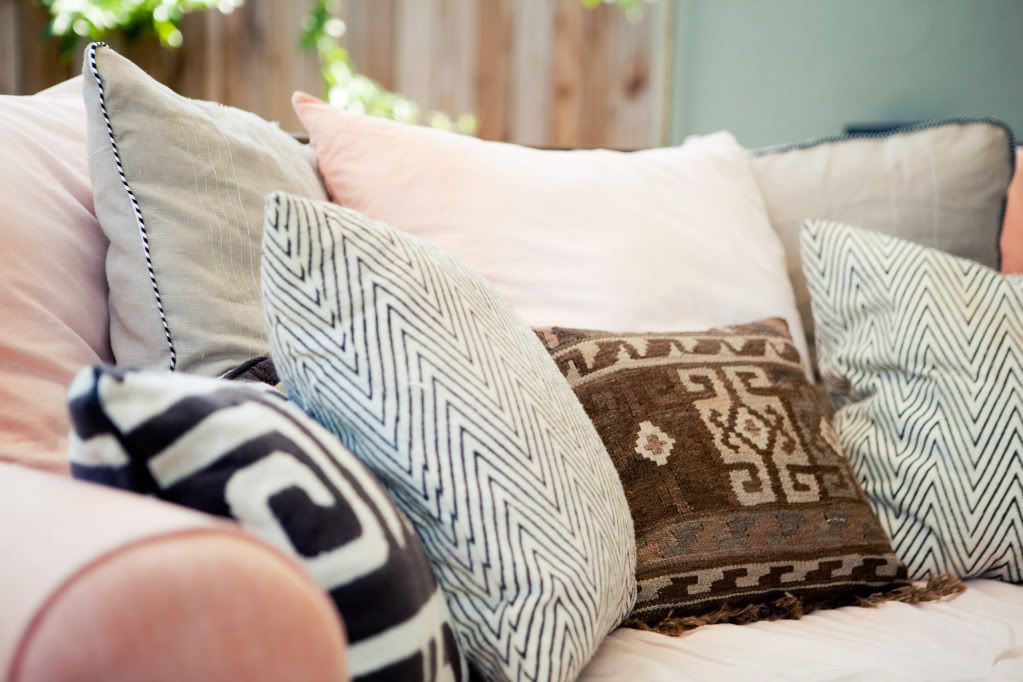
While working on My New Backyard project, I decided that sewing tons of pillows and cushions was key to keeping it all feeling like an outdoor room and being comfortable while lounging about.

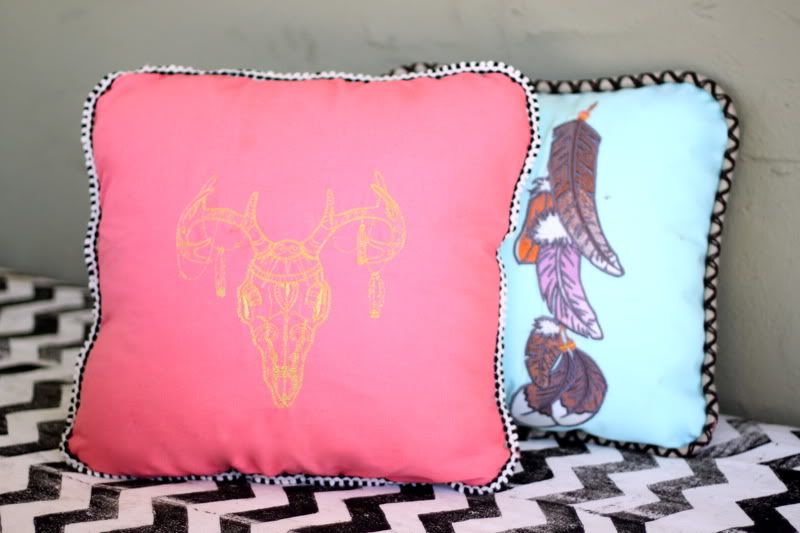
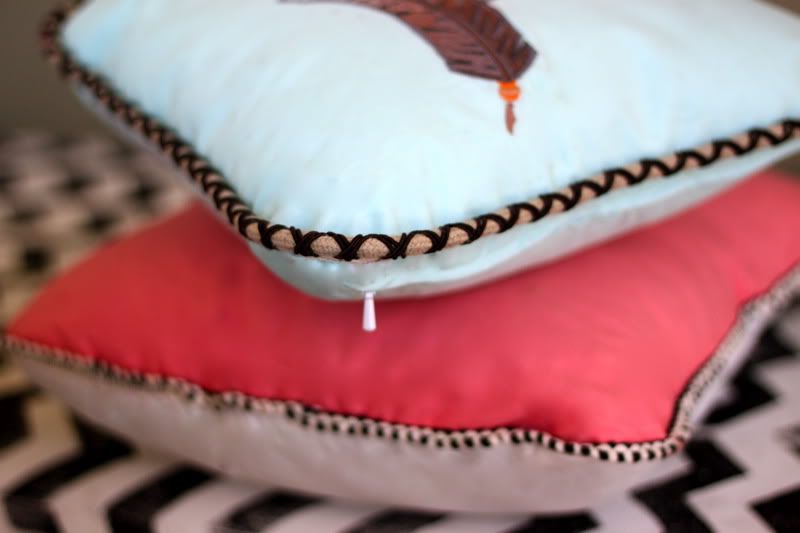
I wanted contrasts of different textures, and I knew piping and trim would help tie the colors and feels together, so I made several different styles of piped pillows. Because these cozy poufs would be living outside, I also knew that being able to easily wash them was key to their longevity, so I used zippers to make sure the covers were removable.

We showed you how to sew basic zipper pillows (with hidden zippers) and how to sew zipper pillows with sham edges, but I've never run you through sewing a zipper pillow with piped edges.

So let me show you How to Sew Zipper Pillows with Piping after the jump...
Read more »

Labels: , , ,

Thursday, July 21, 2011

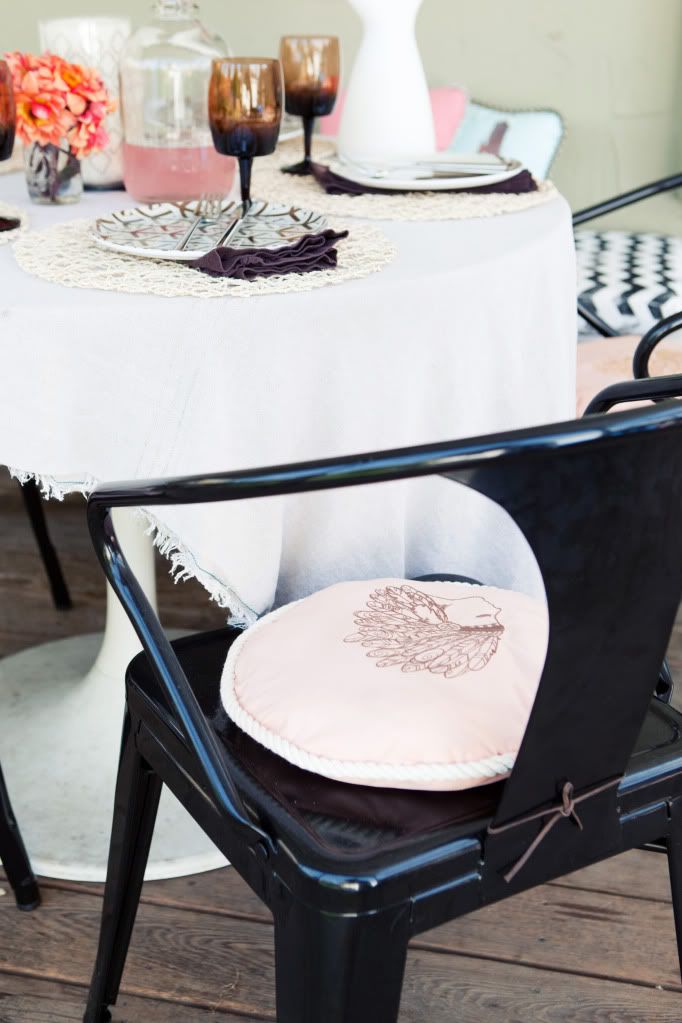
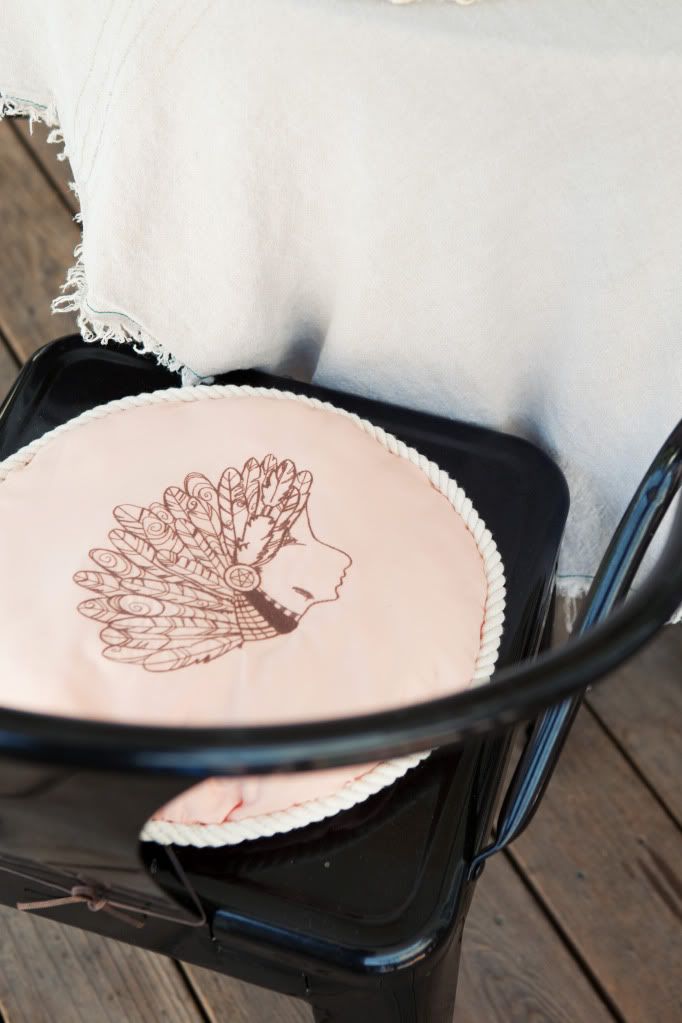
How to Sew Rope Trim & My Embroidered Seat Cushions


I showed you how to make a traditional tufted seat cushion a few weeks back, but after living with it on the patio for a few days, I decided i wanted something more colorful. When i discovered this gorgeous embroidery pattern for the woman in a headdress at urban threads, I had a vision for the new seat cushions.

This is really a standard pillow with a tie, but the interesting thing is sewing on the rope trim. I experimented with a variety of ways to do it, and I'll show you what worked best. Learn how to make a rope trimmed seat cushion after the jump...
Read more »

Labels: , , ,

Tuesday, June 14, 2011

Sleeping Beauty Party: The Easy Pocket Pillow


These simple pocket pillows from The Sleeping Beauty Party were a breeze to make (with some help from my mama.) We finished up 20 in a few hours, assembly-line style! They were the perfect little handmade favor with a pouch for more take-home goodies.

Here's how to make an Easy Pocket Pillow...
Read more »

Labels: , , , , , ,

Tuesday, June 7, 2011

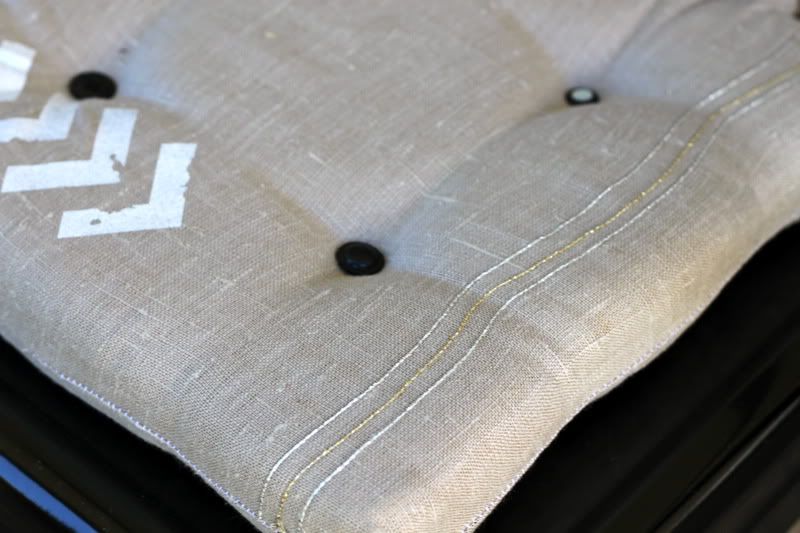
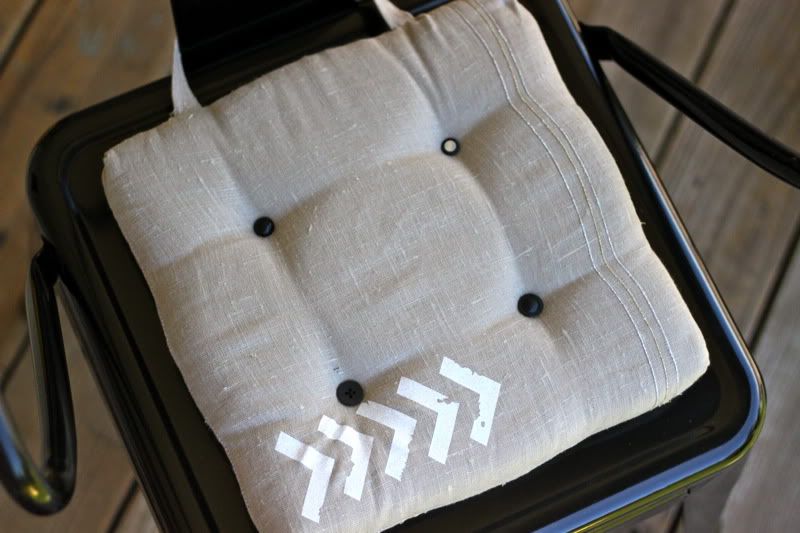
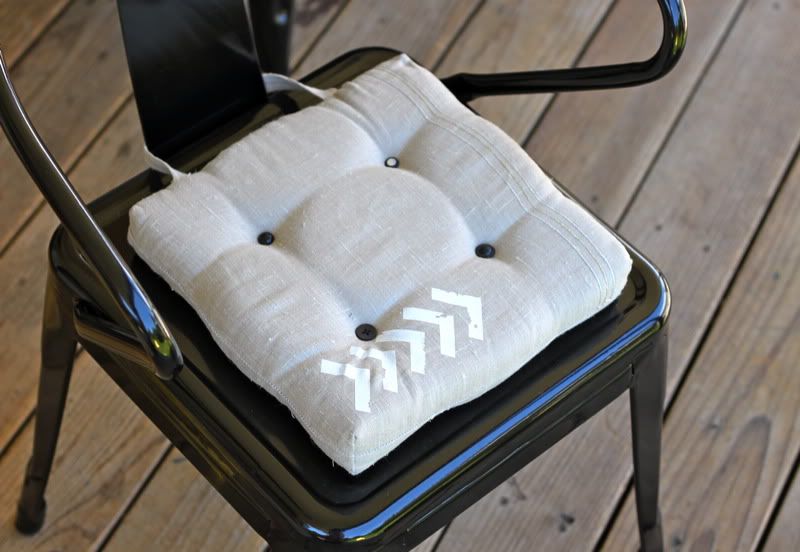
How to Make Dining Chair Cushions with Bonus Embellishment Goodness


So I've been redecorating the patio with my Membership Rewards points. I found some great chairs on superdeal, but the funky backs don't work for normal dining chair cushions. Because they are metal, my booty requested some coziness. Guess I'll have to make them!

Guess that's also why I am in my pajamas at 2 p.m, having been in a sewing frenzy all day. I added a little sparkly thread and heat transfer arrows to match my new ace-hotel inspired patio look.

Let me show you how to make Dining Chair Seat Cushions after the jump...
Read more »

Labels: , , , , , , ,

Wednesday, April 6, 2011

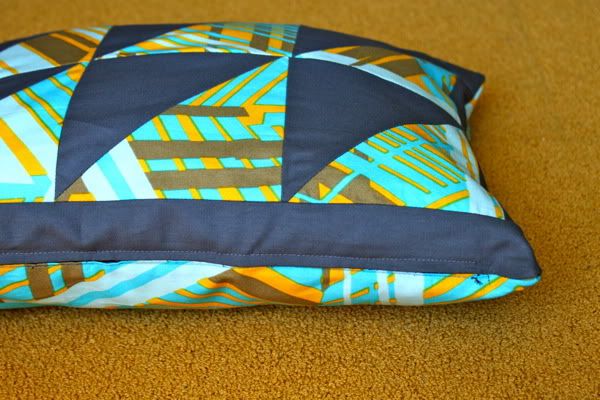
The Lazy Quilter: Easy Half Square Triangle Trick


I do so love the idea of quilting. But in actuality, the precision is not something I naturally excel at. I'm all about pretty fabrics and quick projects. Therefore I deem myself the lazy quilter.

I whipped up this pieced pillow for the Craft Room Redesign Project in about an hour and a half, and I want to share with you the secret for making half square triangles in a jiff. I don't even have a 1/4" presser foot or any fancy quilting paraphernalia. You can use half square triangle units to make pinwheels, which are adorbs and very trendy right now. You can also make sailboats and lots of other cuteness with them. Give it a shot, it's a good first-quilting-step.

Get the Easy Half Square Triangle Trick after the jump. And tell us, are you a lazy quilter? Do you have any lazy quilting tips for us? Your comment could win you a gorg Belle & Blue Chair.
Read more »

Labels: , , , , , , ,

Monday, March 14, 2011

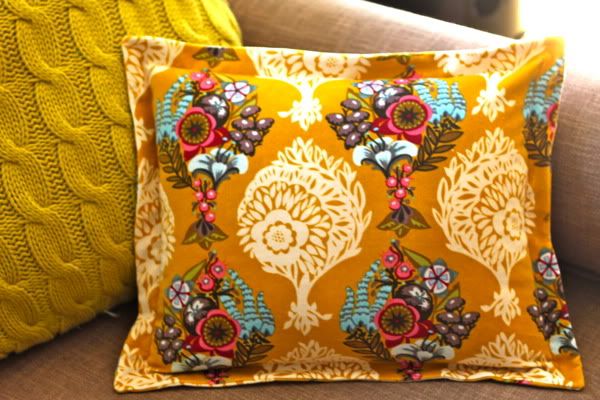
How to Sew A Sham Pillow with Zipper Closure


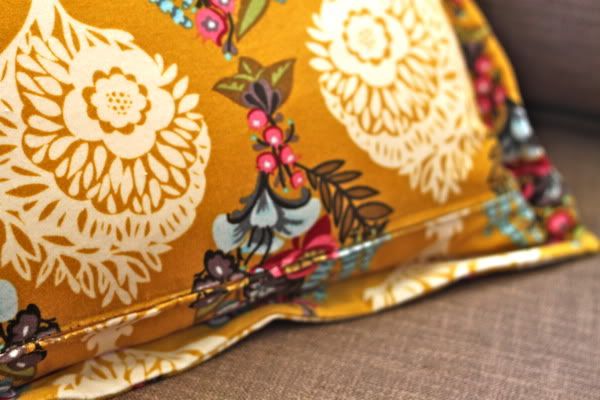
I have such lust in my heart for Anna Maria Horner's Innocent Crush velveteen fabrics, I just want to rub them on my cheeks all day long. So of course a pillow for my redesigned craft room had to be made. The velveteen lends itself perfectly to a sham with nice stiff edges, so I combined elements of Jacinda's Sham Style Pillowcase tutorial and the How to Sew a Zipper Pillow tutorial to create a pillow with both a zipper closure AND a sham edge.

It is much easier than you would imagine, and it will allow you to take the zipper off of the very edge of the pillow so you can add decorative trim and other fun goodness without having to use an envelope closure (like we did for the pom pom pillow tutorial). Find out how to sew a Sham Pillow with a Zipper Closure after the jump...

I'm making about ten thousand pillows for my new office, so I'll be sharing how to use zippers with trim and ruffles and whatnot soon. Is there a kind of pillow you want to know how to make? I'm on a pillow-roll so let me know in the comments. You could also win that skull-tastic fat quarter!
Read more »

Labels: , , , , , , ,

Monday, March 7, 2011

How to Sew a Zipper Pillow

STOP! Do not turn away. You are going to conquer your fear of zippers right now.

I'm going to show you how to sew a pillow with a zipper closure and you are going to like it. It is VERY easy, a complete beginner project, and the results are polished goodness. Look at that pic above, you can barely see the zipper even though it's right up in your face.

You can use vintage fabrics like these, new fabrics, old sheets, a sweater, tea towels, a dirty t-shirt, something fabulous from Fabricworm, anything your heart desires - but when we are done you will be sewing zippers like a pro.

Learn How to Sew a Zipper Pillow after the jump...

Tell us the truth: do you fear the zipper? And do you fear it a little less after reading this tutorial? This week's favorite comment walks away with a fancy yard of pom pom trim!
Read more »

Labels: , , , , , ,