body { background:#fff url("http://www.blogblog.com/dots/bg_dots.gif") 50% 0; margin:0; padding:0 10px; text-align:center; font:x-small Verdana,Arial,Sans-serif; color:#333; font-size/* */:/**/small; font-size: /**/small; } /* Page Structure ----------------------------------------------- */ @media all { #content { background:url("http://www.blogblog.com/dots/bg_3dots.gif") no-repeat 250px 50px; width:700px; margin:0 auto; padding:50px 0; text-align:left; } #main { width:450px; float:right; padding:50px 0 20px; font-size:85%; } #main2 { background:url("http://www.blogblog.com/dots/bg_dots2.gif") -100px -100px; padding:20px 10px 15px; } #sidebar { width:200px; float:left; font-size:85%; padding-bottom:20px; } #sidebar2 { background:url("http://www.blogblog.com/dots/bg_dots2.gif") 150px -50px; padding:5px 10px 15px; width:200px; width/* */:/**/180px; width: /**/180px; } } @media handheld { #content { width:90%; } #main { width:100%; float:none; } #sidebar { width:100%; float:none; } #sidebar2 { width:100%; } } html>body #main, html>body #sidebar { /* We only give this fade from white to nothing to browsers that can handle 24-bit transparent PNGs */ background/* */:/**/url("http://www.blogblog.com/dots/bg_white_fade.png") repeat-x left bottom; } /* Title & Description ----------------------------------------------- */ @media all { #blog-title { margin:0 0 .5em; font:250%/1.4em Georgia,Serif; color:#353; } #blog-title a { color:#353; text-decoration:none; } #description { margin:0 0 1.75em; color:#996; } #blog-mobile-title { display:none; } #description-mobile { display:none; } } @media handheld { #blog-title { display:none; } #description { display:none; } #blog-mobile-title { display:block; margin:0 0 .5em; font:250%/1.4em Georgia,Serif; color:#353; } #blog-mobile-title a { color:#353; text-decoration:none; } #description-mobile { display:block; margin:0 0 1.75em; color:#996; } } /* Links ----------------------------------------------- */ a:link { color:#488; } a:visited { color:#885; } a:hover { color:#000; } a img { border-width:0; } /* Posts ----------------------------------------------- */ .date-header { margin:0 0 .75em; padding-bottom:.35em; border-bottom:1px dotted #9b9; font:95%/1.4em Georgia,Serif; text-transform:uppercase; letter-spacing:.3em; color:#663; } .post { margin:0 0 2.5em; line-height:1.6em; } .post-title { margin:.25em 0; font:bold 130%/1.4em Georgia,Serif; color:#333; } .post-title a, .post-title strong { background:url("http://www.blogblog.com/dots/bg_post_title.gif") no-repeat 0 .25em; display:block; color:#333; text-decoration:none; padding:0 0 1px 45px; } .post-title a:hover { color:#000; } .post p { margin:0 0 .75em; } p.post-footer { margin:0; text-align:right; } p.post-footer em { display:block; float:left; text-align:left; font-style:normal; color:#996; } a.comment-link { /* IE5.0/Win doesn't apply padding to inline elements, so we hide these two declarations from it */ background/* */:/**/url("http://www.blogblog.com/dots/icon_comment.gif") no-repeat 0 .25em; padding-left:15px; } html>body a.comment-link { /* Respecified, for IE5/Mac's benefit */ background:url("http://www.blogblog.com/dots/icon_comment.gif") no-repeat 0 .25em; padding-left:15px; } .post img { margin:0 0 5px 0; padding:4px; border:1px solid #cca; } /* Comments ----------------------------------------------- */ #comments { margin:0; } #comments h4 { margin:0 0 10px; border-top:1px dotted #9b9; padding-top:.5em; font:bold 110%/1.4em Georgia,Serif; color:#333; } #comments-block { line-height:1.6em; } .comment-poster { background:url("http://www.blogblog.com/dots/icon_comment.gif") no-repeat 2px .35em; margin:.5em 0 0; padding:0 0 0 20px; font-weight:bold; } .comment-body { margin:0; padding:0 0 0 20px; } .comment-body p { margin:0 0 .5em; } .comment-timestamp { margin:0 0 .5em; padding:0 0 .75em 20px; color:#996; } .comment-timestamp a:link { color:#996; } .deleted-comment { font-style:italic; color:gray; } .paging-control-container { float: right; margin: 0px 6px 0px 0px; font-size: 80%; } .unneeded-paging-control { visibility: hidden; } /* More Sidebar Content ----------------------------------------------- */ .sidebar-title { margin:2em 0 .75em; padding-bottom:.35em; border-bottom:1px dotted #9b9; font:95%/1.4em Georgia,Serif; text-transform:uppercase; letter-spacing:.3em; color:#663; } #sidebar p { margin:0 0 .75em; line-height:1.6em; } #sidebar ul { margin:.5em 0 1em; padding:0 0px; list-style:none; line-height:1.5em; } #sidebar ul li { background:url("http://www.blogblog.com/dots/bullet.gif") no-repeat 3px .45em; margin:0; padding:0 0 5px 15px; } #sidebar p { margin:0 0 .6em; } /* Profile ----------------------------------------------- */ .profile-datablock { margin:0 0 1em; } .profile-img { display:inline; } .profile-img img { float:left; margin:0 8px 5px 0; border:4px solid #cc9; } .profile-data { margin:0; line-height:1.5em; } .profile-data strong { display:block; } .profile-textblock { clear:left; } /* Footer ----------------------------------------------- */ #footer { clear:both; padding:15px 0 0; } #footer hr { display:none; } #footer p { margin:0; } /* Feeds ----------------------------------------------- */ #blogfeeds { } #postfeeds { padding-left: 20px }

Prudent Baby

Get sewing how to, sewing tutorials, and sewing help to learn sewing. We offer sewing tutorial for sewing moms.

Monday, August 1, 2011

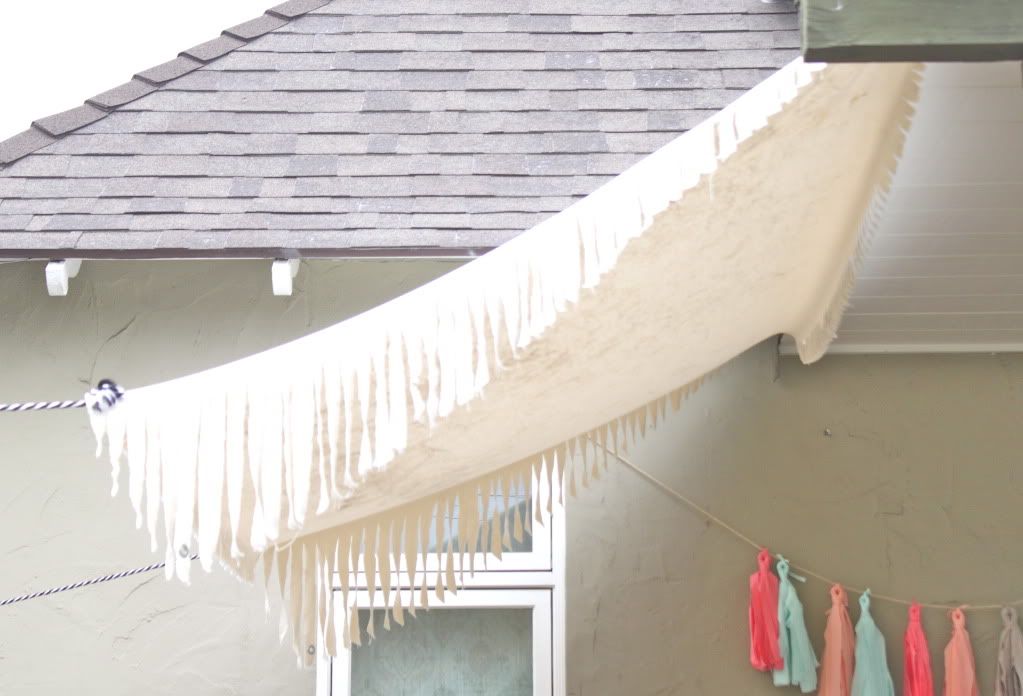
How to Make A Simple Canvas Awning


This awning is the simplest thing in the world. After struggling with how to provide some shade over the pallet bed I made for My New Backyard, I finally abandoned all my crazy plans and got back to basics. Though it's not particularly fancy, I love the way my canvas awning turned out.

Let me show you how I made my simple awning, maybe you will find some inspiration...
Read more »

Labels: , , ,

Thursday, April 14, 2011

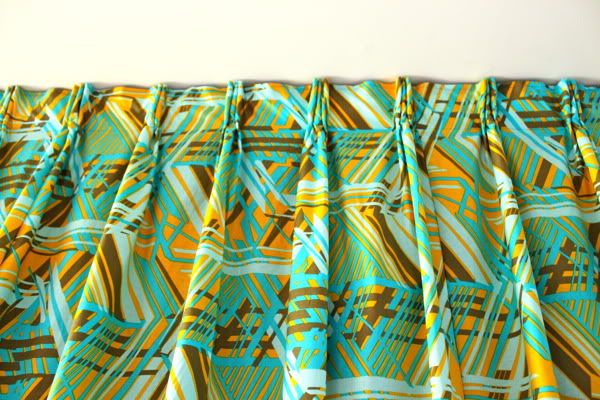
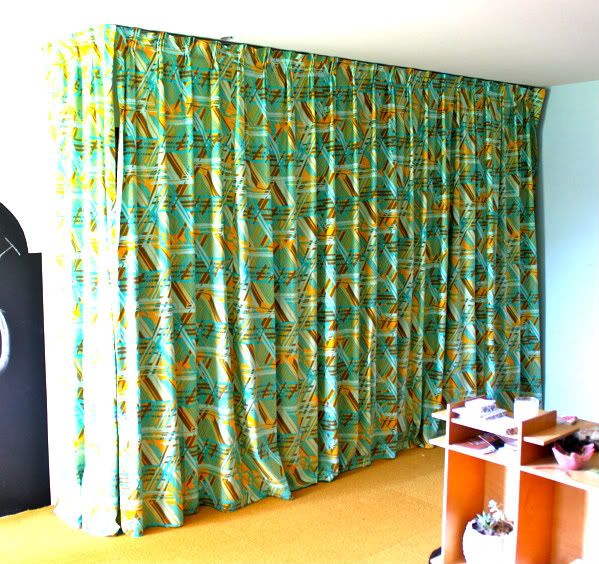
How to Make Pleated Drapes


Don't turn away assuming you would never be capable of such a feat as sewing professional quality pleated curtains. If you can sew a straight line, you can make pleats!

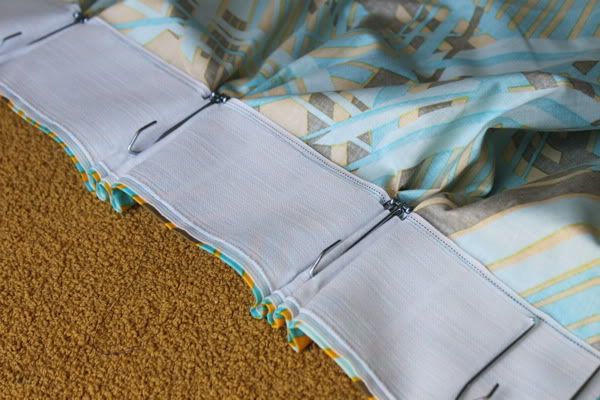
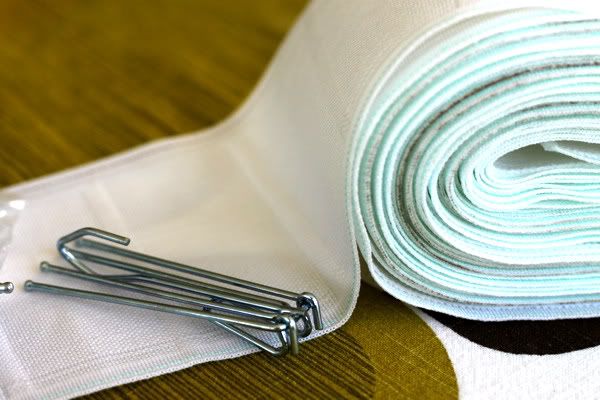
All it takes is pleat tape.

I showed you the Hidden Workstation I made for the Craft Room Redesign Project. Now I will show you how to sew pleated drapes to turn any corner of your home into a studio, or just to use as regular old curtains. You're going to be shocked by how simple it really is. This was one of the most rewarding projects I've done so I'm really hoping you'll give it a shot and feel the warmth of crafty satisfaction with me.

Learn How to Make Pleated Drapes after the jump...
Read more »

Labels: , , , ,

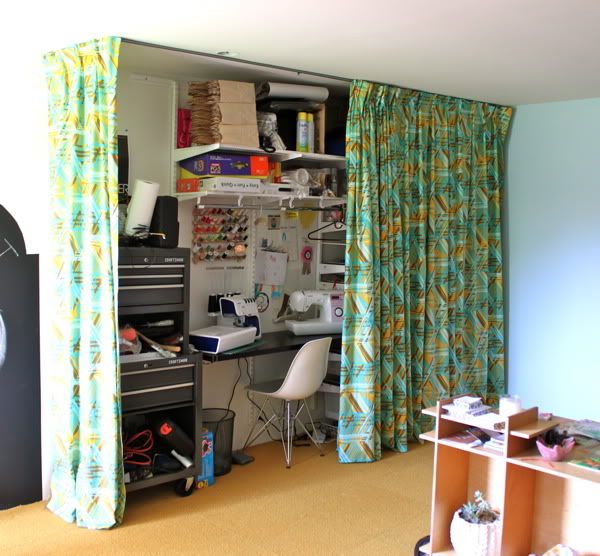
The Craft Room Redesign Project: Hidden Workstation

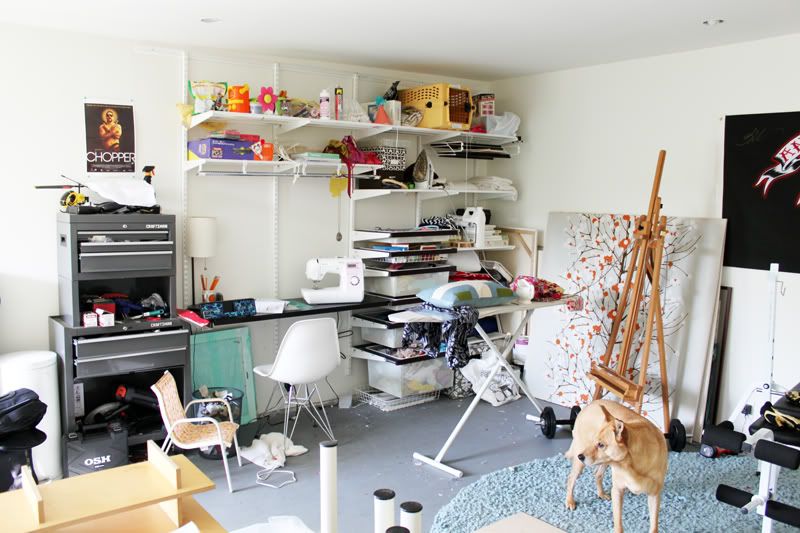
Before:


After:

The Craft Room Redesign Project is in full swing, thanks to all of your great advice. I've installed new flooring all by myself, thrifted some furniture, repainted a brass table, and upholstered a chair I found on the street. But the eyesore of my crazy workstation overflowing with supplies was making it feel more like a garage and less like a room. So here is my solution.

What do you think? Is it weird, or do you think it works? Is there a corner of your house you might try to turn into your own workstation? Let us know in the comments and you could win that Kokka fat quarter. Check out more pics of the Hidden Workstation after the jump...
Read more »

Labels: , , , , ,

Monday, February 28, 2011

Recycle a Crib Skirt into a Window Valance


What can you do with a crib skirt when you don't need it anymore? You spent a ton on it. It's adorable. But it's kind of useless once kiddo moves to a toddler bed (or even once he/she is standing and the crib mattress gets lowered). Well, we have an idea of what you can do with a crib skirt: Turn it into a window valance!

My friend Anna called me ever so excited with her brilliant idea and asked me if I thought I could make it happen. I was like, girl, you're a genius! Not only did we make it happen - it's a NO SEW project! Crazy easy! And the windows still match the bedding, woo hoo!

Learn How to Turn an old Crib Skirt into a Window Valance after the jump. What do you do with old crib skirts or bumpers?  Let us know in the comments, this week's favorite comment wins that adorbs elephant sewing pattern!
Read more »

Labels: , , , , , , , ,

Thursday, September 30, 2010

"Curtains"... Kinda


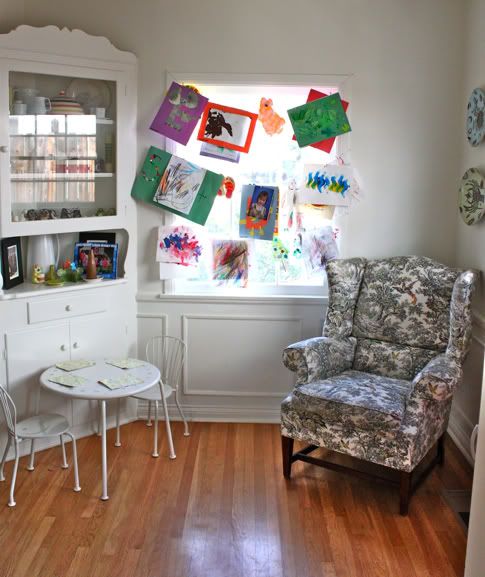
I have this window in my house that has been sitting naked for over a year, as I refuse to accept that I am never going to sew a curtain for it. I've been planning and planning to create a DIY Roman Shade tutorial for you, but there really isn't a super simple way to do it. So the window has sat bare. I even have the fabric! Anyway. Scarlet just started pre-school and every day she comes home with another awesome new piece of artwork. I needed a place to display them all, so this is what I came up with! It's just nails, string, and tiny wooden clothespins. After school everyday she picks a spot and we pile the artwork on. It's working pretty well at hiding my disgusting robe-clad self from the poor unsuspecting neighbors while I'm making coffee in the morning, too.
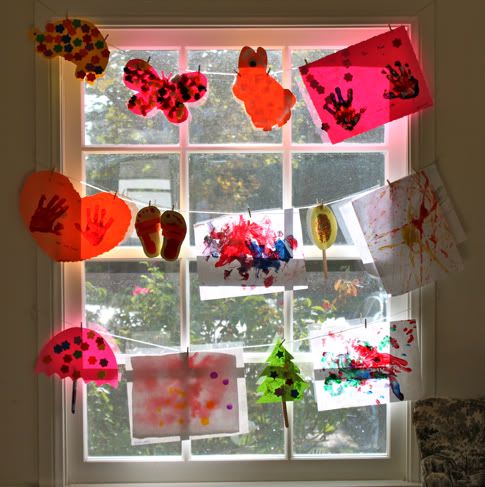
What do you think? Ghetto? Or cute?

And remember leave a comment and you might win that purty Sandi Henderson fat quarter pictured over on the top left!

Labels: , , , , , ,

Tuesday, December 8, 2009

DIY French Door Curtain Panel Tutorial


French doors are a bit of a curtain conundrum - if you use hanging curtains on a rod above they're always in the way when you want to go in and out, while off-the-rack French door panels are usually really plain and snooze-worthy.  I had these John Robshaw designed panels from Anthropologie leftover from our old house, so I decided to chop them up for the doors leading from our master bedroom to the back patio and do a custom french door panel tutorial.
Before:

After:

Surprisingly I think it was the quickest project I've done yet.
Get the DIY French Door Panel how-to after the jump...

And thanks for the post Casa Sugar!
Read more »

Labels: , , , , , , , ,

Tuesday, November 3, 2009

DIY Cornice/ Pelmet How-to


I shared how I made a sturdy wood pelmet from a kit for Scarlet's nursery, now I'll tell you how to make a more ornate, curved style all by yourself.  This was my first attempt and I think they turned out pretty well!  And use extra fabric to make a coordinating footstool if you're so inclined...
Get the full DIY after the jump...
Read more »

Labels: , , , ,

Tuesday, October 13, 2009

DIY Easy Curtains & Closet Inspiration


The last time that I had sewn "home-decor" was in 7th grade Home-Ec. It was a shiny hot-pink heart-shaped pillow with lace trim. It turned out "wicked awesome" and made it's home on my water bed throughout high-school until my water bed was popped by a dangl-y iridescent feather earring. Soooo, that's how long it's been.

Inspired by Jaime's beautiful curtains but not quite ready to take on the living room, I decided to start with the closet. Yes, we have windows in our closet. Windows, just letting all my frocks bathe in that hot Texas sun. Weird, right?

And now, every time I open the closet, I smile at the pretty bit of happy birdie fabric looking down at me. Decorating a space that hardly anyone will see is such a fun project. It's truly a little something just for you.

Here are a few pieces of inspiration for decorating a hidden space.


and more here

and more here

and more here

and a DIY for those easy-peasy curtains after the jump...
Read more »

Labels: , , , , , ,

Friday, October 9, 2009

DIY Custom Cornice / Pelmet


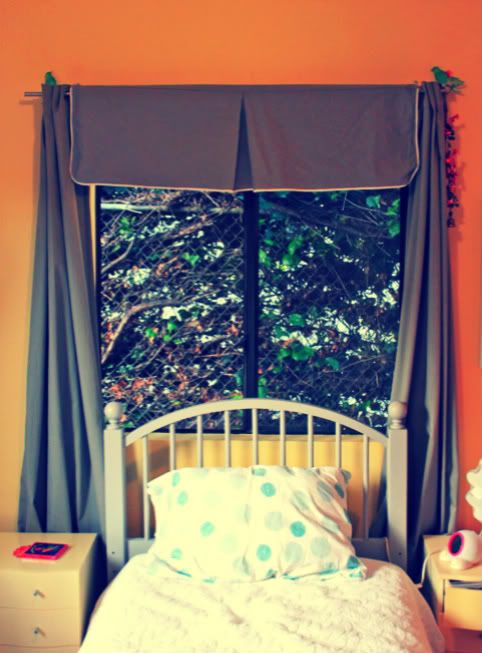
"Cornice" and "pelmet" are ugly words for a beautiful thing.  Since Ohdeedoh recently posted our Pom-Pom Curtain DIY I've been asked where I got the gray cornices, so here's the answer.  After googling a bit and playing around with some different ideas, I found this amazing woman who created a kit that allows you to customize a beautiful solid wood with your own fabrics and embellishments.  Depending on the thickness and length you order they start at about $40 each!  Cornices from the shade store start at about $500!  The kits are sizable and come complete with hanging hardware, all you need is batting, fabric, a staple gun, and your basic hanging tools.  The cornices pictured were made with the 7" kit, which is recommended for bedrooms, whereas a thicker 12" or 16" would work in a dining or living room.  The bigger they are the more formal they are.

I can't say enough about how great this kit is if you want a simple, sturdy cornice.  Soon I will post a DIY on a more ornate cornice made of foam core, but for now visit her site to check out the How-To and order a kit!
Update:  I've posted a DIY on building your own cornices from scratch here.

Labels: , , , , ,

Wednesday, October 7, 2009

DIY Lined Curtains


Ok, so these curtains are in my office where babies are never found, but I'm sharing them anyway because they are easy, pretty, and could easily work for a kids room.  My office is poorly lit because a large ad featuring the serial killer from the TV show Dexter holding a baby splattered in blood (awesome, right?) is plastered on the outside of all of the windows.  So that in combo with the dreary day and the gray walls made the pictures just a little too depressing for me to post in color.  So that's why they're B&W.

They call this street Sunset Blvd for a reason; that beautiful Sunset also creates a nasty glare off my computer screen from about 3pm on. I wanted to block the sun with a prettier alternative to the existing plastic mini-blinds.  Solution:  I picked up some fabric from Ikea ($45 worth) and some matching poly lining from Joanne's ($15) and using this clear and direct tutorial put these lined panels together in an evening.  Well, one evening per curtain.  This is a wonderful DIY - I always get asked who I paid to make them (right after I get asked why I would have curtains in my office).

Labels: , , , , ,

Friday, September 18, 2009

DIY: Pom Pom Curtains!

I came across these pom pom window panels from Pine Cone Hill while browsing through House Beautiful on a plane recently. They're so girly without being frilly - perfect for my daughter's room:


I fell in love with them instantly, but with two windows to cover I couldn't shell out the $250 for something that seemed simple enough to make on my own. So that's what I did:


Get the DIY after the jump...

Read more »

Labels: , , ,