How to Make Dining Chair Cushions with Bonus Embellishment Goodness
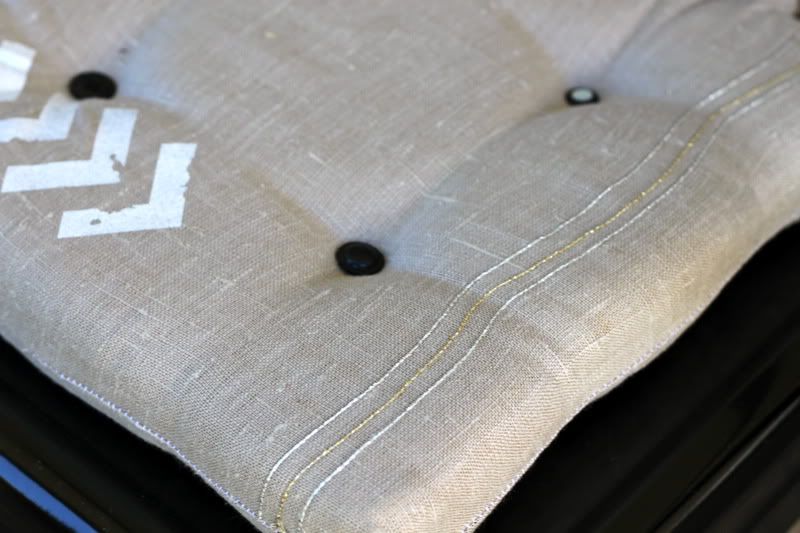
So I've been redecorating the patio with my Membership Rewards points. I found some great chairs on superdeal, but the funky backs don't work for normal dining chair cushions. Because they are metal, my booty requested some coziness. Guess I'll have to make them!
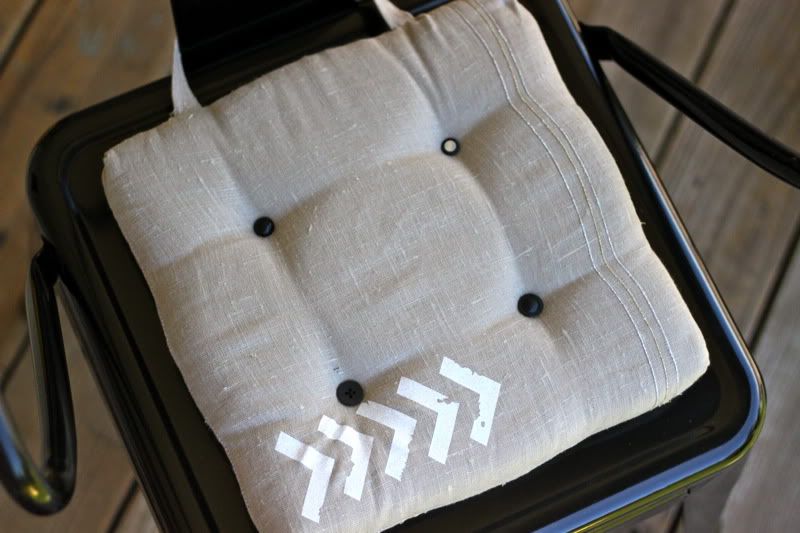
Guess that's also why I am in my pajamas at 2 p.m, having been in a sewing frenzy all day. I added a little sparkly thread and heat transfer arrows to match my new ace-hotel inspired patio look.
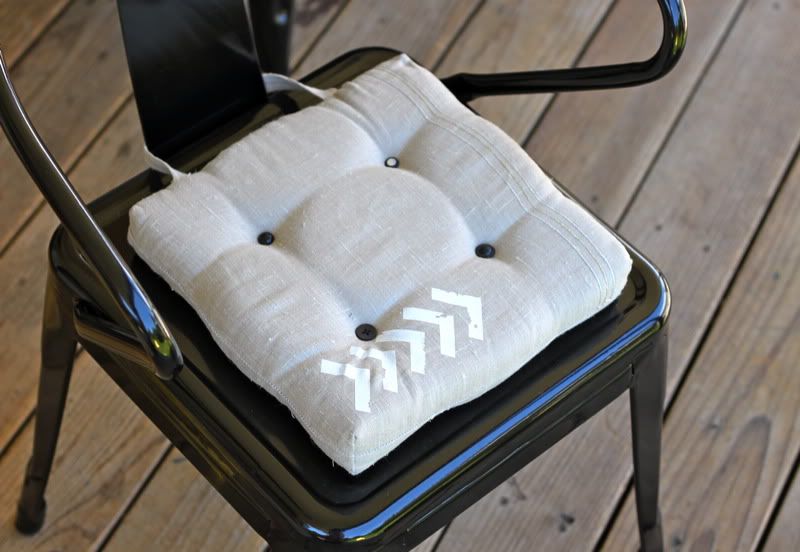
Let me show you how to make Dining Chair Seat Cushions after the jump...
How to Make Seat Cushions for Dining Chairs
First you'll need fabric. I used Robert Kaufman Essex linen in Natural from Fabricworm.
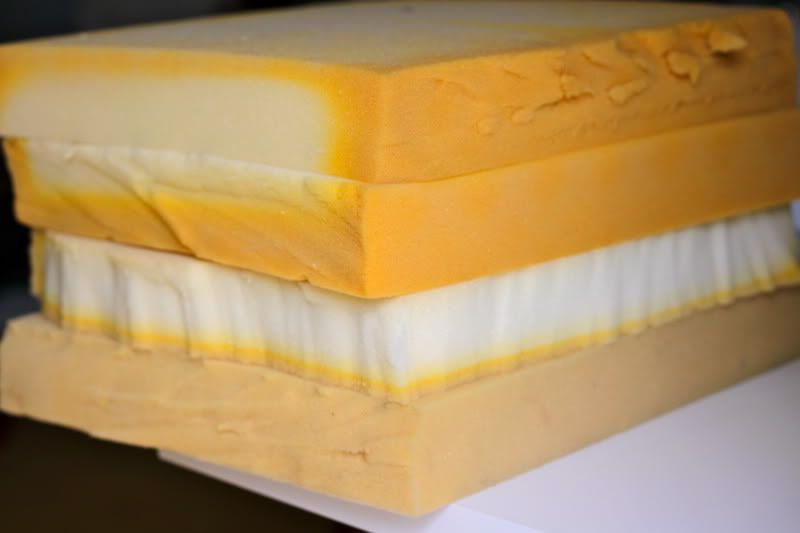
Then you'll need foam. I used four 14" squares of 2" thick foam from a local fabric shop. My cutting is sloppy, but it is not noticeable on the final cushions. Cut foam with an electric knife, if you don't have one, use a serrated bread knife.
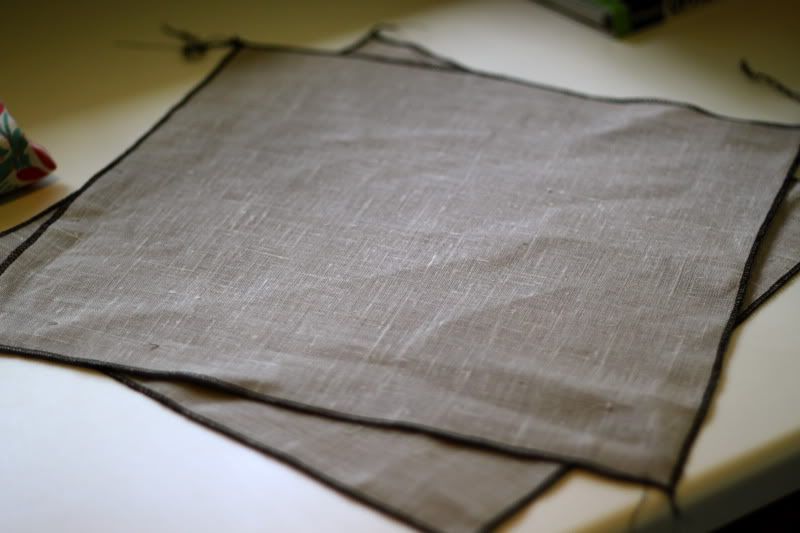
Now for each cushion cut two squares of fabric 15.5". I went ahead and serged all the edges to start with, because I didn't want to worry about my linen fraying.
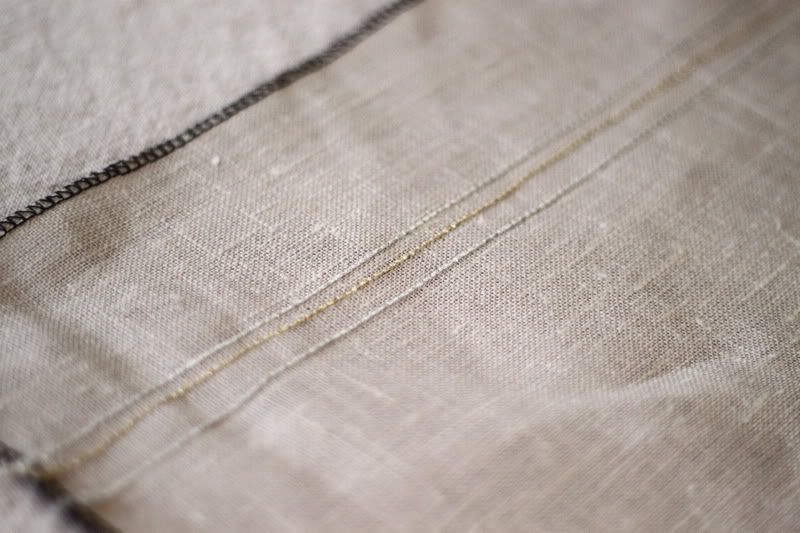
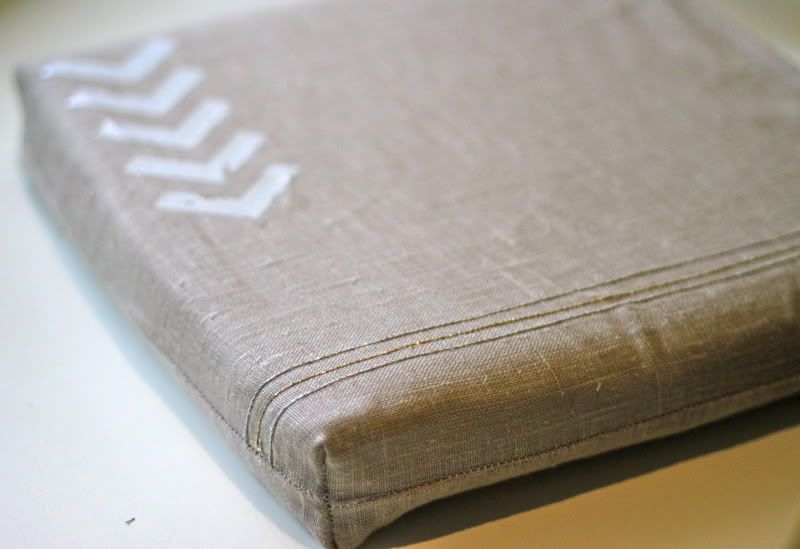
I decided to add some sparkle, so I wound two bobbins with heavy braid gold and silver threads from Kreinik, and with regular thread in my spool, sewed a few lines of straight stitching across the top of my seat cushions. When doing this, remember to place your item upside down (so the wrong side of the fabric is facing you) so your decorative thread that is in your bobbin shows up on the right side.

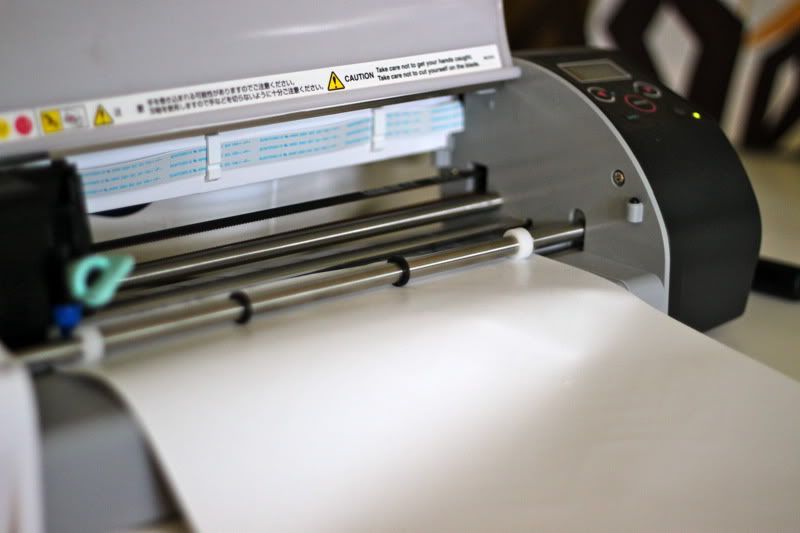
Next I whipped out the trusty Silhouette, downloaded a worn-down arrow type of shape, and used some sparkly heat transfer material to make an iron on.
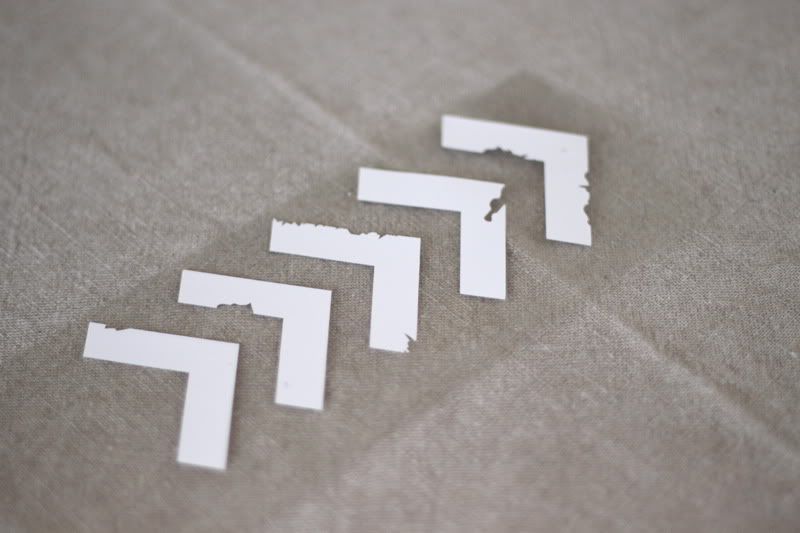
So here's what I've got so far:
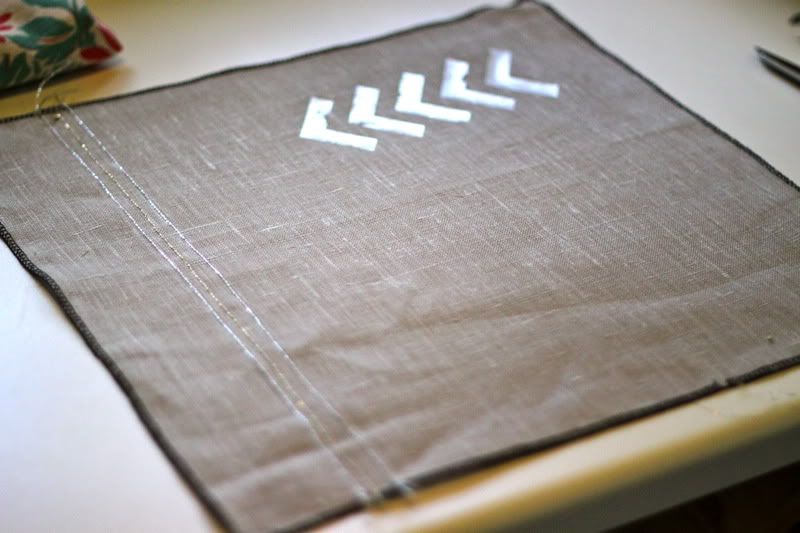
So lay the top piece of your cushion fabric right side up.

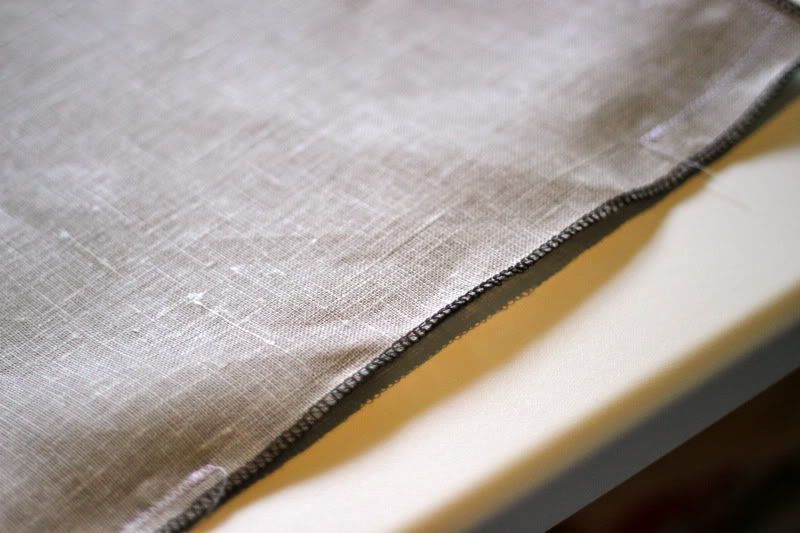
Then put the bottom piece on top, right side down (so right sides are facing) and sew from the center-right of one side, all the way around to the center-left of that same side, back stitching at the beginning and end. I used a zig zag stitch for extra strength, since this pillow will be being sat on by my big old booty.
Now at each corner, bring the two side seams together to create a triangle. Sew a straight line across one inch down from the top.
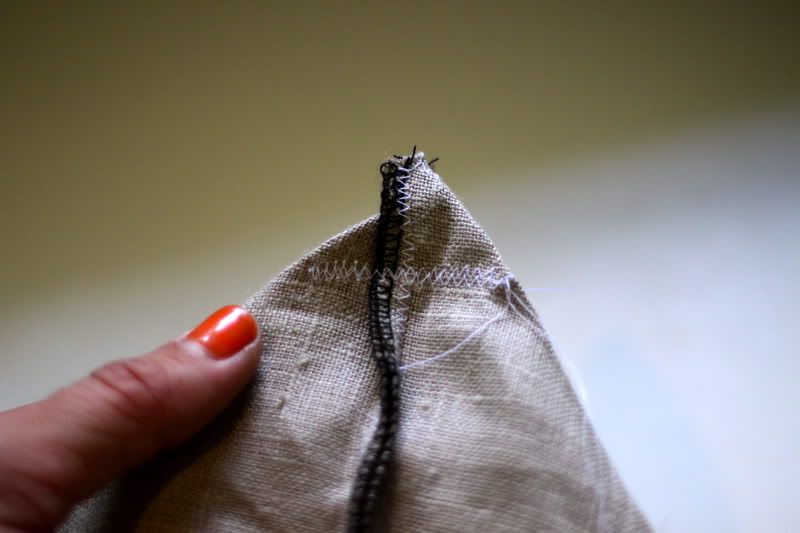
Cut off the tip of the triangle above your seam. You have now created a gusset. Repeat on each corner.
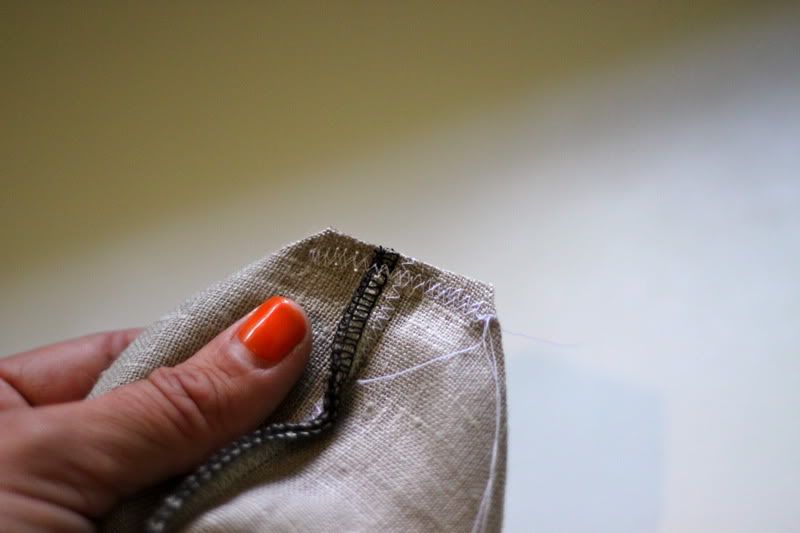
Turn inside out and stuff!
Now to make ties. You can use trim or anything you want, but I wanted matching ties. So I cut a 3" wide piece of fabric (whatever length you prefer). Iron each side into the center, like you are making bias tape.
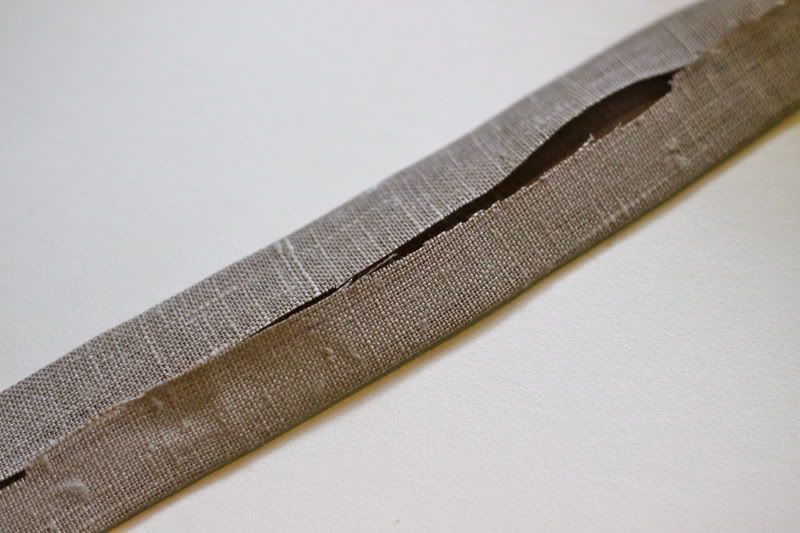
Now fold in half at the center and iron again:
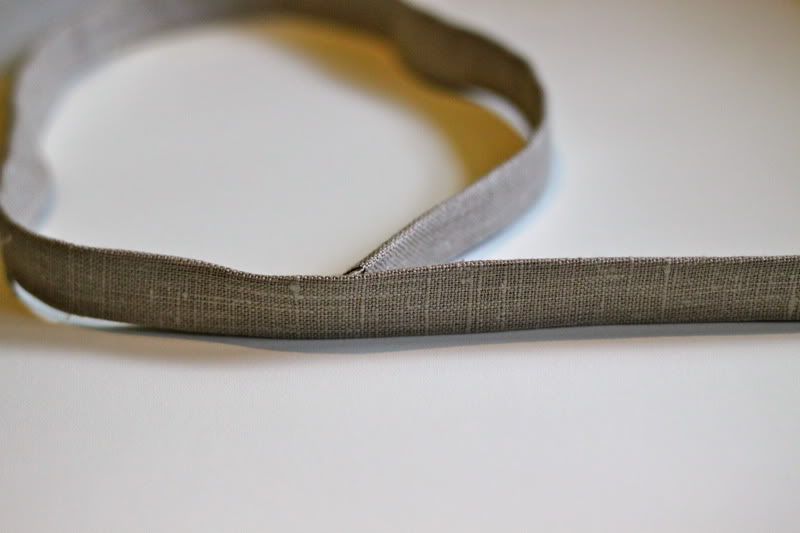
Sew a straight stitch to close the open edge, and then another along the folded edge:
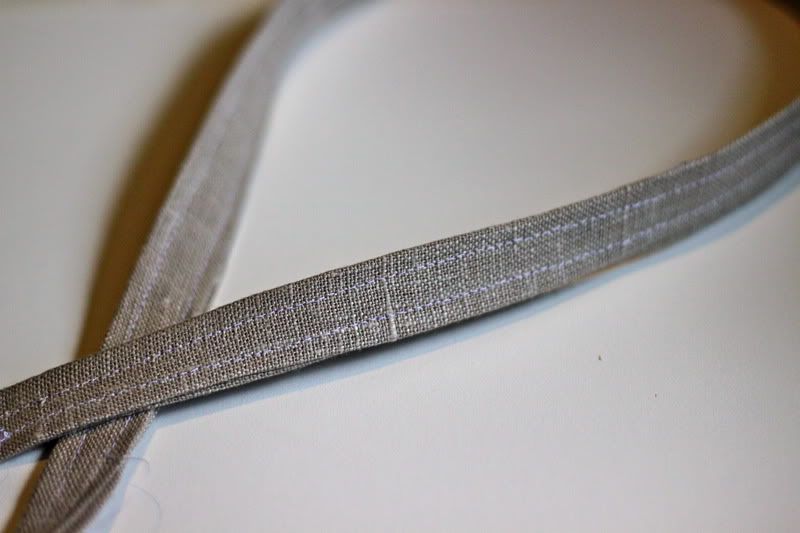
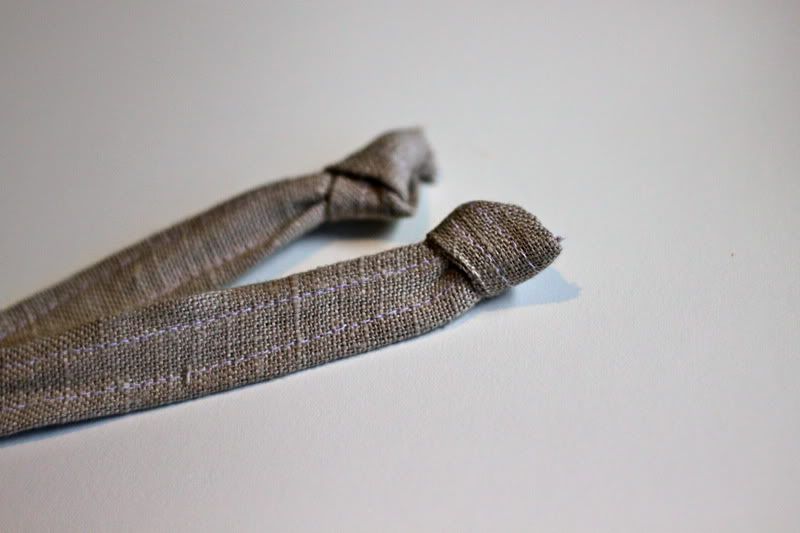
Tie the ends in knots:
Handsew the pillow opening closed, and attach your straps at the same time:
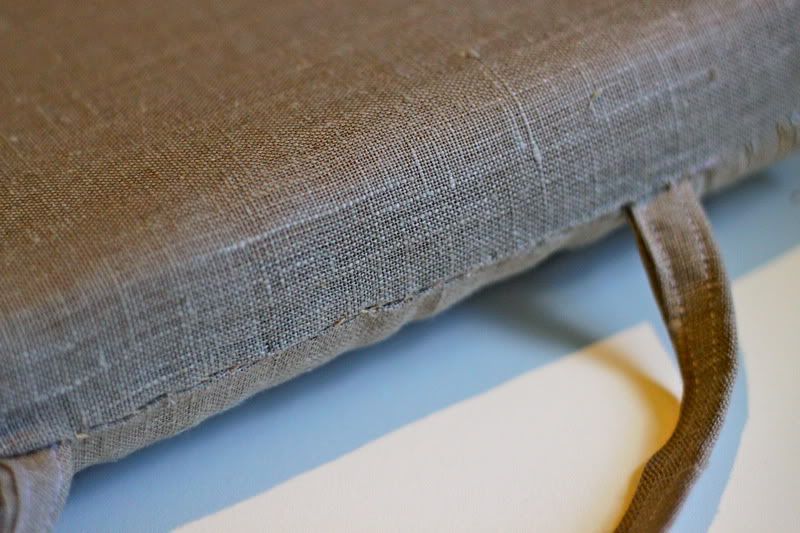
Almost done, but looking a little flat.
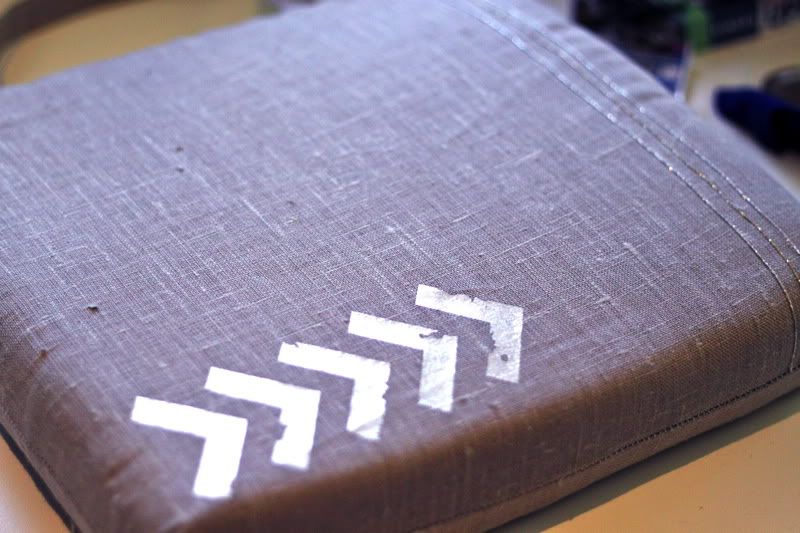
I used embroidery floss and four mis-matched black buttons. Just squeeze your foam and sew them on like you would any button. Here is the top:
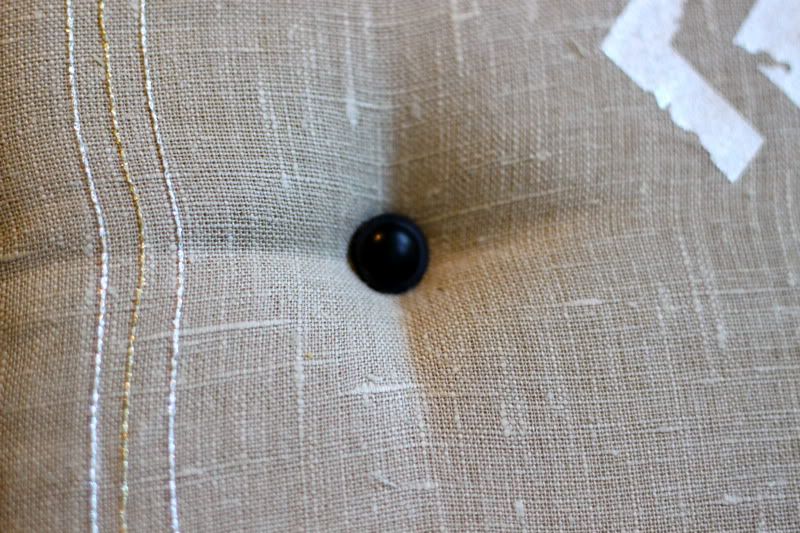
And at the bottom I just left knotted floss, but you could use a backing button if you wanted too. I actually love the knotted floss look, this could totally be enough for the top too.
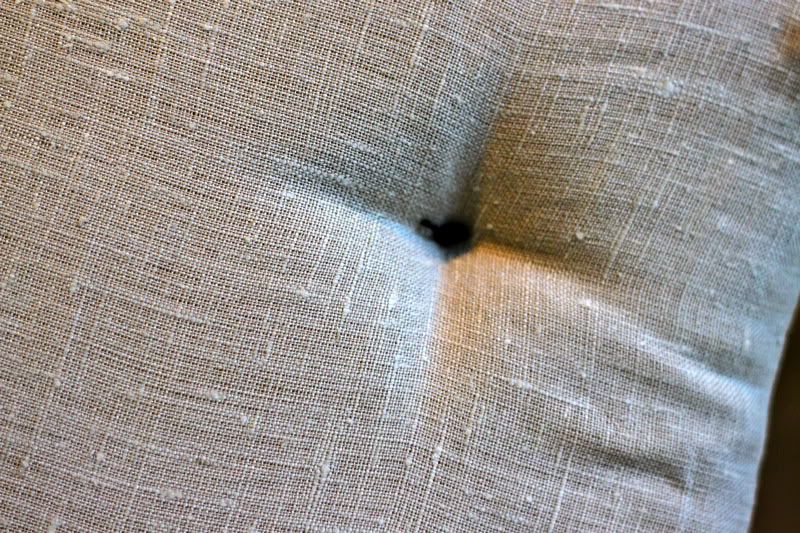
I like the mismatched button look. I also like not going to the store to purchase 16 matching buttons.

Also adore the sparkly thread. I think it manages to look modern.

Tie it on. Pull up a chair. Pour a drink. Change out of your pajamas.
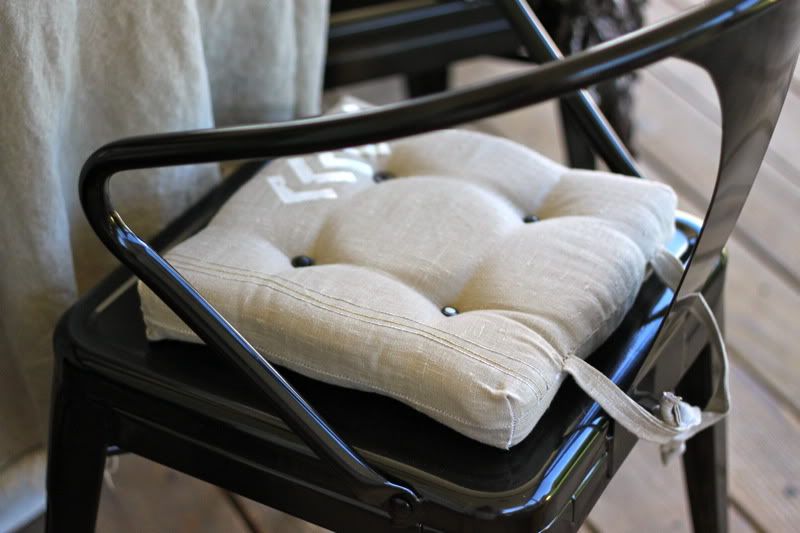
Now go make three more!

Or just sit by yourself, that's pretty nice too.
Labels: Decor, DIY, Embroidery, In One Evening, Kitchen, pillows, Serging, Sewing

9 Comments:
I love, love, love, these! They look like you bought them from an anthropology catalog!
Wow! An amazing cushie for your tushie! ;)
Looks fab! I especially love the vinyl! I think it adds such a modern touch!
So cute! Love it.
Very nice. I like this look. Very modern.
This is exactly what I was waiting for when you said you would have some pillows tutorials.... I must go make one for me to put in my car. The scorching hot summer of TX isn't nice to my bare thighs.
cute! Thanks for the decorative thread tip! I would have put it up top.
Love it! Love all your tutorials! They are so helpful!! So....I am hoping you will do one that combines this one with pillow covers with zippers!!
PS. Because of your pillow covers with zippers I no longer fear zippers!! :)
Could you explain the "gusset" part in a little more detail? I love how yours turned out, and I can't find what I can dream up in my mind in stores! But I'm having some trouble figuring out how to make a triangle and what you mean by "center right" and "center left". Thanks! :) & you have a great site!
Post a Comment
Subscribe to Post Comments [Atom]
<< Home