How to Can Tomatoes (Without A Canner)
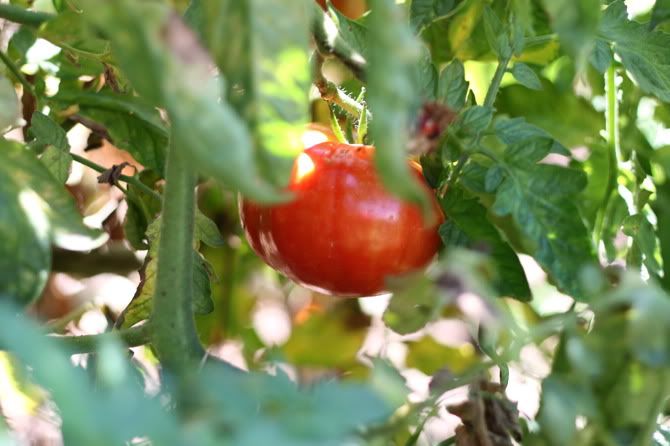
Have you wondered about canning, but then been overwhelmed by all the stuff it seems to require and crazy little details you are worried you might get wrong? I feel you. Please allow me to show you how to can tomatoes, without a canner, in the simplest way possible. So maybe you have a garden full of these babies...
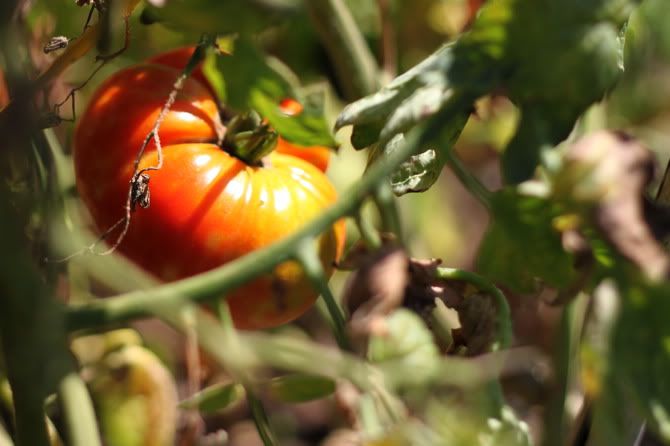
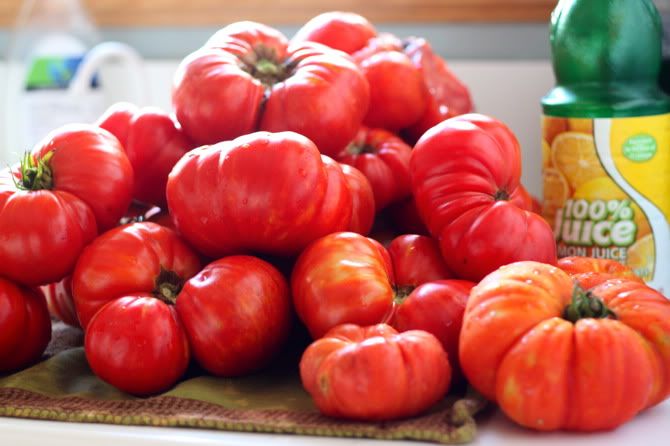
Or maybe not. Either way, I would like you to give canning some fresh tomatoes a try this year. Because it's easy and so very rewarding, but mostly because everyone knows that out-of-season tomatoes (while still full of healthy lycopene and therefore worthwhile to eat) are bland, sad, oddly-textured shadows of their ripe summer selves. Industrial tomatoes in general have almost no similarity to a fresh tomato in texture, flavor, and even appearance. Look at these guys from my backyard - they're soft and lumpy, with lots of funny crags and edges and places I cut off because a worm was in there. My husband even asked me "what's wrong with them?" Dude, this is what a real tomato looks like!

A tomato like this doesn't make it to the store, simply because we don't buy it - we choose an unblemished veggie every time (myself included, it's just habit), so we end up with a tomato that has made it through a cross country truck ride without a bruise - that's a hard tomato! It may surprise you to know that tomato was usually picked while still green, then artifically ripened with ethylene gas. Eew! Oh geez, I could go on, I'll stop, I just find it so interesting. Anyway, I totally buy these tomatoes too, but this year let's try something new. If you don't have a plant, you can still go to the farmers market or co-op or organic food store and gather some fresh summer tomatoes and put them away for a rainy or snowy day. Let's can them so we are fortified for winter deliciousness.

Canning tomatoes is a wonderful first canning project as it is simple and it doesn't require a pressure canner or even a water bath canner. Let me show you how to can tomatoes without a canner...
First, pick!
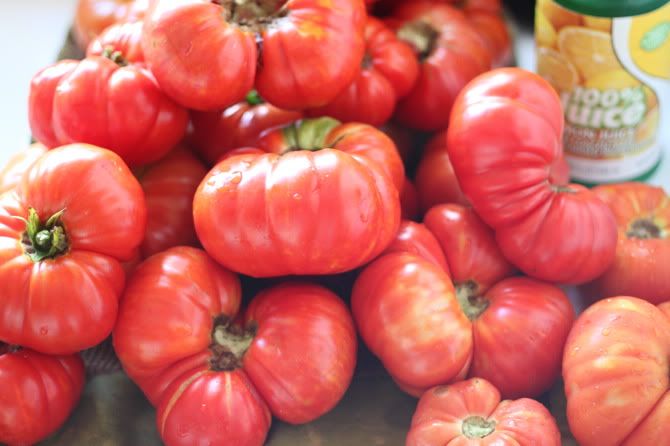
I canned roma tomatoes (they are the best for canning) and this variety which is some kind of beefsteak I can't recall. They are HUGE, averaging 9" in diameter. Yum.
Also get lemon juice. Fresh squeezed is always great, but the bottled variety works too. You don't need any other ingredients.
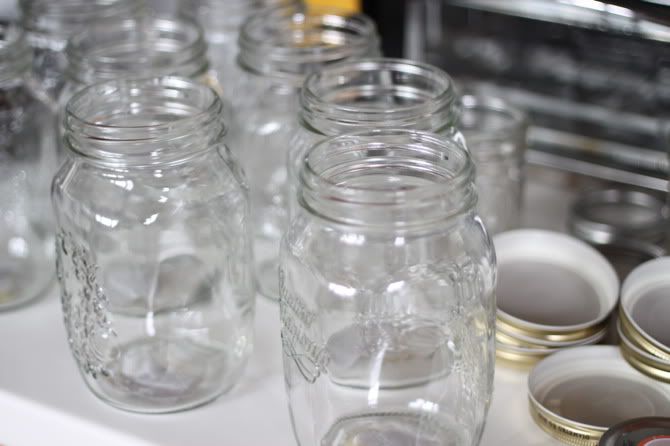
You'll need mason jars and lids. I had pint and liter jars.
And some sparkly nail polish.

Wait no, you don't need that. But it was Scarlet's reward for not breaking anything at the narrow-aisled, over-packed fragile-zone that is my local kitchen supply shop that also conveniently sells nail polish.
Now get out your big big stock pot (or canner if you have one). Two stockpots are even better if you have them. And a little pot. Start some water boiling in them as soon as you get 'em out.

And you'll need jar lifters. There's really no other safe way to lift the jars without burning yourself.

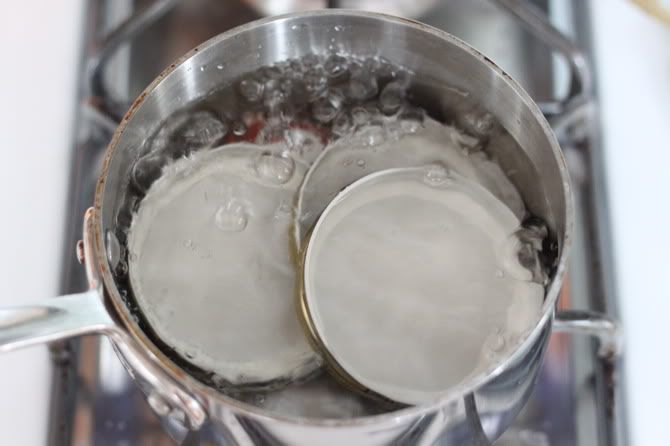
Some mason jars have lids that separate from the rings, some just have regular old lids. Put the lid (no need to add the ring) in boiling water for 3-5 minutes to sterilize. Leave them in the pot with the lid on until you're ready to use them.
Theoretically you don't need to sterilize the jars, because they will sterilize during the canning process, but I do it anyway. You can boil them (put them in the water while it's cold, then boil so they don't break) or you can just run them through the dishwasher with no soap. Leave them in there until you need them and time it so they are still warm when you add the tomatoes to them.
So I am going to can them whole for two reasons. One, this allows me to use them for whatever I want to make this winter - I can just dice or crush when I open the jar. 2 - it's easier to can them whole. The pectin in the tomatoes does chemical stuff to their texture once you start messing with them. I don't have a chemistry degree to explain it well, but suffice it to say this recipe is only for whole tomatoes - if you want to crush or finely dice them before canning, it would have to be handled a little differently to ensure the texture is right. So I'll show you how to can whole tomatoes, starting with my romas.
Peeling tomatoes is a breeze. Boil your pot of water and next to it place a big bowl with cold water and ice. Wash your tomatoes, just to get dirt off, don't go nuts with it cause you're going to peel them anyway.

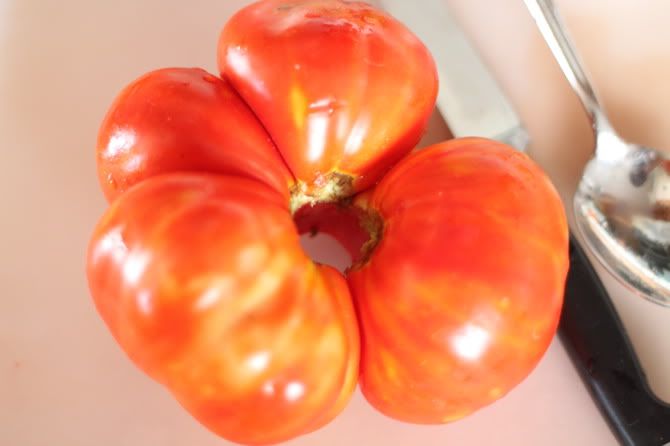
Remove the stem. On the bottom, score the tomatoes with an X.

For my super giant tomatoes, I actually used an apple corer, this made it easy!
Boil for a minute (the larger ones took slighty longer, two minutes max)
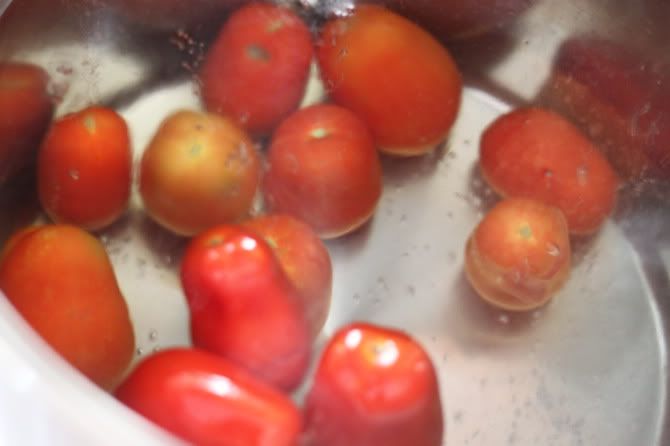
Remove with a slotted spoon to the ice bath for a few seconds. See how the skins are starting to fall off?

They are split for you.
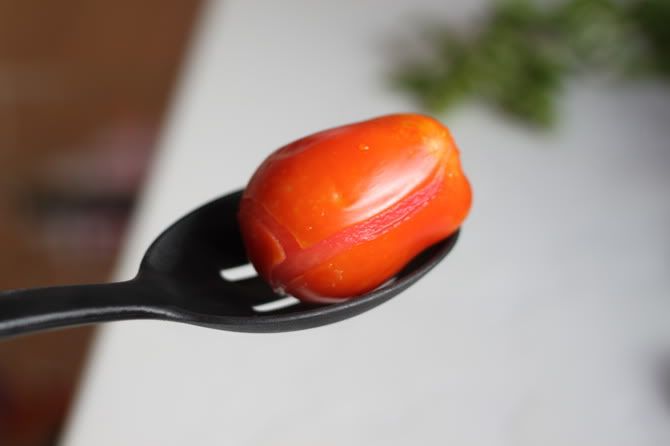
So just gently wipe/tug them off.
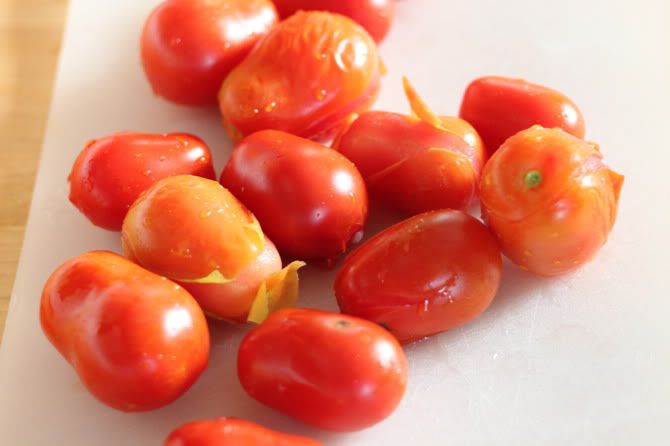
Easy as pie.

Get your giant pot/s boiling again with clean water ASAP.
Place the tomatoes in your warm jars up to 1/2 an inch below the rim.

Give them a squish with a spoon to compact.

Big tomatoes I quartered to fit. Before smoosh:

After smoosh:
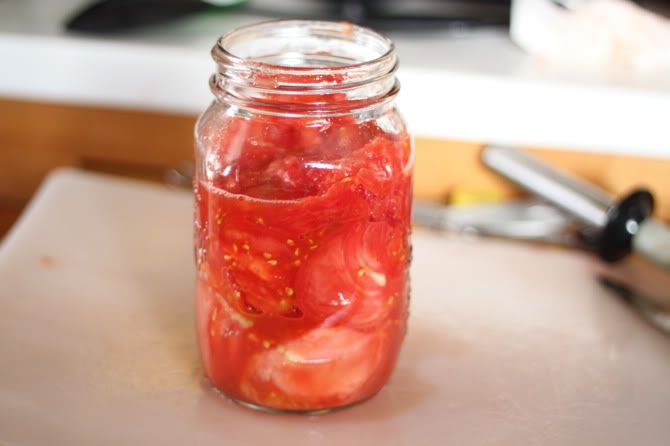
Add more tomatoes to within 1/2" of the top.
Now add lemon juice. They need the extra acidity to keep. For the pints add a tablespoon, for the liters/quarts add 2 tablespoons.

Run your spoon around the edge to loosen up any bubbles and bring them to the surface. If you need to, add boiled water to fill the jars within 1/2" of the rim.

Wipe the rim of the jar with a paper towel or clean kitchen towel to remove any tomato, juice, or anything else on there. Anything left on the rim could spoil your tomatoes. Place the lid on top, and screw the rings in place.

Or just wipe and screw the lid on if you have plain lids.

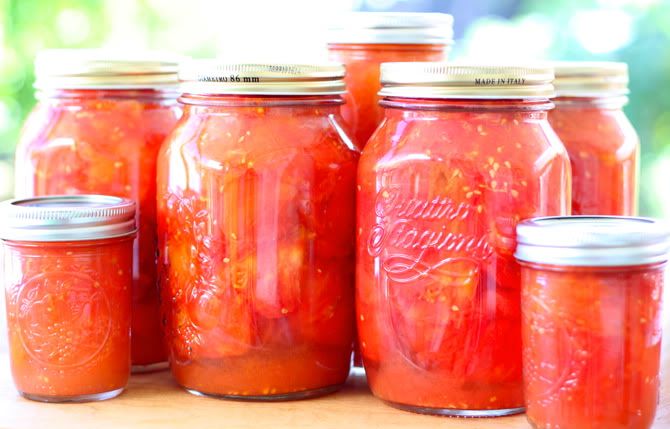
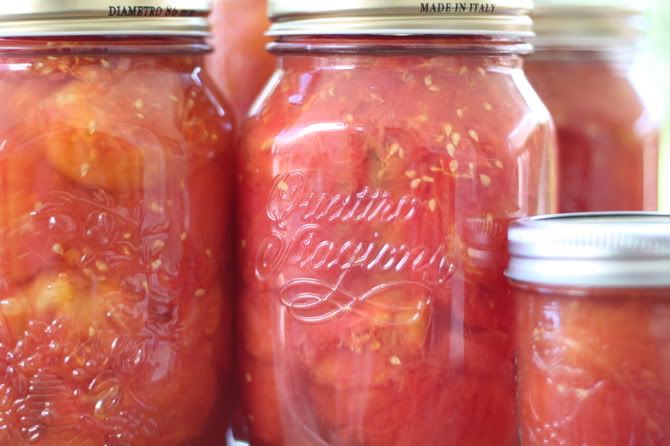
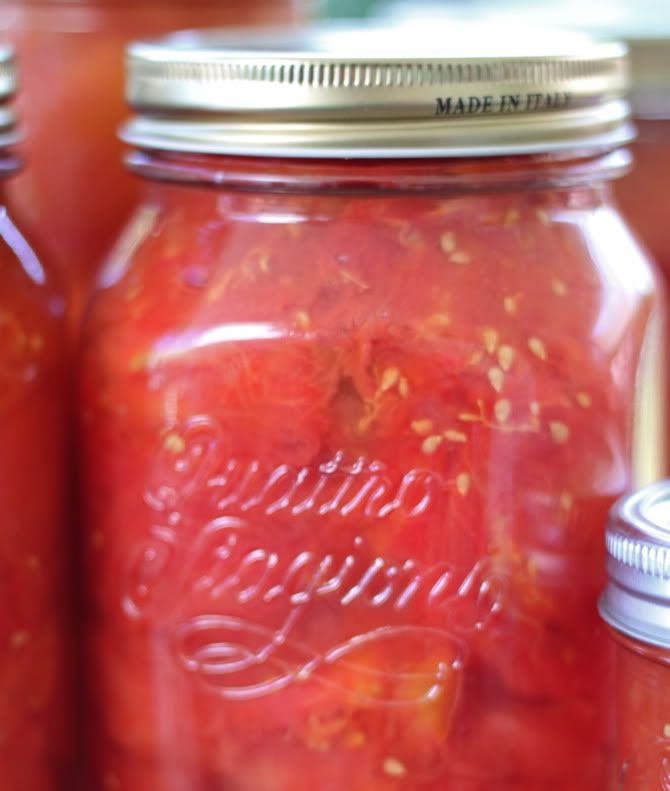
Ready for canning!

You'll notice the seal on the lid is up, you can push it up and down with your finger. Now we need to process the jars so they are safe to store for up to a year. When we are done, the lid will suck in and we will know they sealed correctly. Then when you go to eat them later, if the seal is popped - toss those babies. It's a sign bacteria are growing in there and releasing gasses.

We don't want the jars rattling against each other in our pot and we want some water to get under the jars while they process. You can add a rack if you have one, or use a canner which has an insert for this purpose, but I use a kitchen towel and it works great. You don't need to put it in until after the water, I just wanted to show you...

So place your still-warm jars in the heating water. Submerge the jars entirely with water 2-3" above the lids and bring to a boil. Once it reaches a boil, remove the lid of the pot and start your timer for 85 minutes. 85 minutes is processing time between 0-1000 ft altitude. If you are at a higher altitude you will need to increase processing time, see these USDA guidelines for canning tomatoes for processing time at different altitudes. If you hear any jars rattling against each other, add a kitchen towel in between. Check periodically to see that the water level is still above the tops of the jars and add water if necessary.
Remove the jars after 85 minutes (or your increased processing time if you are at higher altitudes) using your jar lifter. Place them somewhere no one will bump or touch them and let them sit to cool, overnight is good. You may hear hissing when you take them out of the water - that's totally fine. The jars' seals will still be up at this point, they will suck in as the jars cool.

The next morning, check your jars. Are the seals down? Any leaks? If not, you're all clear. If you still hear hissing, have jars with the lids still up, or see any leaks, stick them in the refrigerator and use them within a couple of days. Do not try to can them again. If you want to be extra sure your jars are sealed, you can remove the ring from the jar and hold the jar by the lid and it should stay on. You can even reuse the rings and store the jars without rings.
Lady! You just canned your own tomatoes! How good do you feel?
I had planned to give these all away as gifts, but now I feel strangely hoard-y about them. Like I don't even want to use them. I want the be sure I have them on hand for thanksgiving and christmas. But I should make some cute labels and bring them as hostess gifts, how lovely would that be?

Think you might give canning tomatoes without a canner a shot?
Labels: Recipes
posted by Jaime @ 12:02 AM
![]()

15 Comments:
This takes me back. My mum and grandmother use to can so many things... Tomatoes, pears, apricots. So much fun for us to help. Yum!
I got the canning bug this summer and it is a blast! We canned tons of tomatoes, peach jam and apple butter, red wine jelly, watermelon preserves, and made pickled beets and cucumbers. I bought a small canning set for $50. It's been harder and harder to give our garden produce away since many more people now have their own gardens and I hate tossing it out. Very satisfying.
Read more about commercially grown tomatoes here. So horrible. http://www.theecologist.org/News/news_analysis/1033178/chemical_warfare_the_horrific_birth_defects_linked_to_tomato_pesticides.html
These are beautiful! I'm so jealous of your bounty.
I just canned tomatoes for the first time this year! I put in a tablespoon each of lemon juice and apple cider vinegar and then between the tomatoes I added 4 cloves of garlic and three basil leaves to each jar (fresh from my garden!) then topped each jar with a tablespoon of hot sauce and some salt! They look beautiful in the jar! I'm excited to eat them and am proud that I made them and want to share them... but I'm also feeling hoard-y haha
We just canned our garden tomatoes for the first time last month! We had to do something with the 30 pounds our plants created... :) Wish we had this fancy tutorial before. We went to my husband's grandma's and she taught us, which worked out great anyway, but it was totally new to me. Yay for self-reliance!
Thanks for the tutorial.
I just wanted to clear up the Eeww comment on ethylene gas. My husband is a professional produce ripener. He makes a living making sure your bananas, mangos, tomatoes, avocados, etc. are ripe for the eating. Plants produce there own ethylene gas. Therefore, he simply speeds up the natural process that plants go through. Many people assume it's related to what is added to gasoline, but it's entirely different.
Just thought I'd share!
Oh wow--I didn't realize I could do tomatoes in a water bath!
This weekend, I canned (in a water bath) 15 pints of pepper relish and 12 pints of wild muscadine jelly! My mom would be proud, I think!
I'll have to try tomatoes next; thanks for the tute!
I was just getting prepared to do my first canning experience with tomatoes. Thanks for the awesome tutorial. I have to say reading your tutorials is a breeze and doesn't make me feel overwhelmed by a new process.
The ew probably wasn't necessarily because of the thought of it being gas. With a little research, anyone can find that it's not particularly harmful to use ethylene gas, as it's a natural gas. However, using it externally to ripen our fruits and veggies has been said to eliminate some of the flavor and scent of naturally ripened produce. Now, I don't mind too much either way when it comes to that, but thought I would add my two cents to your two cents, Heather (above comment). So it may just be that people notice a difference flavor-wise! :)
I think the canning here looks way more simple than I ever thought it would be. This makes me want to can stuff REALLY BAD! I have never done it but want to try!
I can like a champ, but why oh why didn't I ever think to use a towel when I didn't have a rack for the pot?! Something new learned. Thanks gals!
That is the tutorial I have been looking for all summer! Thank you so much for sharing.
One question though (to anybody reading this comment, not only Jaime!): should the jars be covered with water at the beginning, or should the lids remain above water level?
Thanks a million
linedupuy(at)hotmail(dot)fr
Line, good question! Yes, cover the jars with at least 2 inches of water over the lids
Wow this is brilliant, thank you so much for sharing this and it will make my life a lot easier.
canvas prints
This will be my 3rd time canning... did apple butter and sweet potato butter, but never whole fruit/veg. My questions.... 85 minutes in the pot of water? What temp should the water be at then? Not boiling, I would imagine. And does the kitchen towel go on the bottom of the pot, horizontally, or in between the jars, vertically? Thanks for posting this, I'm going to start on it tonight!
Post a Comment
Subscribe to Post Comments [Atom]
<< Home