body { background:#fff url("http://www.blogblog.com/dots/bg_dots.gif") 50% 0; margin:0; padding:0 10px; text-align:center; font:x-small Verdana,Arial,Sans-serif; color:#333; font-size/* */:/**/small; font-size: /**/small; } /* Page Structure ----------------------------------------------- */ @media all { #content { background:url("http://www.blogblog.com/dots/bg_3dots.gif") no-repeat 250px 50px; width:700px; margin:0 auto; padding:50px 0; text-align:left; } #main { width:450px; float:right; padding:50px 0 20px; font-size:85%; } #main2 { background:url("http://www.blogblog.com/dots/bg_dots2.gif") -100px -100px; padding:20px 10px 15px; } #sidebar { width:200px; float:left; font-size:85%; padding-bottom:20px; } #sidebar2 { background:url("http://www.blogblog.com/dots/bg_dots2.gif") 150px -50px; padding:5px 10px 15px; width:200px; width/* */:/**/180px; width: /**/180px; } } @media handheld { #content { width:90%; } #main { width:100%; float:none; } #sidebar { width:100%; float:none; } #sidebar2 { width:100%; } } html>body #main, html>body #sidebar { /* We only give this fade from white to nothing to browsers that can handle 24-bit transparent PNGs */ background/* */:/**/url("http://www.blogblog.com/dots/bg_white_fade.png") repeat-x left bottom; } /* Title & Description ----------------------------------------------- */ @media all { #blog-title { margin:0 0 .5em; font:250%/1.4em Georgia,Serif; color:#353; } #blog-title a { color:#353; text-decoration:none; } #description { margin:0 0 1.75em; color:#996; } #blog-mobile-title { display:none; } #description-mobile { display:none; } } @media handheld { #blog-title { display:none; } #description { display:none; } #blog-mobile-title { display:block; margin:0 0 .5em; font:250%/1.4em Georgia,Serif; color:#353; } #blog-mobile-title a { color:#353; text-decoration:none; } #description-mobile { display:block; margin:0 0 1.75em; color:#996; } } /* Links ----------------------------------------------- */ a:link { color:#488; } a:visited { color:#885; } a:hover { color:#000; } a img { border-width:0; } /* Posts ----------------------------------------------- */ .date-header { margin:0 0 .75em; padding-bottom:.35em; border-bottom:1px dotted #9b9; font:95%/1.4em Georgia,Serif; text-transform:uppercase; letter-spacing:.3em; color:#663; } .post { margin:0 0 2.5em; line-height:1.6em; } .post-title { margin:.25em 0; font:bold 130%/1.4em Georgia,Serif; color:#333; } .post-title a, .post-title strong { background:url("http://www.blogblog.com/dots/bg_post_title.gif") no-repeat 0 .25em; display:block; color:#333; text-decoration:none; padding:0 0 1px 45px; } .post-title a:hover { color:#000; } .post p { margin:0 0 .75em; } p.post-footer { margin:0; text-align:right; } p.post-footer em { display:block; float:left; text-align:left; font-style:normal; color:#996; } a.comment-link { /* IE5.0/Win doesn't apply padding to inline elements, so we hide these two declarations from it */ background/* */:/**/url("http://www.blogblog.com/dots/icon_comment.gif") no-repeat 0 .25em; padding-left:15px; } html>body a.comment-link { /* Respecified, for IE5/Mac's benefit */ background:url("http://www.blogblog.com/dots/icon_comment.gif") no-repeat 0 .25em; padding-left:15px; } .post img { margin:0 0 5px 0; padding:4px; border:1px solid #cca; } /* Comments ----------------------------------------------- */ #comments { margin:0; } #comments h4 { margin:0 0 10px; border-top:1px dotted #9b9; padding-top:.5em; font:bold 110%/1.4em Georgia,Serif; color:#333; } #comments-block { line-height:1.6em; } .comment-poster { background:url("http://www.blogblog.com/dots/icon_comment.gif") no-repeat 2px .35em; margin:.5em 0 0; padding:0 0 0 20px; font-weight:bold; } .comment-body { margin:0; padding:0 0 0 20px; } .comment-body p { margin:0 0 .5em; } .comment-timestamp { margin:0 0 .5em; padding:0 0 .75em 20px; color:#996; } .comment-timestamp a:link { color:#996; } .deleted-comment { font-style:italic; color:gray; } .paging-control-container { float: right; margin: 0px 6px 0px 0px; font-size: 80%; } .unneeded-paging-control { visibility: hidden; } /* More Sidebar Content ----------------------------------------------- */ .sidebar-title { margin:2em 0 .75em; padding-bottom:.35em; border-bottom:1px dotted #9b9; font:95%/1.4em Georgia,Serif; text-transform:uppercase; letter-spacing:.3em; color:#663; } #sidebar p { margin:0 0 .75em; line-height:1.6em; } #sidebar ul { margin:.5em 0 1em; padding:0 0px; list-style:none; line-height:1.5em; } #sidebar ul li { background:url("http://www.blogblog.com/dots/bullet.gif") no-repeat 3px .45em; margin:0; padding:0 0 5px 15px; } #sidebar p { margin:0 0 .6em; } /* Profile ----------------------------------------------- */ .profile-datablock { margin:0 0 1em; } .profile-img { display:inline; } .profile-img img { float:left; margin:0 8px 5px 0; border:4px solid #cc9; } .profile-data { margin:0; line-height:1.5em; } .profile-data strong { display:block; } .profile-textblock { clear:left; } /* Footer ----------------------------------------------- */ #footer { clear:both; padding:15px 0 0; } #footer hr { display:none; } #footer p { margin:0; } /* Feeds ----------------------------------------------- */ #blogfeeds { } #postfeeds { padding-left: 20px }

Prudent Baby

Get sewing how to, sewing tutorials, and sewing help to learn sewing. We offer sewing tutorial for sewing moms.

Thursday, March 17, 2011

Paper Pinwheel Cupcake Toppers


These cupcake toppers were my first stab at using my new Brother printer-scanner (the fancy 11"X17" one we are GIVING AWAY in this month's contest) and they were so much fun! I used mine to decorate some cupakes (umm, well, to decorate A cupcake... somehow the others disappeared before the pinwheels were complete. Guess I will need to make more cupcakes, darn).
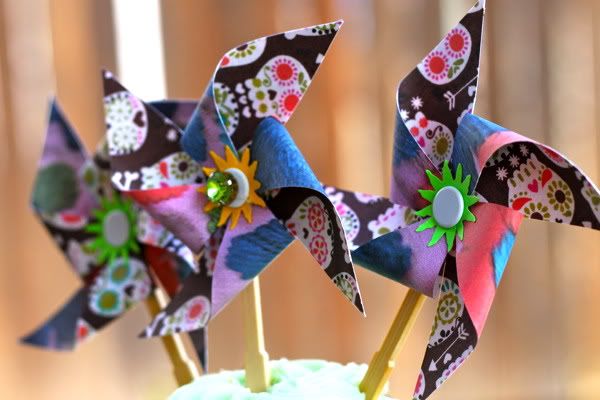
Anyhoo, you can use this tute to make simple paper pinwheels for any occasion at any size. It's so much easier than you would think.
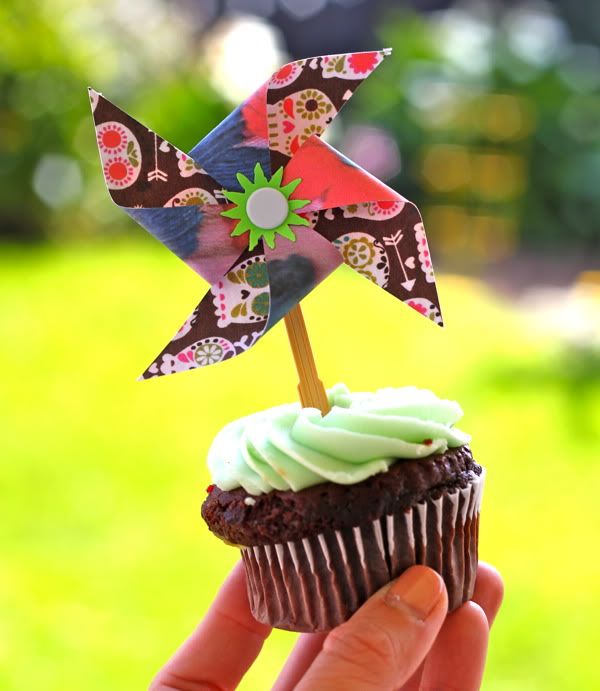
The first thing I did was ask Jacinda to scan some of that awesome bonehead fat quarter she's giving away as our Friday Surprise Prize this week. She also scanned an embroidered dress of Clare's from Mexico for me. I printed out the images on two sides of cardstock to make my pinwheels.

Get the full Paper Pinwheel Cupcake Topper Tutorial after the jump and leave a comment if you love skulls and want a bonehead fat quarter to call your own...


How to Make Paper Pinwheels as Cupcake Toppers

First you need paper. You'll also need some short pushpins (I used regular old thumbtacks), a hot glue gun, and some dowels, skewers, or some sort of stick to attach your pinwheels too. I also used a craft punch shaped like a sun for a little extra embellishment, but not required. And finally, I used some beads, you'll see why below.
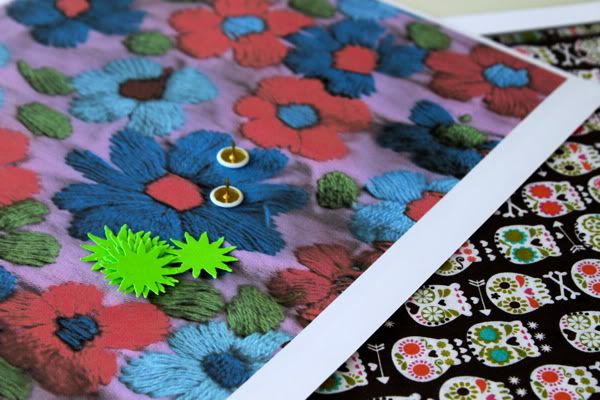

Next step is to cut your card stock into squares. I made mine 3" square for my big cupcake toppers. then you will want to cut from each corner towards the center, stopping about 1" from the center:


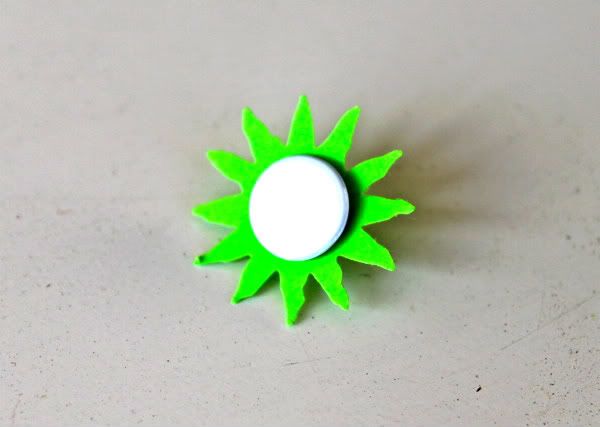
I used a craft punch to make little suns as an extra embellishment for my fiesta-themed cupcake toppers. So grab your thumbtack or pushpin and poke it through the center of your punched paper if you are using it:

Then you want to hold your square with a flat side at the top, and pull down the left corner, folding it towards the front, and stick your tack through it from the back side, right near the tip of the corner:

This step is even easier if you have a tiny hole punch and you punch tiny holes in the left corner of each side of your square.

Continue to pull each side down from the left corner and slip the tack through it as above:
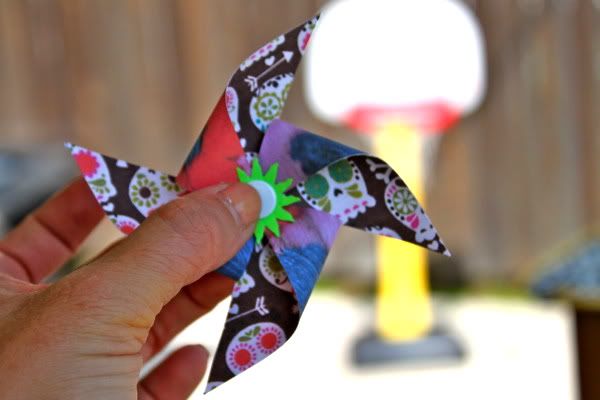

Once you have all four corners on your pin, slip the pin through the center of the paper so it sticks out the back like so:
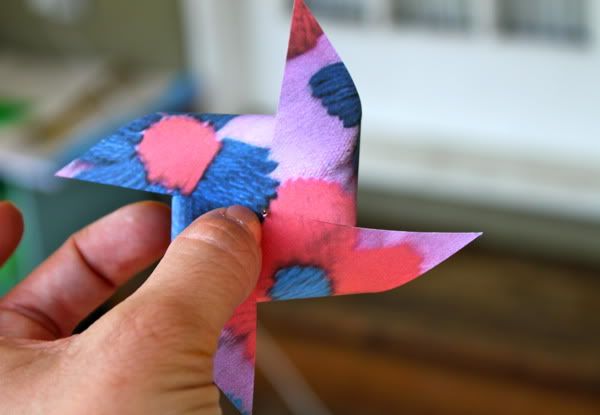

Now you want to stick your pin in your skewer (I got these bamboo skewers at Cost Plus World Market). Mine split the skewer but no worries - that will be fixed in the next step:


Dab some hot glue on the end of the pin or tack, then stick a bead around it. I did this to avoid sharp pins sticking out of the back of my pinwheels:
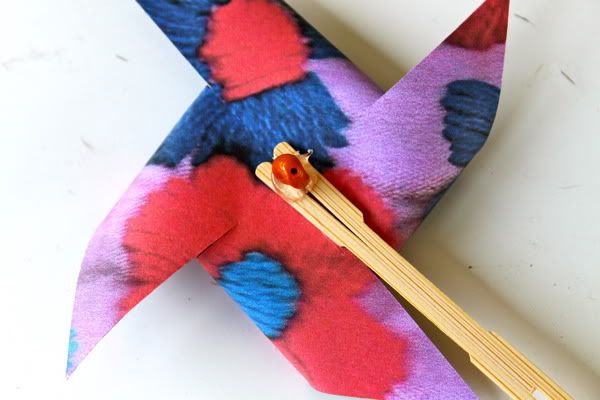

Turn it over. You're done!
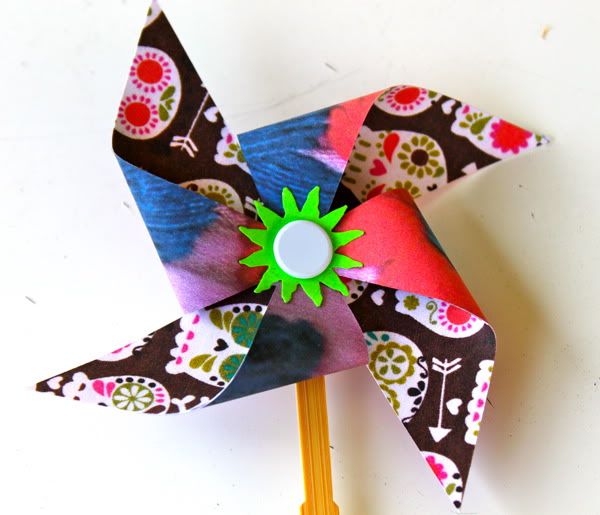

Make up a bunch of 'em. Add jewels if daughter insists.
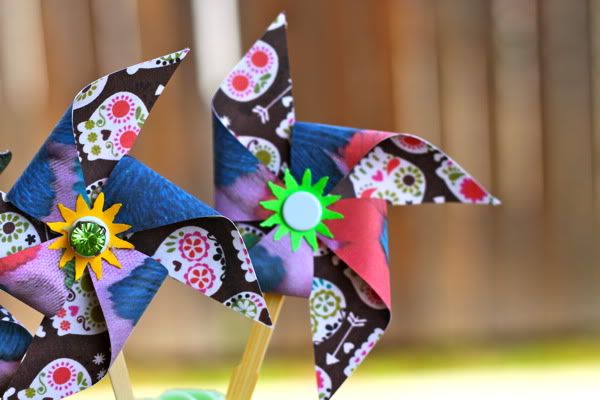

Apply to cupcake:
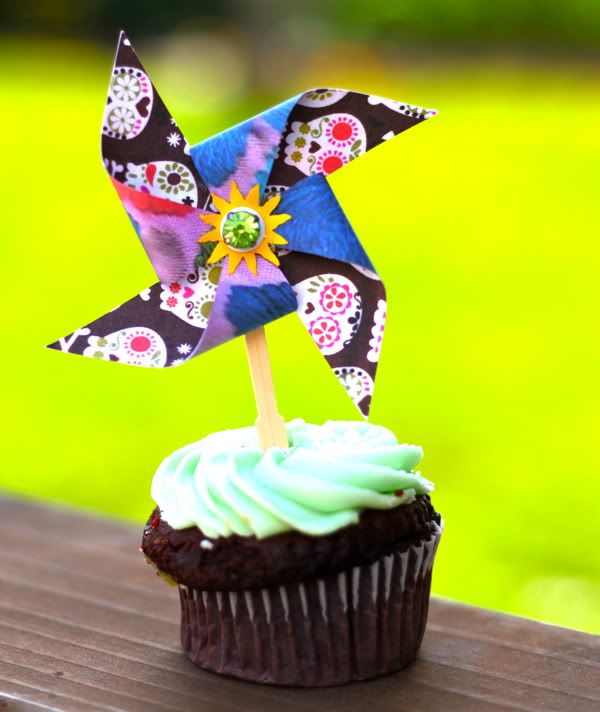

Blow on them, they really work!


Now I want to make some fabric pinwheels! or pinwheel broaches! or pinwheel sunglasses...

Labels: , , , , ,

8 Comments:

Blogger henna_hands said...

How cute! And great use of that printer and the fabric. I would have never thought to scan in fabric in a print I like to have it in paper form.

March 17, 2011 at 6:06 AM  
Blogger Tristin said...

You scanned fabric--that's brilliant!

I've thought to myself before "Self, wouldn't it be great if this fabric I love were available in paper?" And you made it happen. Genius.

Too bad I only have a black and white Brother printer from my college days when I did a log less blog surfing (or none) and a lot more paper writing. Looks like I need to go win me a printer!

March 17, 2011 at 6:10 AM  
Blogger Wendy said...

I'm not sure how you read my mind, but I was just searching online for pinwheel cupcake toppers. I've decided that Jack's 2nd birthday will have a pinwheel/balloon, bright fun theme. Off to find/make the perfect paper for the perfect pinwheels!!!

March 17, 2011 at 6:22 AM  
Blogger Melissa said...

OMG - I love those skulls! My daughter's playroom is skull-themed. Her 2nd birthday is this weekend. I wonder if I have enough time to make some of these for the cake/cupcakes? Thanks for the idea!

March 17, 2011 at 6:46 AM  
Blogger Lil Mama Stuart said...

that's awesome - you just made your own custom double sided cardstock

March 17, 2011 at 8:13 AM  
Blogger AmAzOn said...

I LOVE this idea and I am SO TOTALLY in LOVE with this fabric!! Hopefully I win it but if not, I will DEFINITELY be buying some. Okay, so either way I will be buying some but still. ( :

March 17, 2011 at 8:23 AM  
Blogger April @ Sewing Novice said...

I thought that was the fabric but just figured you found it in cardstock or used fabric to make the pinwheels.

March 17, 2011 at 6:25 PM  
Blogger 4lilbugsmom said...

Love these and cannot believe I never thought of scanning fabric! Great idea!

March 17, 2011 at 8:48 PM  

Post a Comment

Subscribe to Post Comments [Atom]

<< Home