body { background:#fff url("http://www.blogblog.com/dots/bg_dots.gif") 50% 0; margin:0; padding:0 10px; text-align:center; font:x-small Verdana,Arial,Sans-serif; color:#333; font-size/* */:/**/small; font-size: /**/small; } /* Page Structure ----------------------------------------------- */ @media all { #content { background:url("http://www.blogblog.com/dots/bg_3dots.gif") no-repeat 250px 50px; width:700px; margin:0 auto; padding:50px 0; text-align:left; } #main { width:450px; float:right; padding:50px 0 20px; font-size:85%; } #main2 { background:url("http://www.blogblog.com/dots/bg_dots2.gif") -100px -100px; padding:20px 10px 15px; } #sidebar { width:200px; float:left; font-size:85%; padding-bottom:20px; } #sidebar2 { background:url("http://www.blogblog.com/dots/bg_dots2.gif") 150px -50px; padding:5px 10px 15px; width:200px; width/* */:/**/180px; width: /**/180px; } } @media handheld { #content { width:90%; } #main { width:100%; float:none; } #sidebar { width:100%; float:none; } #sidebar2 { width:100%; } } html>body #main, html>body #sidebar { /* We only give this fade from white to nothing to browsers that can handle 24-bit transparent PNGs */ background/* */:/**/url("http://www.blogblog.com/dots/bg_white_fade.png") repeat-x left bottom; } /* Title & Description ----------------------------------------------- */ @media all { #blog-title { margin:0 0 .5em; font:250%/1.4em Georgia,Serif; color:#353; } #blog-title a { color:#353; text-decoration:none; } #description { margin:0 0 1.75em; color:#996; } #blog-mobile-title { display:none; } #description-mobile { display:none; } } @media handheld { #blog-title { display:none; } #description { display:none; } #blog-mobile-title { display:block; margin:0 0 .5em; font:250%/1.4em Georgia,Serif; color:#353; } #blog-mobile-title a { color:#353; text-decoration:none; } #description-mobile { display:block; margin:0 0 1.75em; color:#996; } } /* Links ----------------------------------------------- */ a:link { color:#488; } a:visited { color:#885; } a:hover { color:#000; } a img { border-width:0; } /* Posts ----------------------------------------------- */ .date-header { margin:0 0 .75em; padding-bottom:.35em; border-bottom:1px dotted #9b9; font:95%/1.4em Georgia,Serif; text-transform:uppercase; letter-spacing:.3em; color:#663; } .post { margin:0 0 2.5em; line-height:1.6em; } .post-title { margin:.25em 0; font:bold 130%/1.4em Georgia,Serif; color:#333; } .post-title a, .post-title strong { background:url("http://www.blogblog.com/dots/bg_post_title.gif") no-repeat 0 .25em; display:block; color:#333; text-decoration:none; padding:0 0 1px 45px; } .post-title a:hover { color:#000; } .post p { margin:0 0 .75em; } p.post-footer { margin:0; text-align:right; } p.post-footer em { display:block; float:left; text-align:left; font-style:normal; color:#996; } a.comment-link { /* IE5.0/Win doesn't apply padding to inline elements, so we hide these two declarations from it */ background/* */:/**/url("http://www.blogblog.com/dots/icon_comment.gif") no-repeat 0 .25em; padding-left:15px; } html>body a.comment-link { /* Respecified, for IE5/Mac's benefit */ background:url("http://www.blogblog.com/dots/icon_comment.gif") no-repeat 0 .25em; padding-left:15px; } .post img { margin:0 0 5px 0; padding:4px; border:1px solid #cca; } /* Comments ----------------------------------------------- */ #comments { margin:0; } #comments h4 { margin:0 0 10px; border-top:1px dotted #9b9; padding-top:.5em; font:bold 110%/1.4em Georgia,Serif; color:#333; } #comments-block { line-height:1.6em; } .comment-poster { background:url("http://www.blogblog.com/dots/icon_comment.gif") no-repeat 2px .35em; margin:.5em 0 0; padding:0 0 0 20px; font-weight:bold; } .comment-body { margin:0; padding:0 0 0 20px; } .comment-body p { margin:0 0 .5em; } .comment-timestamp { margin:0 0 .5em; padding:0 0 .75em 20px; color:#996; } .comment-timestamp a:link { color:#996; } .deleted-comment { font-style:italic; color:gray; } .paging-control-container { float: right; margin: 0px 6px 0px 0px; font-size: 80%; } .unneeded-paging-control { visibility: hidden; } /* More Sidebar Content ----------------------------------------------- */ .sidebar-title { margin:2em 0 .75em; padding-bottom:.35em; border-bottom:1px dotted #9b9; font:95%/1.4em Georgia,Serif; text-transform:uppercase; letter-spacing:.3em; color:#663; } #sidebar p { margin:0 0 .75em; line-height:1.6em; } #sidebar ul { margin:.5em 0 1em; padding:0 0px; list-style:none; line-height:1.5em; } #sidebar ul li { background:url("http://www.blogblog.com/dots/bullet.gif") no-repeat 3px .45em; margin:0; padding:0 0 5px 15px; } #sidebar p { margin:0 0 .6em; } /* Profile ----------------------------------------------- */ .profile-datablock { margin:0 0 1em; } .profile-img { display:inline; } .profile-img img { float:left; margin:0 8px 5px 0; border:4px solid #cc9; } .profile-data { margin:0; line-height:1.5em; } .profile-data strong { display:block; } .profile-textblock { clear:left; } /* Footer ----------------------------------------------- */ #footer { clear:both; padding:15px 0 0; } #footer hr { display:none; } #footer p { margin:0; } /* Feeds ----------------------------------------------- */ #blogfeeds { } #postfeeds { padding-left: 20px }

Prudent Baby

Get sewing how to, sewing tutorials, and sewing help to learn sewing. We offer sewing tutorial for sewing moms.

Monday, November 21, 2011

Recycled T Shirt Stocking


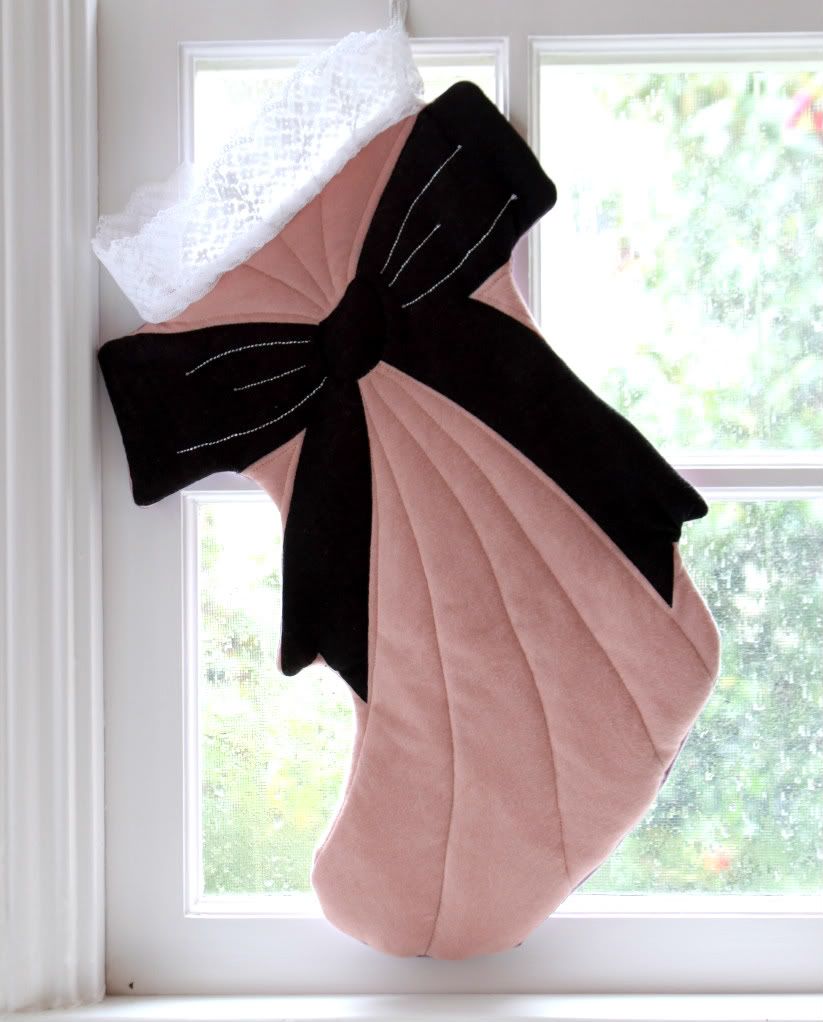
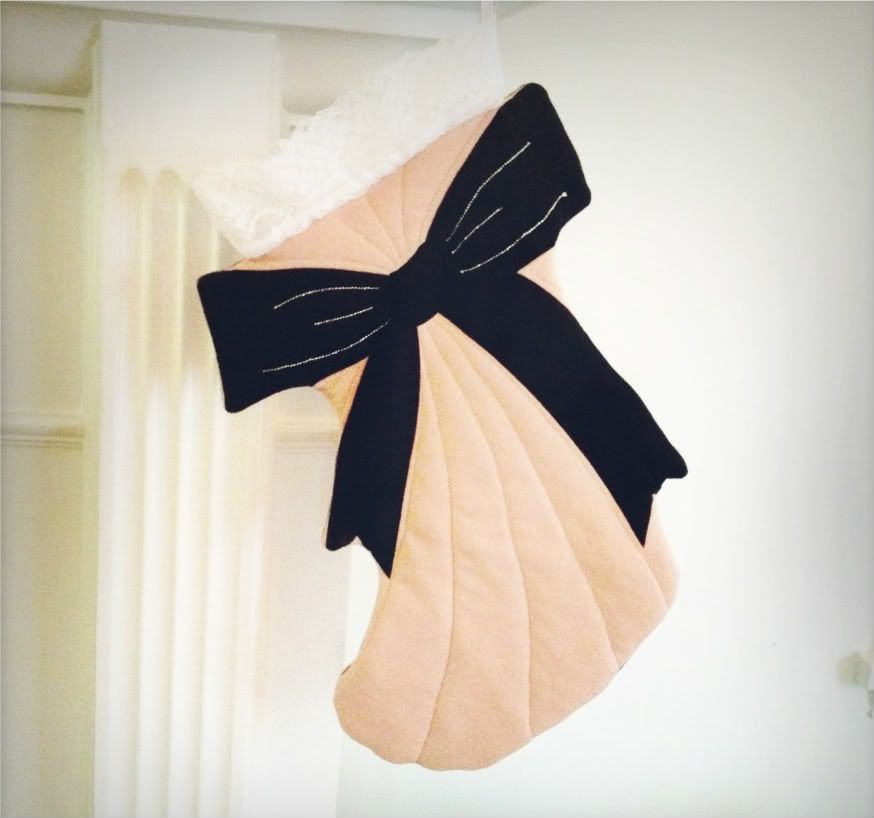
Here is my "entry" into our Put A Serger in My Stocking Contest, where we are giving away a new Brother 5234 PRW Serger to the Prudent Mama who makes the winning stocking incorporating jersey material in one way or another. Jacinda made her stocking from baby onesies and craft paint in an adorable patchwork. Now it's my turn! For this stocking, I took a couple old t-shirts and quilted 'em up to make this sparkly bow-tied version for Scarlet. Not so traditional, what do you think? See how I did it after the jump...

First, an old t-shirt. I've had this cheapie forever. Turns out I don't look good with a giant silkscreened bow across my chestal region. I figured eventually I'd figure something cute to make out of it.


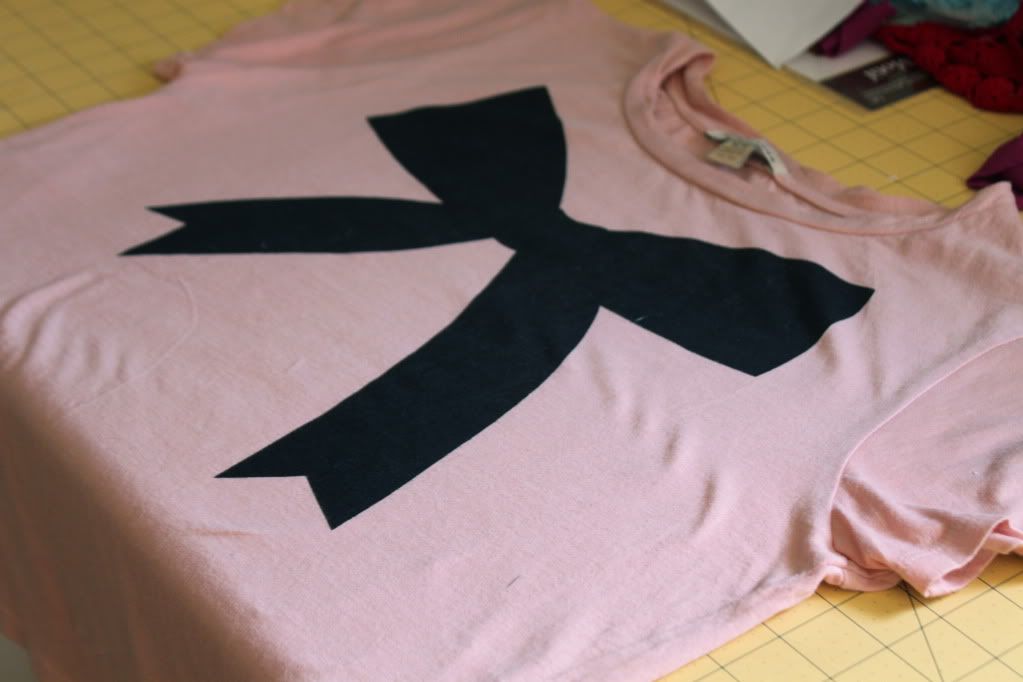
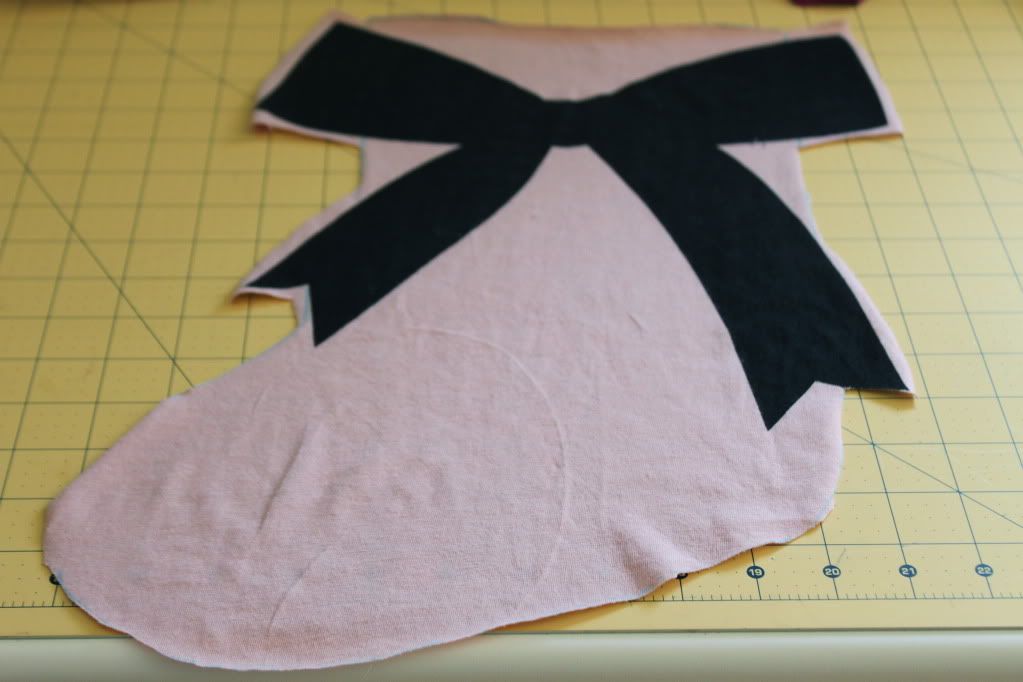
I printed, cut, taped, and traced our downloadable stocking pattern (get it here: Christmas Stocking Free Pattern). I traced it onto my shirt, but I also traced around the bow shape, thinking it might turn out cute, but not entirely sure it was a great idea...


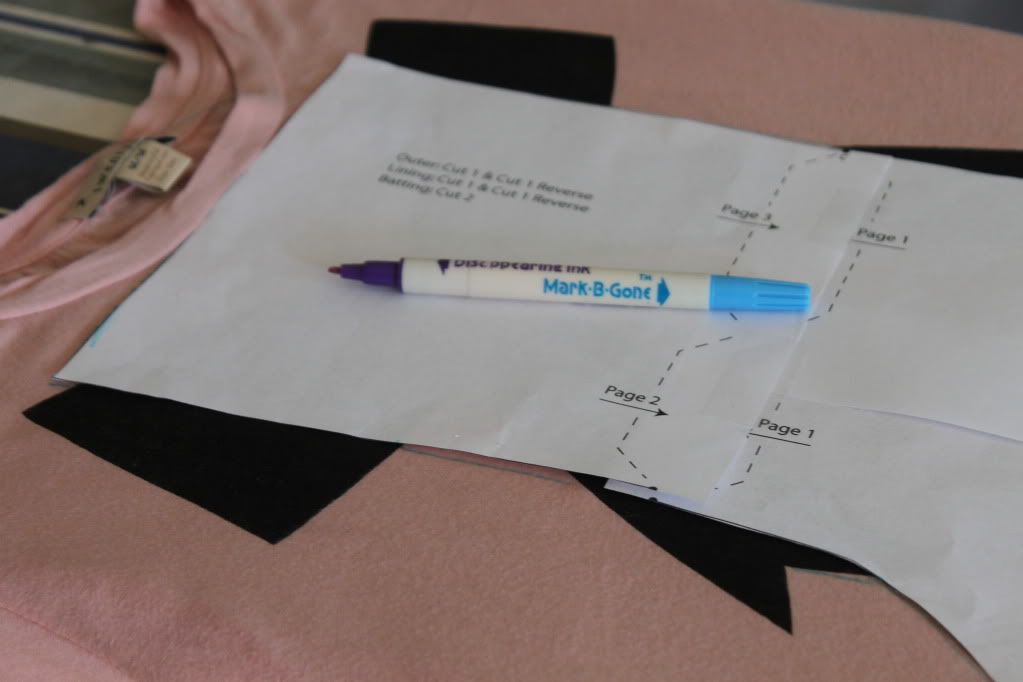
And traced it onto my ironed shirt.


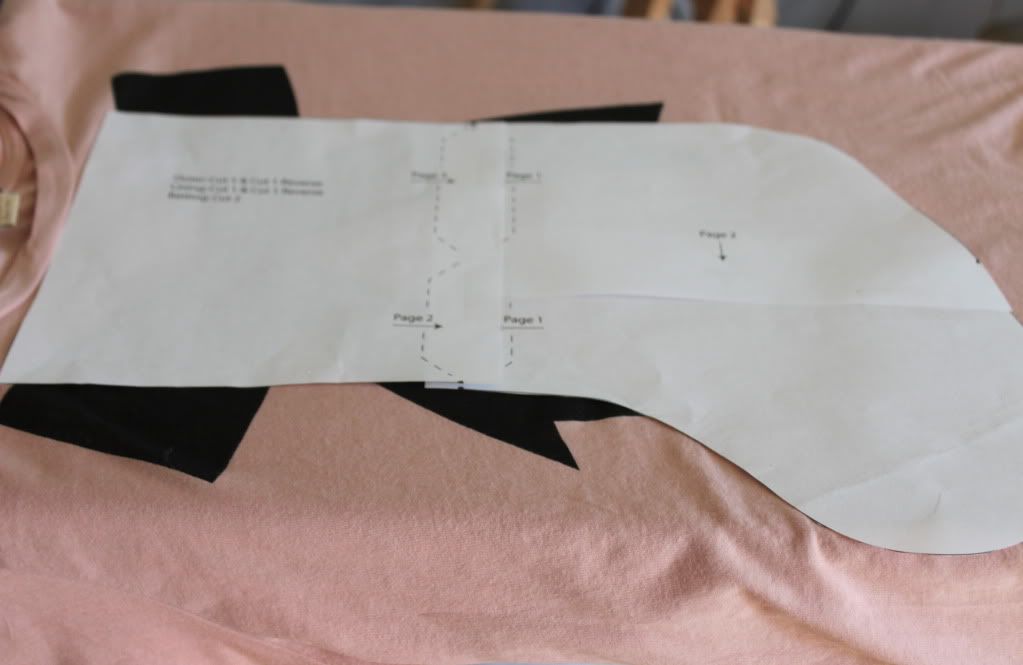
I cut through both sides of the shirt, so I can use these two pieces to make the front of my stocking. Remember that if you want to use the back of the shirt as the back of your stocking, you will need to cut it IN REVERSE.


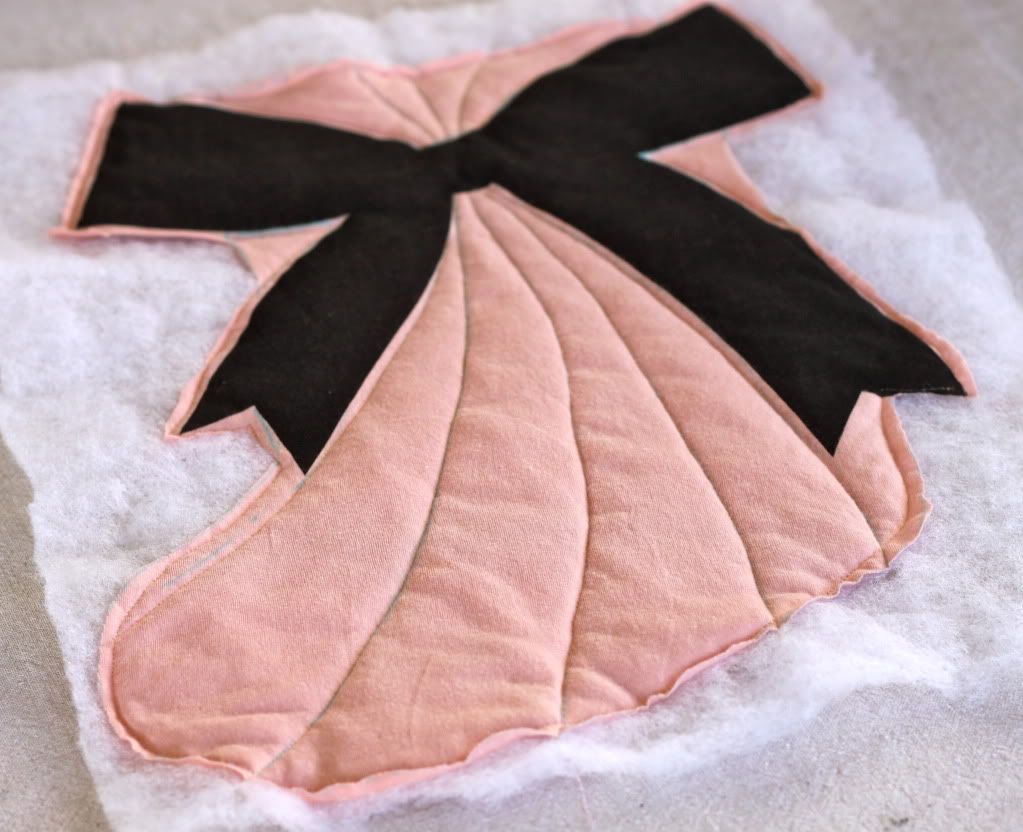
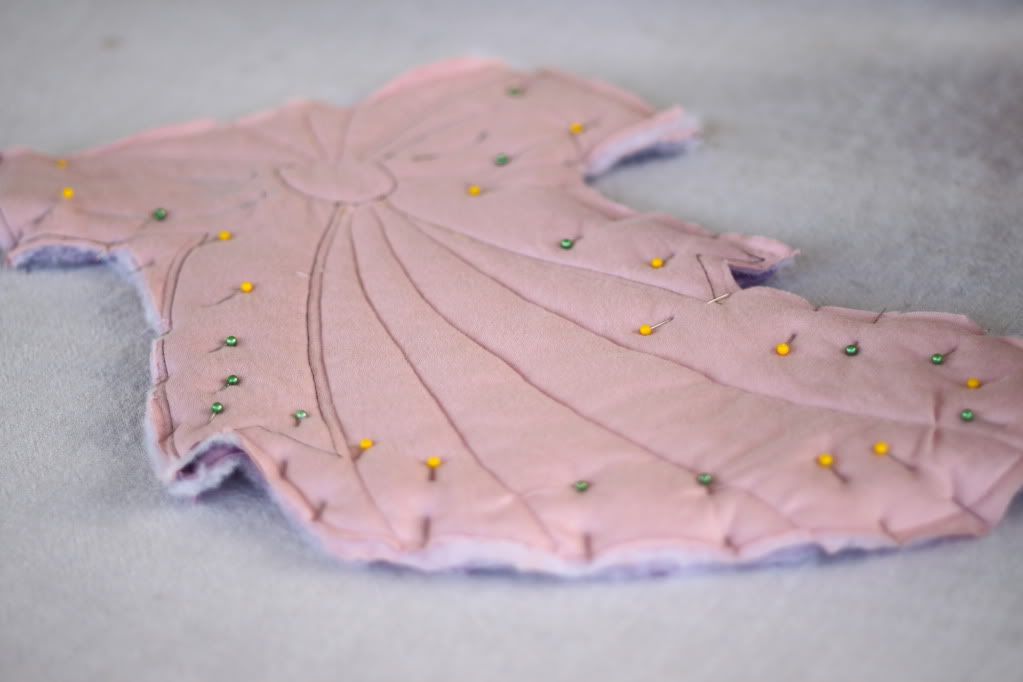
So, back to making the front of my stocking. I sandwiched a piece of batting in between my two stocking shapes and pinned all the way around to hold in place for quilting.


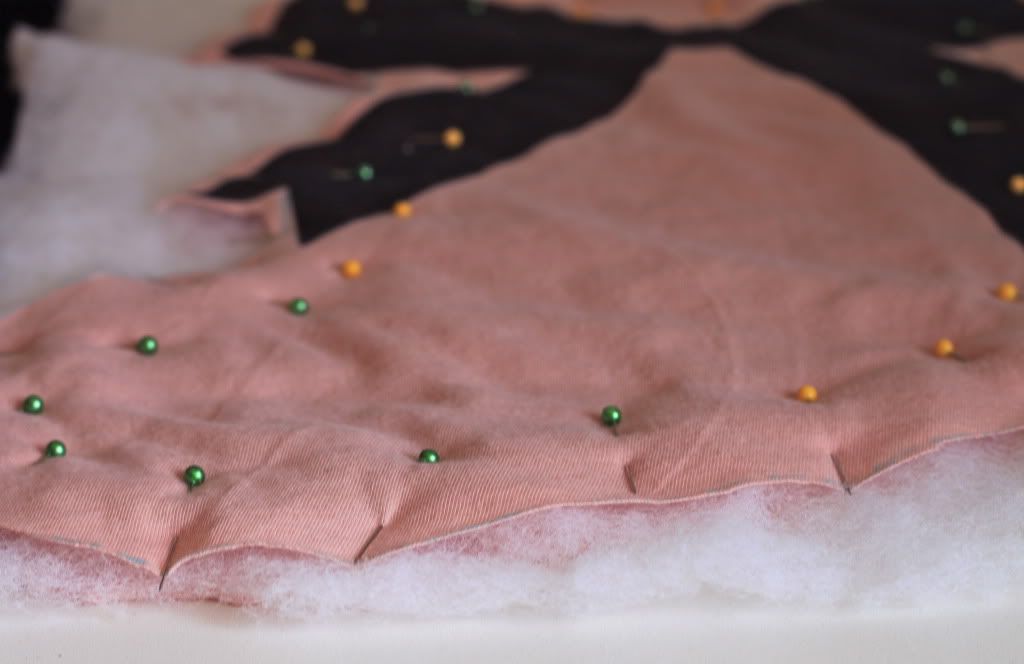
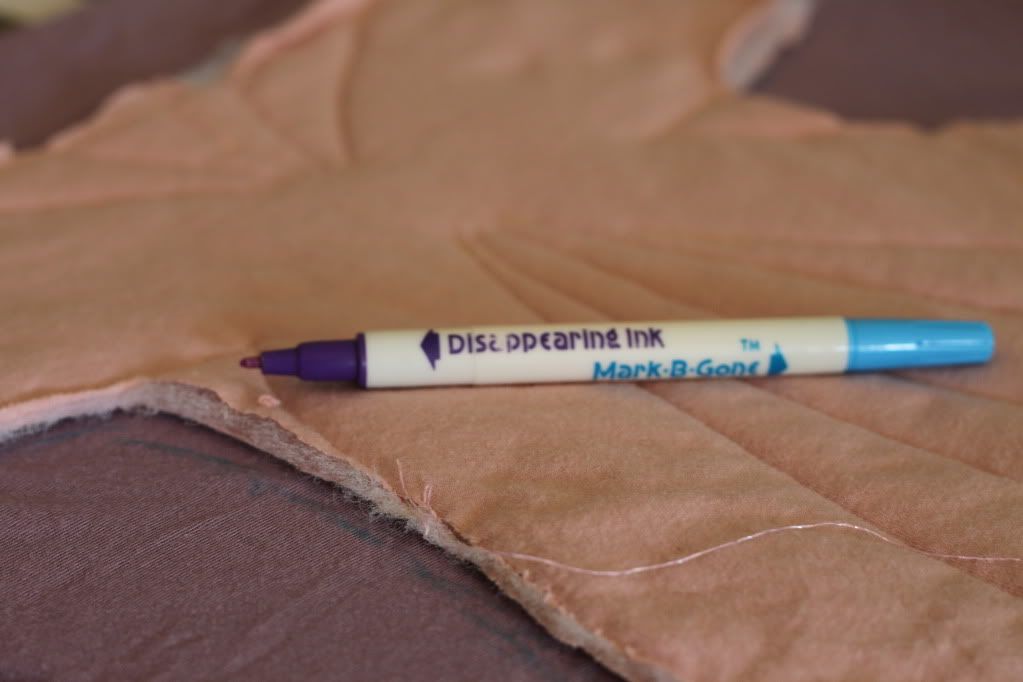
I drew quilting lines in disappearing ink (probably should have done this before the batting but it worked fine), trying to keep them in a bit of a line with the flow of the "ribbons" on my bow.


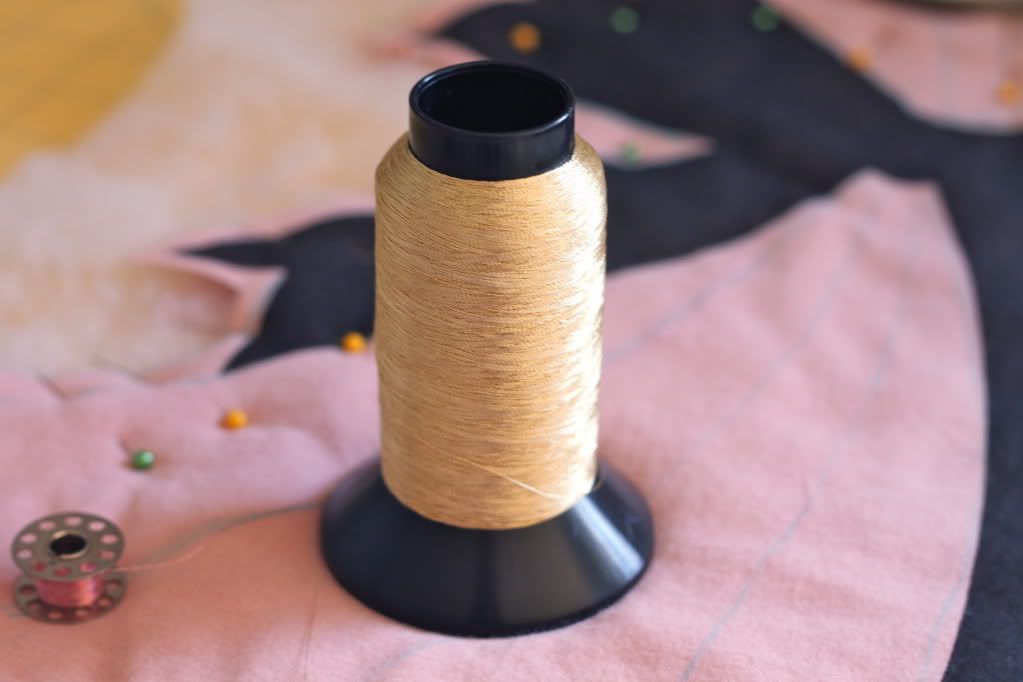
I selected some gold sparkly Kreinik thread to quilt with.


And sewed along the lines with a straight stitch using my trusty walking foot.


The jersey quilts like a breeze with the walking foot, and since we are not worried about anyone wearing it, the straight stitch was an easy choice.


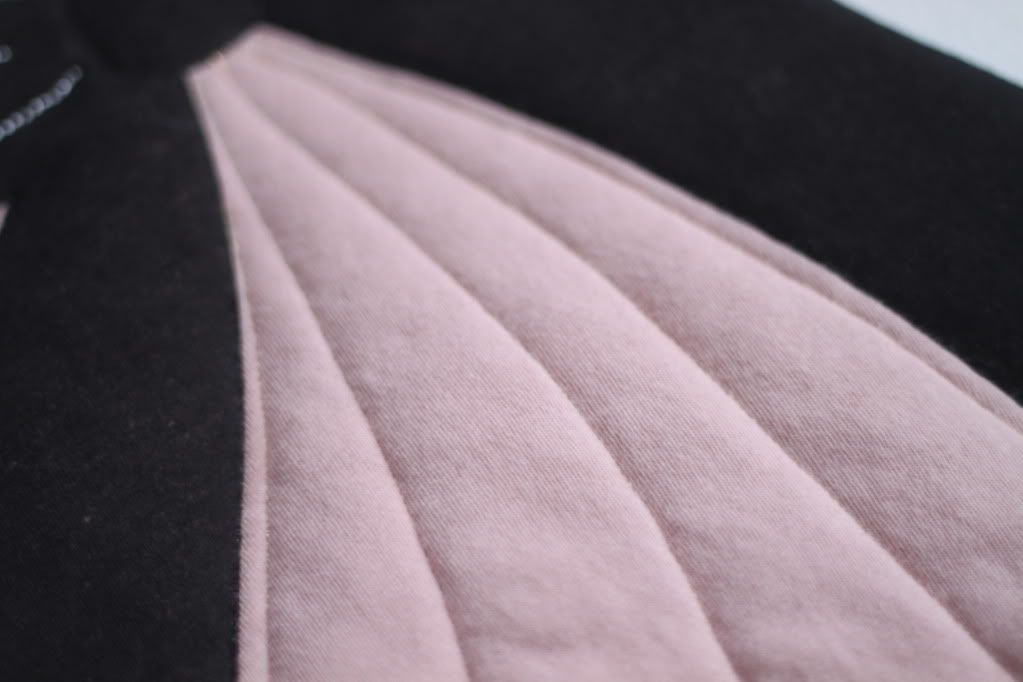
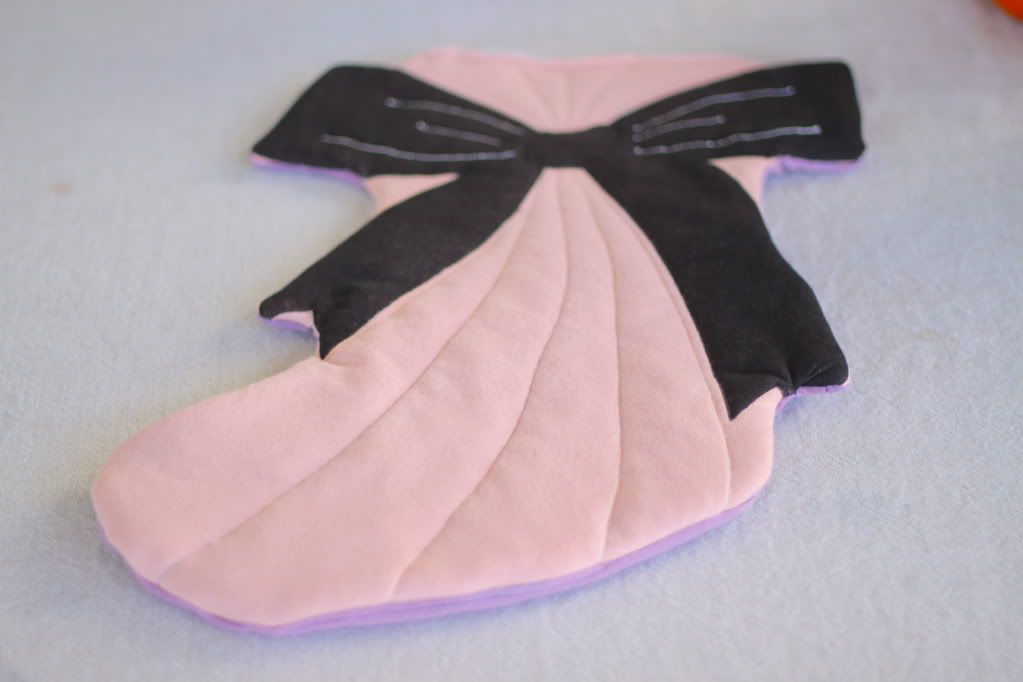
So it looks like this now.


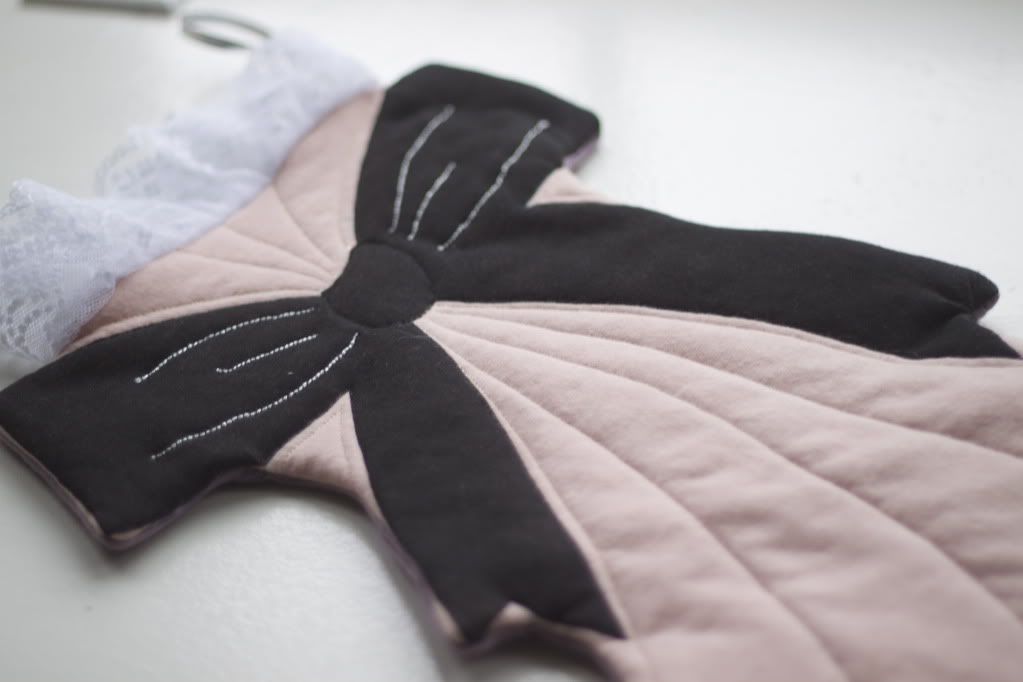
I decided the bow needed something more, so I loaded up my bobbin with some braided silver thread and with regular black thread on my spool, sewed some decorative lines onto my bow.


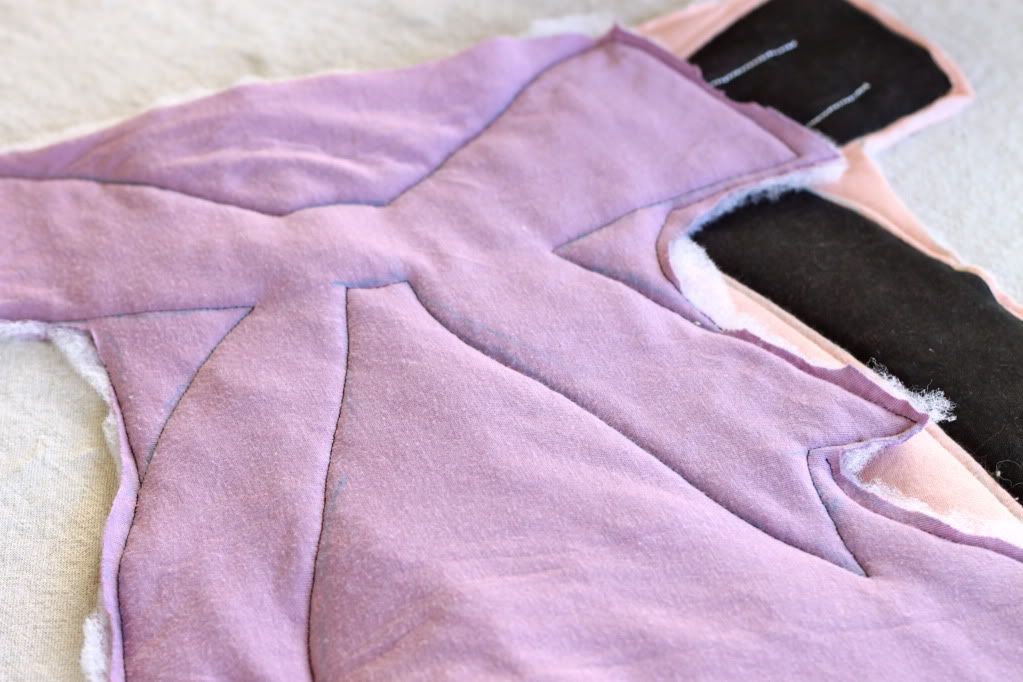
I trimmed the batting and flipped my stocking front over to trace it onto another t, to create the back of the stocking from.


Then I repeated the quilting process, but just for fun I drew on the bow shape. I guess no one is going to look at the back of the stocking, but the shape looked weird without something on there.


Next step, placed the front and back right sides facing and sewed/serged around the edges.


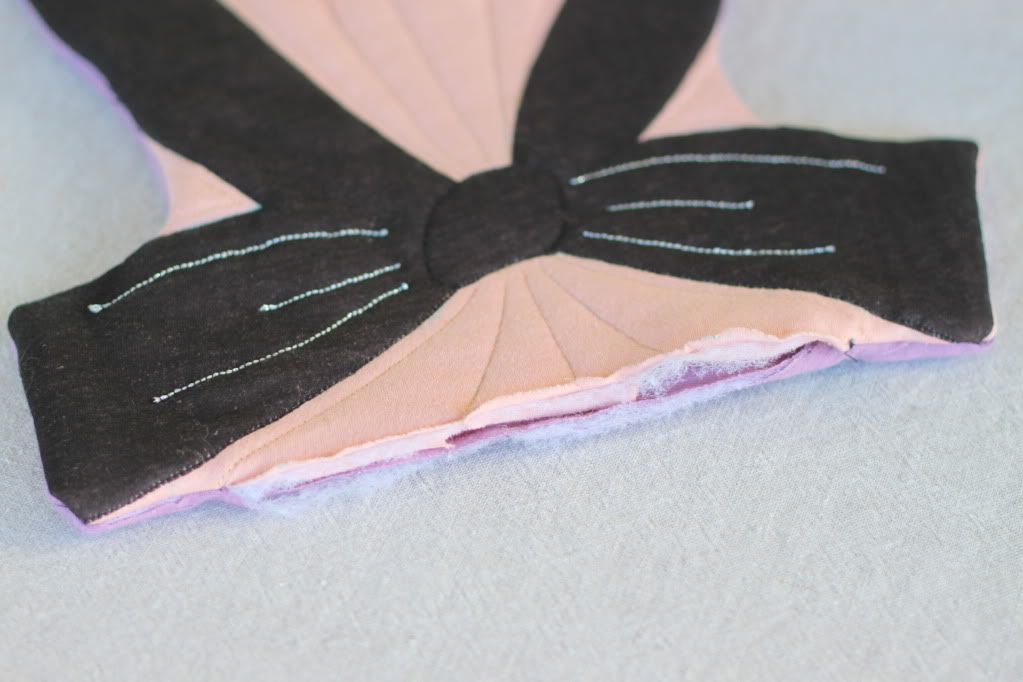
And flipped right side out.


Now I have an opening at the top of the stocking. It was really cut close (because that's where the shirt ended), so I had a limited amount of options to close the opening.


At Jacinda's suggestion I picked up some lace. I pinned it to the opening right sides facing, edges aligned...


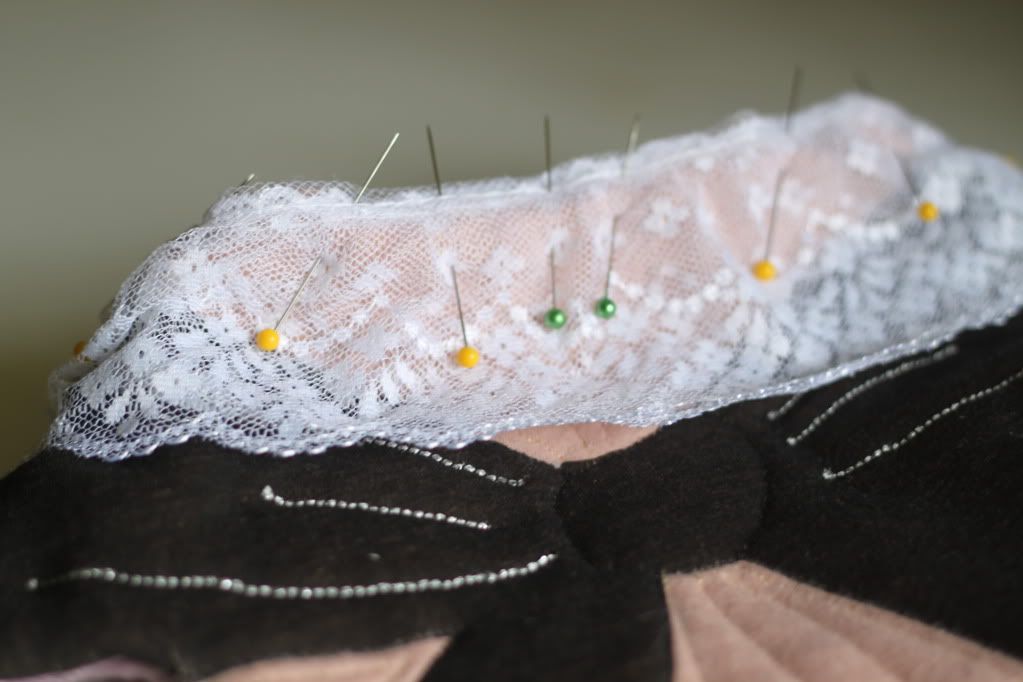
..and sewed in place.


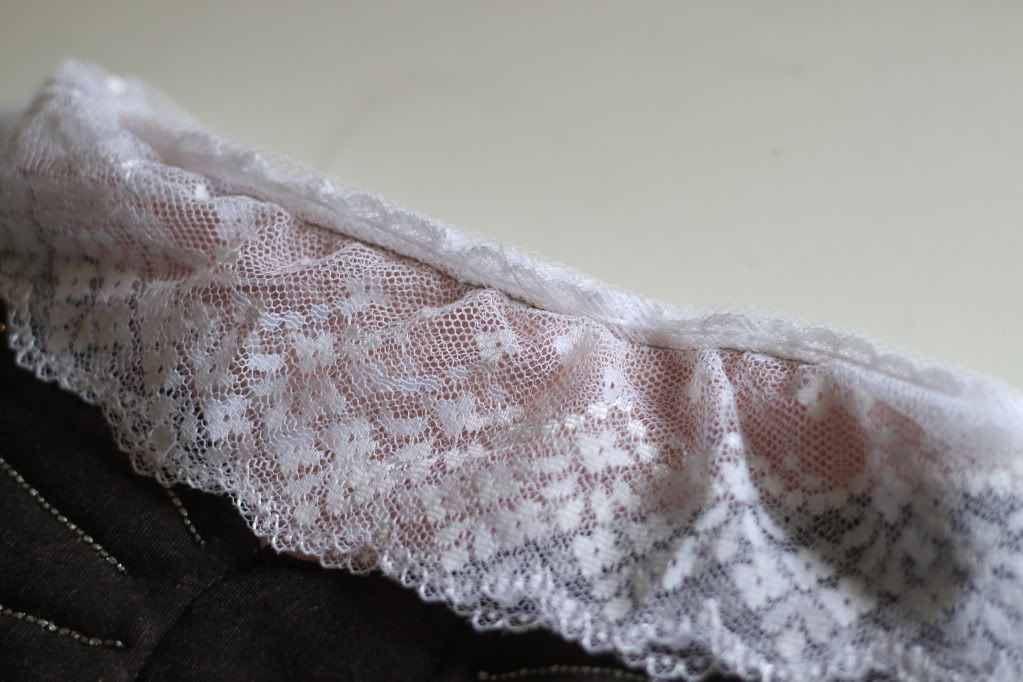
I had intended to flip it around and sew the seam to flatten, but the lace was stiff enough to just pop up.  I took a piece of trim and made a loop...


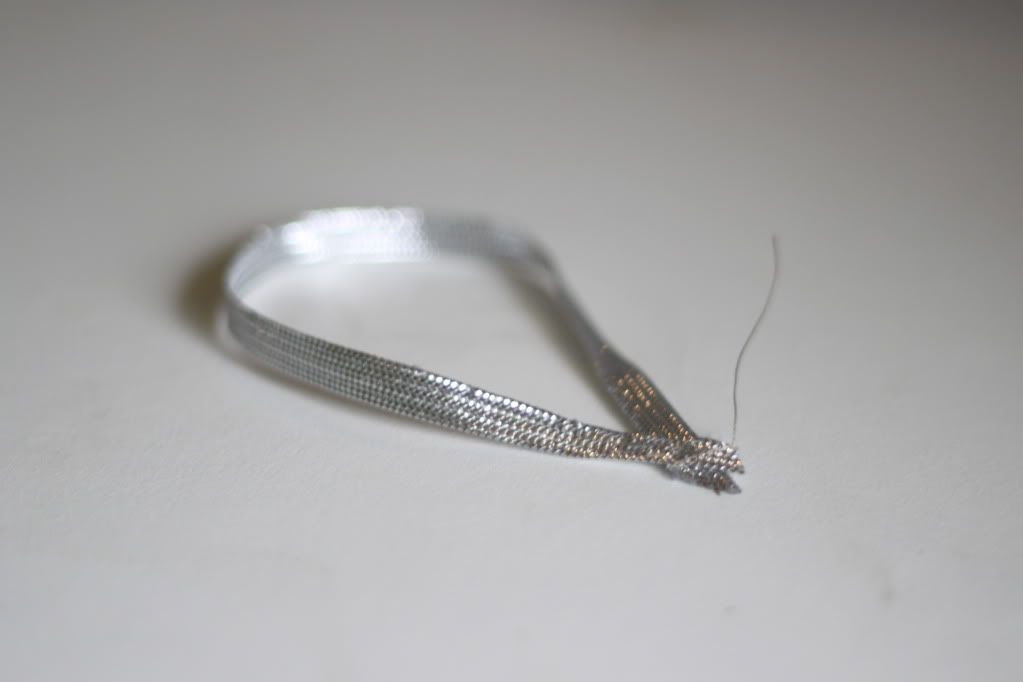
Which I sewed to the inside seam.  Done!


So that's my entry! Where's yours?? Get the full details on the contest, the prize, and how to enter here: The Prudent Baby "Put A Serger in My Stocking" Contest

Labels: , ,

6 Comments:

Blogger Jennifer said...

This is beautiful! I've been trying and trying to think of something unique to use for my entry - haven't quite figured it out yet. Thanks for the inspiration!

November 21, 2011 at 4:59 AM  
Blogger littlekahootz said...

Great idea! My first great idea has already failed....now to see if I can do it another way...

November 21, 2011 at 7:46 AM  
Blogger comet70 said...

çok güzel bir fikir çok şık olmuş emeğinize sağlık

November 21, 2011 at 10:06 AM  
Blogger Bethany said...

Super cute! I wish I had cute enough t-shirts to do this to. - Bethany

November 21, 2011 at 10:16 AM  
Blogger Emily said...

Love the pattern you quilted.

November 21, 2011 at 2:18 PM  
Blogger VickiT said...

Wow. What a beautiful stocking. I love this and the stitching you've added is so awesome. Thank you.

November 21, 2011 at 6:58 PM  

Post a Comment

Subscribe to Post Comments [Atom]

<< Home