Lune's Dreamer Mobile

There are a zillion different kinds of mobiles out there in the world but I have yet to ever seen one like this beautiful creation by Jill from Lune Vintage. Jill definitely has a knack for unique craft ideas like this Crochet Planter. Along with crafting, she owns her own store and loves to thrift. I'll definitely keep her Tips to Finding Beauty in a thrift store post in mind next time I go thrifting. Needless to say, we were so excited when she said she would guest post for us here on Prudent Baby.
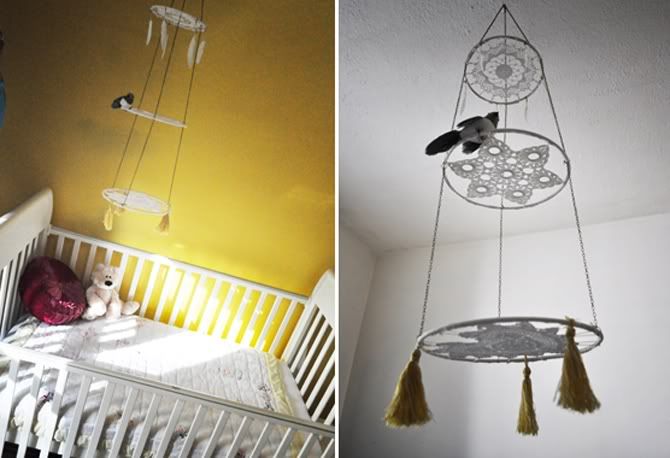
Now that you have seen this beautiful creation, want to learn how to make it yourself? Jill will take you through the step-by-step process of making your own Dreamer Mobile after the jump.
How to Make a Dreamer Mobile
STEP ONE SUPPLIES:
3 brass rings in small, medium, large
3 doileys
yarn
scissors
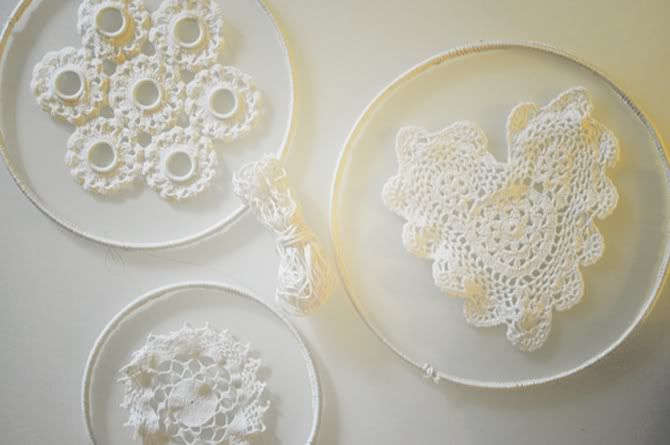
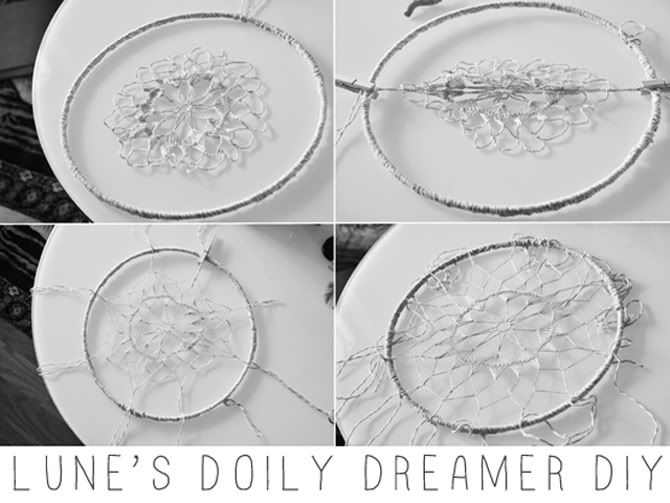
Lune's Dreamer Mobile begins in with the same steps as our Doily Dreamer. You can see the full tutorial with written directions HERE at www.lunevintage.com. To wrap your brass ring, we've created a video tutorial on the process. Alternatively, you could simply wrap the brass ring by winding your yarn around it tightly.
Choose doily's which are in good condition, strong and in a few different shapes baby may find interesting. We chose a heart, a 6 pointed star and a round sun shaped doily. Colored and floral doily's are beautiful as well!
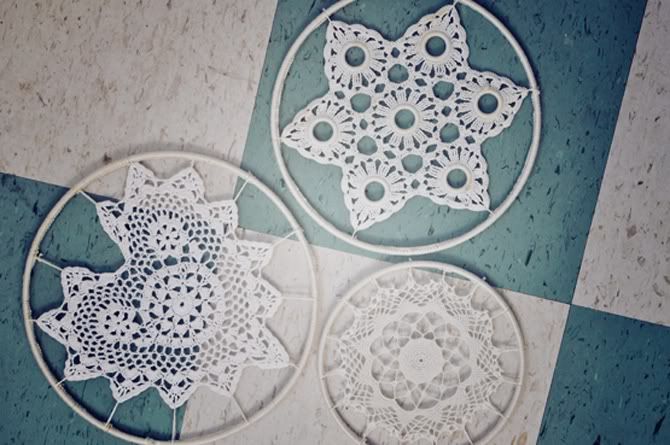
When you've created 3 dreamers, it's time to hook them together. Here's what you'll need to create the mobile.
STEP TWO SUPPLIES:
12 thicker gauge brass jump rings
1 large brass ring for hanger
9 pieces of 12" linked chain
small craft pliers/cutter
Alternatively, you may choose to use the same yarn as you did to wrap your wire. If you choose this method, be sure your yarn is strong enough to hold the weight of the mobile, and that the knots are strong and tight.
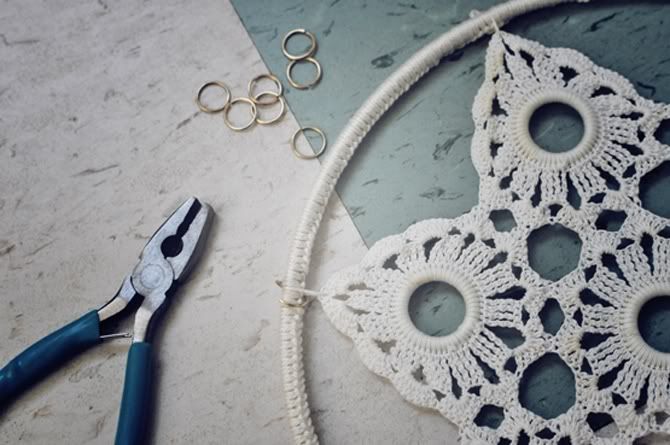
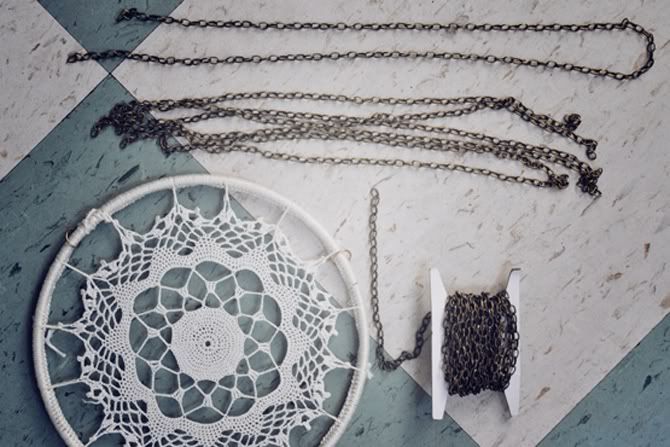
I chose to use chain instead of yarn because it is both stronger and easier to adjust when figuring out how long each strand should be so that your mobile is level. Getting all sides to sit evenly is a bit tricky, and it helps to first attach all chains and rings, and then hang the entire mobile from a hook (I hung it from my dining room chandelier). From this hanging position, work from top to bottom, adjusting up or down a link on each chain until you feel that the mobile looks level.
A few notes on making your mobile strong:
Each dreamer gets 3 evenly spaced jump rings.
The mobile hangs from a large brass ring which the top 3 chains are attached to by jump rings. Using 3 jump rings will disperse the weight more evenly. Do not attach all 3 chains to the large ring with just one jump ring - your mobile will not be stable if you do this.
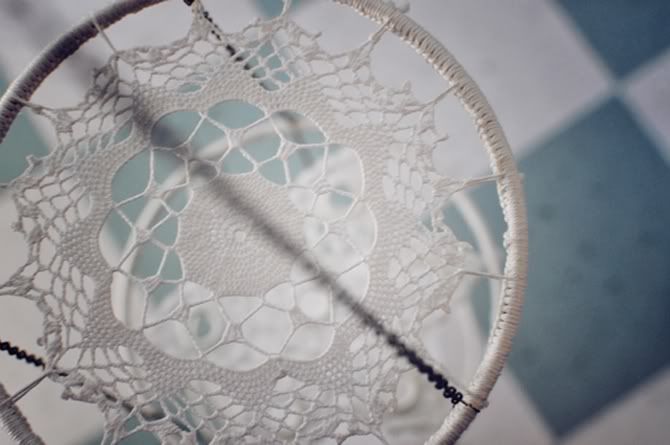
Once your mobile has been constructed, make sure all chains and links are tight and secure. It's time to add embellishments. We chose a velvet bird, some handmade yarn tassels (visit Lune's tassel tutorial HERE) and some white duck feathers.
A note about safety: Make sure that all your embellishments are secure and will not fall off and into reach of your child. If you choose to hang your mobile above your baby's crib, be sure that it is always out of reach and away from little hands and mouths. We installed a hook in the ceiling high above the crib so Eve could watch it twirl slowly above her.
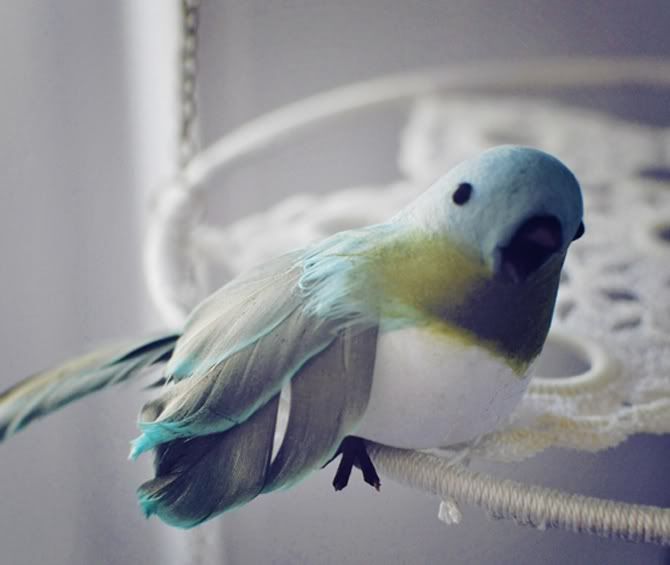
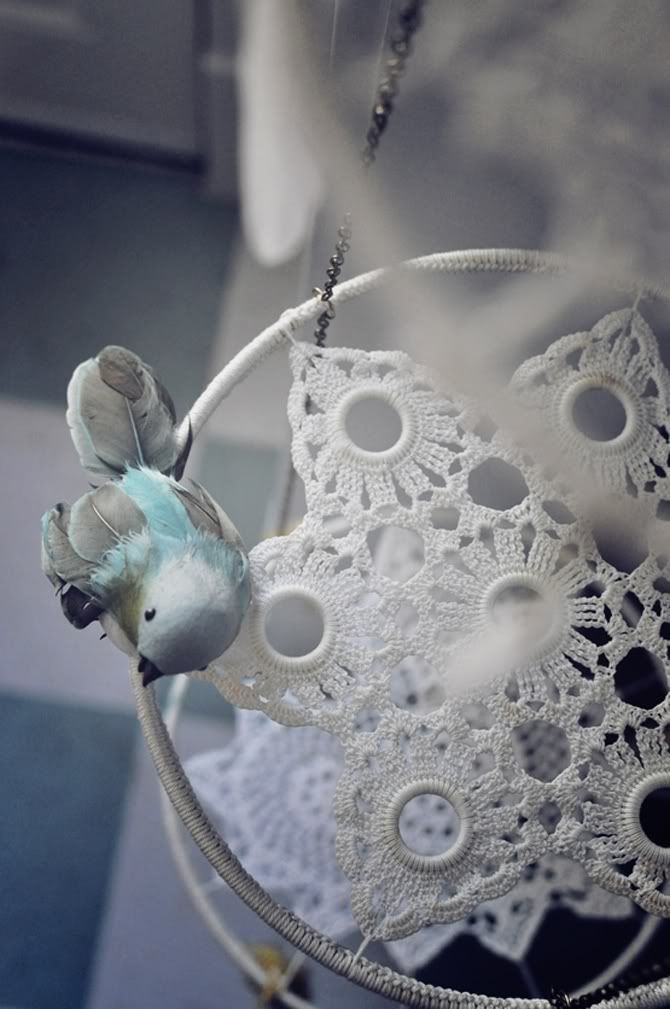
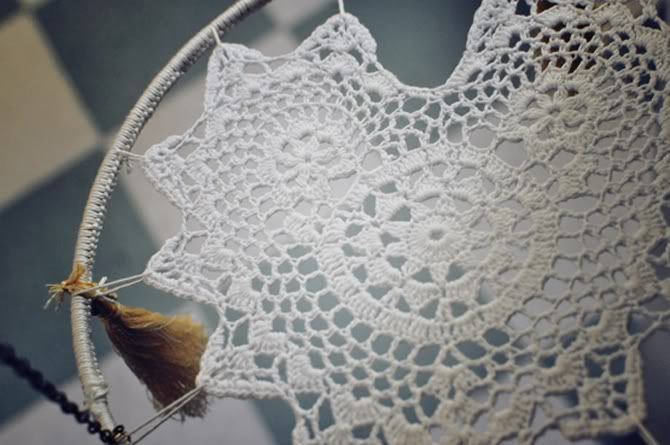
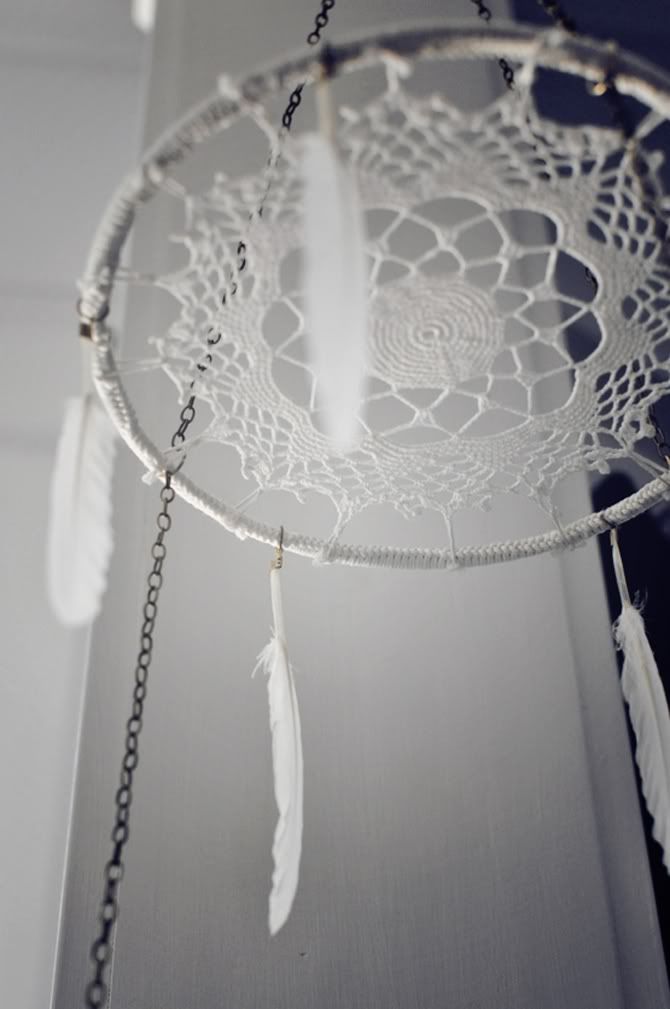
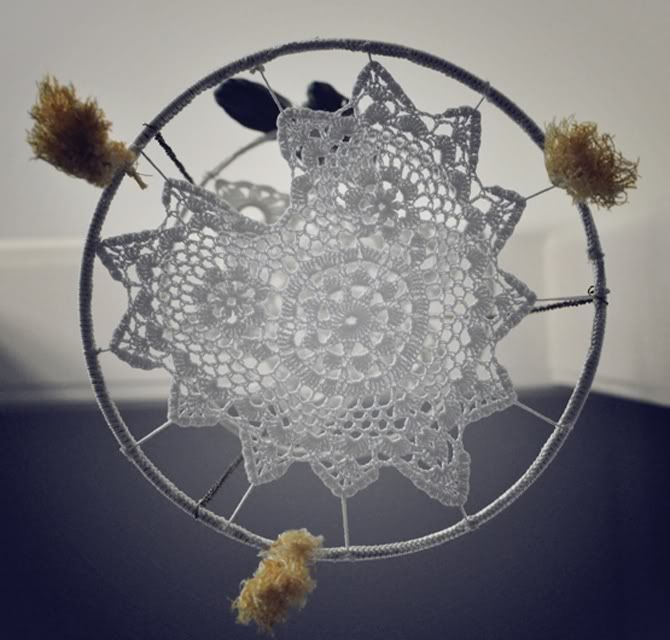
Enjoy creating your own Dreamer Mobile. It's OK to make one for yourself too! Mobiles are a beautiful addition to a sunny corner or a large paned window.
Please come visit us at the Lune Blog for more tutorials and vintage style tips to wear and live with!
- Love Lune
Now let's be honest, we all know we are going to be on a mad hunt now for doilies after this beautiful tutorial. No need to stop with the mobile, hop on over to Lune Vintage for the complete tutorial for the Doily Dreamer and other unique and creative ideas.


2 Comments:
THIS IS ABSOLUTELY STUNNING!!!!!!!
Oooh very cool doily project! I am def amped up to take my crochet skills up a knotch. Would have never thought of something this creative. Very cool. Thanks for the post!
Post a Comment
Subscribe to Post Comments [Atom]
<< Home