body { background:#fff url("http://www.blogblog.com/dots/bg_dots.gif") 50% 0; margin:0; padding:0 10px; text-align:center; font:x-small Verdana,Arial,Sans-serif; color:#333; font-size/* */:/**/small; font-size: /**/small; } /* Page Structure ----------------------------------------------- */ @media all { #content { background:url("http://www.blogblog.com/dots/bg_3dots.gif") no-repeat 250px 50px; width:700px; margin:0 auto; padding:50px 0; text-align:left; } #main { width:450px; float:right; padding:50px 0 20px; font-size:85%; } #main2 { background:url("http://www.blogblog.com/dots/bg_dots2.gif") -100px -100px; padding:20px 10px 15px; } #sidebar { width:200px; float:left; font-size:85%; padding-bottom:20px; } #sidebar2 { background:url("http://www.blogblog.com/dots/bg_dots2.gif") 150px -50px; padding:5px 10px 15px; width:200px; width/* */:/**/180px; width: /**/180px; } } @media handheld { #content { width:90%; } #main { width:100%; float:none; } #sidebar { width:100%; float:none; } #sidebar2 { width:100%; } } html>body #main, html>body #sidebar { /* We only give this fade from white to nothing to browsers that can handle 24-bit transparent PNGs */ background/* */:/**/url("http://www.blogblog.com/dots/bg_white_fade.png") repeat-x left bottom; } /* Title & Description ----------------------------------------------- */ @media all { #blog-title { margin:0 0 .5em; font:250%/1.4em Georgia,Serif; color:#353; } #blog-title a { color:#353; text-decoration:none; } #description { margin:0 0 1.75em; color:#996; } #blog-mobile-title { display:none; } #description-mobile { display:none; } } @media handheld { #blog-title { display:none; } #description { display:none; } #blog-mobile-title { display:block; margin:0 0 .5em; font:250%/1.4em Georgia,Serif; color:#353; } #blog-mobile-title a { color:#353; text-decoration:none; } #description-mobile { display:block; margin:0 0 1.75em; color:#996; } } /* Links ----------------------------------------------- */ a:link { color:#488; } a:visited { color:#885; } a:hover { color:#000; } a img { border-width:0; } /* Posts ----------------------------------------------- */ .date-header { margin:0 0 .75em; padding-bottom:.35em; border-bottom:1px dotted #9b9; font:95%/1.4em Georgia,Serif; text-transform:uppercase; letter-spacing:.3em; color:#663; } .post { margin:0 0 2.5em; line-height:1.6em; } .post-title { margin:.25em 0; font:bold 130%/1.4em Georgia,Serif; color:#333; } .post-title a, .post-title strong { background:url("http://www.blogblog.com/dots/bg_post_title.gif") no-repeat 0 .25em; display:block; color:#333; text-decoration:none; padding:0 0 1px 45px; } .post-title a:hover { color:#000; } .post p { margin:0 0 .75em; } p.post-footer { margin:0; text-align:right; } p.post-footer em { display:block; float:left; text-align:left; font-style:normal; color:#996; } a.comment-link { /* IE5.0/Win doesn't apply padding to inline elements, so we hide these two declarations from it */ background/* */:/**/url("http://www.blogblog.com/dots/icon_comment.gif") no-repeat 0 .25em; padding-left:15px; } html>body a.comment-link { /* Respecified, for IE5/Mac's benefit */ background:url("http://www.blogblog.com/dots/icon_comment.gif") no-repeat 0 .25em; padding-left:15px; } .post img { margin:0 0 5px 0; padding:4px; border:1px solid #cca; } /* Comments ----------------------------------------------- */ #comments { margin:0; } #comments h4 { margin:0 0 10px; border-top:1px dotted #9b9; padding-top:.5em; font:bold 110%/1.4em Georgia,Serif; color:#333; } #comments-block { line-height:1.6em; } .comment-poster { background:url("http://www.blogblog.com/dots/icon_comment.gif") no-repeat 2px .35em; margin:.5em 0 0; padding:0 0 0 20px; font-weight:bold; } .comment-body { margin:0; padding:0 0 0 20px; } .comment-body p { margin:0 0 .5em; } .comment-timestamp { margin:0 0 .5em; padding:0 0 .75em 20px; color:#996; } .comment-timestamp a:link { color:#996; } .deleted-comment { font-style:italic; color:gray; } .paging-control-container { float: right; margin: 0px 6px 0px 0px; font-size: 80%; } .unneeded-paging-control { visibility: hidden; } /* More Sidebar Content ----------------------------------------------- */ .sidebar-title { margin:2em 0 .75em; padding-bottom:.35em; border-bottom:1px dotted #9b9; font:95%/1.4em Georgia,Serif; text-transform:uppercase; letter-spacing:.3em; color:#663; } #sidebar p { margin:0 0 .75em; line-height:1.6em; } #sidebar ul { margin:.5em 0 1em; padding:0 0px; list-style:none; line-height:1.5em; } #sidebar ul li { background:url("http://www.blogblog.com/dots/bullet.gif") no-repeat 3px .45em; margin:0; padding:0 0 5px 15px; } #sidebar p { margin:0 0 .6em; } /* Profile ----------------------------------------------- */ .profile-datablock { margin:0 0 1em; } .profile-img { display:inline; } .profile-img img { float:left; margin:0 8px 5px 0; border:4px solid #cc9; } .profile-data { margin:0; line-height:1.5em; } .profile-data strong { display:block; } .profile-textblock { clear:left; } /* Footer ----------------------------------------------- */ #footer { clear:both; padding:15px 0 0; } #footer hr { display:none; } #footer p { margin:0; } /* Feeds ----------------------------------------------- */ #blogfeeds { } #postfeeds { padding-left: 20px }

Prudent Baby

Get sewing how to, sewing tutorials, and sewing help to learn sewing. We offer sewing tutorial for sewing moms.

Thursday, June 23, 2011

Fun with Fondant: It's Easier Than You Think


Before heading out to the lovely Wilton Workshop (that we were facebooking and tweeting about non-stop a few weeks back), my daughter made me promise that upon my return we would make some cake for her class party at school. NOT A PROBLEM! So, while at the ridiculous-giant-amazing Wilton tent sale, I snagged a bunch of fun pans, one of which was this popsicle mini cake pan.

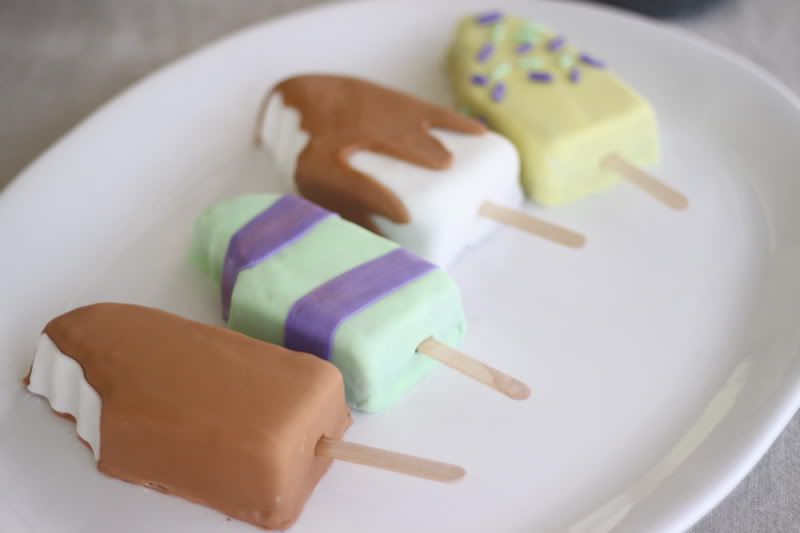
These are perfect for playing with fondant! I had used fondant once before, to create a ridiculous over-the-top cake for Scarlet's Circus First Birthday, and I think I was too ambitious and scared myself off of fondant for a few years. Well, after getting some basic instruction at the workshop, I was newly excited to dig in for some fondant fun, as was Scarlet. It really is a blast to do with your kids. You might even call it edible play dough? Wait, play doug is edible isn't it? Well fondant tastes better. Let me show you how we made a different kind of cake pop and some fondant basics after the jump...
Fun with Fondant

Love this pan.


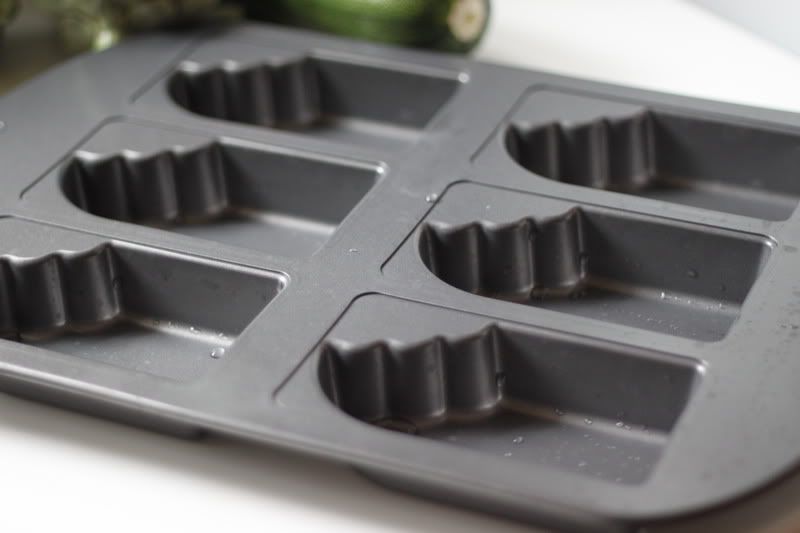
So we baked up some box-mix chocolate cakes in our new pan.


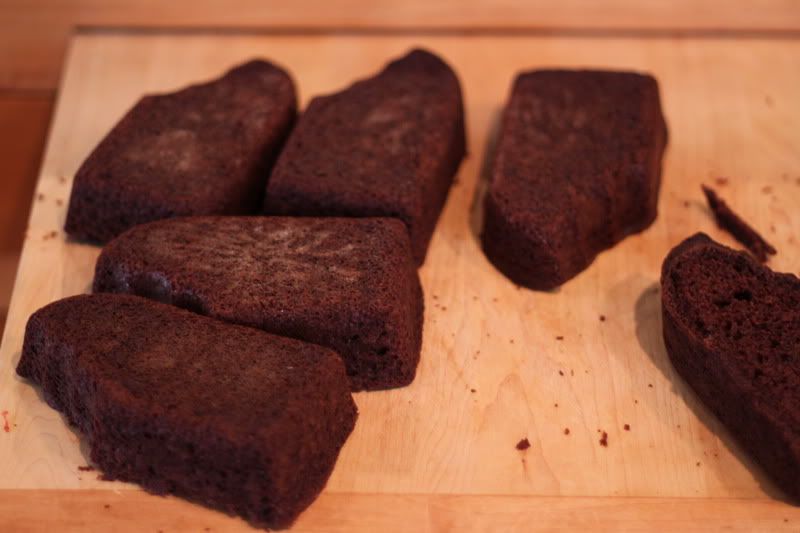
Sliced off the tops.
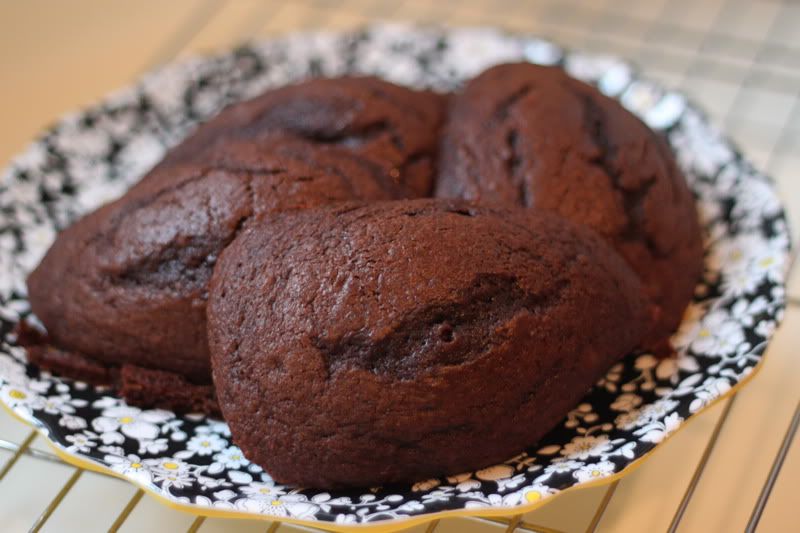
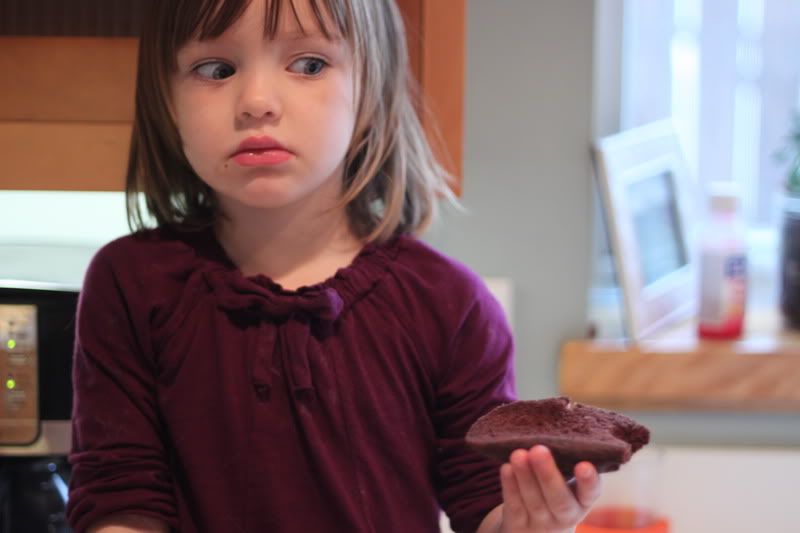

And ate 'em.


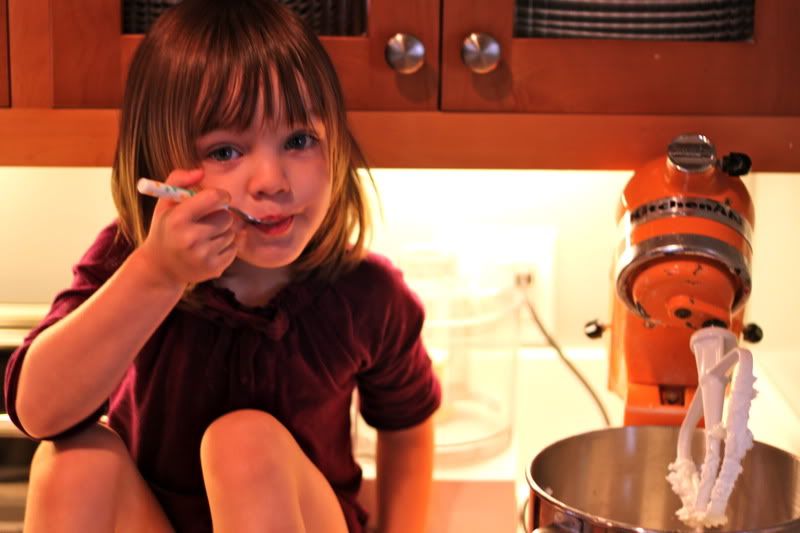
Then we whipped up a batch of Jacinda's Evil Buttercream Icing. Scarlet always sifts the sugar.


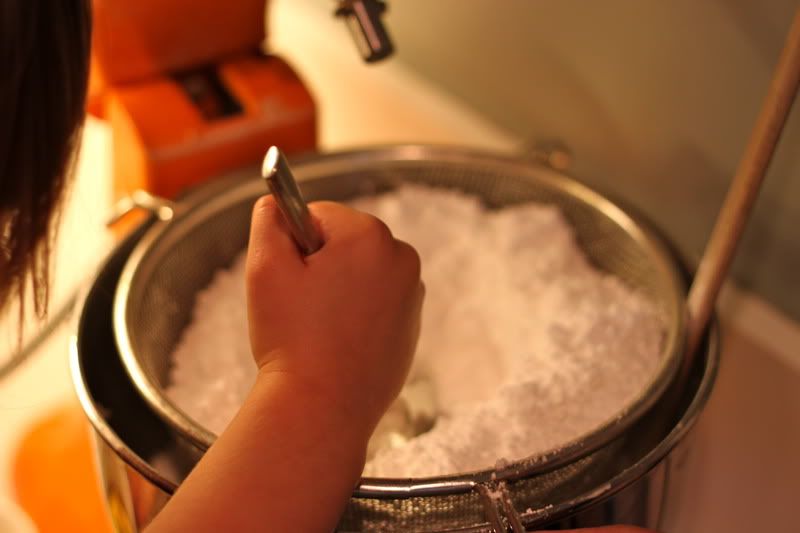
And eats some of it.


So you need to seal your cake with buttercream, but also it just tastes much better and stays moist. I put each cake on an individual piece of parchment paper to make it easier to move them later on.


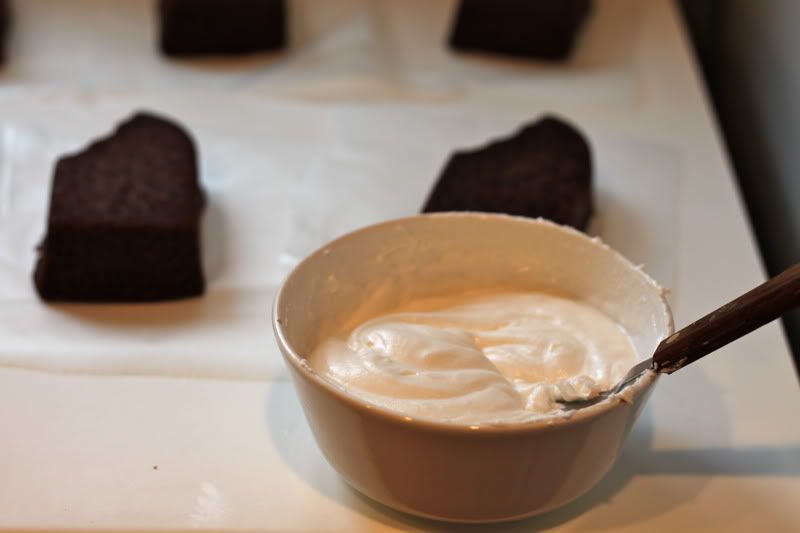
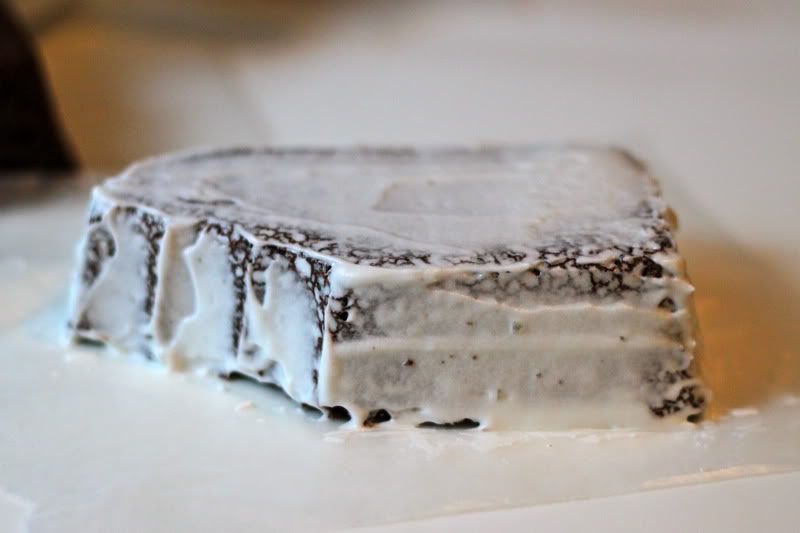
Ice your cake up with a medium consistency icing. Try to retain the shape. Let it dry and form a crust for at least 30 minutes or so. A fan helps speed it up.


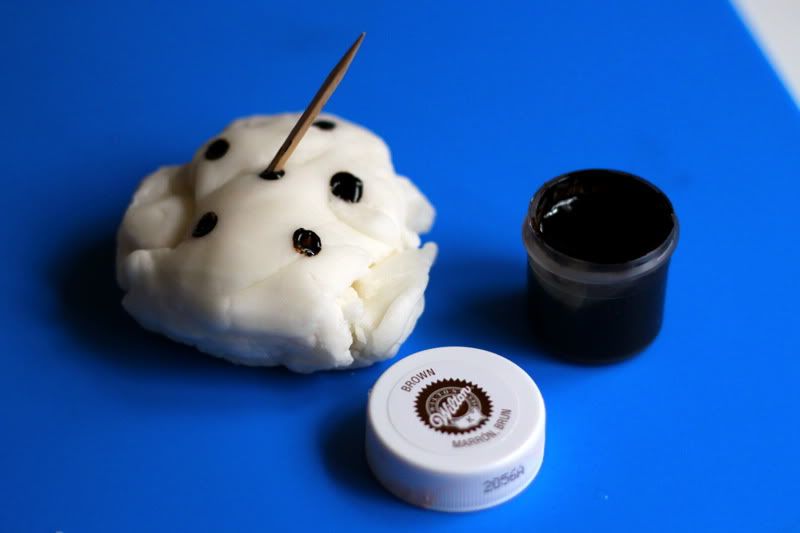
Now for the fondant! You could make your own fondant, but why? It's a pain. We used Wilton rolled fondant. You can get various colors, which we used, but we also wanted some brown. Actually we wanted blackish, for a chocolate look, but I ran out of black after those insane fiesta cookies, so we used brown for a caramel look. Actually, Scarlet called it peanut butter. You can also add vanilla or another flavoring to the fondant if you want, but we didn't. So roll a ball of fondant and poke it with a toothpick with gel coloring on it.


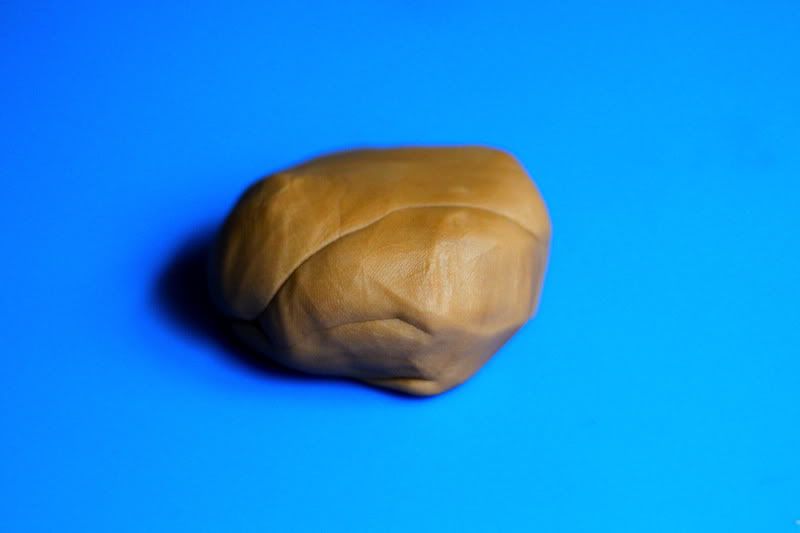
Kneed it until the color is uniform.


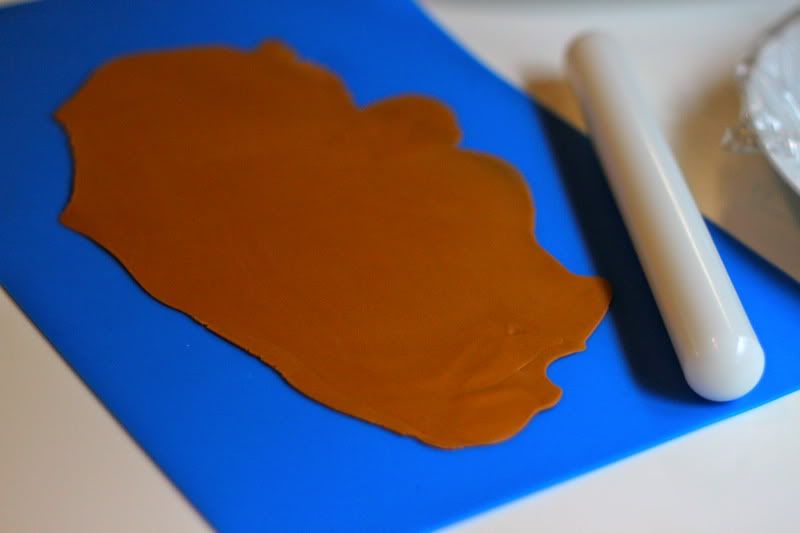
Then roll it out. I used a fondant rolling mat and fondant rolling pin. You can roll your fondant on a regular mat with a regular rolling pin, but it might get sticky, so have some powdered sugar on hand to dust it with.


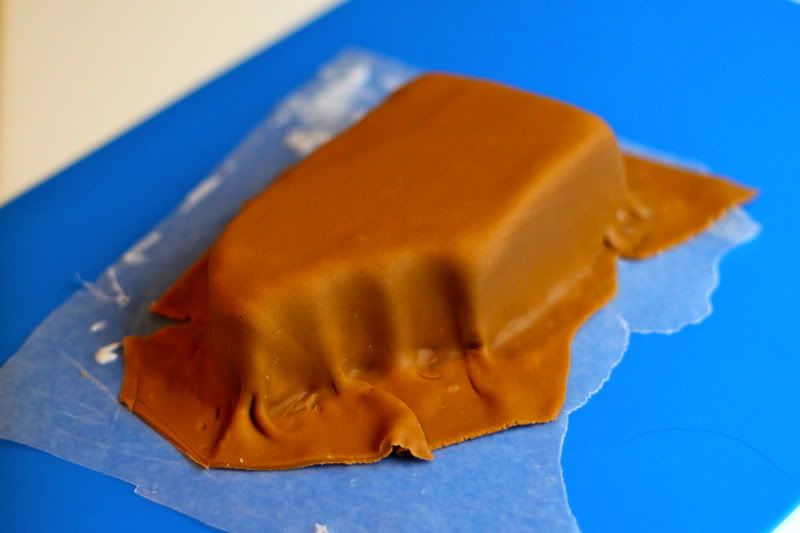
Lift your fondant and drape it over your cake.


Push the edge gently with the side of your hands. Curves and corners take a little practice, but it's not hard.


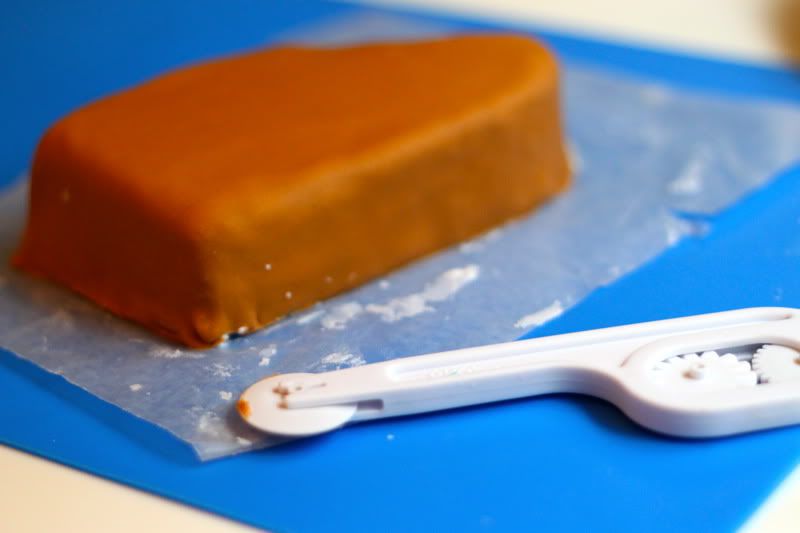
Then cut the excess. I used a fondant cutter. I like this tool because it has a few different plastic "blades" that can create different edge patterns.


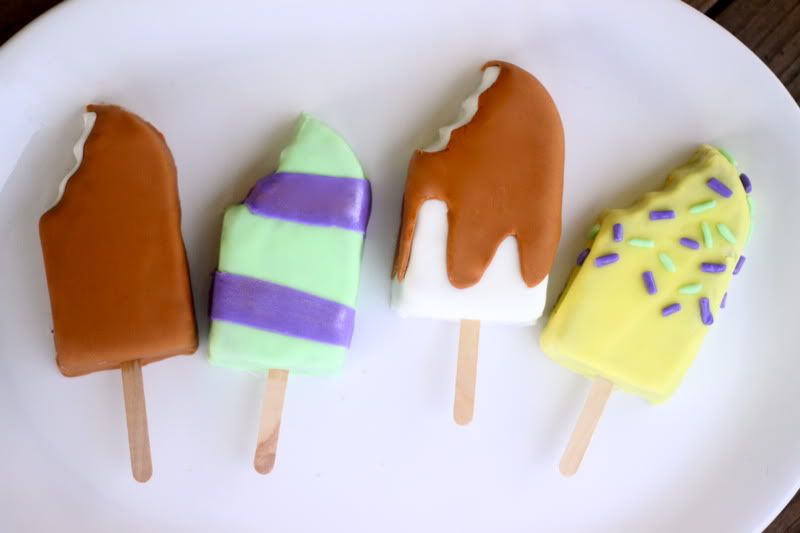
Later we cut a rectangle of white to look like an ice cream center. To attach two pieces of fondant, just brush one piece with water and stick the other on. You can use your fingertip with water, or a brush.


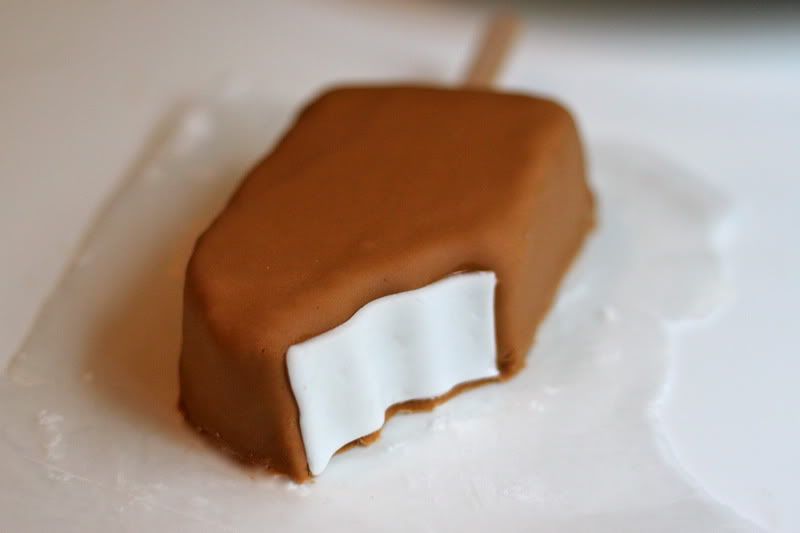
We added popsicle sticks by poking them through the bottom.


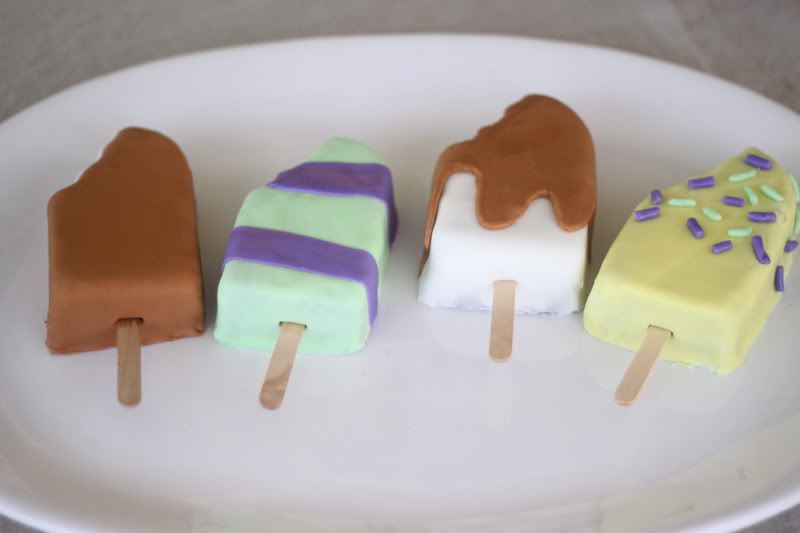
They don't have to be perfect to be totally awesome. It's CAKE! Don't stress it!


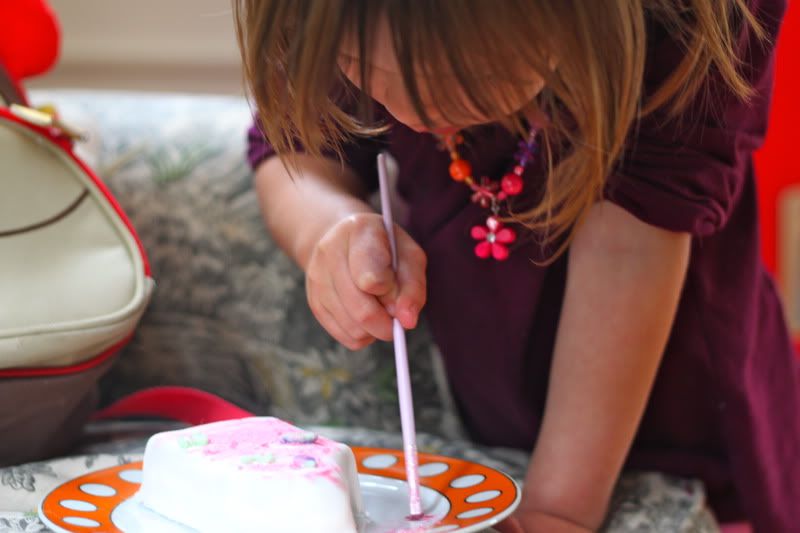
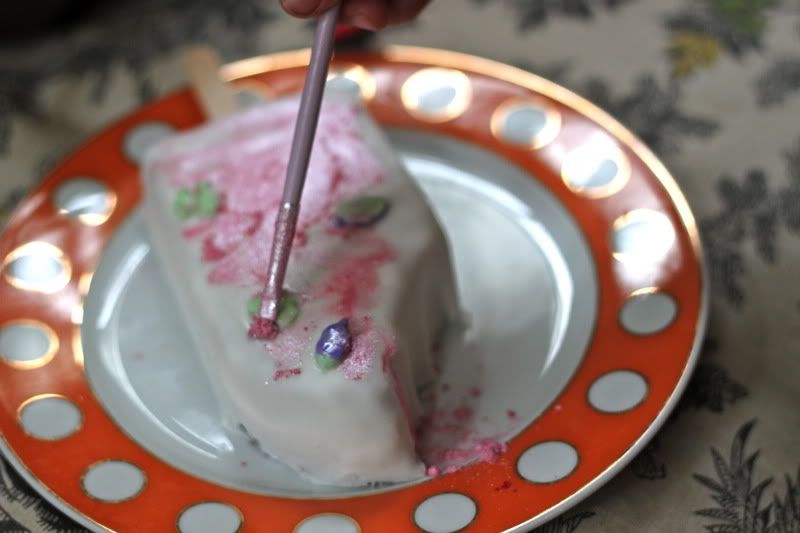
Scarlet wanted to add sparkles to the cake she was making for her dad, so I gave her some wilton shimmer dust and a brush. You just brush it on dry and it sticks. Look at that concentration!


We also used a floral garland cutter/ejector set (it's basically a craft punch for fondant) to make little birds and butterflies. A masterpiece right?


Give fondant a try! You'll totally be glad you did.

Labels: ,

16 Comments:

Blogger Cassie Jewels said...

Reeeeally nice!!! Can i try? Hehehe!!!! It looks yummy!!!

June 23, 2011 at 3:32 AM  
Blogger Shannon said...

Ok, now I have plans for next year's summer birthday party!!! Love love love, although I believe I will make marshmallow fondant as it tastes super yummy (and apparently I am a glutton for punishment)! Thanks mamas!!!

June 23, 2011 at 6:27 AM  
Blogger Amber Bockman said...

that is so cool! Does the fondant taste good? I've heard butter cream fondant is really good!

June 23, 2011 at 6:50 AM  
Anonymous Anonymous said...

Those look great! I love your pan too.

June 23, 2011 at 6:51 AM  
Blogger Amy said...

These are adorable!! I've never worked with fondant, but may have to try it.

June 23, 2011 at 6:51 AM  
Blogger Jeanine The Crafting Fiend said...

those 'popsicles' are SOOOO cute! I need that pan! I've always wanted to try fondant - good to know about needing to seal it! I think I might make these for my girls 1st birthday beach party! popsicles are beachy.

June 23, 2011 at 8:08 AM  
Blogger The Queen said...

That looks like fun although I still don't know if I'm brave enough to attempt it. I'm not a baker by any stretch...

June 23, 2011 at 8:52 AM  
Blogger Rachael said...

This is insanely adorable. Great job! I HAVE to get that cake pan, now!

June 23, 2011 at 9:10 AM  
Blogger sarah said...

I'm terrified of fondant. But now I am intrigued.

June 23, 2011 at 10:29 AM  
Blogger Natalie said...

I love these! Thanks as always for sharing!

June 23, 2011 at 10:57 AM  
Blogger Shavone said...

Did you put fondant on the back sides?

If not, did you have more crumbs when the trimmed side was on the bottom?

June 23, 2011 at 12:26 PM  
Blogger Little Ella Lu said...

These are wonderfully cute and nearly look like real ice cream. I'm tempted to change my daughter's birthday theme!

June 23, 2011 at 1:57 PM  
Blogger henna_hands said...

Oh my, I really want a bite. Your posts and pictures always make me want to invite myself over. Since I love in TX, I am practically in your neighbourhood, right? Right?

June 23, 2011 at 3:22 PM  
Anonymous Anonymous said...

This is timely as I am diving headfirst into using fondant. After only one practice, I have rolled up my sleeves and am now attempting a Millennium Falcon cake for a friend's daughter's birthday.

June 23, 2011 at 10:41 PM  
Blogger BlessedCP said...

My darling SIL and I took 2 cake decorating classes this past (atrocious) winter. The first was basic cake decorating and flowers, the second was fondant. Fondant is so great to work with. I thought it would be difficult, but it wasn't. We made some gorgeous flowers. It was a bit like playing with playdough. :-)

June 25, 2011 at 4:45 PM  
Blogger Jen @ My Own Road said...

Oh my gosh, these are so cute! I've tried using fondant once and it definitely didn't turn out as cute as these!

June 29, 2011 at 11:57 AM  

Post a Comment

Subscribe to Post Comments [Atom]

<< Home