Start Sewing: What You Need in Your Beginner Sewing Kit


Here at Prudent Baby we like to spread the gospel of creativity! We want everyone to know that sewing is superfun, and not as hard as you think! We have been asked, oh 10,000,000 times, to do a post on what a brand new sewer should have in her beginner sewing kit. Finally, we deliver, thanks to our friend Kathy from Merriment Design.
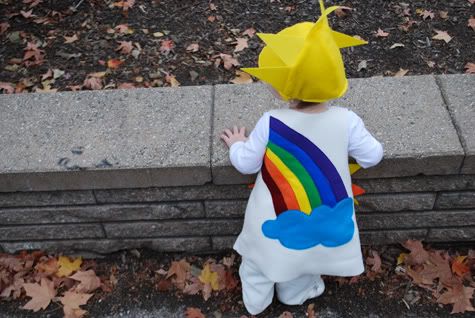
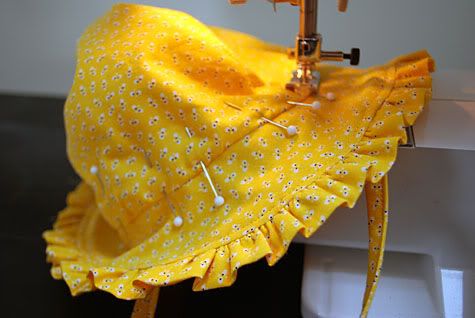
Kathy's projects are always stunning... look at this sunshine and rainbow costume she made for her daughter (and shared a DIY on)...
And these hand sewn wedding invitations that were featured in The Knot (click the link for free download and instructions)...

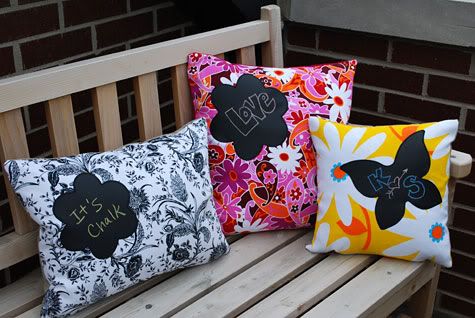
And her chalkboard pillows, which are on sale at Uncommon Goods!
Kathy is here today to tell us what you need in your bare-minimum sewing kit to get started. Take it away Kathy...
So you want to start to sew? Yay! I started sewing Barbie doll clothes when I was 7 years old, fell in sewing love, and now post free simple and clever craft ideas and sewing patterns at MerrimentDesign.com.
When you're starting out as a beginning sewer you really just need the basics and that's good because unlike Jaime my crafting space is city-condo-cramped. So here's what I think you should put in your Bare Minimum Beginner Sewing Kit (and I know you ladies will let me know if I missed anything). Once your kit is ready, celebrate your new hobby by making a pincushion thread catcher to hold pins and clipped threads.

So, after the jump we will start with the obvious...
What You Need in Your Beginner Sewing Kit
Sewing machine. There's no need to spend a lot on your first sewing machine. Borrow one from your aunt, find one on craigslist, or buy basic model. As long as it's easy to thread and sews straight and zigzag stitches like on these planes, trains and automobiles burp cloths you'll be set for most beginner projects. And you can always upgrade later. For more info, check out Prudent Baby's sewing machine buying guide.

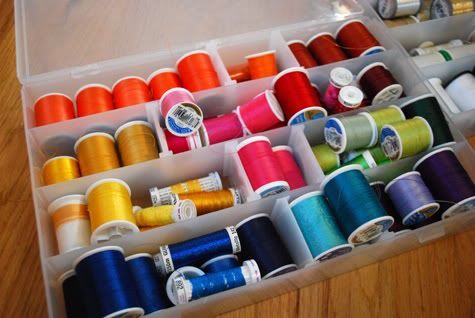
Thread and Thread Holder. I hate unorganized and dusty thread spools so I keep mine cleanly tucked inside plastic stackable boxes organized by color ...so pretty. Here's a tip: When choosing colors, pull the thread under the sticker on the top rather than comparing your fabric the whole spool for a closer color match.
For efficiency, I use white bobbin thread as much as I can which brings me to...
Metal bobbins (and magnetic bobbin holder). Bobbins hold the thread for the backside of whatever you're sewing. I LOVE my metal bobbins and magnetic bobbin holders. They keep my bobbins neat and tidy. I've had these forever and have been unable to find the same style so if you find them out there, please email me. Make sure you get the right size bobbins for your sewing machine!
Painter's tape. This is my trick for sewing straight especially when working with large fabric pieces like my fabric baby safety gate project or baby crib dust ruffle - just measure from your needle over to the tape edge and sew straight for days. Jaime tipped me onto her rubber band trick but I somehow managed to keep shifting the band with my arm; we happened to be painting so I grabbed my blue painter's tape which peels off cleanly.

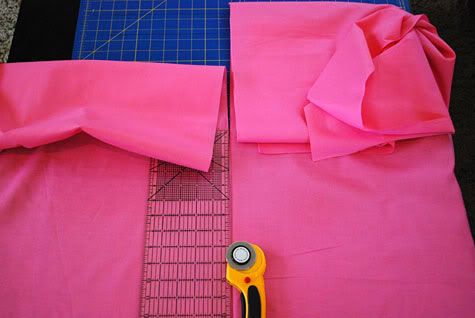
Rotary fabric cutter, large clear ruler
and large self-healing mat
. My readers at MerrimentDesign.com know that I preach about these babies all the time. If you are cutting a lot of fabric, this trifecta is going to get your fabric cut fast so you can move on to what you really wanna do -- sew.
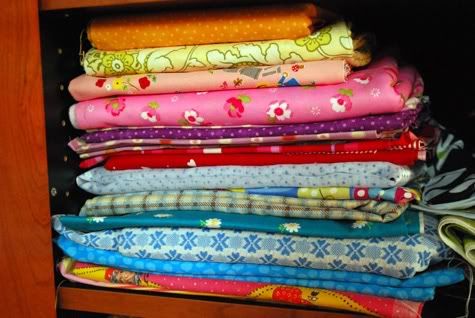
Pretty fabric. Who isn't a sucker for pretty fabric? It's probably best to stick to cottons when you first start sewing because it's forgiving - the last thing you want to deal with when you're just starting out is fraying or puckering. We love Fabricworm, and especially their custom bundles, for building a collection.
Good fabric scissors. Be spendy on fabric scissors and use them only on fabric - no paper, no cardboard, heck no. Get a big pair as well as a pair of cute little stork scissors for clipping threads.

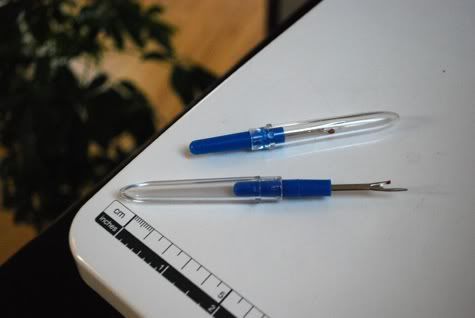
Seam ripper. Well, we all make mistakes. Best have this little helper in your corner to help you start over again.
Air-soluble fabric ink pen. I try to avoid marking on fabric (see rotary cutter and self-healing mat below) but when I do, I use an air soluable ink pen. Other ink pens erase with water but air erase means no extra drying time. I used an air-soluble pen to help me cut out and line up the rainbow on Elise's sunshine Halloween costume.

Glass head pins. I just like how cute these pins are and they're easy to grab too. Any Project Runway fan knows that advanced sewers don't sew with pins because they slow you down; sometimes I get away without them but there are times when it's just easier to pin.
Bias tape. Bias tape makes your edges to look nice and is great to use when your lines are curvy or you don't feel like turning under a hem like on my apron with potholders and secret iPhone pocket:

Jacinda and Jaime have a bazillion ideas for using bias tape. You can use bias tape to cover up raw fabric edges and also add a bit of color. Buy bias tape by the packet or if you're feeling adventurous you can make your own with Jaime's tutorial, How to Make Bias Tape. Then you can learn to use it here: How to Sew with Bias Tape.
Extra sewing machine needles. Sharp needles on your sewing machine help you sew prettier as well as prevents thread breakage so you should change your sewing machine needle once it starts getting dull. Keep in mind whenever you're sewing paper like these sewn wedding invitations your needle will get dull pretty quickly.

I should also mention that there are different needles for different fabric. Using a heavyweight needle will make a big difference when you're sewing denim or canvas.
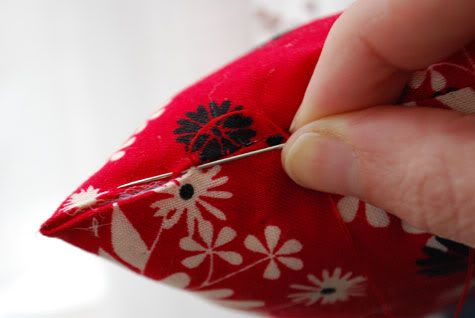
Hand sewing needles. Even with a sewing machine you'll use hand needles here and there, close a pillow opening here, sew a button on there.
Good Rowenta iron (and ironing board
). I generally hate ironing but having a nice iron that gets creases out and helps you turn under edges is definitely a sewing kit basic.
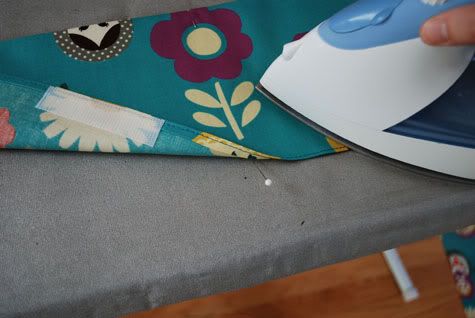
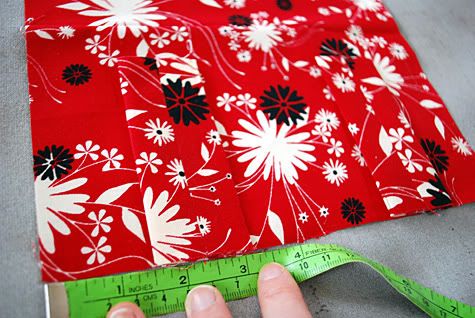
Tape measure. Measure twice, cut once. And avoid letting your iron touch your tape measure because they can melt, trust me :)
Interfacing. Interfacing is the Spanx of sewing -- it just makes everything look a little better underneath. Use interfacing when you want your fabric to just be a little crisper and hold up a little better, like these large colorful baby blocks. There are two types of interfacing -- iron-on and sew-in
-- and there are different weights but I tend to use iron-on craft-weight interfacing
the most.

So now that you have your basic kit here are a few fun basic plus items to make your sewing a little more crafty: buttons, Velcro, grosgrain ribbon, inkjet printable fabric
, pillow stuffing
, wool felt
, chalkboard fabric
(I'm a junkie).

Happy sewing from MerrimentDesign.com!
Thank you Kathy! This is a wonderful list. So, what do y'all think? Anything you would insist a new sewer add to this list? Let us know in the comments, and make sure to visit Kathy at MerrimentDesign.com!
posted by Jaime @ 12:01 AM
![]()

18 Comments:
Awesome, thanks! Looking forward to checking out your projects too!
that painters tape idea is BRILLIANT!!!! Thanks for that! (I also love the magnetic bobbin holder)
Great list! I hope it inspires someone to start. And truly, if you don't want to plunk down so much money at once, just get a sewing machine, scissors, thread and fabric. Oh and a seam ripper and pins. I'd say that is the bare minimum to get going, and then all the rest you can slowly add through the first year or so. I finally got a Rowenta iron this month!
Yay! I just finished her baby travel blanket last night! Love her stuff and these suggestions.
I agree with krista that is isn't exactly the basics, but it is a great list... love the magnetic bobbin holder, I don't have metal bobbins but I would love them just for this
This is a very comprehensive list, not sure all of this is required, and I only say that because I have been sewing religiously for about 10 years and sewing period since I was 11 and I still do not have all these things. This comprehensive of a list might be a bit daunting for newbies. I agree with Krista, the bare minimums are sewing machine, thread, bobbins, seam ripper, iron and ironing board...and a whole lot of patience!!!
I love this post! It seems like it would be a good wedding/baby present to put together a start-up sewing kit. Thanks!
As a somewhat advanced beginner, I would recommend getting a really nice seam ripper, because if it's not comfortable in your hand, it won't be very fun when you have to rip out six seams three times in a row (ask me how I know...).
Great list! Very thorough. :)
I love the magnetic bobbin holder. I'm going to have to get one of those. My bobbins have either been floating around the top tray of my sewing box or placed back in the box in which the empty bobbins came. My machine is so old- was my mother's and possibly my grandmother's before that. Sometimes I worry that it limits my sewing abilities, but for now I make do. I've been branching out since I discovered all the wonderful step-by-step tutorials you can find on the internet, and Kathy is right, sewing really isn't that hard! I've just been taking baby steps. I need to conquer a project with bias tape. I know how to make it but not how to sew with it.
"Interfacing is the Spanx of sewing"--- so funny because it's true! :)
I loved the interfacing comment... although that reminds me that my belly (post babies) is in need for some spanx! But I also need interfacing... decisions, decisions?
I love this website and have made/want to make several of the (beginner) projects you've posted. Thanks so much for this post. I'm a beginner sewer and have most of the items listed, but several things listed will make my life so much easier! Thanks ladies :)
I was one of the ten million who asked for this post! Thanks so much! It is very helpful.
I agree it's an extremely comprehensive list and not what I'd call the bare necessities to begin sewing--especially as I sewed several projects before I even got a sewing machine, and many many more projects without many of the items on this list. I still don't have all of this stuff!
This is brilliant! I love that you make sewing seem o do-able. I don't have to have a serger or $3000 sewing machine?!?!?! Loving it!
so helpful, thank yoU!
Awesome kit!...I sew all the time. Most things from prudent baby, and my collection isn't even that pretty and fabulous. Though I am so excited to try the pin cushion thread catcher. Can't tell you how many time I have stepped on a pin, and wound up with a beautiful new outfit for my daughter, and a bloody stumped foot for me :)
Post a Comment
Subscribe to Post Comments [Atom]
<< Home