How to Paint Brass Finished Finds
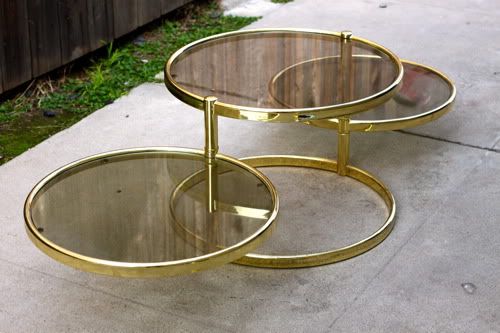
Before:
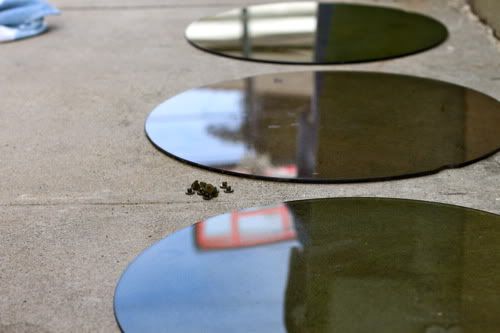
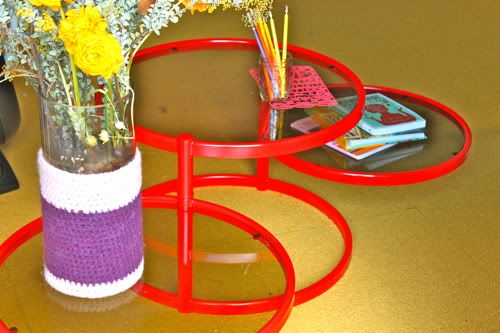
After:
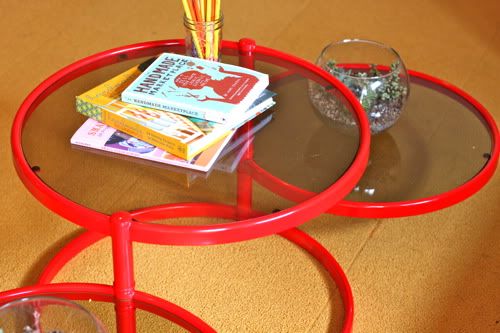
So many adorable things are in an outdated shiny brass finish, much like this sort of awesome table, one of my thrifty finds for the Craft Room Redesign Project. I read all of your advice, then looked at the space, then still couldn't decide, then just went for a bright shade of red.

There's a few tricks to re-painting brass finished items, but overall it's easy peasy. Imagine what you could do with cheapo thrift store brass light fixtures! Find out how to repaint brass after the jump...
What do you think of the red? Have you re-painted anything brass or brass-finished? Tell us abuot it in the comments, or post a picture on facebook. You could win some adorbs ueklele fabric!
How to Paint Brass
So I found this table for $44 on ebay.
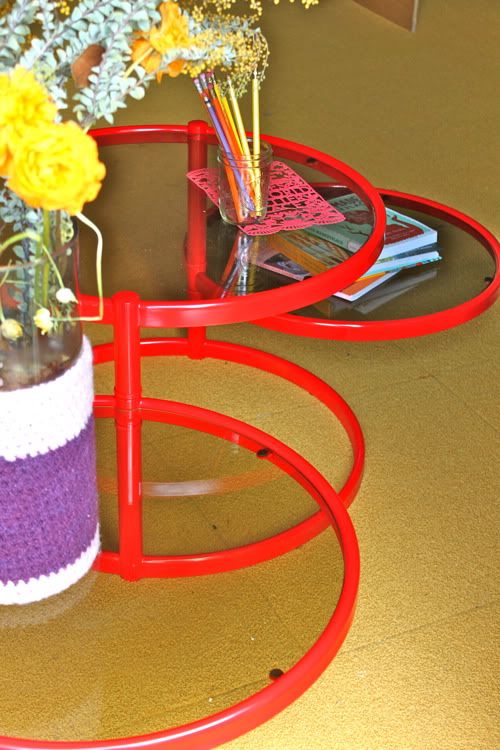
I love that it swivels to save space, so I can fold it up when I need to pull out the fold out bed for guests.

I also just thought it had potential to be neat-looking.
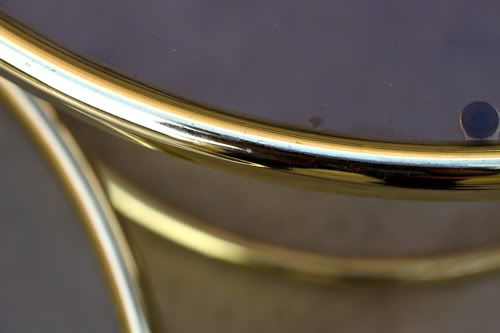
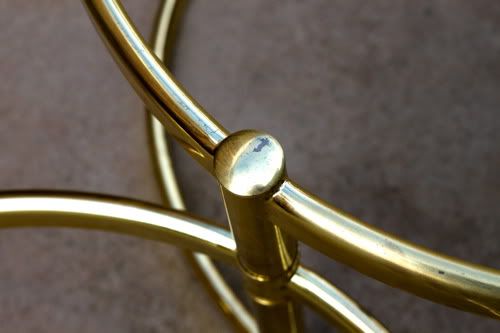
First you need to check if you item is actual brass or just brass finished. The first sign is that actual brass is super heavy. The best way to check if it's actual brass is to stick a magnet to it. Brass is not magnetic, but brass-finished metal is. If you are out thrifting and don't have a magnet, you can give the finish a little scratch. If the scratched area seems white or silver, then it is just a brass finish. Kinda hard to see in the picture, but the scratch proved that this was just a brass-finish table. Score, because re-painting brass requires some etching into the brass that is a pain. Re-painting brass finish is way easier.
So first I removed all of the glass (it just lifted out) and the rubber stoppers between the glass and the table (those little black things):
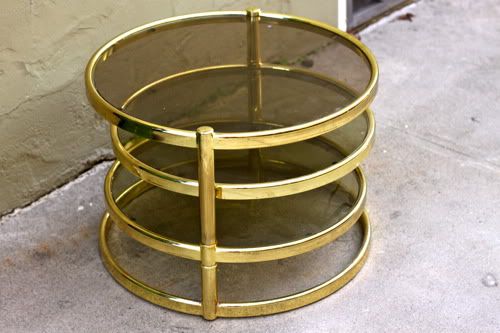
Now we just have our table frame:

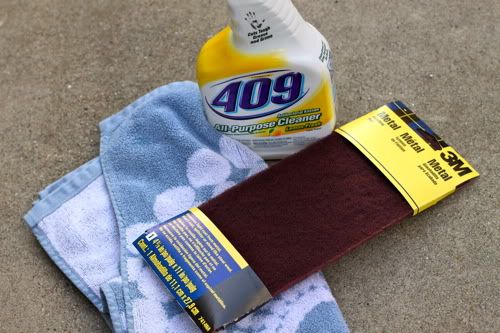
Now your supplies. Cleaner, towel, and steel wool or scouring pad. Clean the table well.
Now use your steel wool or scouring pad and rub it all over the frame. You'll see it leaves some scratches in it, we are preparing it to hold the spray paint:
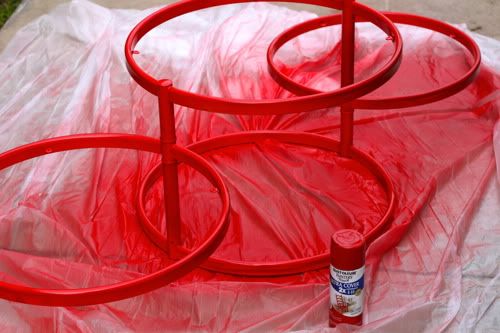
Lay down a tarp or plastic sheeting and shake your spray paint really well. Always buy two cans of spray paint, you will always think you can do it with one then have to go to the store for another can. Give the piece a light coat of paint all over and let it set for an hour or so:

Give it a second coat, then a third if necessary. Keep the can 12" away as you spray to avoid drips. Drips are your enemy. Don't be in a hurry.
Let it dry overnight. You can seal it with a sealing spray as well. Then put your stopper and glass back in (or whatever accessories).

What do you think? Do you like the red? Too eighties or just ballsy enough? I know y'all aren't superfans of the tinted glass but I couldn't bring myself to mess with it just yet. Each pane is a different shade, there's some 80's-fab about it that I like, though it looks better in person than in photos. We'll see how it looks all put together, then I'll make a call.
I can always go back and repaint it if it doesn't fit in with my final look, but I think once you see what I did with the chair and couch, you might like it.
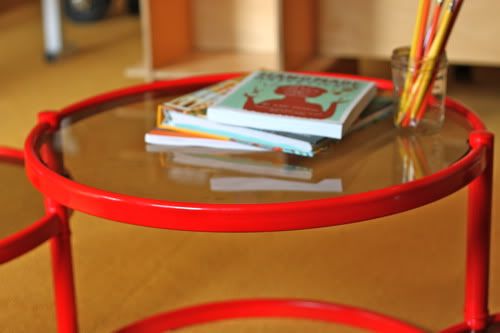
Throw some plants and crafty books on there. I love Handmade Marketplace and Handmade Beginnings
so much.
Jacinda gave me those pencils years ago (they have my name on them!!) and they're like my favorite accessory ever.

Voila.
Labels: DIY, Furniture, In One Evening, Recycle, thrifting, Tips
posted by Jaime @ 7:12 AM
![]()

25 Comments:
I LOVE the way this turned out!! The red looks GREAT!!
I think it looks fantastic. I always get drips when I paint, I'm so impressed!
love it! can't wait to see the rest of the room
I Love it! Red and "dots"-what could be better!
Awesome table. This is great information. Thanks!
I love the red! And I think the glass would look super awesome if you etched some patterns onto them. Although, I have no idea if that works with tinted glass. Can't wait to see the finished space!
that is an awesome table!!! i love the red... great choice!
I love the table and don't mind the tinted glass whatsoever... it makes the table look like a funky pair of oversized sunglasses--neat!
Wow, that is so pretty!
It looks great! I keep seeing great refinish projects with spray paint, I really need to do this one of these days!
that looks so good! perfect for your crafty garage space.
wow this looks 100X better than before!
Great timing! I just picked up a brass-like owl trivet on my last thrifting trip and he's in need of a pop of color before he gets repurposed into a wall hanging.
I love the finish on the table!! My husband refinished some ooogly brass floor lamps with a burnished bronze finish. I found a new lampshade for one of them, and it now looks like one I found for a couple hundred dollars in a lighting store.
This turned out great! I have a brass thing I want to paint, but didn't know if it could be done! Thanks!
I've done this with a brass finish chandelier to make it hot pink for my little girl's room. I hung it in my tree to paint it. My neighbours must have thought I was batshit crazy, with this hot pink chandelier hanging in my tree all day. It had to dry! lol.
I solicited Hobby Lobby's help with painting over brass/brass finish. Two employees assured me it couldn't be done. So I, trusting hobby lobby infinitely, bought a new ceiling fan instead of painting it. I will keep my eye out for brass finished pieces to paint....then maybe I will take it to hobby lobby and teach them something ha!
I love the red, what a nice functional accent! I just painted all my brass drawer & door pulls in my bathroom in an antique white, I really love them but am missing one that my toddler walked off with :(
I'm not gutsy enough to do red in furniture... but I love it.
That is absolutely fantastic! I love the red and you have given me hope for all those brass type things I find that seem cool but I despise the brass look.
This is great thanks! I have an old brass headboard that I've been wanting to paint so this comes in handy!
Loving the red, a smidgeo 80's for my kinda style but still, kinda diggin it.
I reckon etched glass would look awesome......may even swing me to lovin it...
We actually had that coffee table when I was growing up! I like your red version much better!
Love that red!!! I think covering the glass panes with retro fabric (you can modpodge it from the under side) would look great. Almost like embroidery Hooplas (see craftster.org for all the hoopla stuff) or BetzWhite.com for her fabric samples framed in hoops. but it looks great!
can't believe it... just got this same exact table... googled "paint brass" and this post came up... i'll send along a photo once we paint. thinking of creating wooden circles for the middle too...
Post a Comment
Subscribe to Post Comments [Atom]
<< Home