DIY Decoupage Key Holder

I lose my keys, I don't know, like five or six times a day. So I decided it was time to create something to hang them from, right by the front door. I grabbed a wood plaque from Michael's, some screw-in hooks, a little paint, fabric, and mod podge, and here's what I came up with. I even added an extra hook for the Prudent Dad, though he is usually the one finding my keys, which are usually buried in my purse. But that's not the point: The point is that you can make one of these very easily!
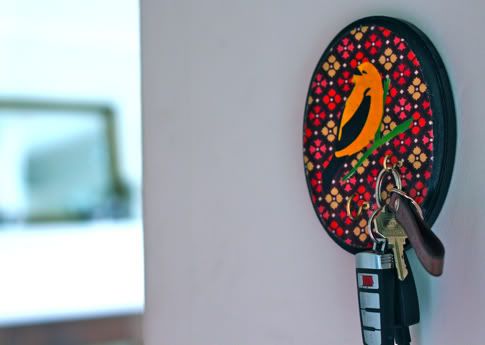
You know what was really funny, was that Carleton totally loved this thing, and immediately hung his keys on it, then when we went to leave the house to go trick or treating, we could not find his keys anywhere. It took us ten minutes to realize they were hanging on the keyholder, HA.
Anyhoo, Get the full DIY Key Holder Tutorial after the jump...
And this week's prize for fave comment is a little starter set of mod podge, fabric, and sponge brush so you can take a go at making your own. Just leave a fabulous comment and you could win it!
DIY Key Holder
1. You'll need a wooden plaque. These are a few bucks at craft stores, depending on shape and size. You could make a big one with lots of hooks and shelves and whatnot, that would be cool.

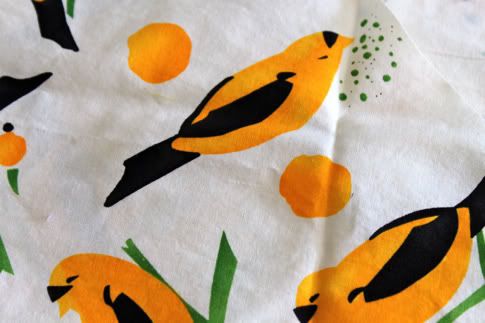
2. I started by cutting a bird out of the gorgeous Alexander Henry Birdsong fabric from Fabricworm that I've been hoarding since the Duvet Cover tutorial. Unfortunately it's sol out everywhere, but I am giving away my last 1/4 yard as this week's comment prize!
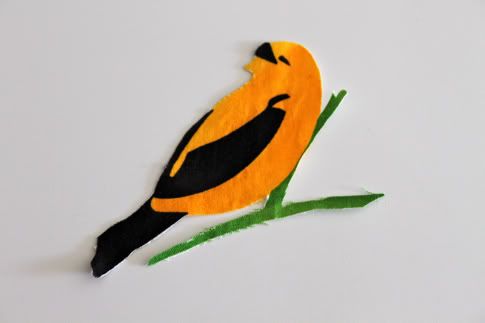
Here is my cut-out bird. I actually went back after this and trimmed off the frayed bits. Frayed bits are the enemy of decoupage.
3. I wanted to stain my wood but I couldn't find my stash of wood stain. I should probably find it. That's not the kind of thing you want to lose in a house with a kid. But anyway, so I painted the edges black with a foam brush and a house paint sample. I probably should have sanded it first, but I didn't, so there.
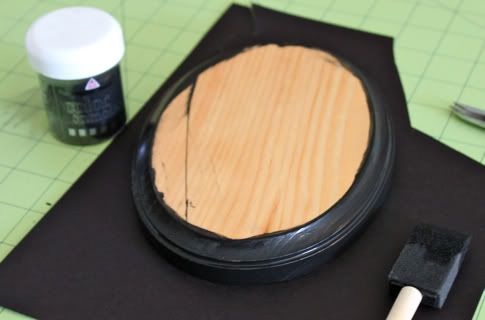
Let that dry.
4. Now trace your plaque onto the back of your background fabric:
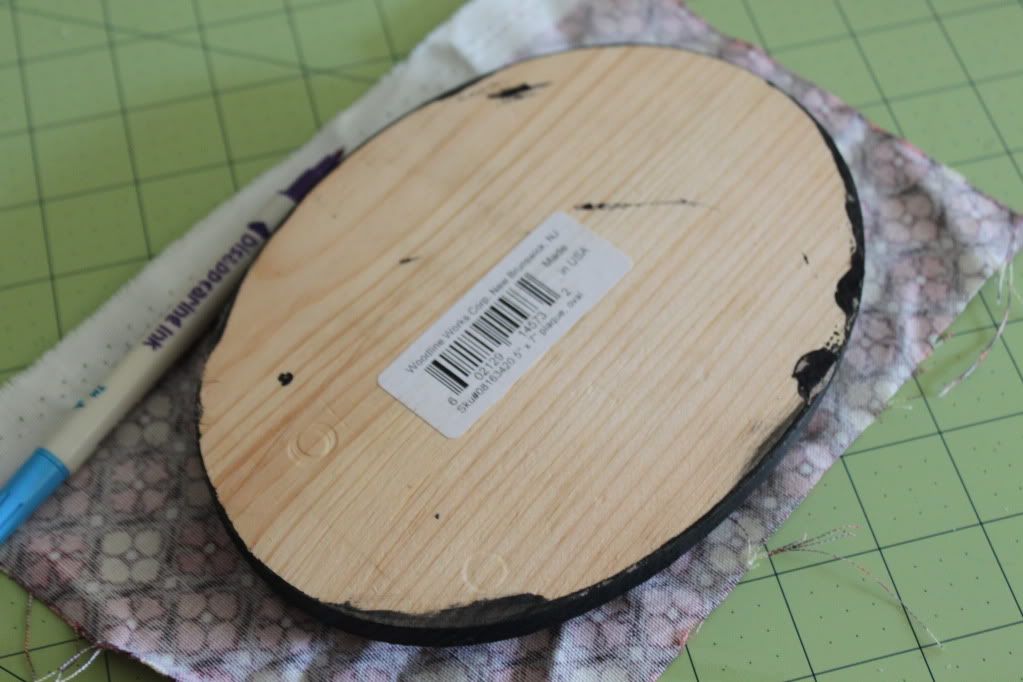
Cut it out. Lay all your stuff out on your plaque to see where you want it:

Decide where your hooks will go and mark:
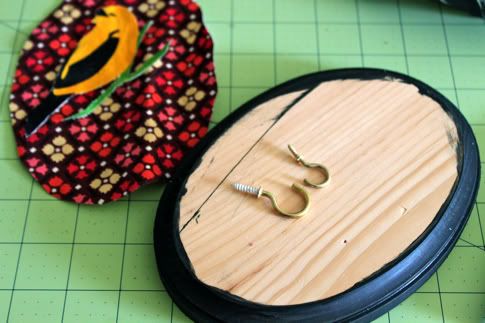
Drill holes for the hooks:

Also poke them on the fabric:

5. Now smooth on a layer of mod podge:
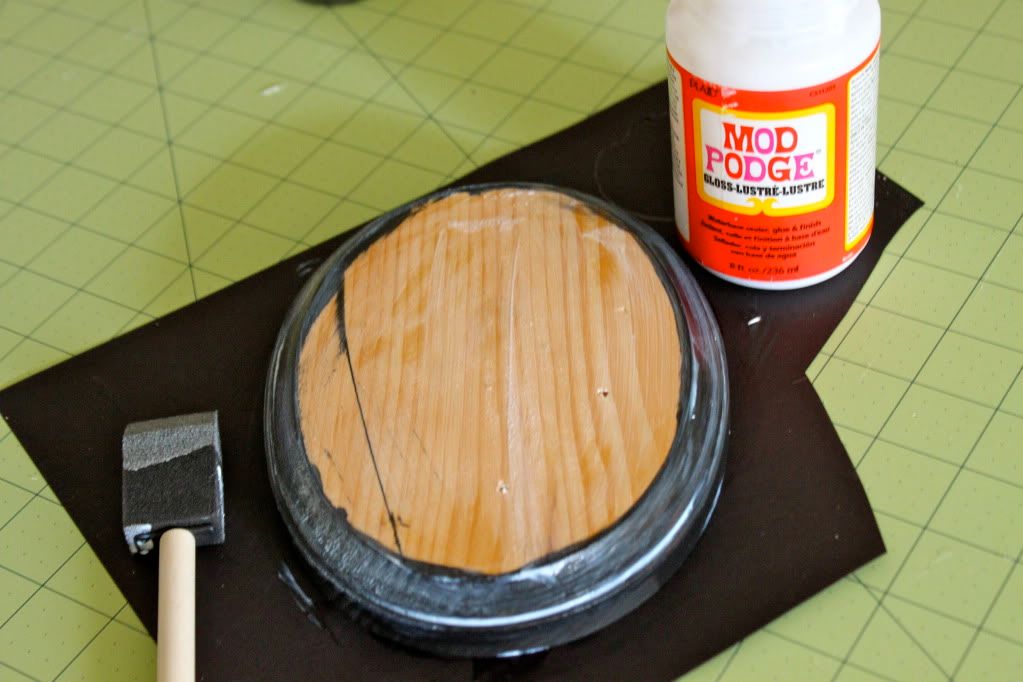
PLace your background fabric on it and smooth out the air bubbles:

Let it dry for at least 20 minutes.
6. Now apply another layer of mod podge:
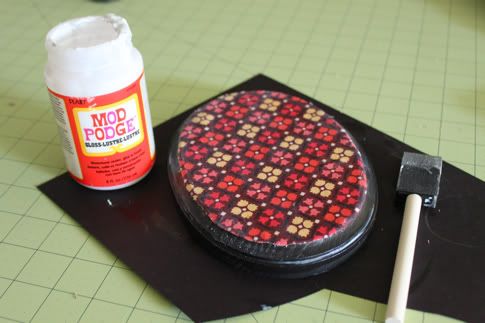
Put your next fabric bit, in this case my bird, on top and smooth out any bubbles:

Let it dry for at least 20 minutes, then apply another layer of mod podge on top. You can apply more if you want. If you have sealer spray then use it when your mod podge is dry, then your key holder will be water resistant.
7. Screw in your hooks:
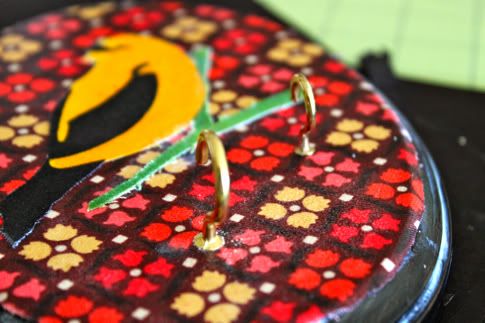
Done!
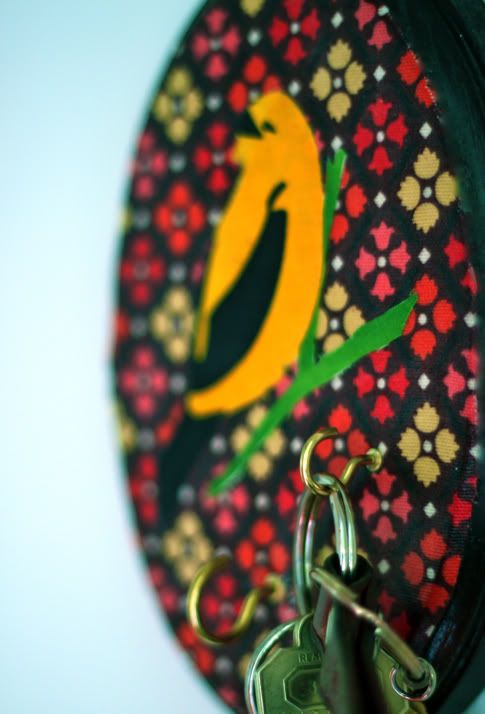
Labels: Decor, decoupage, DIY, Gifts, In One Evening, Organization, Under $5, Wood

16 Comments:
Ok you ladies HAVE to know that this tutorial is perfect for me!!!! If you knew me then you would know that i lose my keys all the time... I mean AAAALLLL THEEE TIME! Actually this morning I could not find my debit card.... thank the lord above I found it. Maybe you should make something so I could not lose that... hmmmm
I can't wait to make this. Seriously my husband usually grounds me from being in charge of the keys b/c I lose them all the time.
I love it. I would probably need the bird to tweet and remind me that I had actually hung my keys on the hook. Key location is my constant nemesis.
what a lovely idea!
Not like I've never seen a key hook before, but I looked at your photo and thought, "Duh. We NEED that," and then, "Duh, I could MAKE that so easily, and it would be fun to boot." Thanks for the inspiration and the cute design idea.
When I was about five, I couldn't find my jacket anywhere. WE looked and looked until finally my mom suggested looking in my closet. Relunctantly (feeling totally superior to and doubtful of my mother's idea), I strode into my bedroom, opened the closet door and there it was hanging in my closet very neatly. I brought it out to her and with an air of superiority (apparently not willing to give that bit of ego up yet), I proclaimed, "It was in my closet. I must have put it away by mistake."
This may be a family trait, to put things away "by mistake" because the quotation has lasted in our family as a kind of inside joke explanation to the finding of many-a-thing, be it a jacket, keys, a wallet, shoes, etc.
As I am still very much a loser of things, I will make one of these glorious hooks (as I've been meaning to for a while anyway, and this is just fantastic) this weekend. What fun!
Yes ma'am, THANK YOU!!! I really don't like keys in bowls or on the table. . . the gnomes get them (along with my sunglasses which I still can't find, but I found my favorite shirt in the sock box. They are so sneaky, but I digress). . . sooooo, I will be making one of these for the daddy and the mommy. Thank you very much, you are so entirely clever.
There is no craft more useful than one that helps keep track of keys!
Ok...I am going to have to make this one! I can't ever find my keys! When I ask my husband if he knows where they are his response is "They are probably with your cell phone" and of course my next questions is..."Where is my cell phone" So when I make this project and find a place for my cell phone I will reclaim about 2 hours a week of my time that I spend looking for them!!!!
When i was in primary school I lost my entire school bag on the first day back at school. Never saw any of it again! Needless to say my mother was livid!
BTW if you want to stop the fraying, put a layer of modge podge over the fabric before you cut it:)
This is ultra fantastic!! I think this is a must-have in our house, and not for me ;)
I love this! I have some awesome Japanese fabric that I've been saving for three years and just didn't know what to do with, but this is it! Thanks for the inspiration. :)
I love it! But my hubby wouldn't go for it. He thinks birds are to girly. Maybe if I put a grizzly bear or wolf or some other manly animal.
This is an awesome idea! I bet my daughter would love to make something like this to hang in her room to keep her bracelets and necklaces on. I think I smell fun weekend project!
I think that you guys read my mind, because I just made a similar item to this one last week!! I cut out some cars from the Riley Blake Wheels fabric and decoupaged them onto a chunky wooden frame, the added the key hooks. It is all stuck together with homemade decoupage medium (aka: 1/2 and 1/2 glue water paste), so a few coats of actual ModPodge would actually help it out a lot!
Sooo... Every once in a while, over the years, after yet another frantic search for my keys on my way out the door, I look at the keys in my hand and say to myself, "Self, how hard could it be to make a special key place to hang these when I come in the door so's I HAVE MY KEYS WHEN I NEED THEM!" * sigh *
Your special key place is beautiful. I lovelovelove birds. Your instructions are so clear and easy, you've shamed me into making my own special key place; with a cute little bird on it.
Post a Comment
Subscribe to Post Comments [Atom]
<< Home