body { background:#fff url("http://www.blogblog.com/dots/bg_dots.gif") 50% 0; margin:0; padding:0 10px; text-align:center; font:x-small Verdana,Arial,Sans-serif; color:#333; font-size/* */:/**/small; font-size: /**/small; } /* Page Structure ----------------------------------------------- */ @media all { #content { background:url("http://www.blogblog.com/dots/bg_3dots.gif") no-repeat 250px 50px; width:700px; margin:0 auto; padding:50px 0; text-align:left; } #main { width:450px; float:right; padding:50px 0 20px; font-size:85%; } #main2 { background:url("http://www.blogblog.com/dots/bg_dots2.gif") -100px -100px; padding:20px 10px 15px; } #sidebar { width:200px; float:left; font-size:85%; padding-bottom:20px; } #sidebar2 { background:url("http://www.blogblog.com/dots/bg_dots2.gif") 150px -50px; padding:5px 10px 15px; width:200px; width/* */:/**/180px; width: /**/180px; } } @media handheld { #content { width:90%; } #main { width:100%; float:none; } #sidebar { width:100%; float:none; } #sidebar2 { width:100%; } } html>body #main, html>body #sidebar { /* We only give this fade from white to nothing to browsers that can handle 24-bit transparent PNGs */ background/* */:/**/url("http://www.blogblog.com/dots/bg_white_fade.png") repeat-x left bottom; } /* Title & Description ----------------------------------------------- */ @media all { #blog-title { margin:0 0 .5em; font:250%/1.4em Georgia,Serif; color:#353; } #blog-title a { color:#353; text-decoration:none; } #description { margin:0 0 1.75em; color:#996; } #blog-mobile-title { display:none; } #description-mobile { display:none; } } @media handheld { #blog-title { display:none; } #description { display:none; } #blog-mobile-title { display:block; margin:0 0 .5em; font:250%/1.4em Georgia,Serif; color:#353; } #blog-mobile-title a { color:#353; text-decoration:none; } #description-mobile { display:block; margin:0 0 1.75em; color:#996; } } /* Links ----------------------------------------------- */ a:link { color:#488; } a:visited { color:#885; } a:hover { color:#000; } a img { border-width:0; } /* Posts ----------------------------------------------- */ .date-header { margin:0 0 .75em; padding-bottom:.35em; border-bottom:1px dotted #9b9; font:95%/1.4em Georgia,Serif; text-transform:uppercase; letter-spacing:.3em; color:#663; } .post { margin:0 0 2.5em; line-height:1.6em; } .post-title { margin:.25em 0; font:bold 130%/1.4em Georgia,Serif; color:#333; } .post-title a, .post-title strong { background:url("http://www.blogblog.com/dots/bg_post_title.gif") no-repeat 0 .25em; display:block; color:#333; text-decoration:none; padding:0 0 1px 45px; } .post-title a:hover { color:#000; } .post p { margin:0 0 .75em; } p.post-footer { margin:0; text-align:right; } p.post-footer em { display:block; float:left; text-align:left; font-style:normal; color:#996; } a.comment-link { /* IE5.0/Win doesn't apply padding to inline elements, so we hide these two declarations from it */ background/* */:/**/url("http://www.blogblog.com/dots/icon_comment.gif") no-repeat 0 .25em; padding-left:15px; } html>body a.comment-link { /* Respecified, for IE5/Mac's benefit */ background:url("http://www.blogblog.com/dots/icon_comment.gif") no-repeat 0 .25em; padding-left:15px; } .post img { margin:0 0 5px 0; padding:4px; border:1px solid #cca; } /* Comments ----------------------------------------------- */ #comments { margin:0; } #comments h4 { margin:0 0 10px; border-top:1px dotted #9b9; padding-top:.5em; font:bold 110%/1.4em Georgia,Serif; color:#333; } #comments-block { line-height:1.6em; } .comment-poster { background:url("http://www.blogblog.com/dots/icon_comment.gif") no-repeat 2px .35em; margin:.5em 0 0; padding:0 0 0 20px; font-weight:bold; } .comment-body { margin:0; padding:0 0 0 20px; } .comment-body p { margin:0 0 .5em; } .comment-timestamp { margin:0 0 .5em; padding:0 0 .75em 20px; color:#996; } .comment-timestamp a:link { color:#996; } .deleted-comment { font-style:italic; color:gray; } .paging-control-container { float: right; margin: 0px 6px 0px 0px; font-size: 80%; } .unneeded-paging-control { visibility: hidden; } /* More Sidebar Content ----------------------------------------------- */ .sidebar-title { margin:2em 0 .75em; padding-bottom:.35em; border-bottom:1px dotted #9b9; font:95%/1.4em Georgia,Serif; text-transform:uppercase; letter-spacing:.3em; color:#663; } #sidebar p { margin:0 0 .75em; line-height:1.6em; } #sidebar ul { margin:.5em 0 1em; padding:0 0px; list-style:none; line-height:1.5em; } #sidebar ul li { background:url("http://www.blogblog.com/dots/bullet.gif") no-repeat 3px .45em; margin:0; padding:0 0 5px 15px; } #sidebar p { margin:0 0 .6em; } /* Profile ----------------------------------------------- */ .profile-datablock { margin:0 0 1em; } .profile-img { display:inline; } .profile-img img { float:left; margin:0 8px 5px 0; border:4px solid #cc9; } .profile-data { margin:0; line-height:1.5em; } .profile-data strong { display:block; } .profile-textblock { clear:left; } /* Footer ----------------------------------------------- */ #footer { clear:both; padding:15px 0 0; } #footer hr { display:none; } #footer p { margin:0; } /* Feeds ----------------------------------------------- */ #blogfeeds { } #postfeeds { padding-left: 20px }

Prudent Baby

Get sewing how to, sewing tutorials, and sewing help to learn sewing. We offer sewing tutorial for sewing moms.

Tuesday, June 22, 2010

Recycled Calendar Coasters


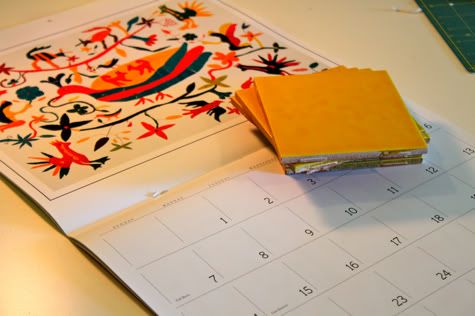
Remember when I made our headboard and I told you how I found that beautiful otomi fabric on ebay?  Well the seller also sent me a calendar with all kinds of gorgeous images of otomi fabric.  It was so pretty I didn't want to throw it away, but a girl only needs so many paper calendars.  Since I've been working on prettying up my home office with exotic fabrics like otomi and suzanis, I thought recycling the images onto some coasters would be a nice touch.

I know I showed you how to do this once before with the Matryoshka and Owl Coasters, but I'll show you How to Make Mod Podge Coasters again after the jump.  It's so crazy easy!


Recycled Calendar Tile Coasters

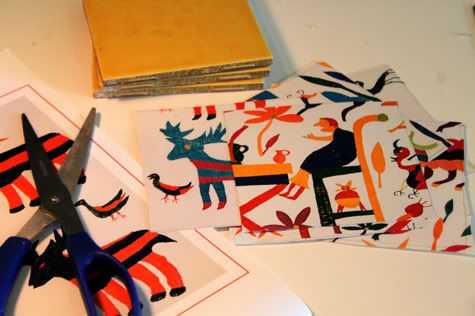
1.  Acquire some inexpensive tiles, the standard 4" is perfect for coasters.  I was driving back from the desert one day and noticed a random tile outlet by the highway.  I stopped in and was able to pick up a box of 80 (80!) yellow 4" tiles for $10.  Sweet!  Also grab an old calendar, greeting cards, anything made with pretty paper.


2.  Trace your tile onto the paper around the image you'd like to preserve:


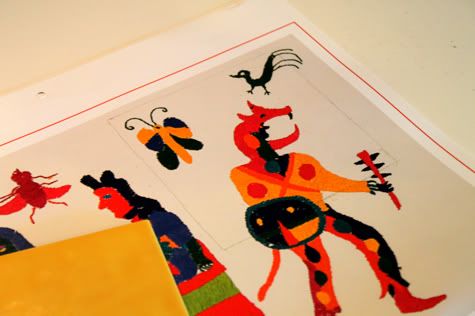
3.  Cut out all of your images.  You can be a little sloppy for this first cut:


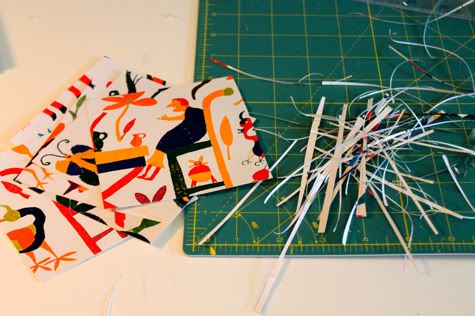
4.  Go back to all of them with an x-acto knife on a self-healing cutting matt and trim them down so they are a bit smaller on all sides then the face of your tile.  If you want a bigger border of tile around them, just cut them smaller.  If you're like me, you'll find that your husband used all of your blades to scrape the black off his designer sneakers in some strange display of sneaker-obsession and have to use scissors.  blerg.


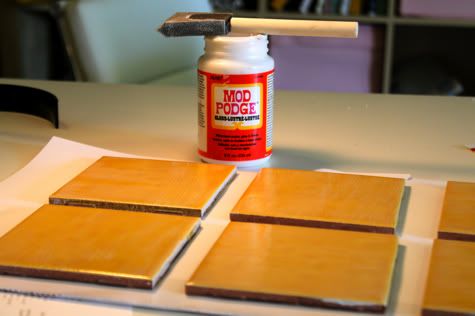
5.  Grab your trusty sponge brush and some mod podge (I like glossy) and coat the tile with a thin layer:


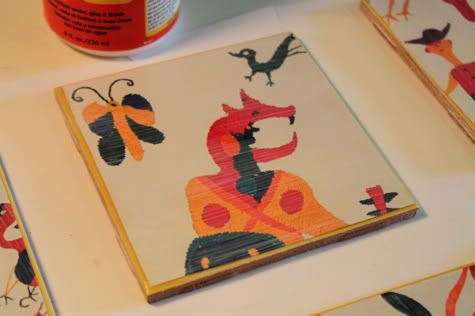
6.  Center your paper onto the tile.  Gently push out any bubbles with your fingers from the center to the sides.  Sometimes the ink can smear if you press the bubble with your oily fingers, so better to use a cloth to smush them out.  Watch the tiles for a minute, they may seem to have no bubbles at first, and then a minute later they show up, so keep your eye on them and get all those bubbles out:

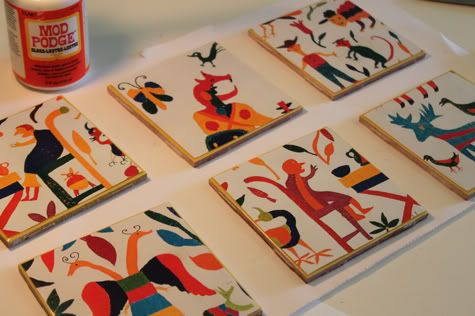
Then let them dry for at least 20 minutes.

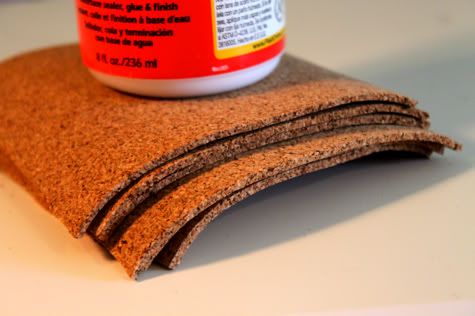
7.  As you're letting them dry, cut out some cork or felt for the bases:


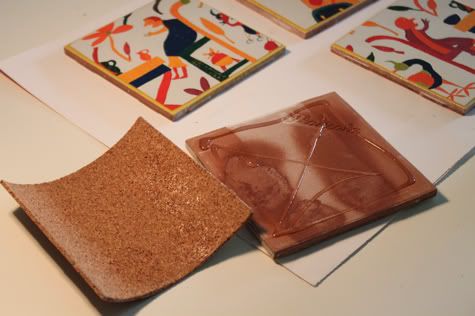
8.  Give the tiles one more coat of mod podge:

Let them dry for 20 minutes.

9.  Glue your cork to the back of the tiles.  This time I used Aleene's Clear Gel Tacky Glue which works miracles always and should be in any crafters cabinet:


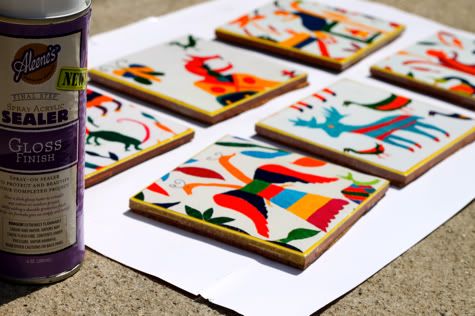
10.  Spray the entire surface of the tiles with a sealant.  Whenever people complain about a mod podge project getting messed up, it is because they skipped this step.  I can't stress enough how important this is.  Though the mod podge feels hard it does not fully cure and will melt if you put a hot cup on it.  You must SEAL IT.  You can use polyurethane spray, but I recently picked up some of Aleene's spray acrylic sealer and I love the shiny gloss finish.


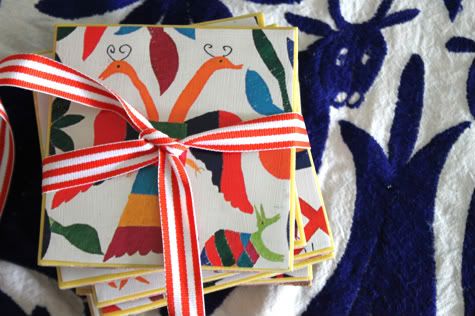
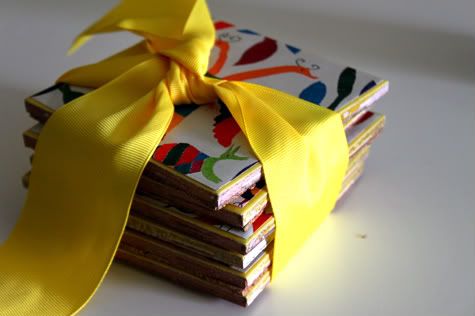
Done!  Wrap with a ribbon.  Since I have 80 of these yellow tiles guess what everyone I know is getting as hostess gifts all summer long?

Labels: , , , , , , , ,

11 Comments:

Blogger Jacinda said...

I love these so much! Such a perfect hostess gift, definitely.

June 22, 2010 at 6:47 AM  
Blogger Ellabel said...

I've had a calendar set aside for this for AGES, but didn't really know what I was doing. Thanks for the step-by-step! Now...where did I put that thing?

June 22, 2010 at 7:32 AM  
Anonymous Anonymous said...

what a great idea! i am totally stealing this idea. thanks for sharing!

June 22, 2010 at 7:49 AM  
Blogger Stephanie said...

Very clever! I may have to make some of these for our home (and as gifts)!

June 22, 2010 at 8:33 AM  
Blogger Meg said...

I love the images you used for the coasters...very vibrant and fun!

June 22, 2010 at 9:19 AM  
Blogger Stevee said...

Gorgeous! I love Mod Podge.

June 22, 2010 at 1:29 PM  
Blogger Ms Alex said...

I've never tried making coasters but it looks very simple. Adding to the list of crafty things to have a go at!

June 22, 2010 at 11:11 PM  
Blogger marlo noël said...

you could use a bone folder to press out the bubbles!

June 22, 2010 at 11:55 PM  
Blogger Unknown said...

These are fun! (I rarely use Mod Podge - thanks for the tip about sealing.)

June 23, 2010 at 3:49 AM  
Blogger Unknown said...

A thousand times yes! Mod Podge it up, girls.

June 29, 2010 at 6:11 PM  
Anonymous Anonymous said...

I will be looking for interesting "expired" art just so I can make cool coasters like these too! What a wonderful idea with gorgeous results.
I have included a link in my weekly roundup of creative/inspiring/fun ideas, blogged here:
http://www.camilledawn.com/2010/07/tuesday-tumblr-4.html
Thanks for the inspiration!
Camille
Mother✭Lode
http://www.camilledawn.com

July 6, 2010 at 10:20 AM  

Post a Comment

Subscribe to Post Comments [Atom]

<< Home