Make an Oven Mitt!
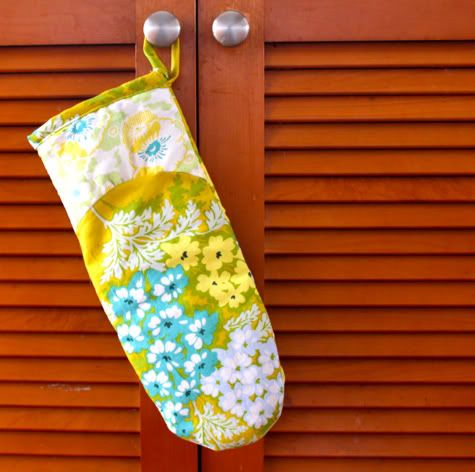
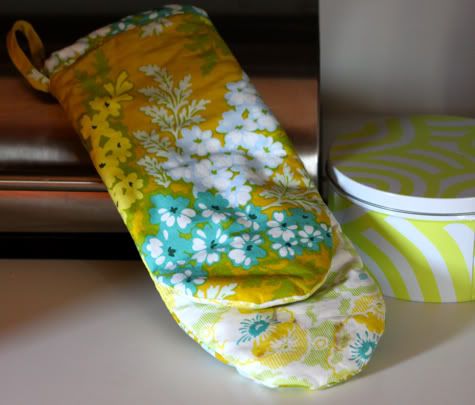
I wanted to see a little piece of Heather Bailey's gorgeous Nicey Jane fabric every day, so I made an oven mitt. Now I have to make an apron to match!
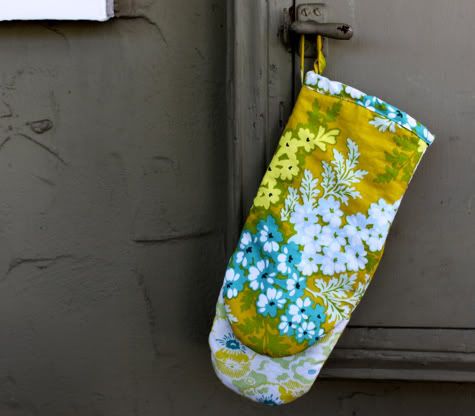
Get the free downloadable pattern and full Oven Mitt Tutorial after the jump...
DIY Oven Mitt
1. First go ahead and download, print, and cut out our oven mitt pattern. You'll need to print this one on a legal size (8.5" X 14") piece of paper, or print it on 2 8.5"X11" pieces and tape them together.
Prudent Baby Oven Mitt Pattern
2. Cut out the pieces as described on the pattern. I used two different fabrics, but not required. Cotton batting is preferred over polyester for heat resistance, and the more layers of batting, the more useful in holding hot items your oven mitt will be.
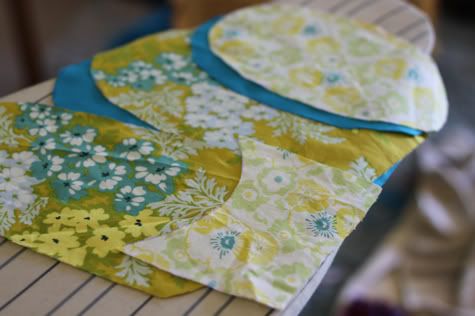
3. Then take the two pieces from page 2 and tape them together. Using this bigger shape, cut out one piece of lining and one or two pieces of batting (depending on how thick/useful for touching hot things you want your mitt to be):
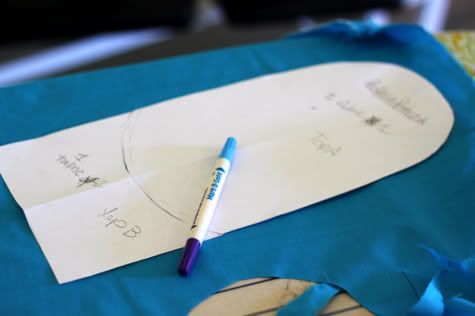
3. Now you can use some pre-made bias tape, but I made some for this oven mitt. You only need a small piece so it's pretty quick. Cut a piece of fabric on the bias (diagonal from the selvedges) 1.75" wide and 18" long:
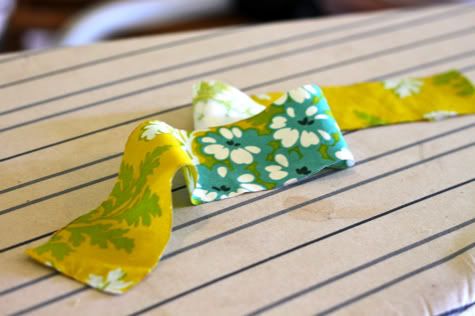
Fold each long edge into the center and iron. You can use this $5 doo-dad called a bias tape maker or you can just do it by hand:
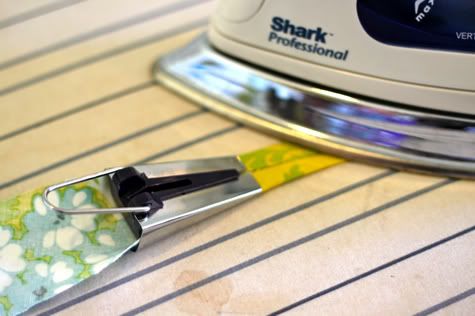
Now your tape looks like this. This is single fold bias tape, but we want double fold:
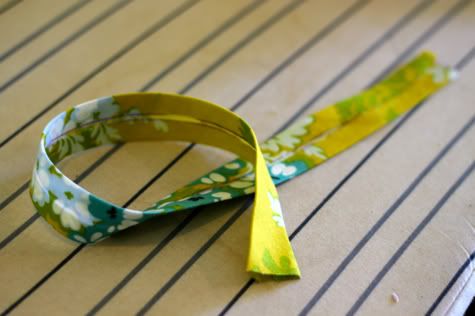
So go ahead and fold it in half again and iron:
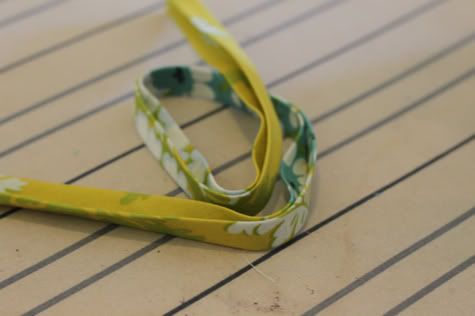
Set that aside.
4. Now take your two top pieces and align them at the curved edge, right sides facing. Start by pinning them together in the middle like so:
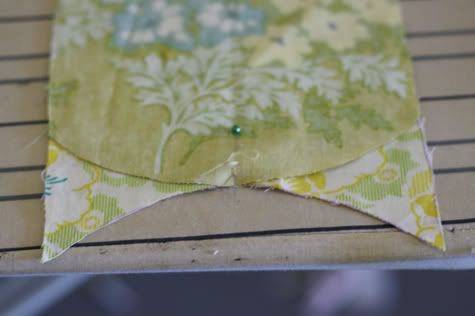
Then pin the corners, then continue to pin the edges together:
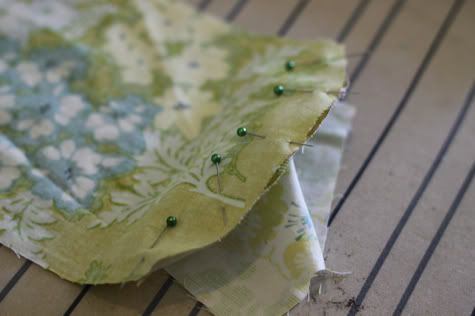
Sew in place:
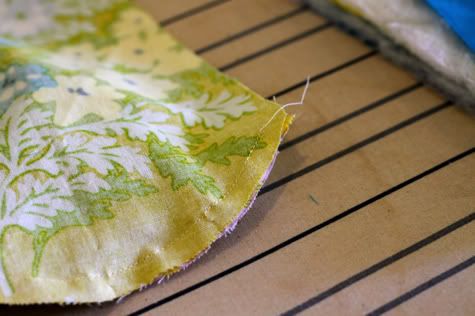
Lay your lining pieces right side down, your batting on top, and your outer piece right side up (so wrong sides are facing, with batting sandwiched between), like so:
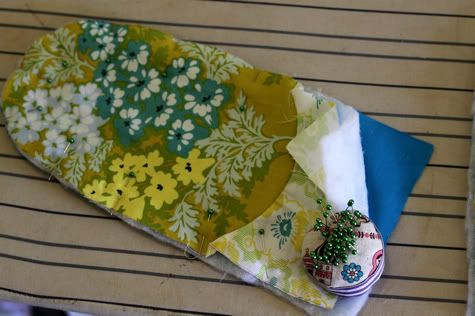
Sew in place all the way around the curved edges. Finish by serging, sewing with a zig zag stitch or cutting with pinking shears:
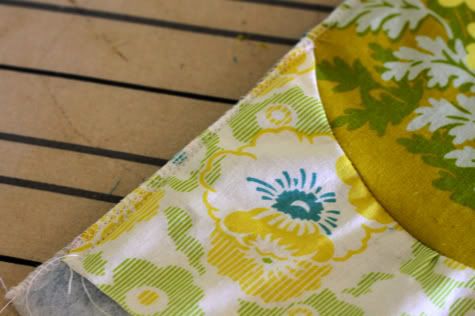
5. Repeat the same process with the oval shape and the other mitt shape. You can use all one fabric or alternate as you please:
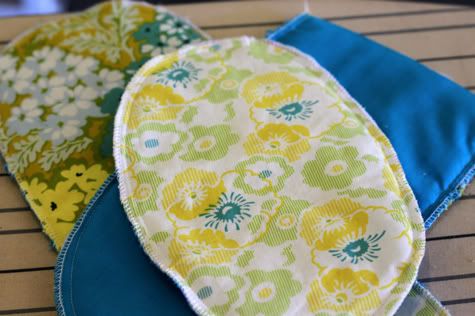
6. Assemble your mitt with right sides facing, so you see your lining. Pin together, with the thumb part of the mitt sticking out like this:
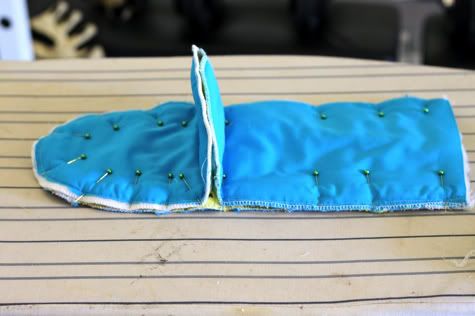
Sew around the edge of that part first:
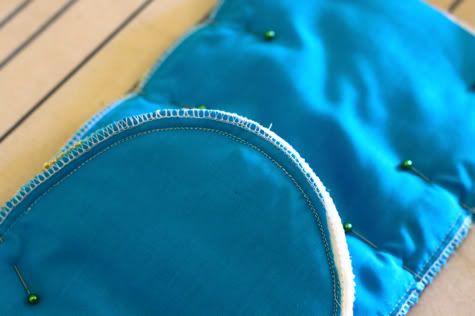
Then pin in down and sew around the outside edge. Stop when you get to the thumb seam and back stitch, then jump over it and continue all the way around:
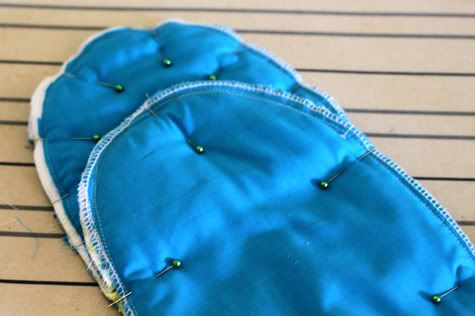
7. With your mitt still inside out, open up your bias tape and pin the right side around the opening with edges aligned. Let the excess hang off like so:
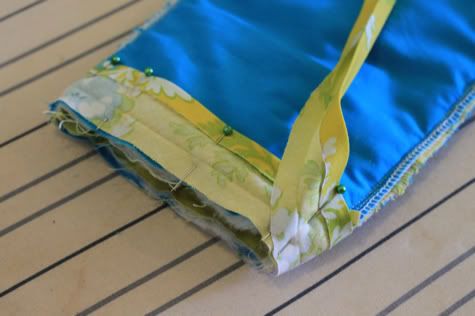
Se win place along the fold:
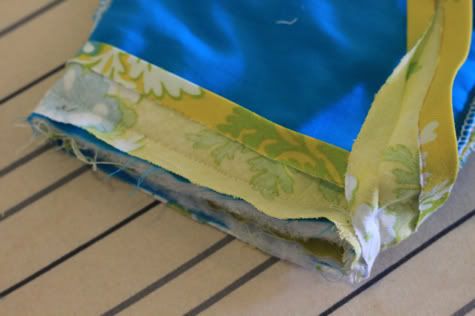
Turn your mitt right side out and fold the bias tape over the edge, and fold the excess bias tape flat, and pin in place:

Start by sewing the excess bias tape closed:

Now turn it to create a loop, and tuck the end of the loop under the bias tape and pin. You may need to cut some of the bias tape length to get a loop the size you desire:
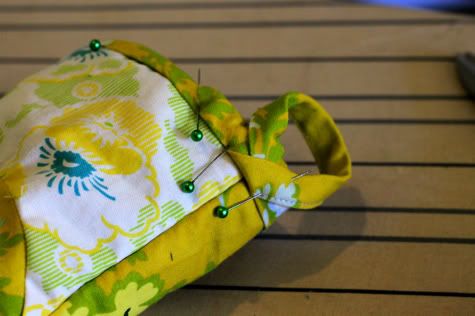
Sew in place around the edge of the bias tape, securing your loop and finishing your mitt!
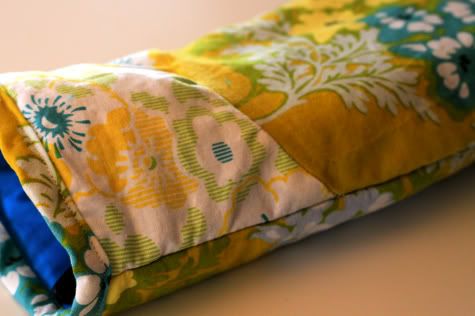
Let child use mitt as puppet:

Labels: DIY, Gifts, Hot Mess Mommy, In One Evening, Kitchen, Serging, Sewing, Templates, The Season of Cozy, Under $5

9 Comments:
What is that floral? I'm swapping out the red accents in my living room for muted turquoise and green and that fabric is PERFECT!
Cute mitt, too, by the way. :)
Rebekah - That is Heather Bailey Nicey Jane Picnic in Bouquet Gold (the darker one) and the other is Nicey Jane Wash Day Ticking in Dandelion. both are available at fabricworm!
Love the mitt!! I linked to your tutorial on Craft Gossip Sewing:
http://sewing.craftgossip.com/tutorial-make-an-oven-mitt/2010/05/12/
--Anne
Heather Bailey. Of course. No wonder I love it! ;)
All of the oven mitt tutorials I've read always insist that you need insulbrite batting. Have you found that this isn't the case? What sort of batting are you using? Just your typical cotton?
emily - i just used typical cotton batting, but i wouldnt say it is the most heat resistant oven mitt i own. i use a silicone one for baking, this for pots on the stove
Hello
What is the base width(bottom of mitt)? What is the finger line width? How long is the mitt? My printer may not print the correct size. Thank you
I really like this pattern, but I am afraid I can't tell which pieces to use based on the pictures. Could you label the pattern pieces with names and then use those names in the instructions? I am using a double sided quilted fabric and can't picture what I need to cut and what goes where. Thank you in advance :)
Just wanted to let you know that I blogged about this on my site. (http://sewingnovice.com/2011/02/17/potholder-and-oven-mitt/)
Post a Comment
Subscribe to Post Comments [Atom]
<< Home