body { background:#fff url("http://www.blogblog.com/dots/bg_dots.gif") 50% 0; margin:0; padding:0 10px; text-align:center; font:x-small Verdana,Arial,Sans-serif; color:#333; font-size/* */:/**/small; font-size: /**/small; } /* Page Structure ----------------------------------------------- */ @media all { #content { background:url("http://www.blogblog.com/dots/bg_3dots.gif") no-repeat 250px 50px; width:700px; margin:0 auto; padding:50px 0; text-align:left; } #main { width:450px; float:right; padding:50px 0 20px; font-size:85%; } #main2 { background:url("http://www.blogblog.com/dots/bg_dots2.gif") -100px -100px; padding:20px 10px 15px; } #sidebar { width:200px; float:left; font-size:85%; padding-bottom:20px; } #sidebar2 { background:url("http://www.blogblog.com/dots/bg_dots2.gif") 150px -50px; padding:5px 10px 15px; width:200px; width/* */:/**/180px; width: /**/180px; } } @media handheld { #content { width:90%; } #main { width:100%; float:none; } #sidebar { width:100%; float:none; } #sidebar2 { width:100%; } } html>body #main, html>body #sidebar { /* We only give this fade from white to nothing to browsers that can handle 24-bit transparent PNGs */ background/* */:/**/url("http://www.blogblog.com/dots/bg_white_fade.png") repeat-x left bottom; } /* Title & Description ----------------------------------------------- */ @media all { #blog-title { margin:0 0 .5em; font:250%/1.4em Georgia,Serif; color:#353; } #blog-title a { color:#353; text-decoration:none; } #description { margin:0 0 1.75em; color:#996; } #blog-mobile-title { display:none; } #description-mobile { display:none; } } @media handheld { #blog-title { display:none; } #description { display:none; } #blog-mobile-title { display:block; margin:0 0 .5em; font:250%/1.4em Georgia,Serif; color:#353; } #blog-mobile-title a { color:#353; text-decoration:none; } #description-mobile { display:block; margin:0 0 1.75em; color:#996; } } /* Links ----------------------------------------------- */ a:link { color:#488; } a:visited { color:#885; } a:hover { color:#000; } a img { border-width:0; } /* Posts ----------------------------------------------- */ .date-header { margin:0 0 .75em; padding-bottom:.35em; border-bottom:1px dotted #9b9; font:95%/1.4em Georgia,Serif; text-transform:uppercase; letter-spacing:.3em; color:#663; } .post { margin:0 0 2.5em; line-height:1.6em; } .post-title { margin:.25em 0; font:bold 130%/1.4em Georgia,Serif; color:#333; } .post-title a, .post-title strong { background:url("http://www.blogblog.com/dots/bg_post_title.gif") no-repeat 0 .25em; display:block; color:#333; text-decoration:none; padding:0 0 1px 45px; } .post-title a:hover { color:#000; } .post p { margin:0 0 .75em; } p.post-footer { margin:0; text-align:right; } p.post-footer em { display:block; float:left; text-align:left; font-style:normal; color:#996; } a.comment-link { /* IE5.0/Win doesn't apply padding to inline elements, so we hide these two declarations from it */ background/* */:/**/url("http://www.blogblog.com/dots/icon_comment.gif") no-repeat 0 .25em; padding-left:15px; } html>body a.comment-link { /* Respecified, for IE5/Mac's benefit */ background:url("http://www.blogblog.com/dots/icon_comment.gif") no-repeat 0 .25em; padding-left:15px; } .post img { margin:0 0 5px 0; padding:4px; border:1px solid #cca; } /* Comments ----------------------------------------------- */ #comments { margin:0; } #comments h4 { margin:0 0 10px; border-top:1px dotted #9b9; padding-top:.5em; font:bold 110%/1.4em Georgia,Serif; color:#333; } #comments-block { line-height:1.6em; } .comment-poster { background:url("http://www.blogblog.com/dots/icon_comment.gif") no-repeat 2px .35em; margin:.5em 0 0; padding:0 0 0 20px; font-weight:bold; } .comment-body { margin:0; padding:0 0 0 20px; } .comment-body p { margin:0 0 .5em; } .comment-timestamp { margin:0 0 .5em; padding:0 0 .75em 20px; color:#996; } .comment-timestamp a:link { color:#996; } .deleted-comment { font-style:italic; color:gray; } .paging-control-container { float: right; margin: 0px 6px 0px 0px; font-size: 80%; } .unneeded-paging-control { visibility: hidden; } /* More Sidebar Content ----------------------------------------------- */ .sidebar-title { margin:2em 0 .75em; padding-bottom:.35em; border-bottom:1px dotted #9b9; font:95%/1.4em Georgia,Serif; text-transform:uppercase; letter-spacing:.3em; color:#663; } #sidebar p { margin:0 0 .75em; line-height:1.6em; } #sidebar ul { margin:.5em 0 1em; padding:0 0px; list-style:none; line-height:1.5em; } #sidebar ul li { background:url("http://www.blogblog.com/dots/bullet.gif") no-repeat 3px .45em; margin:0; padding:0 0 5px 15px; } #sidebar p { margin:0 0 .6em; } /* Profile ----------------------------------------------- */ .profile-datablock { margin:0 0 1em; } .profile-img { display:inline; } .profile-img img { float:left; margin:0 8px 5px 0; border:4px solid #cc9; } .profile-data { margin:0; line-height:1.5em; } .profile-data strong { display:block; } .profile-textblock { clear:left; } /* Footer ----------------------------------------------- */ #footer { clear:both; padding:15px 0 0; } #footer hr { display:none; } #footer p { margin:0; } /* Feeds ----------------------------------------------- */ #blogfeeds { } #postfeeds { padding-left: 20px }

Prudent Baby

Get sewing how to, sewing tutorials, and sewing help to learn sewing. We offer sewing tutorial for sewing moms.

Thursday, February 25, 2010

Another DIY Baby Bib Pattern


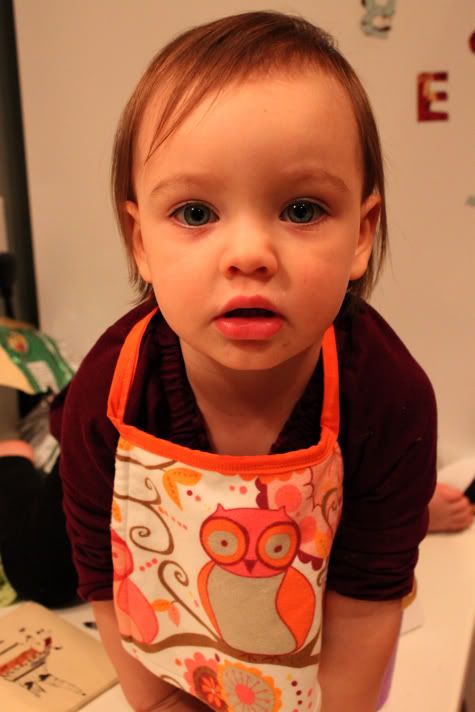
Our DIY Pocket Bib is a really popular Prudent Baby tutorial, so I though it was time to share another kind of bib pattern.  This one is reversible and has a cute little tie instead of velcro, which is nice because velcro irritates some babies and also because the baby won't outgrow it as quickly.  I also think the ties are kind of sweet.  Also, you could just size this up a bit and have a cute apron!
Get the full Free Baby Bib Pattern after the jump!

Free Baby Bib Pattern

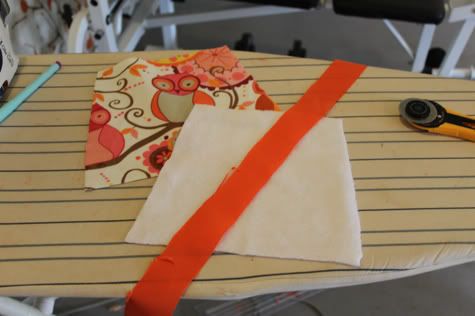
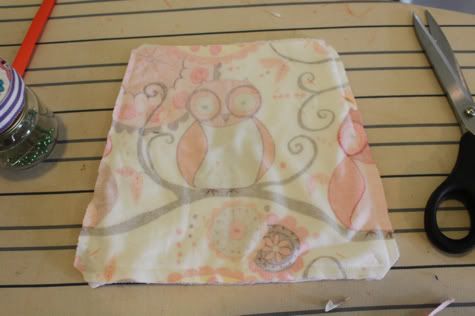
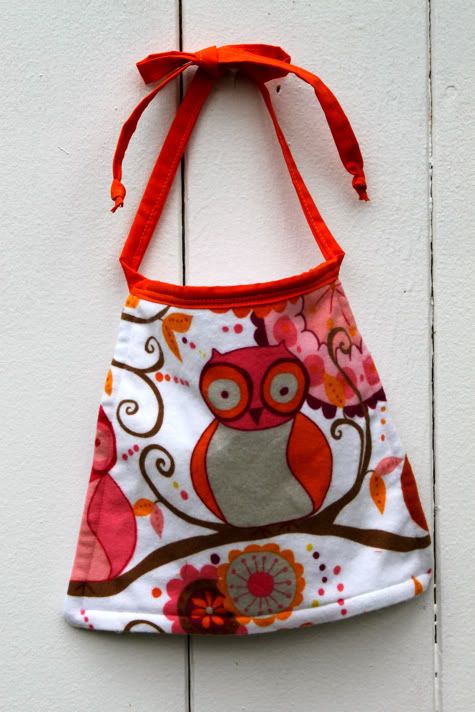
1.  Wash, iron and cut your fabric.  You'll need one piece of fabric 1 3/4" wide by 30" long (or you use a 30" piece of 1" bias tape instead), and a front and back piece.  I made this bib in a trapezoid shape, but you can make it any shape you like, maybe with rounded corners.  My front and back pieces are 8" width along the top, 10" width along the bottom, and 10" in length.  I used a flannel print and a fleece for extra coziness.


2.  If you use bias tape you can skip this step and move to step 3.  You can run your piece of fabric through a bias tape maker and iron, or take your long piece of fabric and fold each edge in 1/4" and iron.

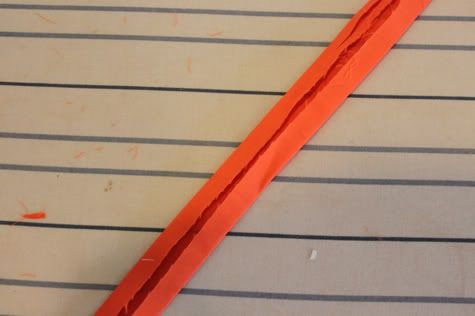
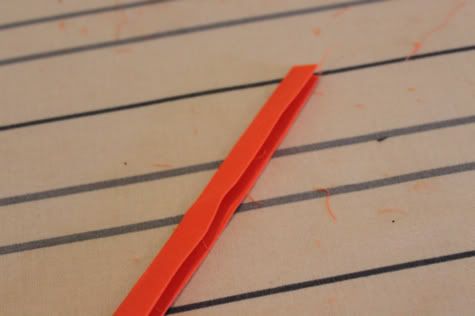
Fold it in half and iron again:


3.  Pin front and back bib pieces right sides facing along the bottom and both side edges:

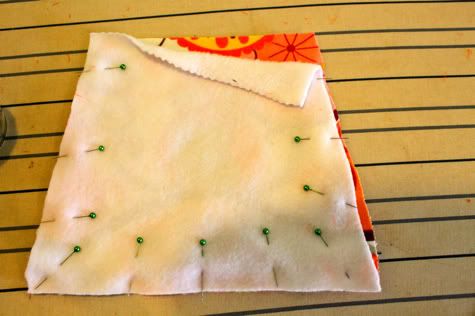
Sew in place along those three edges.

Trim the corners and turn right side out, iron flat and top stitch around the edge with 1/4" allowance.


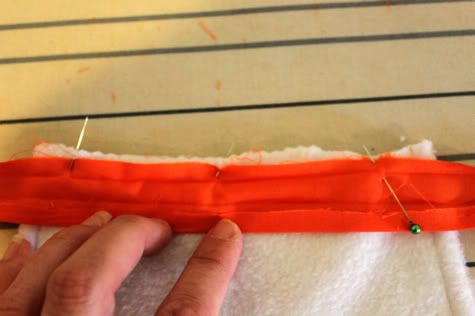
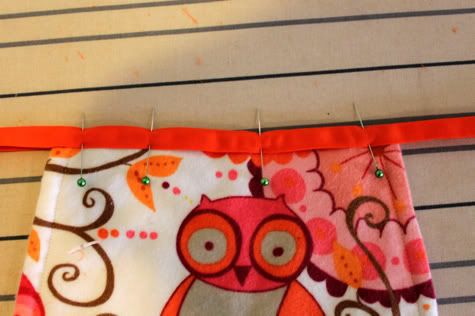
4.  Fold the apron and the tie in half to find the center and mark with a pin.  Take your tie piece and unfold it.  Pin it along the back top edge of your bib like so:

Sew it in place along the ironed fold.

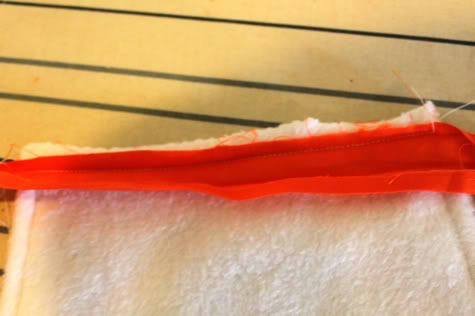
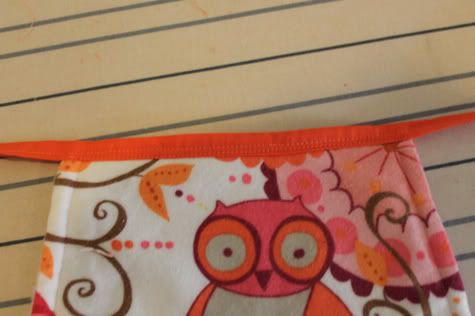
Wrap it around the top of your bib:

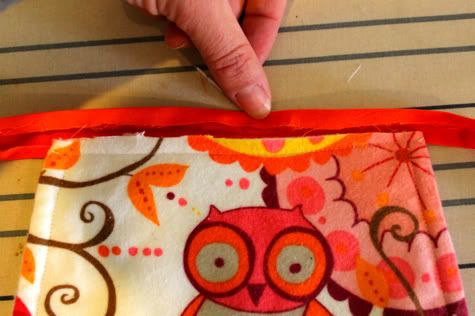
and pin to the front:

Now sew all the way from one end of your tie, across the front of the bib to the other end.  I added a 2nd line of stitches across the front of the bib.


5.  Tie each end of your tie piece in a knot and trim the excess.
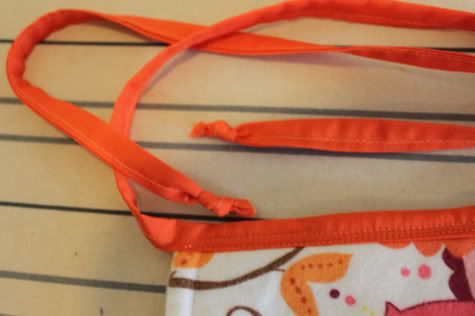


Done!


Labels: , , , , ,

13 Comments:

Blogger Anne said...

What a cute bib! I linked to your tutorial on Craft Gossip Sewing:
http://sewing.craftgossip.com/tutorial-reversible-tie-back-baby-bib/2010/02/25/

--Anne

February 25, 2010 at 6:46 AM  
Blogger Amy said...

Thanks for the tutorial details

February 25, 2010 at 6:58 AM  
Blogger The Oxford Family said...

so cute!

February 25, 2010 at 7:34 AM  
Blogger mel said...

I love that owl fabric! Cute idea! Thanks!!

February 25, 2010 at 7:39 AM  
Blogger Elizabeth said...

Love this! Thanks so much for sharing the how-to :)

- missimagination.com

February 25, 2010 at 8:22 AM  
Blogger Itaya Art said...

Awesome Tutorial!
Since I've never made a bib before but would like to make some...how long did you make this one? Measurements from top to bottom.

Thanks for sharing with us all! :)

February 25, 2010 at 10:05 AM  
Blogger Jacinda said...

We are drool city around here. We need some prettier bibs for wearing about town. This is perfect. I love that fabric. I still can't get enough of cute owls.

February 25, 2010 at 3:27 PM  
Blogger Kenziepoo said...

Love this bib! Thanks for sharing!


Rachelle xo

February 25, 2010 at 3:51 PM  
Blogger Jaime said...

sorry itaya! thanks for the catch. i made this one ten inches long

February 25, 2010 at 8:23 PM  
Anonymous Anonymous said...

Love the tute!!!!

August 2, 2010 at 11:05 PM  
Blogger Unknown said...

I know you posted this a long time ago but now I finally understand how to attach the bias tape and how it all works! A light just went off, DING!!!

August 13, 2010 at 6:43 PM  
Blogger Unknown said...

How do I get the pattern for the tie back bib? It states get the full pattern after the jump? I have no idea what that means or how to access it. Please help me. Thank you so much.
Linda

August 21, 2010 at 10:31 PM  
Blogger Stitches said...

Do you use 100% quilters cotton? Also it is a beautiful bib...especially when you make it to match a specific outfit...i am now afraid to get it dirty...such a catch 22

November 25, 2011 at 2:31 PM  

Post a Comment

Subscribe to Post Comments [Atom]

<< Home