Make a Doll Suitcase
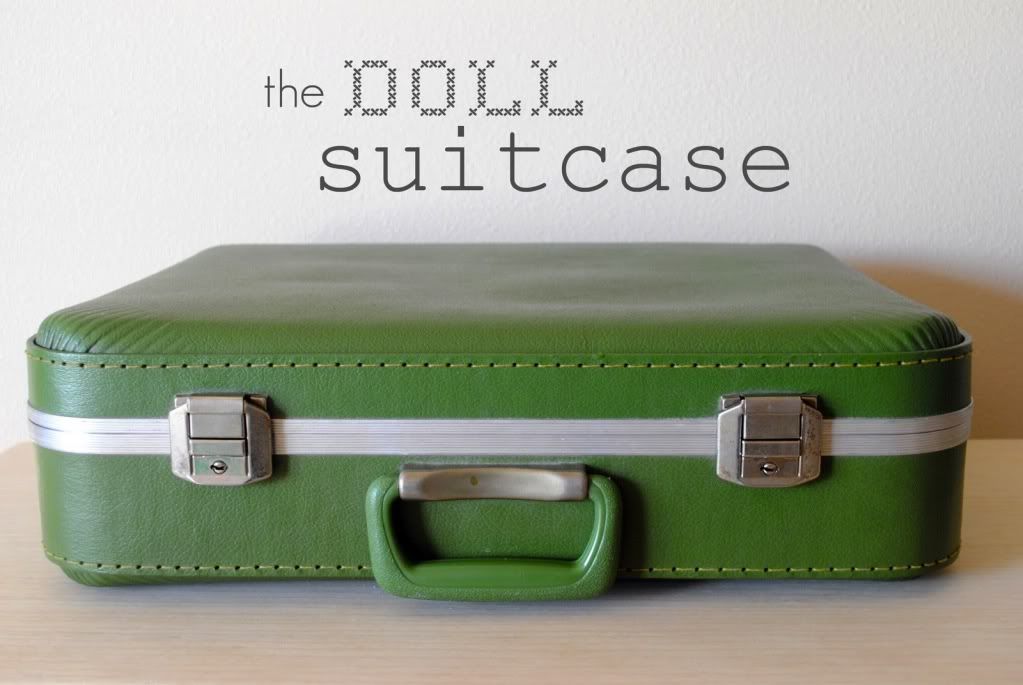
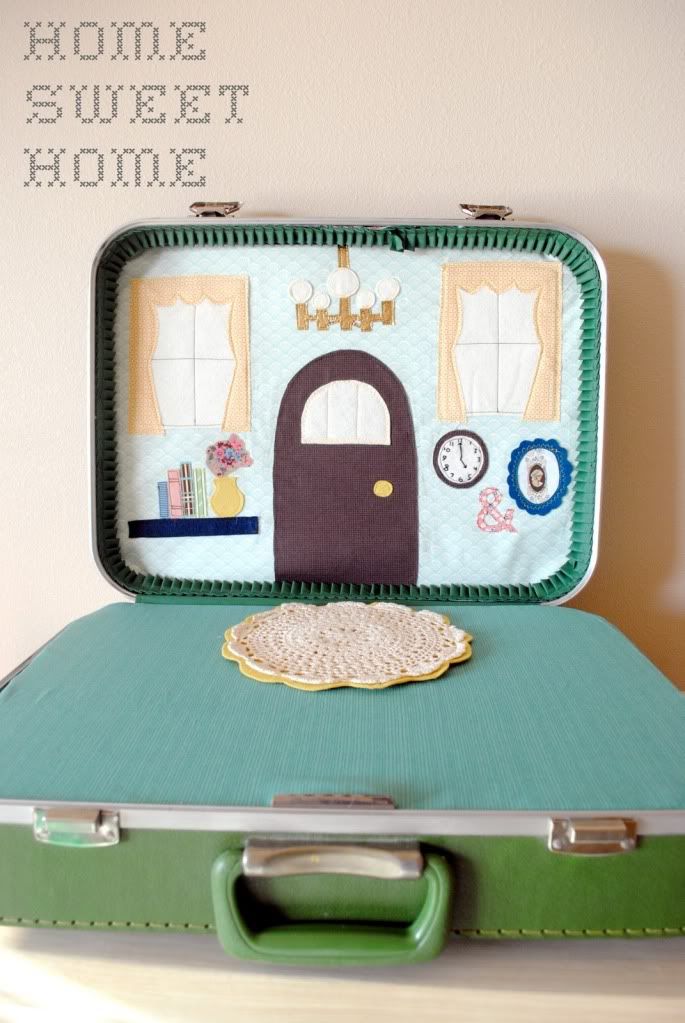
Does your Dolly need a place of her own? Boy do we have a great tutorial for you all today. Just wait until you see the magic inside this simple green suitcase.
Stacy from Hart + Sew is here today to share a wonderfully imaginative and creative tutorial with all of you. Stacy's inspiring ideas do not stop there. Hop on over to Hart + Sew to check out her other creations such as the Animal Ear Headbands she surprised her daughter with for Christmas. Or check out her daughter's first sewing project and get a peak inside her girls' darling bedroom. Along with creating her blog, she also has a Vintage clothing store for babies and toddlers.
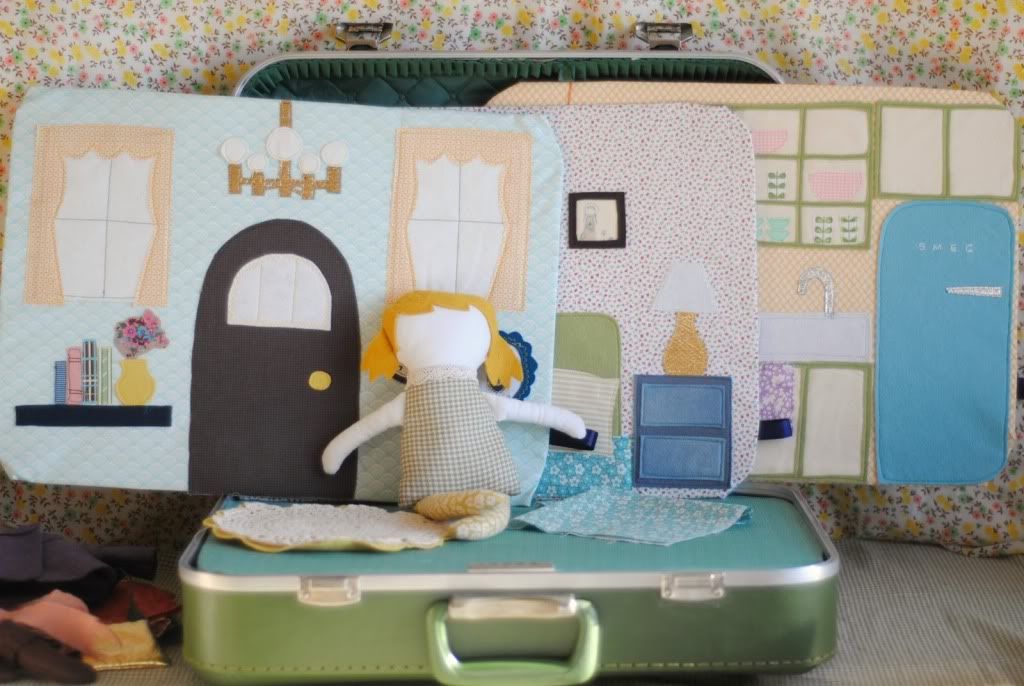
How much do you want to make this burst of creativity in a suitcase? Stacy will take you through each step after the jump...
I created this fun doll suitcase for my oldest daughter and we love playing with it together. It has three interchangeable rooms, a secret clothes storage space under the floor, and it's portable! Would you like to make your own? I'll show you how!
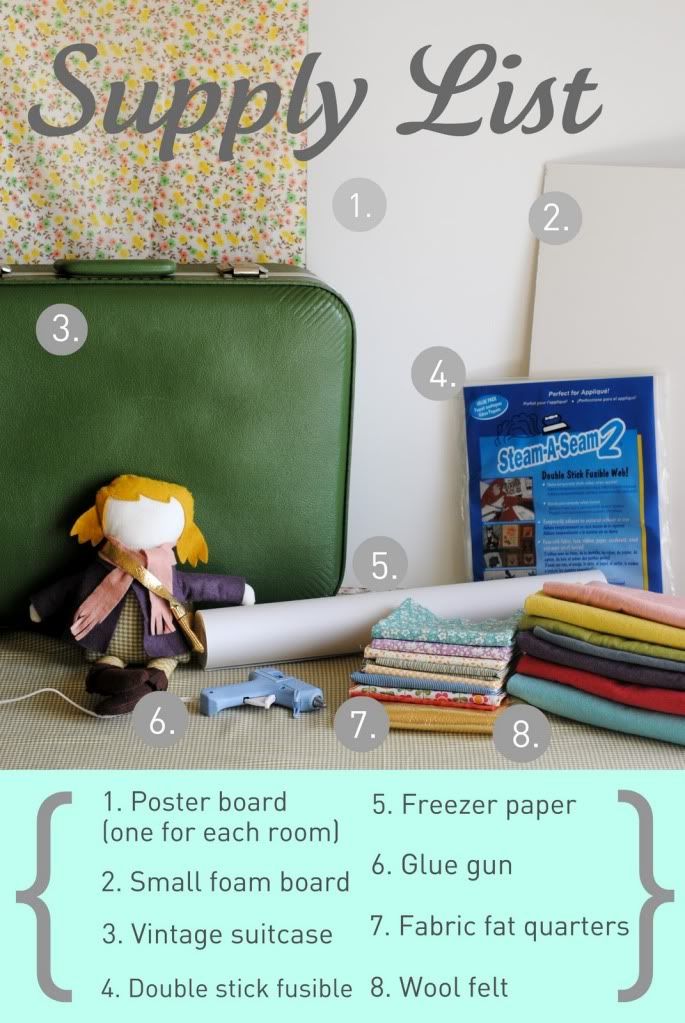
You will need all of the supplies listed above, as well as the notably missing iron, thread, scissors, and sewing machine. The 'wallpaper' fabric, or base fabric, for the rooms needs to be at least a whole fat quarter (depending on the size of your suitcase), but the remaining fabric can be scraps - it's a great way to use up some of your stash.
I made three interchangeable rooms for mine, so I used three pieces of poster board. You may also need a piece of poster board for the 'floor' backing. The foam board just needs to be a big as your suitcase. Speaking of the suitcase, I found this vintage green beauty at the thrift store for $3. The key to this project is the ruffle edging along the inside of the top lid - that ruffle is what will hold your interchangeable rooms in place.
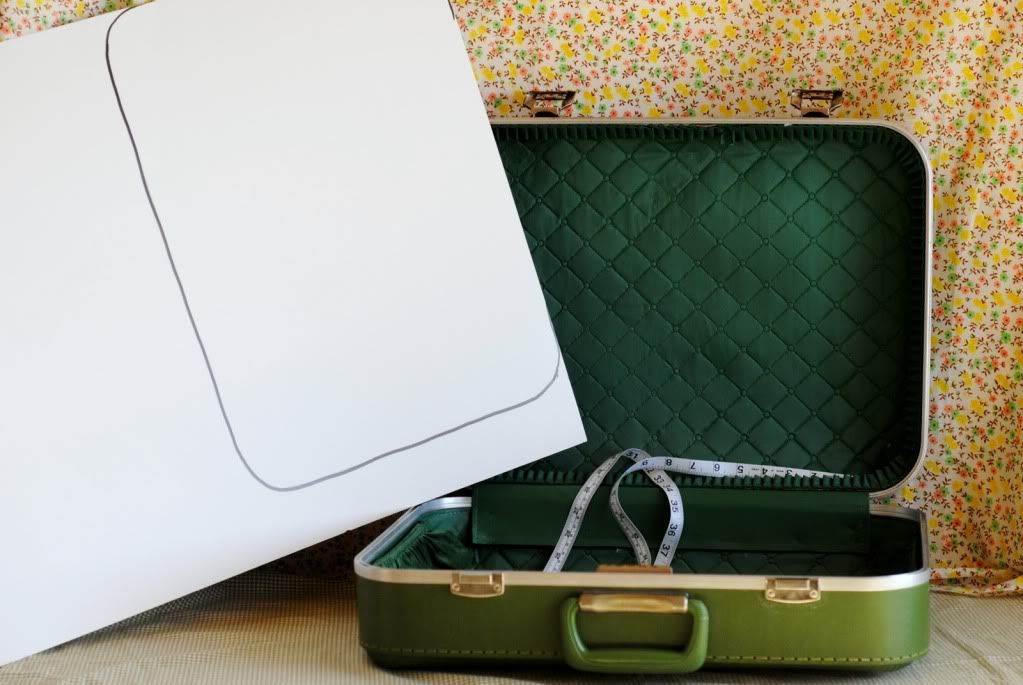
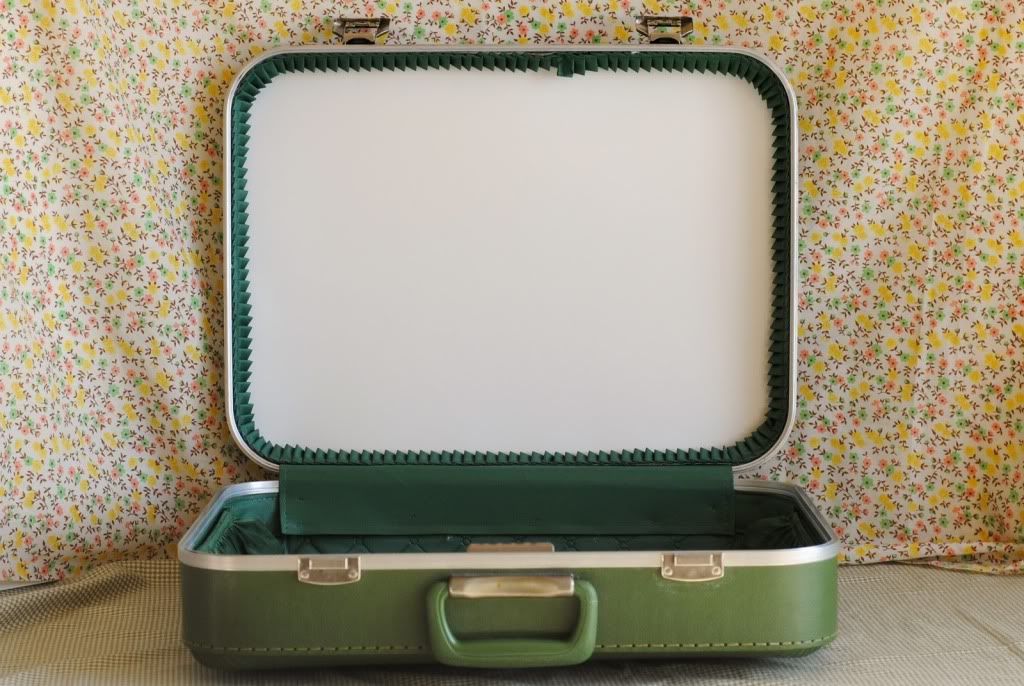
First, measure the inside of the lid and cut out the poster board(s) so it fits snugly behind the ruffle, but you can still pull it out.
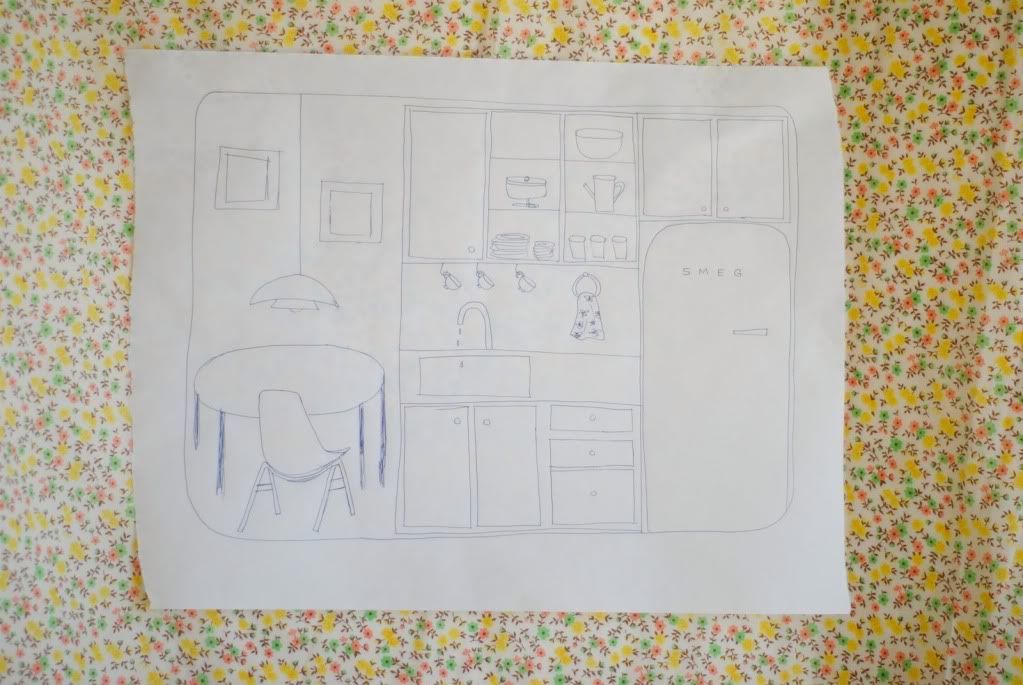
Next, take a large piece of freezer paper and trace the outline of the poster board so you know exactly how much space you have to fill. Draw a pattern of your room - know the more detailed it is, the more work it will be! I didn't end up putting all of these little details in my kitchen, but the main components are important at this point.
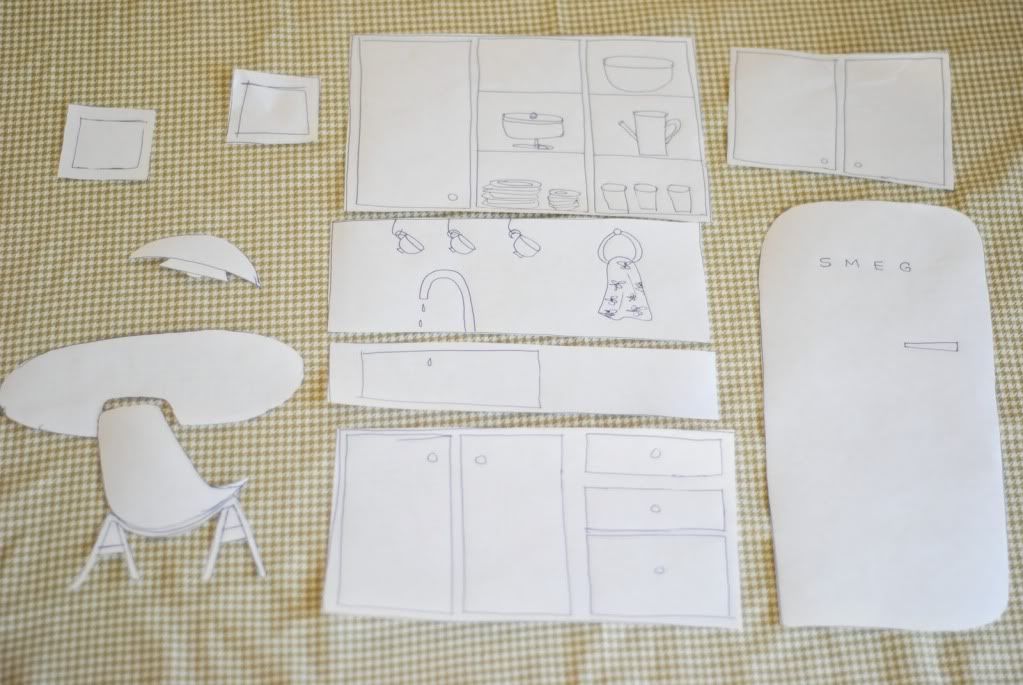
Cut out all of the main components of your drawing to create freezer paper pattern pieces.
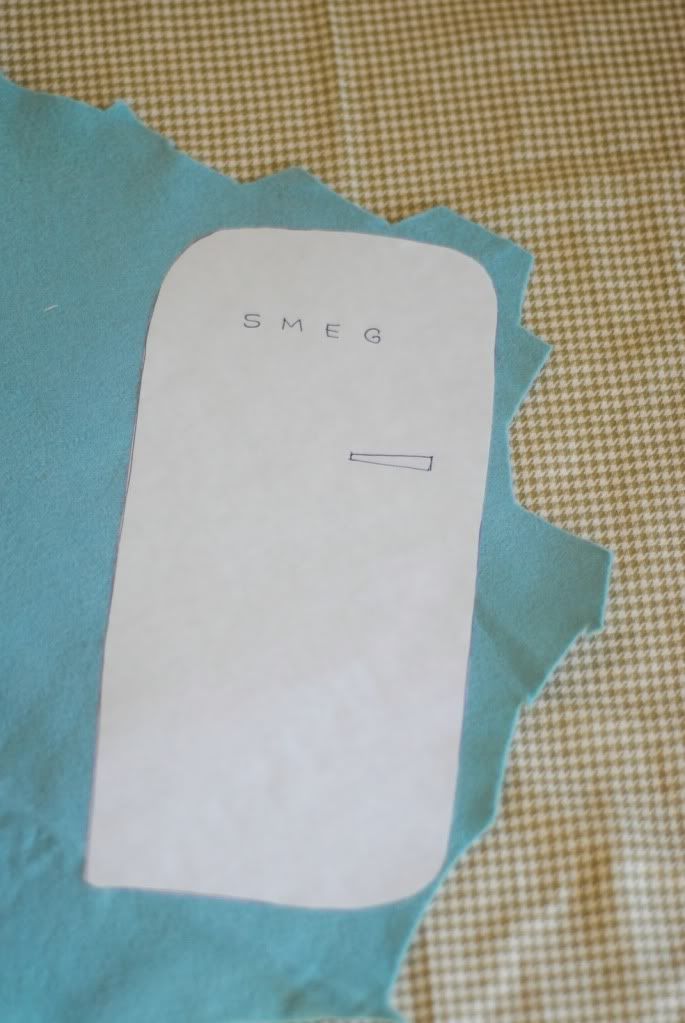
I'll show you the next several steps using my fridge pattern piece, but you will want to do this for all of your pieces.
Now you can decide what color felt or fabric print you want to use for each piece. Iron the freezer paper pattern onto your choice of material, I chose to make my fridge out of blue felt.
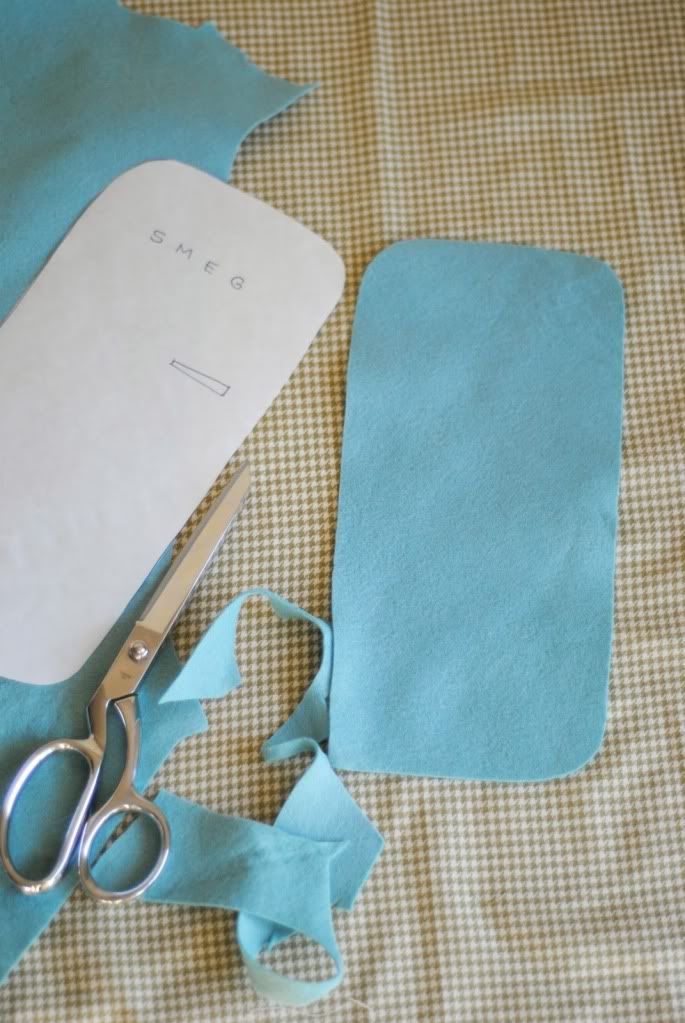
This will make it easy to cut out the shape, then simply peel the freezer paper off (you can use the same freezer paper pattern several times if needed - I kept all of mine just in case I want to make another doll suitcase someday for my other daughter, although maybe I would want to make it look different!).
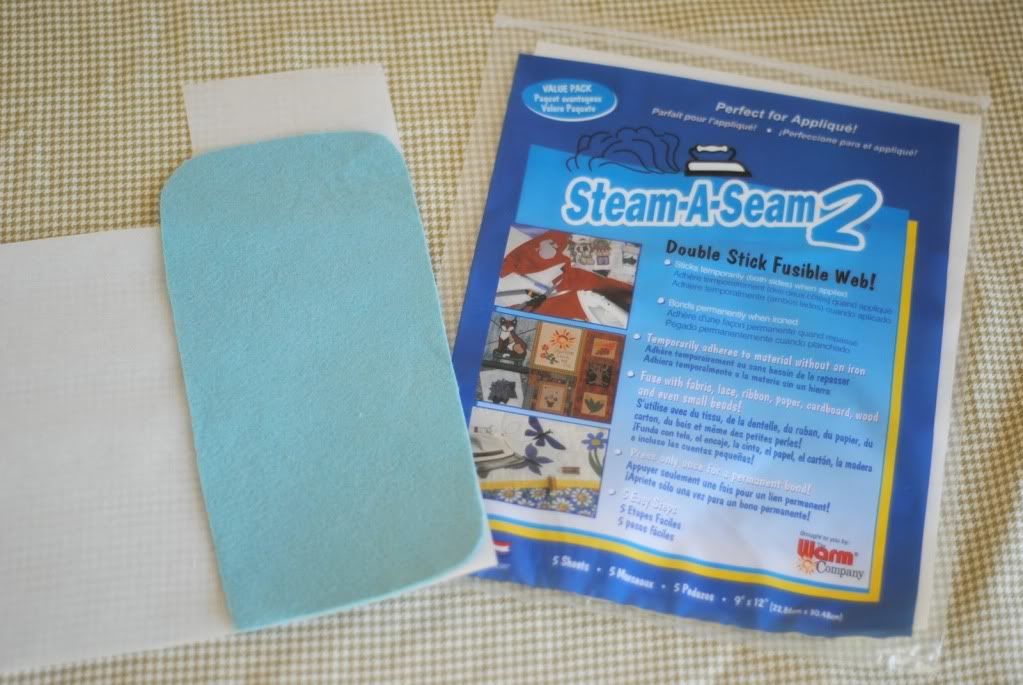
Next take the double stick fusible and place your cut out pattern piece onto it. I don't worry about covering every square inch, that way I can use up scrap pieces of fusible if needed.
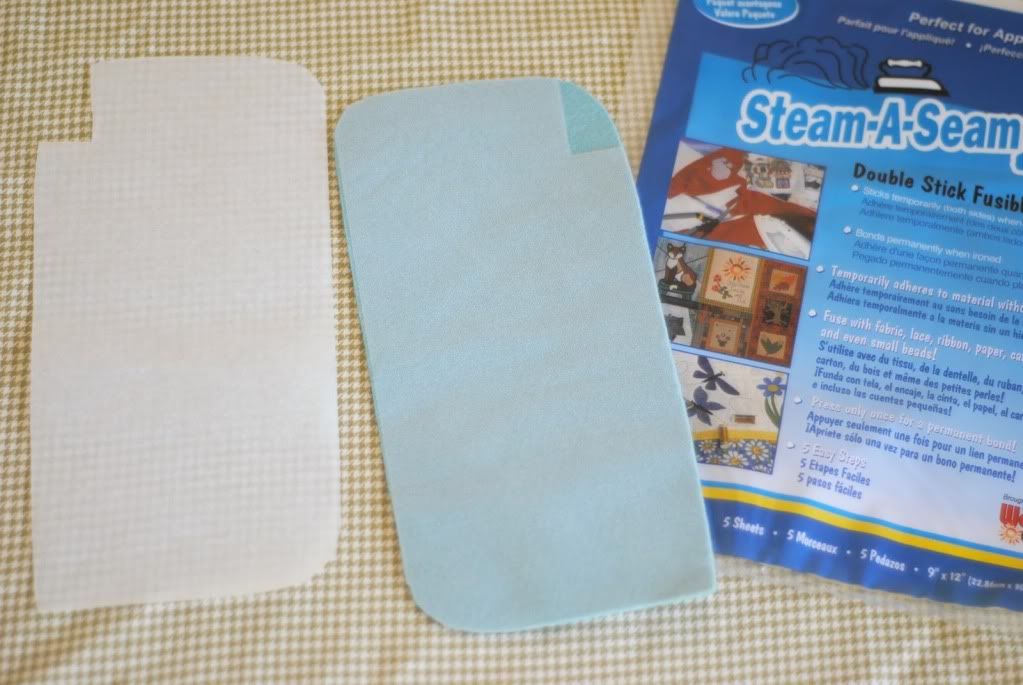
Cut out the fusible into your shape and peel off the backing.
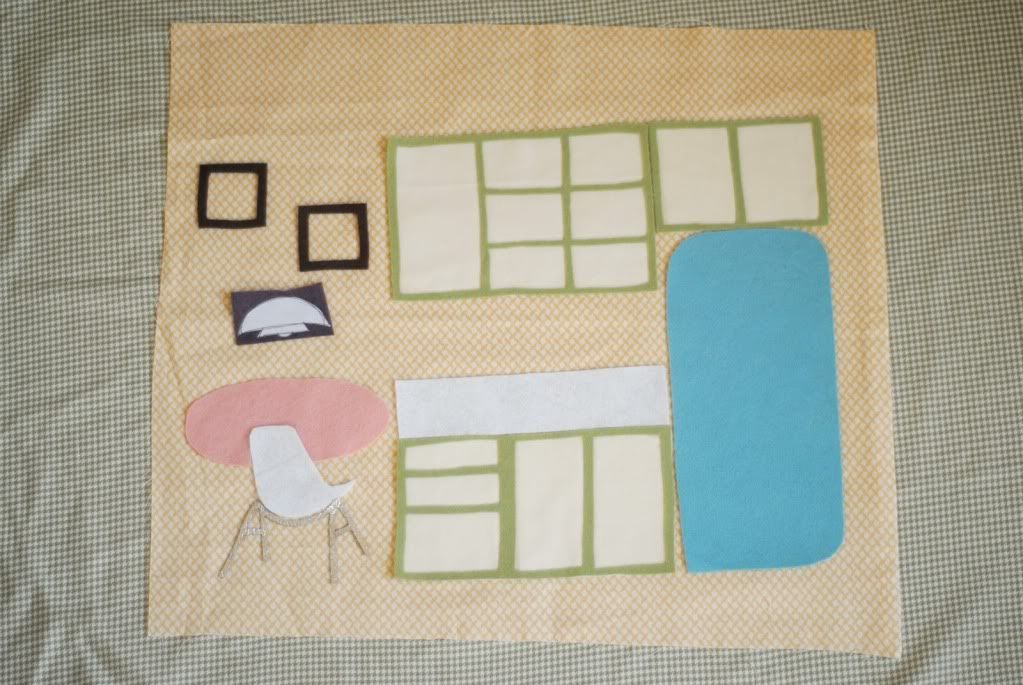
Once you have all of your main pieces cut out with the fusible, place them onto a piece of fabric that will act as the 'wallpaper'. A fat quarter was the perfect size for my suitcase, just make sure your piece is big enough to cover the poster board piece you cut out in the first step with a few inches around to spare. Iron all of the main pieces in place, the fusible will adhere them to the fabric.
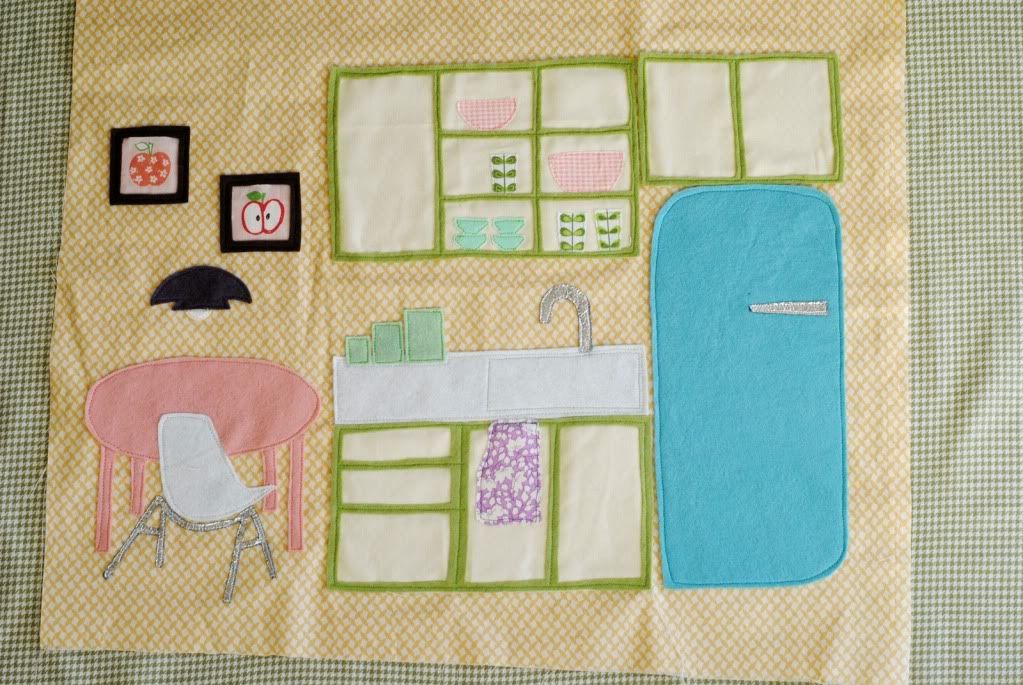
Add the rest of the details in your room in the same manner and iron them in place. Then sew around everything to secure it and add other details, for example, I sewed the sink outline onto the counter.
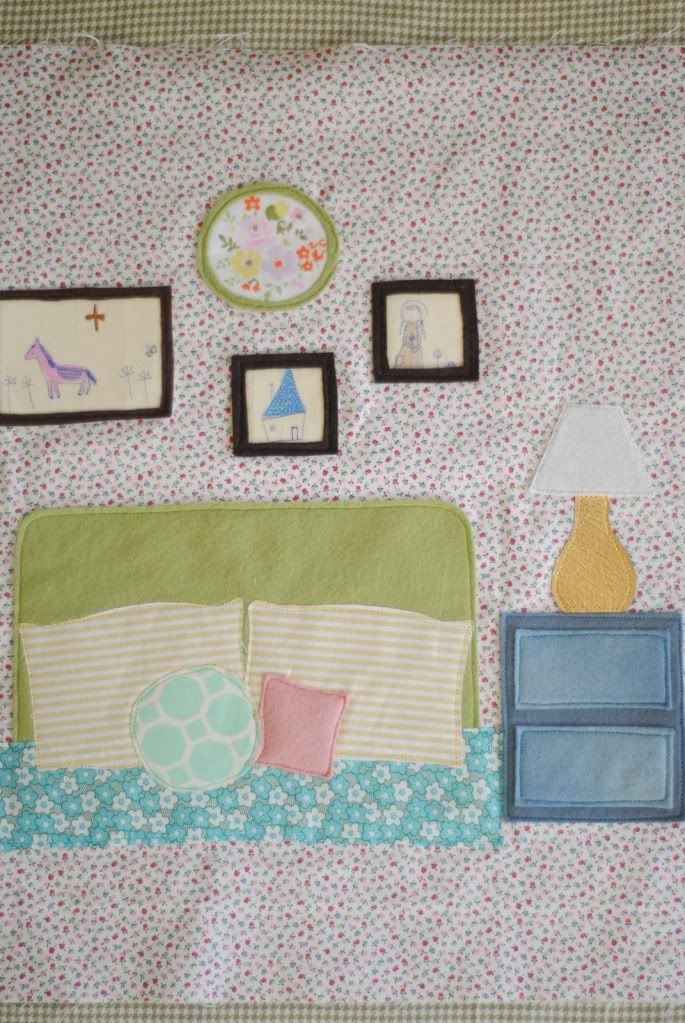
Fun details include pictures cut out from printed fabrics. I also used pops of gold and silver fabric for added shine and texture.
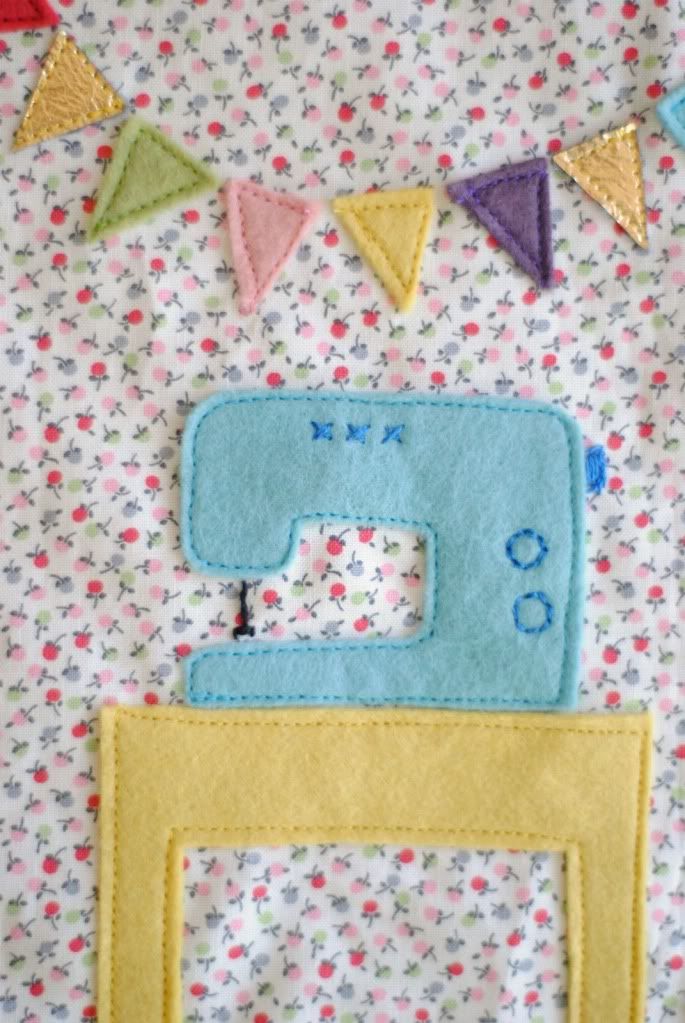
Embroider any small details as needed. I used embroidery on my sewing machine in the bedroom, for the cord on my light and the word on the fridge in the kitchen, and for the clock face in the front room.
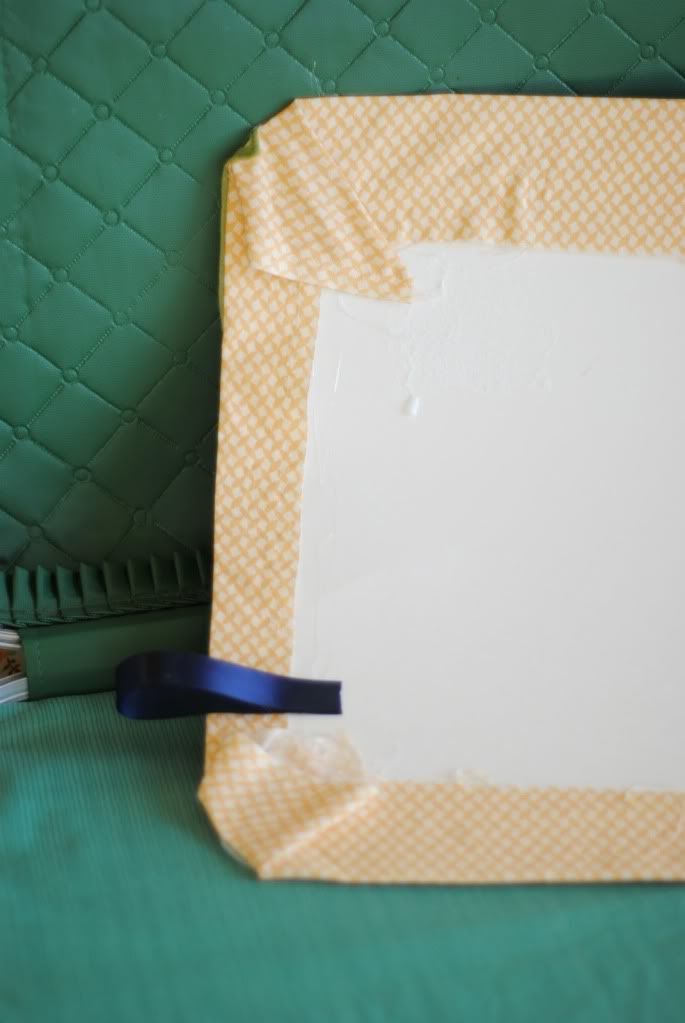
Once your room is all sewed up and you are satisfied, it's time to glue! Take the poster board you originally cut out and wrap your room tightly around it. Using a hot glue gun, glue it securely in place all the way around. Add a small ribbon pull tab to one corner.
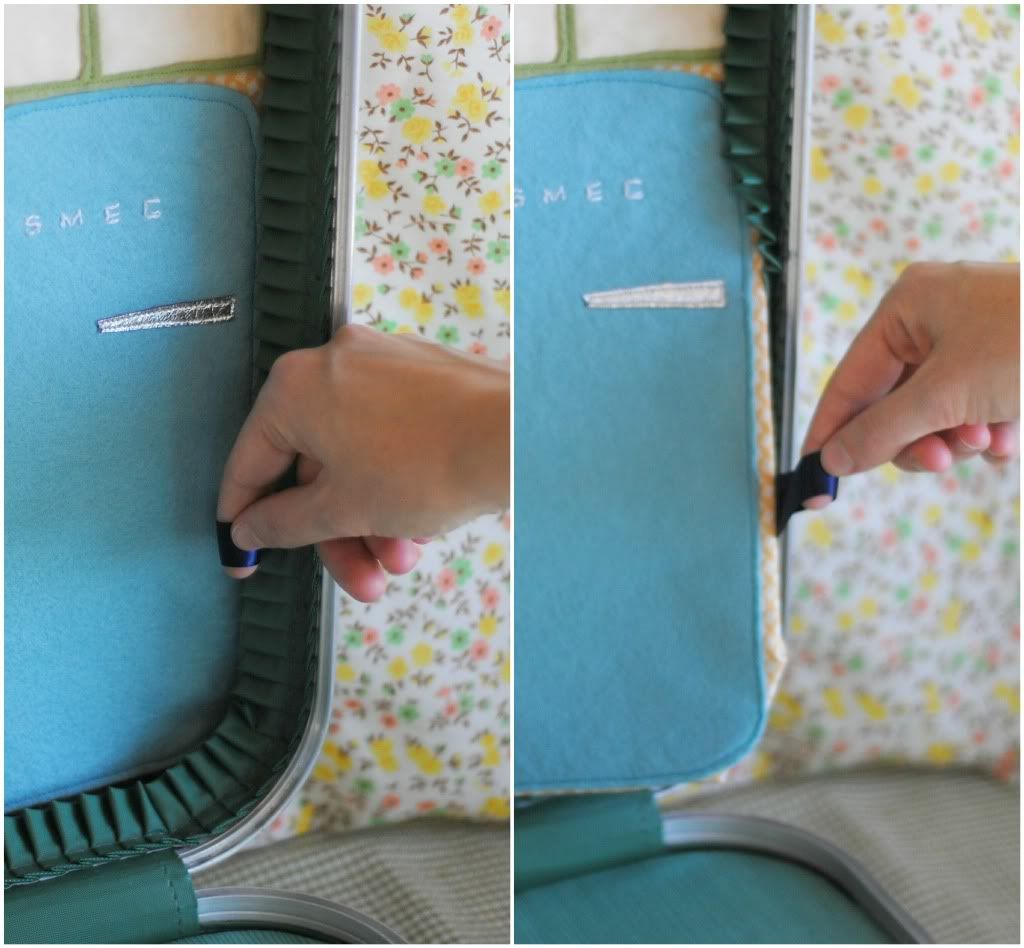
This tab will allow you to easily pull the rooms out of the suitcase lid to change them up. I also ended up adding a ribbon pull tab to the floor which is the next step.
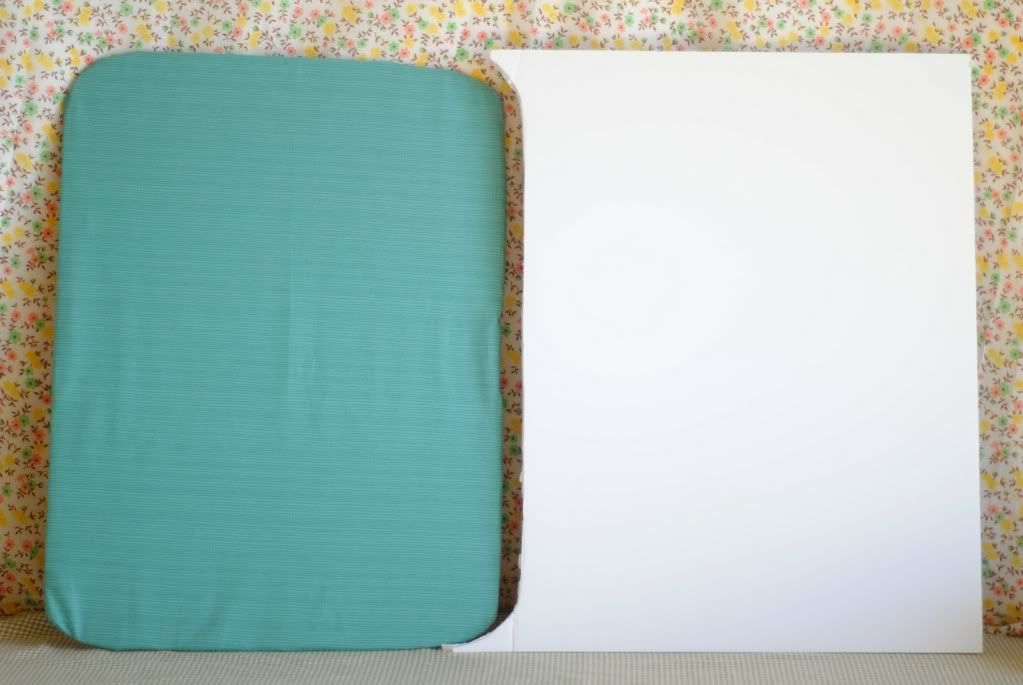
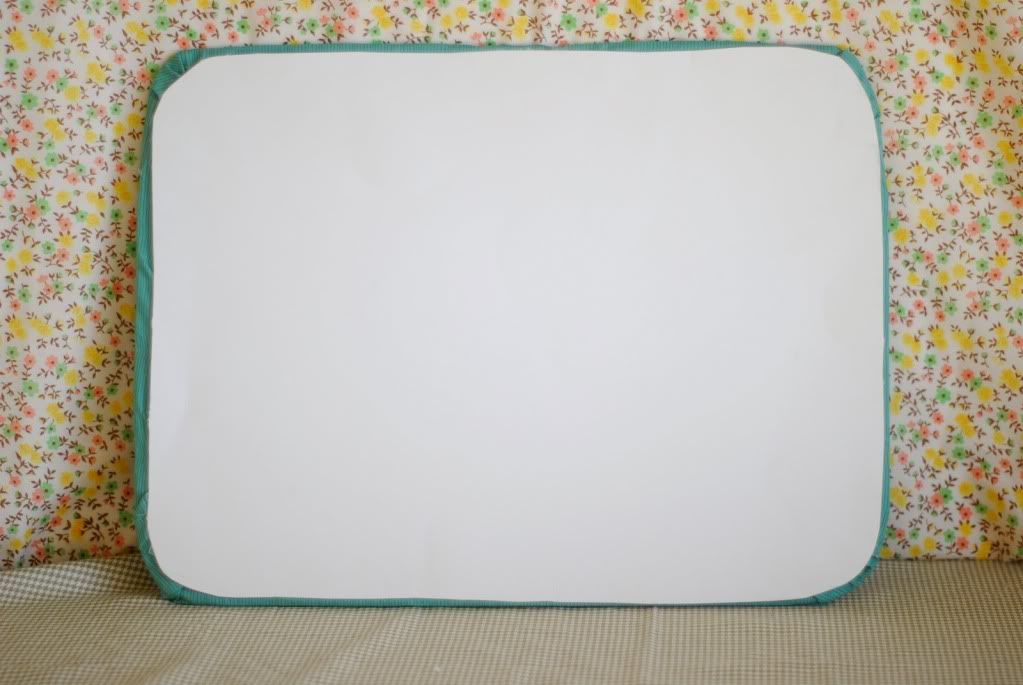
For the floor, measure around the lip of the bottom portion of your suitcase and cut out the foam board to fit. Wrap fabric around the foam board and hot glue in place, add a ribbon pull tab (not pictured), and then back it with a piece of poster board. You may be able to use a leftover piece of poster board if you cut using space carefully at the start.
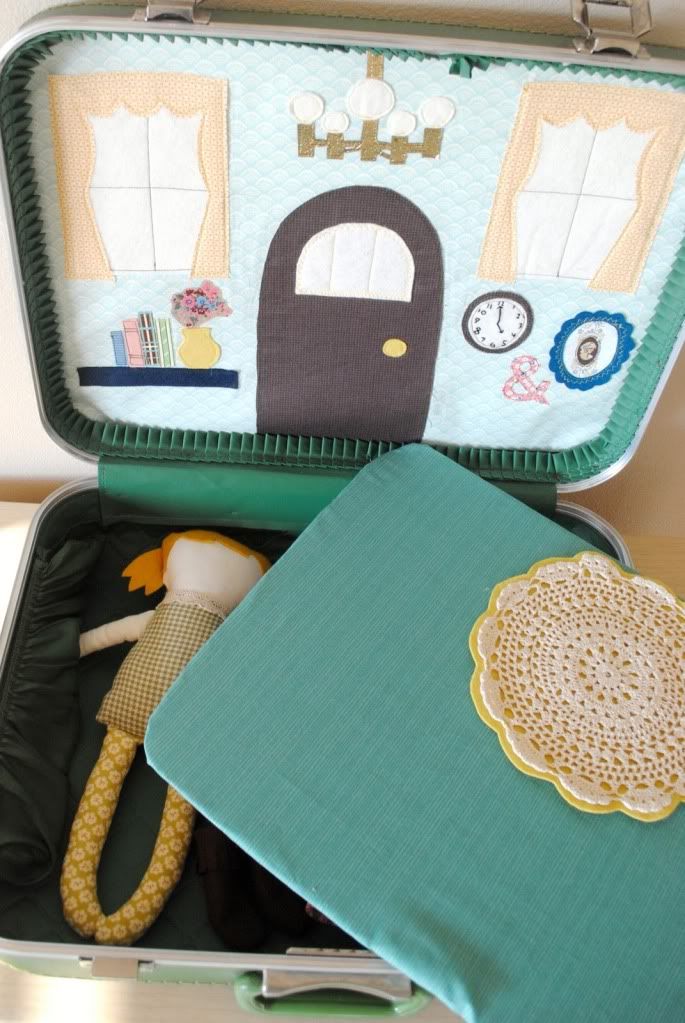

The bottom of the suitcase serves as storage for my daughter's doll and all of her clothes, so the floor will hide this space during playtime.
Pop your room(s) and floor into place and you're done! All three of my rooms fit behind the ruffle at once, so that is how I store them. Just pull the ribbon tabs to get them out and switch them up (tip: in retrospect I should have used a different color ribbon for each room so I would know which tab to pull accordingly).
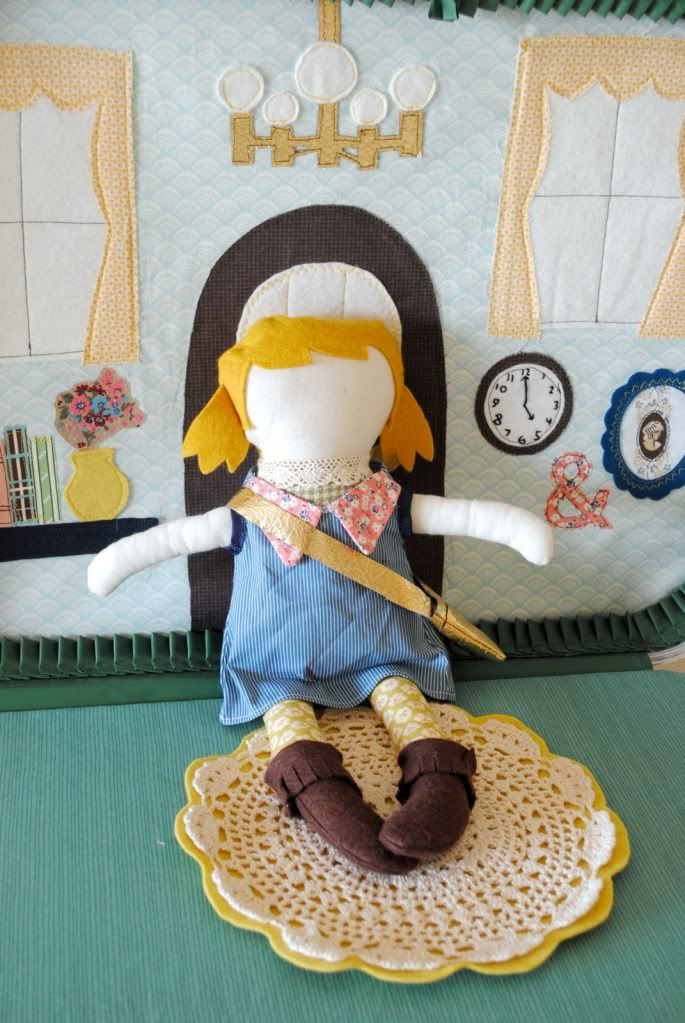
Here are my finished rooms - the front room, the bedroom, and the kitchen:


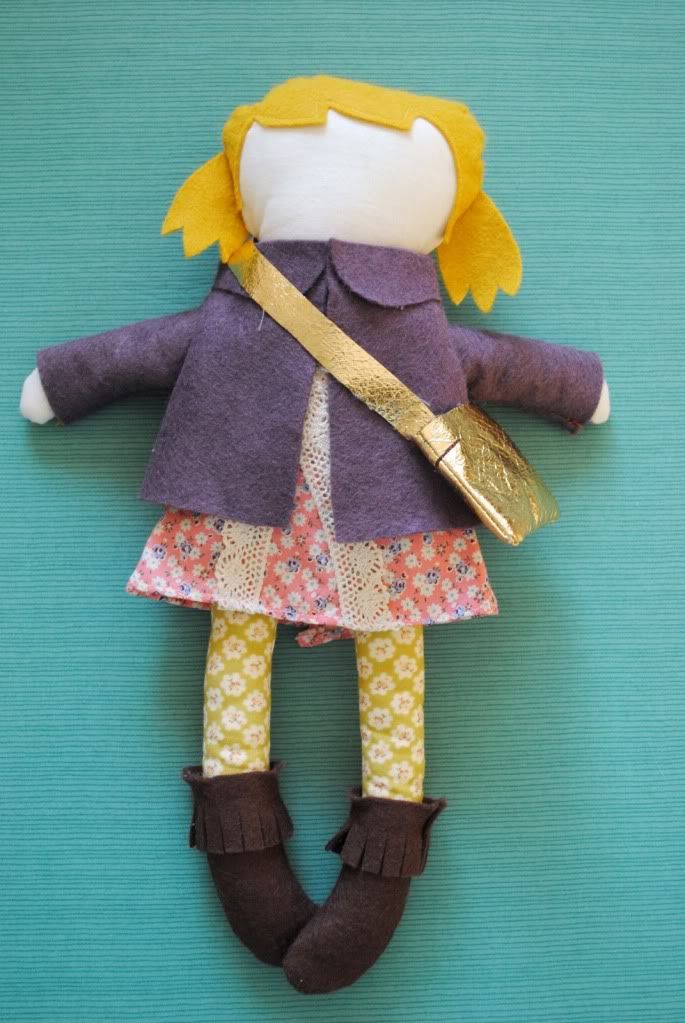
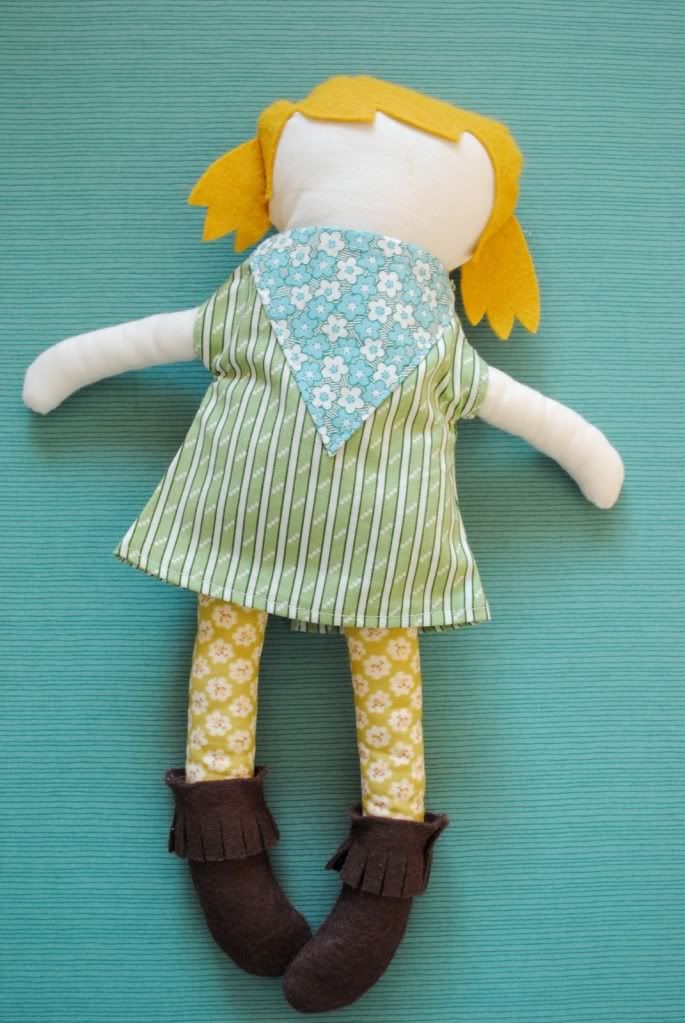
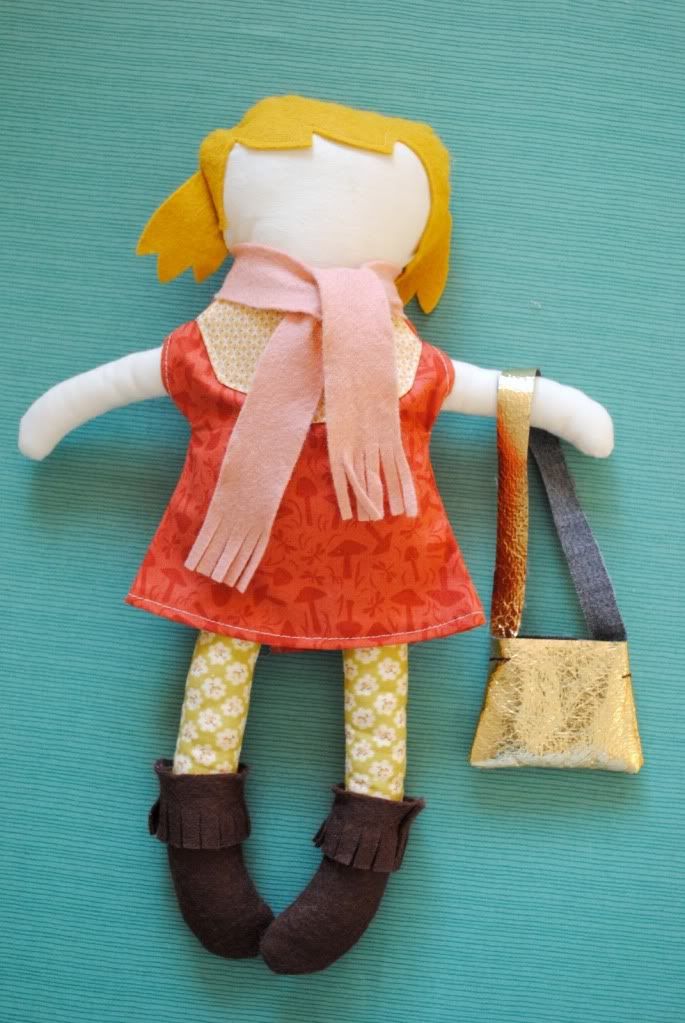
For my doll, I used the Black Apple pattern and I had a lot of fun designing an entire wardrobe for her. The sky is the limit with this project, I hope you try it out!

22 Comments:
Love this so much! Probably one of the most creative things I've ever seen! I've made the Black Apple Doll and had a little trouble enlarging it from Martha's site, so if anyone else needs help I've actually made a tab on my website with the patterns enlarged and ready for you to print. It's Thehandmadehomemaker(dot)blogspot(dot)com.
This is amazing. I love it!
i saw this maybe a month or two ago over at Hart & Sew and haven't been able to get it out of my mind, it's so delightful I can't wait to make it for daughter.
I see my daughter's Christmas present this year! This is absolutely the sweetest thing I have ever seen.
Thanks for the tutorial- I had already pinned this and found my suitcase and some fabric for it... Now I don't need to think to figure it out...thanks!
That is the COOOLEST thing ever!!! :)
I have been planning to do this for my girls for a while now. Christmas is coming and the dolls are almost finished. Maybe I can do this too for them, for Christmas. Love it!
I Looove this and am totally making it for my daughter!
This is great! My son loves his stuffed animals... Thinking about how to keep this idea for a boy and his stuffies!
This might be the cutest project ever! I have a feeling there will be a lot of little girls getting this for Christmas this year! Thanks Stacy!
I agree with Danielle, this just might be the cutest project ever! The possibilities are endless. I have a grandson, so I'm thinking of different rooms/spaces (Although keeping the kitchen, of course. A guy has to cook!) garage, work bench, garden, maybe fire station, zoo, beach and outfits to go with each. (Although, don't call them "outfits" in front of my son.) :) Thanks for the inspiration!
This is darling. Like crazy cool makes me want to play with dolls. Definitely number one on my list for my 2 year old daughter. She will LOVE this- although I will have to embroidery a face on the doll because that would worry her to death- "Momma, where her eyes, nose, and mouth go?" would be asked at least a zillion times! :) Thanks for the tutorial!! Woohoo!
Ahhhh, dying from the cuteness! If only my days required no cooking or cleaning & no schooling of my many children - I have more cute things to accomplish than I have hours left in my life! But, I guess I will have grandchildren some day if I can't do all I want for my kiddos.
How is it possible to be THAT creative?!?! This is so cute and I would love to find the time to make this for my girls.
wahouuuuuuuuuuuuuuuuuuuu ! un mot pour décrire votre travail : magnifique ! superbe, original, charmant ... oui finalement il y a plusieurs mots ;-) bravo
WOW! i'm blown away
I looove it so freaking much!
This just may be the cutest thing I've seen in a really long time! It's genius!
This is just so lovely!
Anne xx
So cute!! I love the interchangeable backgrounds.
x
I just cannot get over the details in your rooms! This is so creative and wonderful!!!
Wow what a wonderful tutorial and a fantastic doll set. I love the suitcase, the decor, the doll, the clothes and well everything. Fantastic project!
this is awesome!!
Post a Comment
Subscribe to Post Comments [Atom]
<< Home