How to Ice A Cake With A Cake Stencil

A cake stencil is a super easy and fun way to spruce up a cake. I used Jacinda's How to Ice A Cake tute, along with her Evil Buttercream Icing recipe to make this cake for Scarlet and Niko's Third Birthday Fiesta, and I added a cake stencil.
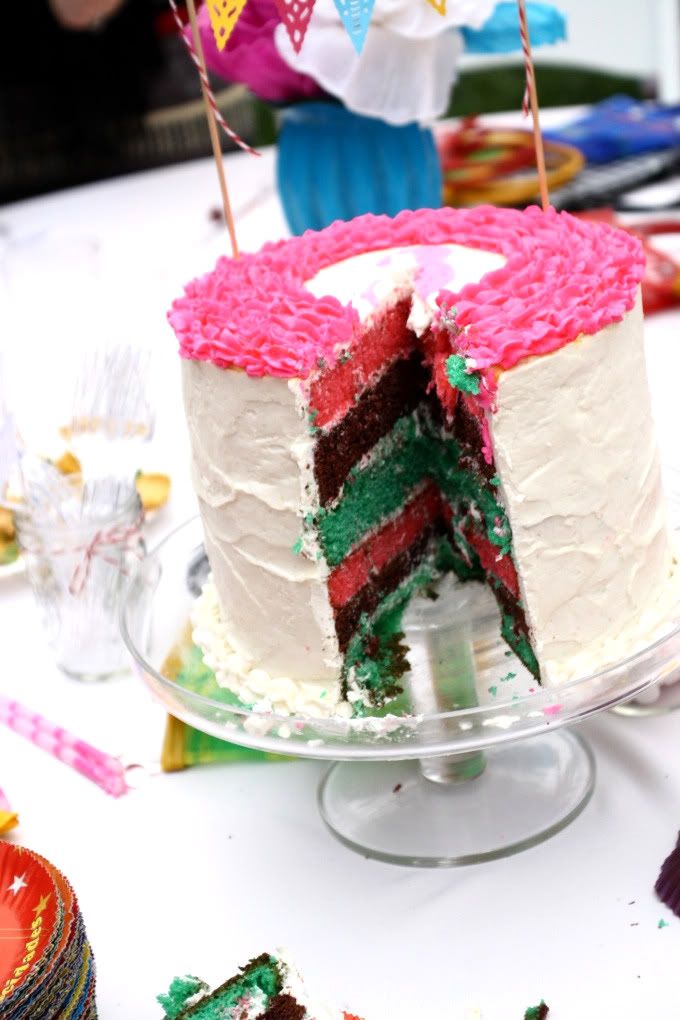
I also made the layers different colors, just for fun.

Let me walk you through How to Ice A Cake With A Cake Stencil after the jump...
Have you ever used a cake stencil? What's your method? And does the site of the yellow make you as sad as it made me? Let us know in the comments, you could win that amazing Belle & Blue Chair.
How to Ice A Cake With A Cake Stencil
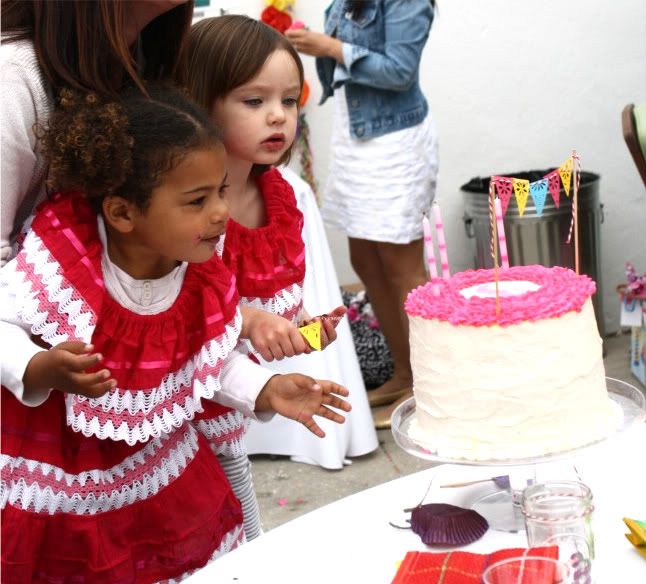
First a note: Sparkler candles are a great idea, if you want your children to be afraid of their cake, and you like smoke and fire being shot at them.

Regular candles... much better.
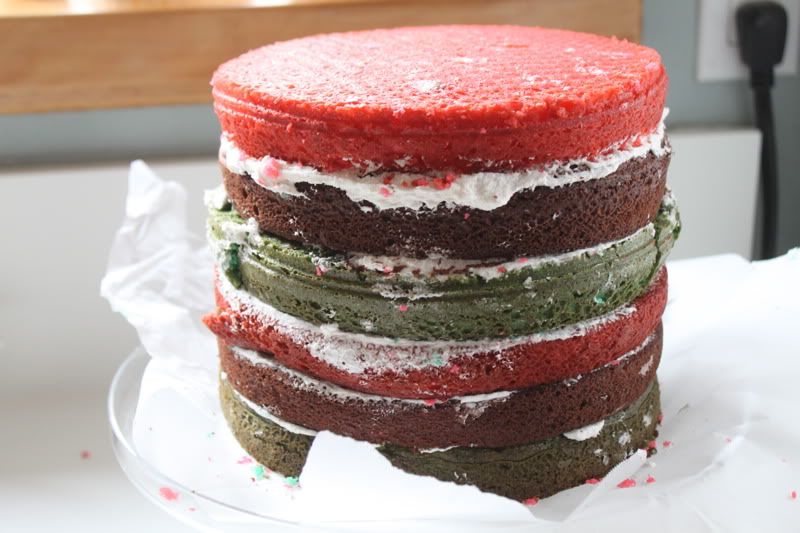
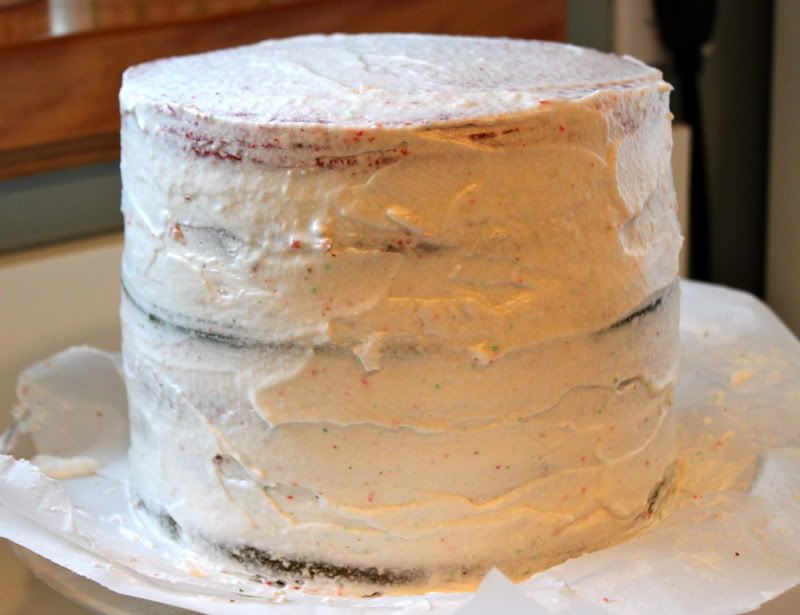
First I made up six 8" rounds using cake mix and food coloring. Then I made some Evil Buttercream Frosting and stacked my rounds with layers of frosting in between.
Filled in the holes on the sides:
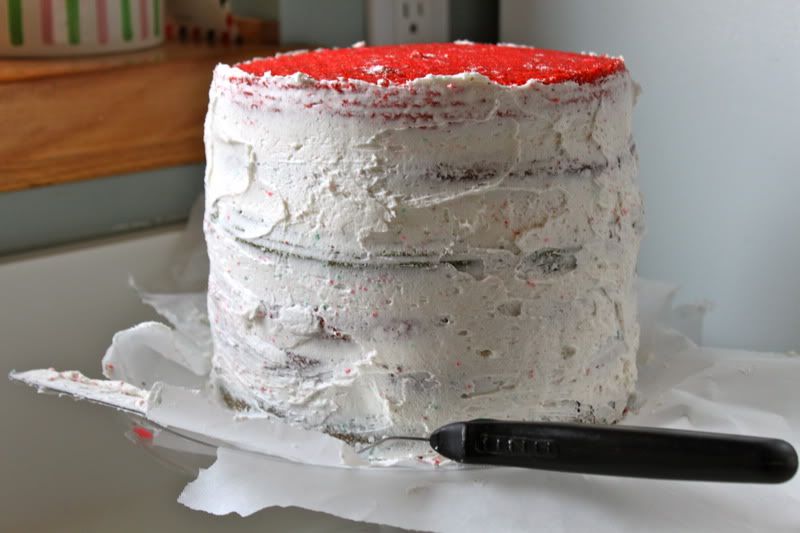
Made my crumb coat (the step by step details are all in Jacinda's How To Ice A Cake tute)

Poured it on top:

Smoothed it to the edge:

Spread it around the outside, then let it sit to dry for a few hours.
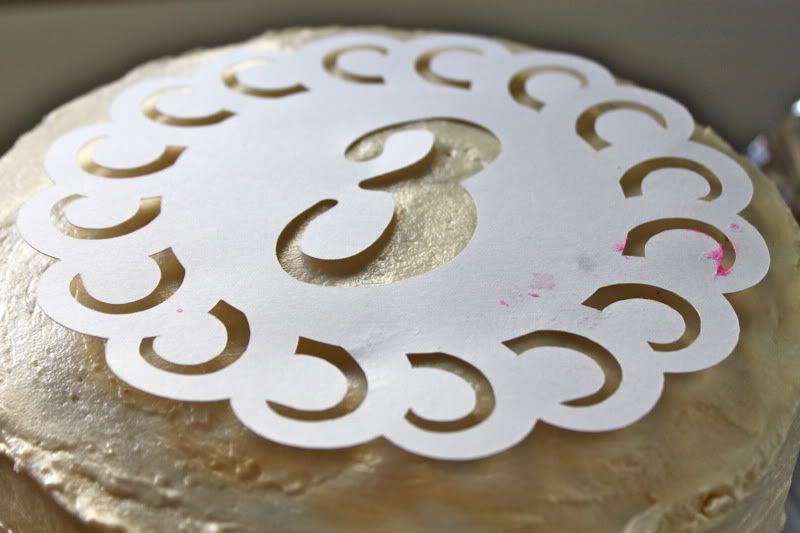
Meanwhile I made a cake stencil. I used my silhouette, but you could trace and cut any shape, use a craft punch, or buy a cake stencil. I cut mine from card stock. That font is called Ballpark Weiner.

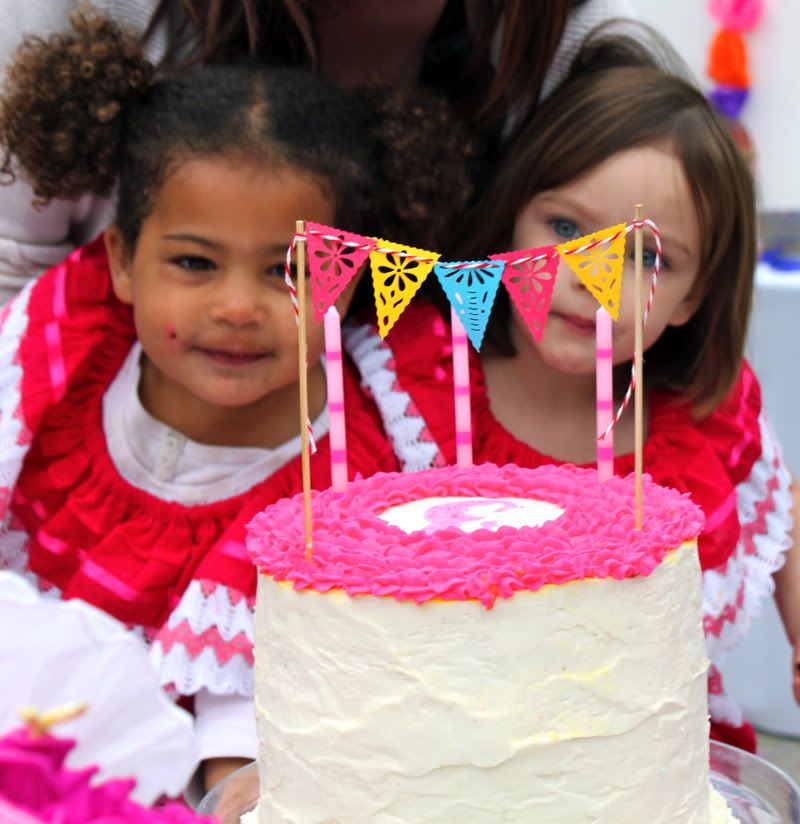
I also used my silhouette to make a papel picado themed bunting for a cake topper:

I also put some icing in a container with a star tip:

Which I used around the bottom edge after applying the final round of icing and waiting until my cake was dry :

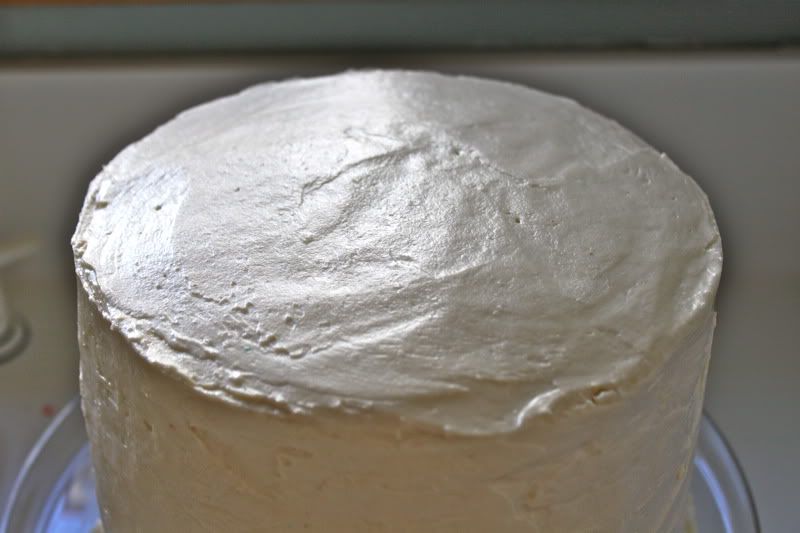
So here is the top of my cake. This was as flat as I could get it, I wasn't feeling super patient.
So place your cake stencil on top.
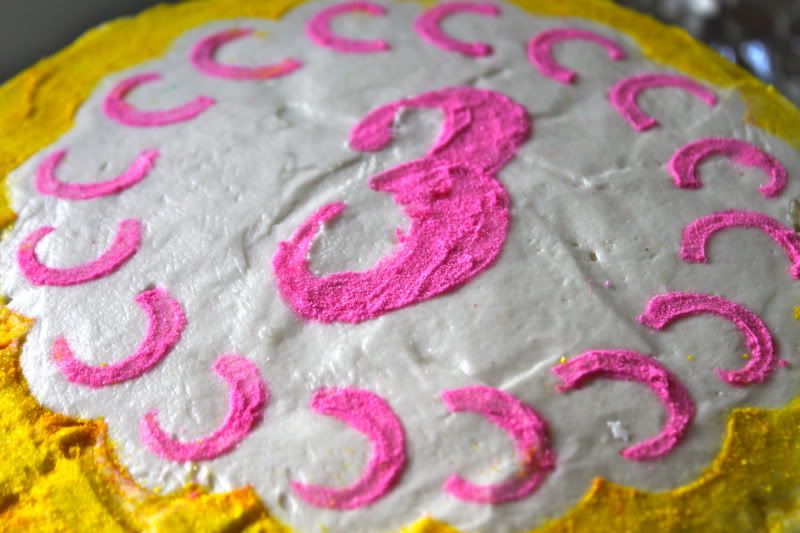
Then I used a paintbrush and Wilton pearl dust. I dipped my paint brush in a 50/50 water and lemon juice mixture, then into the pearl dust, then painted in the stencil:
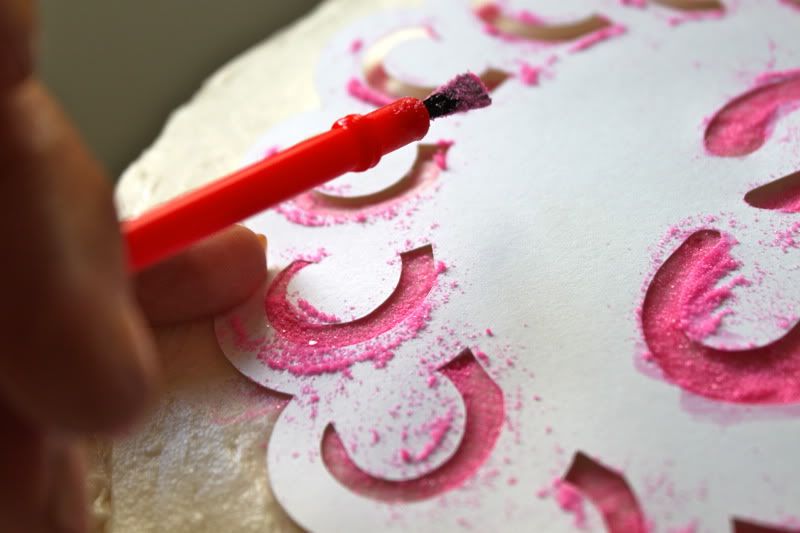
I decided to do the inside details in pink, and the outside edge in yellow:

But that looked disgusting, like egg yolks or something. I was VERY bummed on this.
So I added pink frosting with a star tip all around the outside, with just the 3 showing. Much better, right? right?
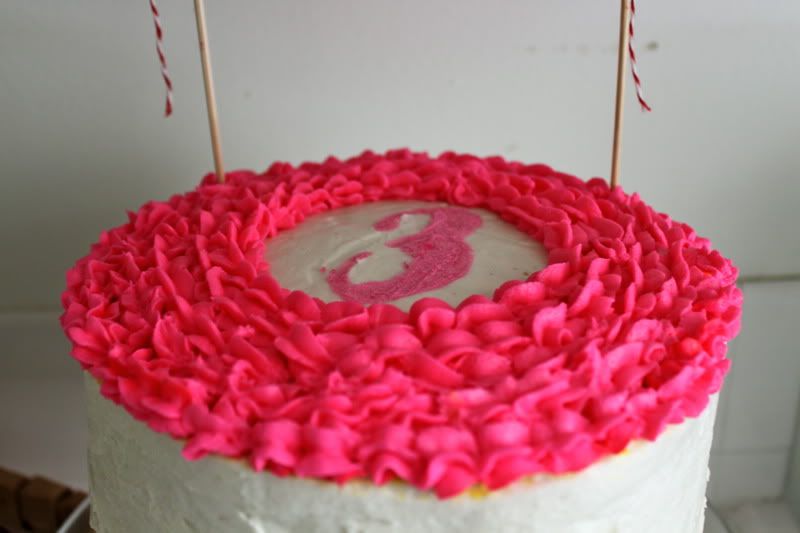
Then I added the topper, with the bunting tied to two skewers:
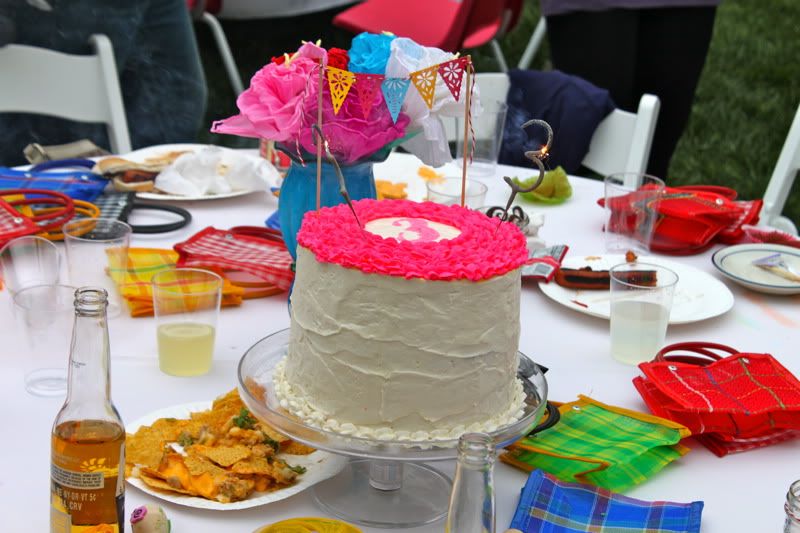
Happy Birthday Ladies!

9 Comments:
yellow is better than puce right? I'm glad that you didn't like it though because the pink icing you covered it with looks like the outside of a pinata (in a good way) which goes with your theme!
Great tips, I just finished making my daughter a 'banana' birthday cake (with a giant banana on top) but I think it would have turned out much nicer had I used this method. Oh well, she is only 2 so I will have many more years to practice and perfect!
I thought the yellow looked cute, but if I were making it, I probably would have had the same paranoia and my cover-up probably wouldn't have looked so great. I am trying to figure out what to do for my twins' first birthday, and this seems like its pretty simple! Maybe I will give it a shot.
I love the colors of the cake! But I would really love a blog post on Niko's hair! That would be awesome. My biracial daughter would appreciate it :)
oh annieglan, niko's mom would also appreciate it. the things she tries for that girl's hair!
I don't think yellow is all that bad. I certainly don't think it looks like egg yolk (it would have to be in center and round for it). But I think if you had done the border in red or purple, it would have worked really well. Thanks for the tutorial! I can't wait to try it for my own cake. I would write names in this method though since my piping skills are horrifying.
I want to try a stencil now! I love the little bunting. It's so cute!
That yellow was a gorgeous shade so I am sure that you were bummed that it didn't turn out the way you wanted it to but the cover up was GENIUS!!! Natalie was right to say that it looks like a pinata. Bravo! The bunting is my favorite though! I am going to ask Santa for a Silhouette. :)
I love the cake...I tried out the icing tutorial on my Mom's birthday cake, but I still have difficulty getting my layers straight, any tips?
Post a Comment
Subscribe to Post Comments [Atom]
<< Home