How to Sew A Drawstring Backpack

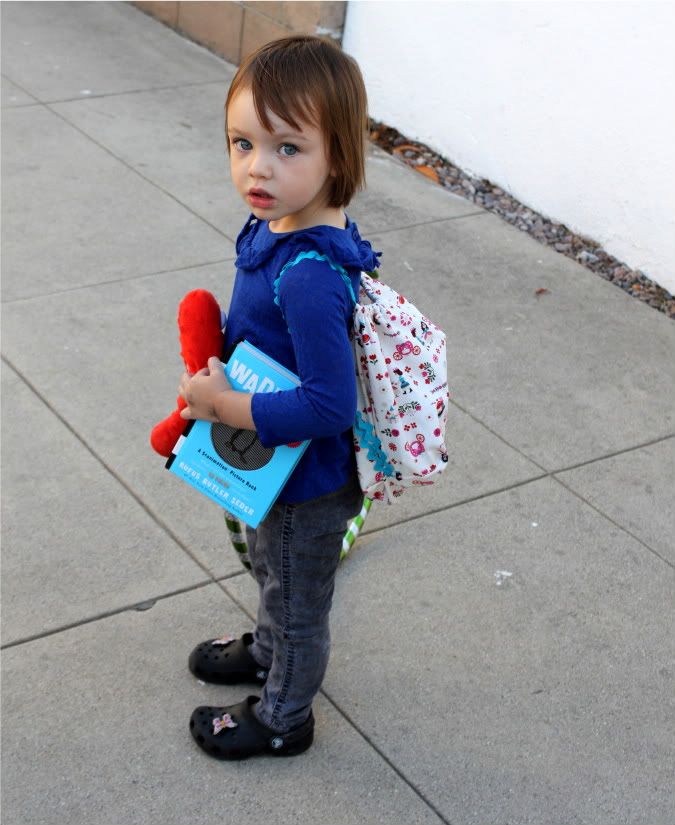
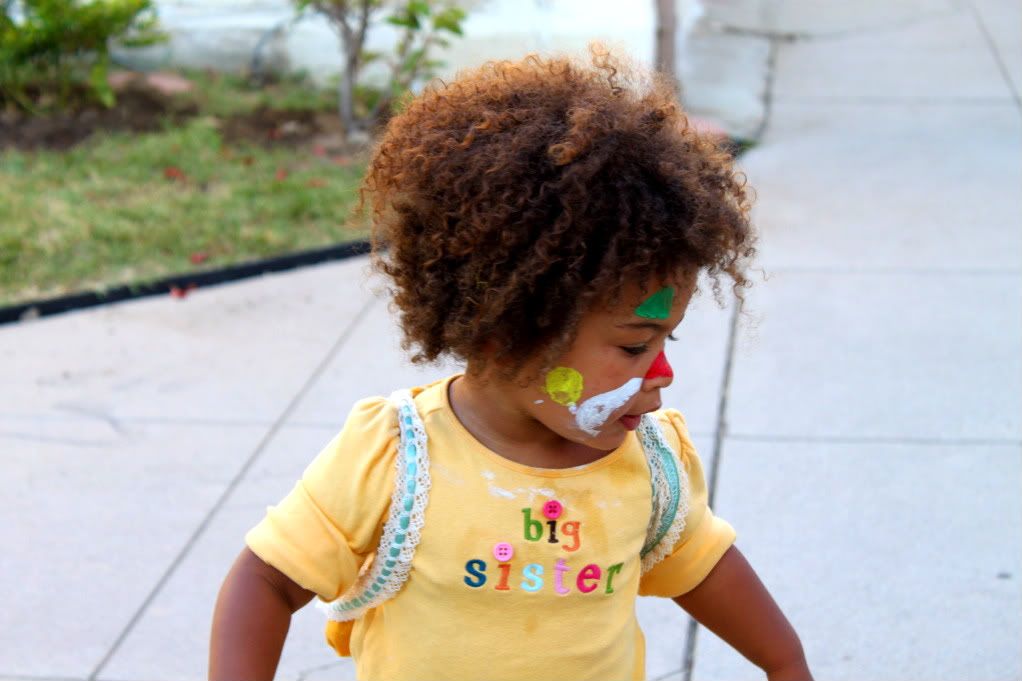
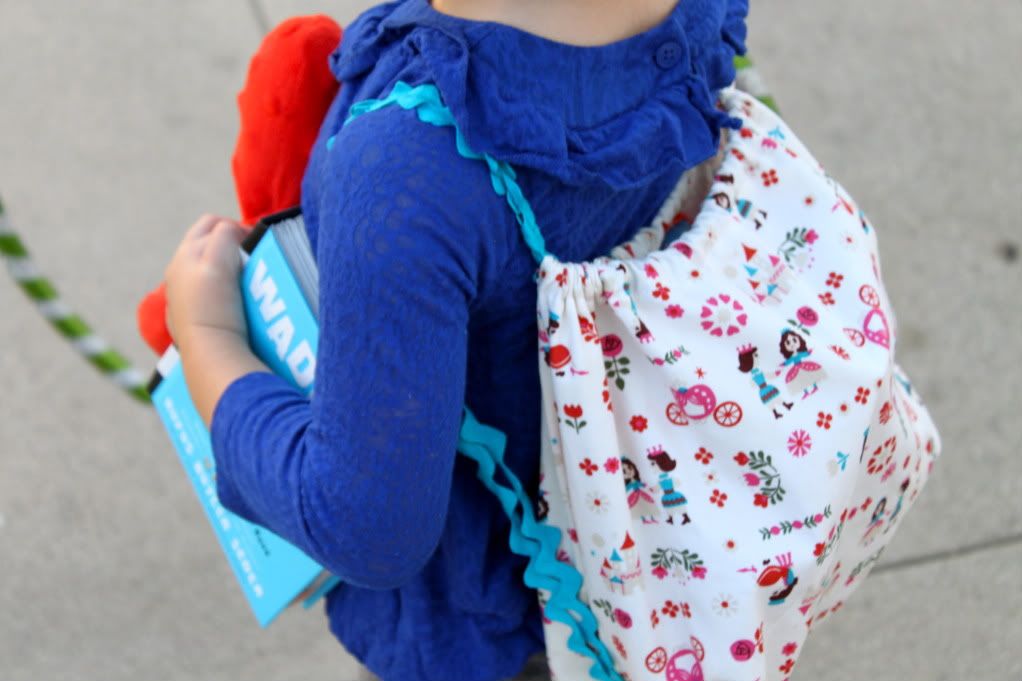
How to make a drawstring backpack for back-to-school the easy way. Are Scarlet and her BFF Niko the most gorg or what? No, don't answer that: They are the cutest. Well, here's a fun & quick DIY we created for a drawstring backpack at the request of our friends at Small. Check them out, they have the best kids stuff and are sharing this today.
Get the full DIY Drawstring Backpack Tutorial after the jump...
So, will you give it a shot? It's seriously so quick and simple. Let us know what you think in the comments and you could win that Alexander Henry fat quarter to make your own backpack with!
How to Make a Drawstring Backpack
Gather Your Materials:
1 piece of heavy weight fabric 13" X 26". This is Heather Ross Far Far Away 2 Sleeping Beauty in Gold (on Niko) from Fabricworm and Kokka Trefle Canvas Cinderella Natural (on Scarlet)
2 yards trim/ribbon (3/4" width or smaller)
Instructions:
Fold fabric in half right sides facing, 13" edges aligned:
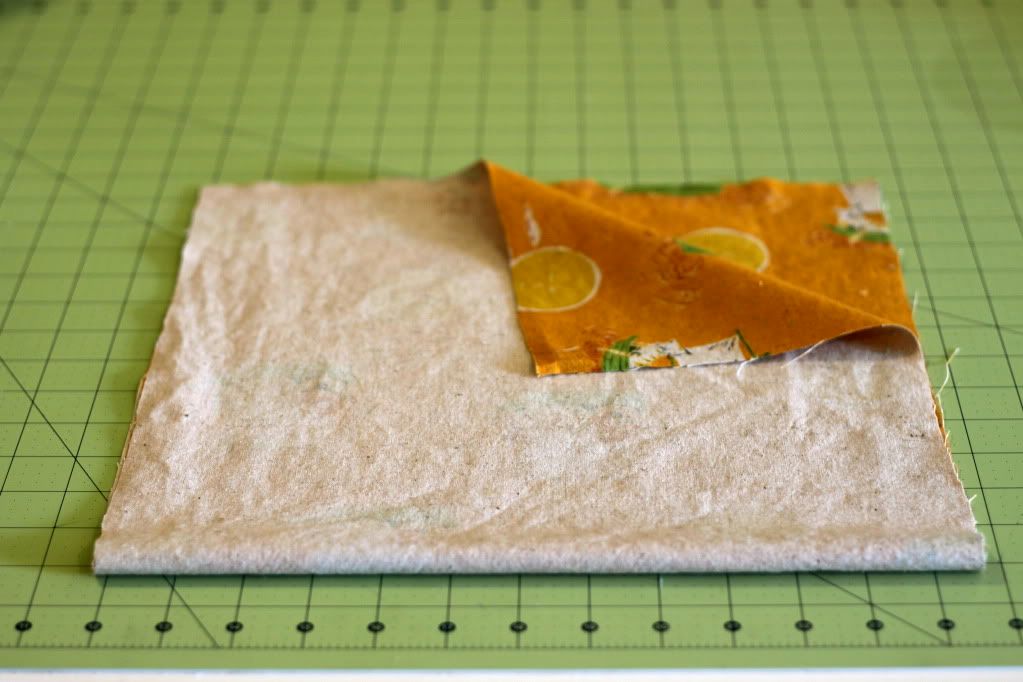
Sew up the edges, stopping two inches from the top, then cut the edges with pinking shears:
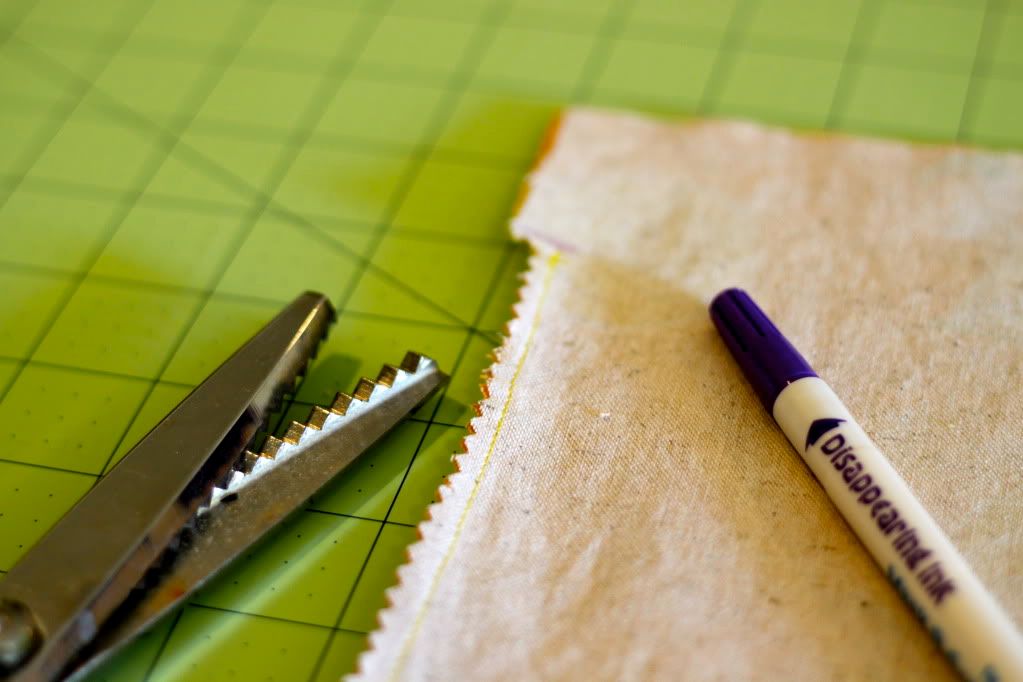
Along the top, fold each side edge in 1/4" and iron, then the top edge in 1/4" and iron:
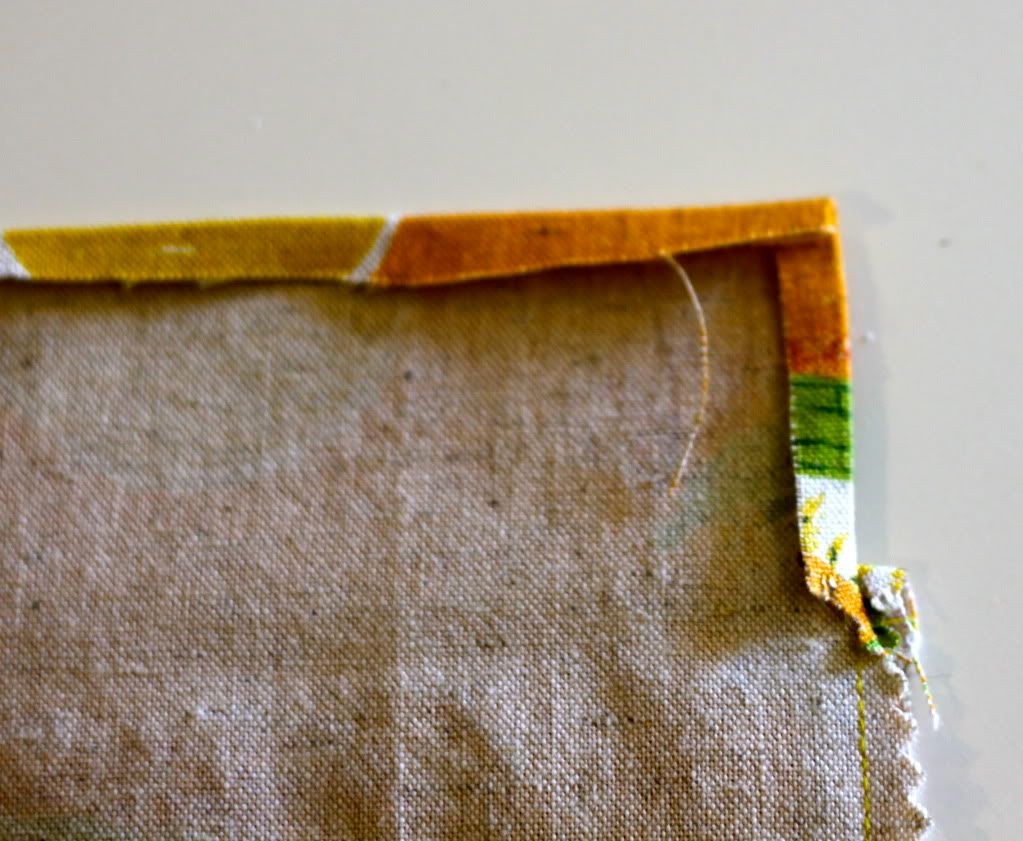
Fold the top down another 3/4" and iron:
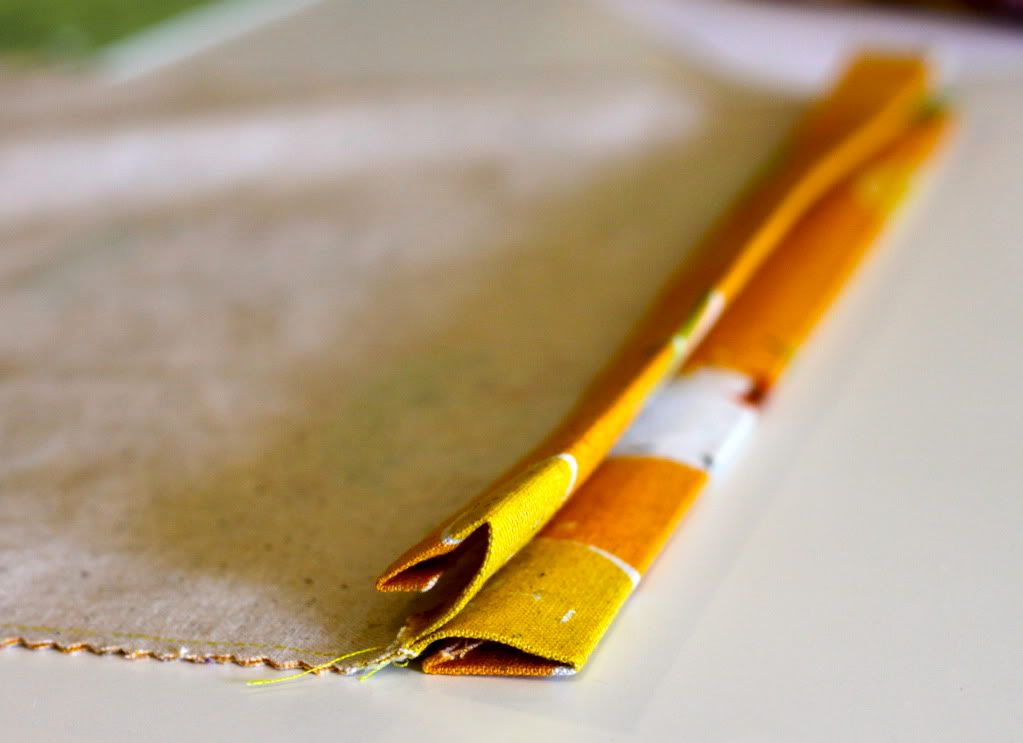
Repeat on the opposite side. Sew in place along the edge to create a casing.
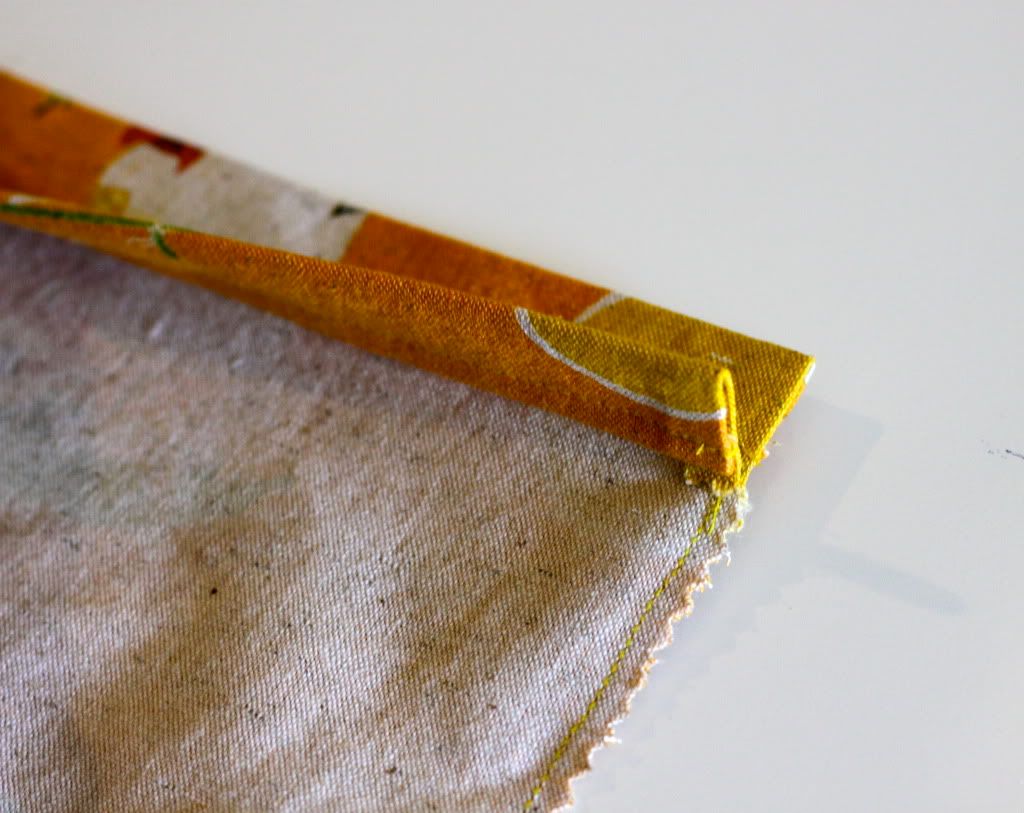
Using a safety pin feed the first piece of trim through one casing and out the other side, then back through the other side of the casing:
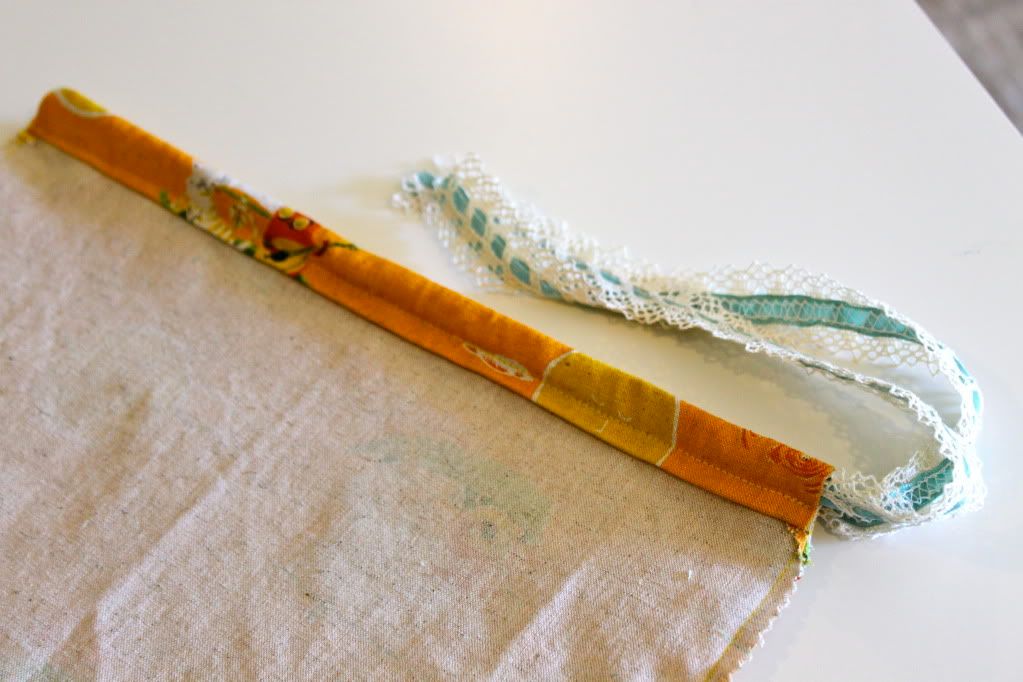
Repeat with the other piece of trim going the other direction:
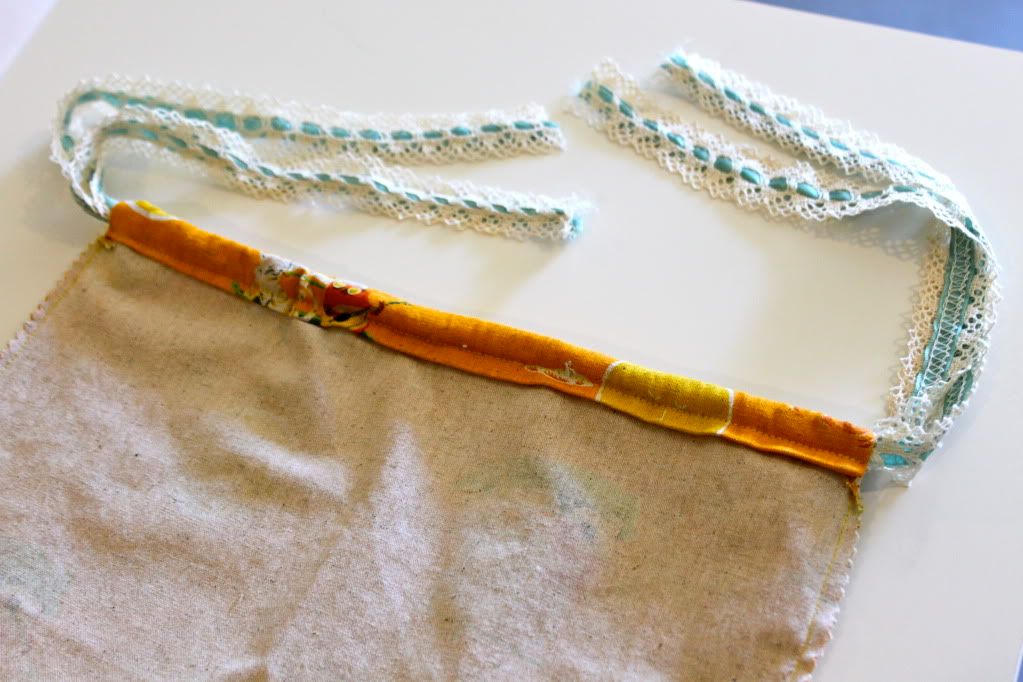
Now we will create the gusset and attach the backpack straps. Bring the seam to the front center and iron the bag into a point:
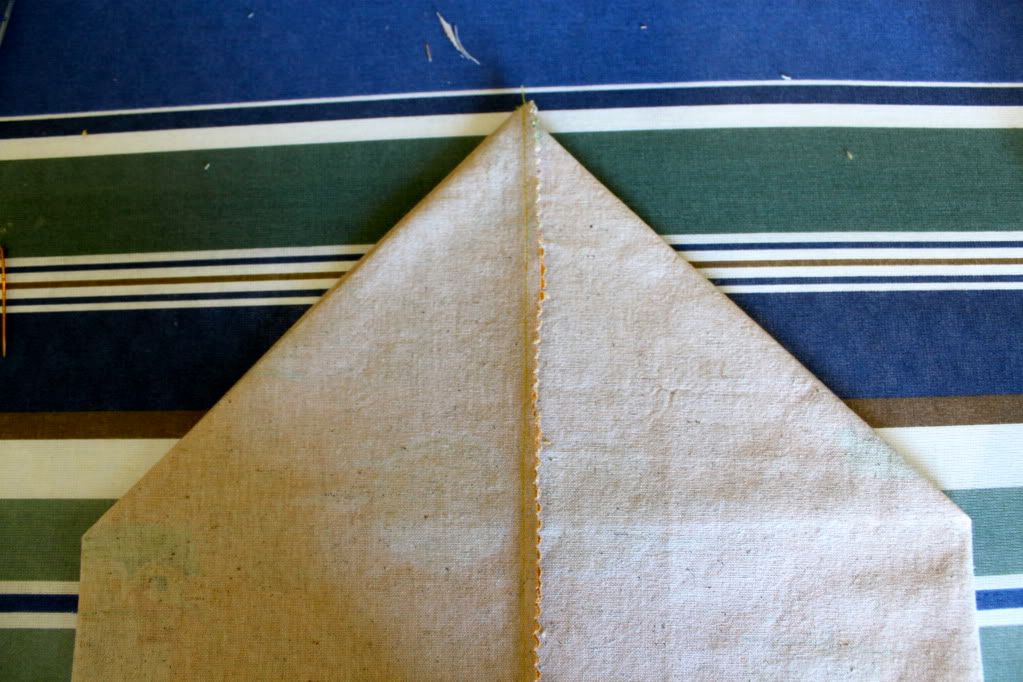
It will look like this unfolded. Make sure it is straight!
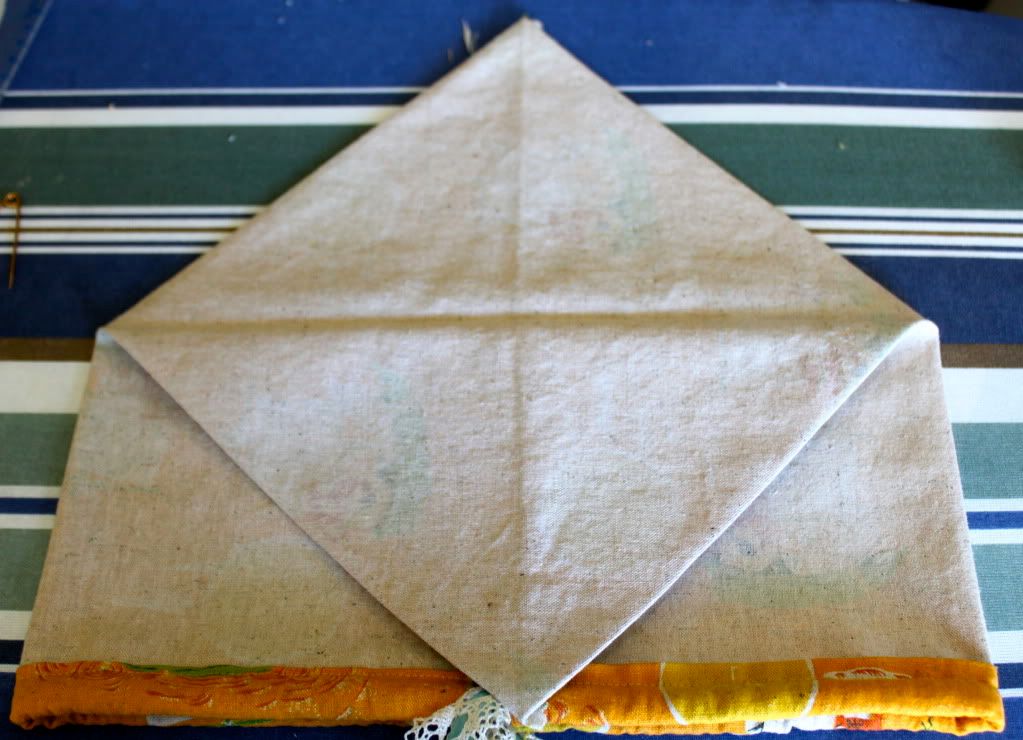
Measure two inches down from the tip of the triangle:
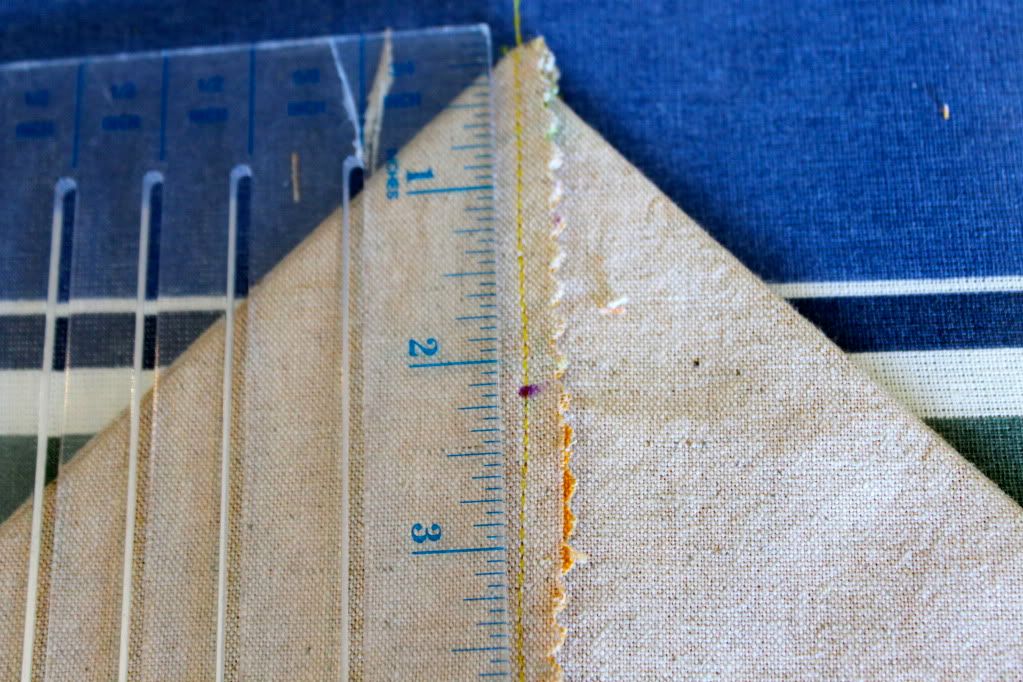
Draw a straight line across the tip at the 2" mark you made.

Cut the tip of the bag off 1/4" above the line:
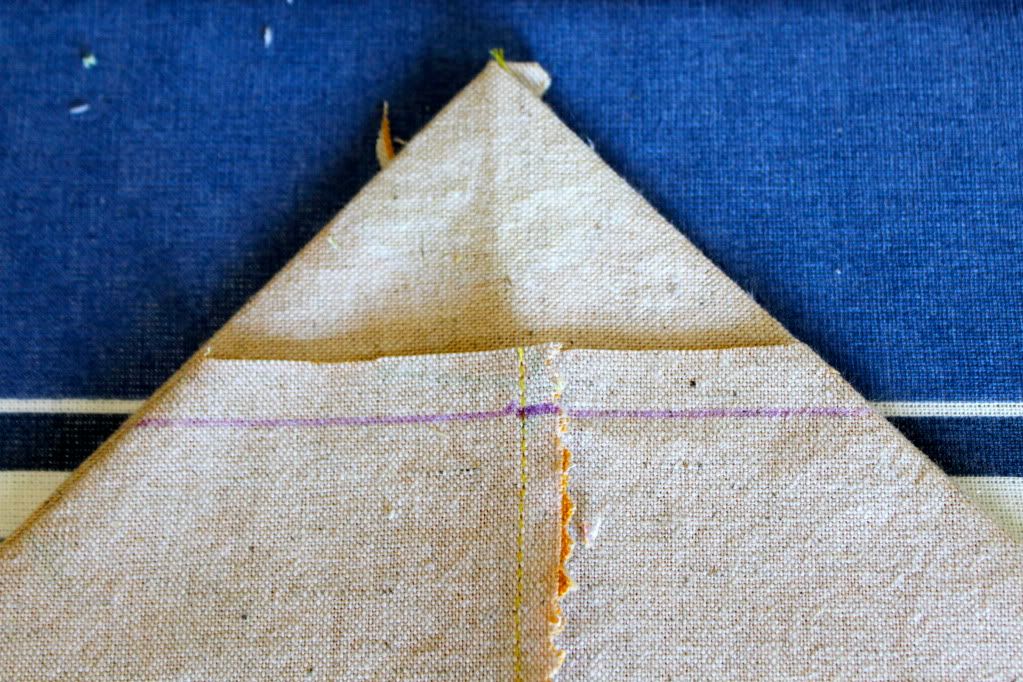
Repeat on the other tip:
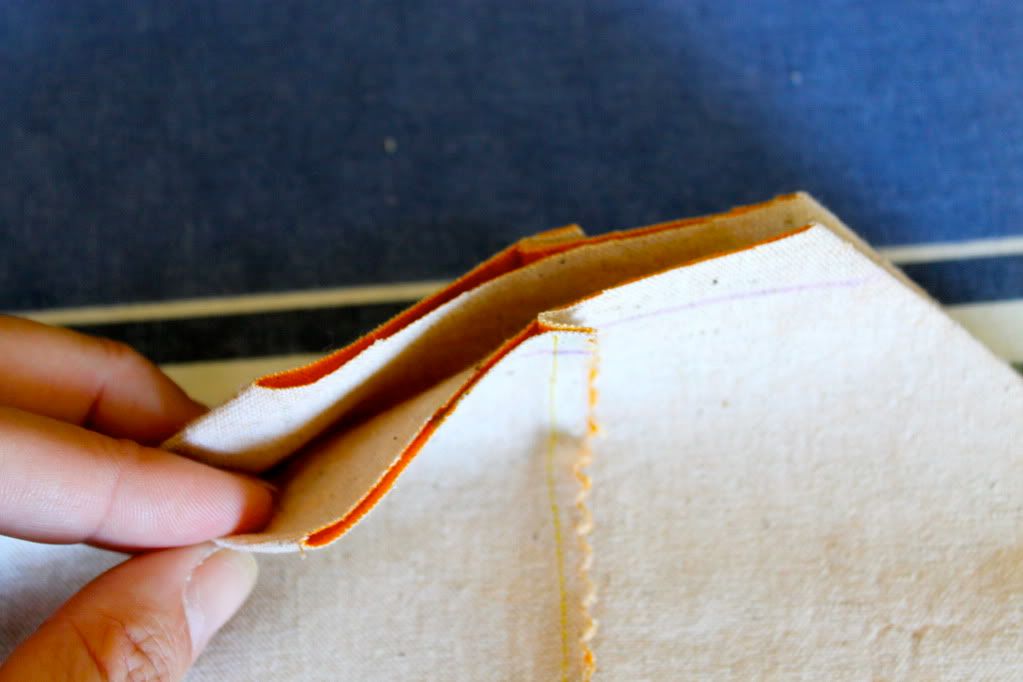
Grab the ends of one side of the trim:
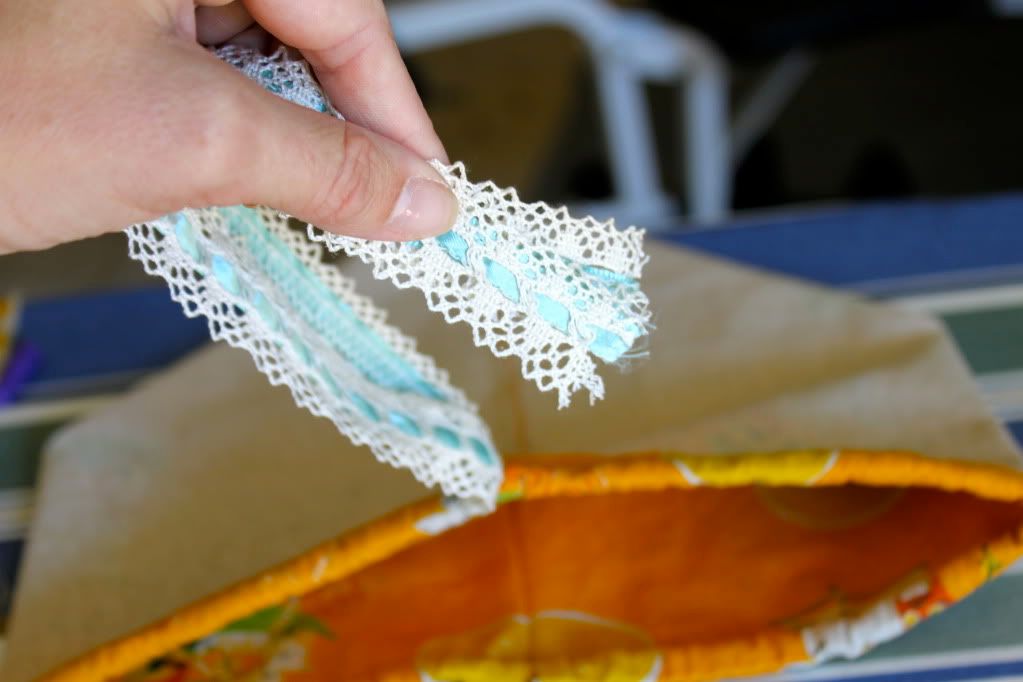
Pull them inside the bag and through the hole in the tip closest to them:
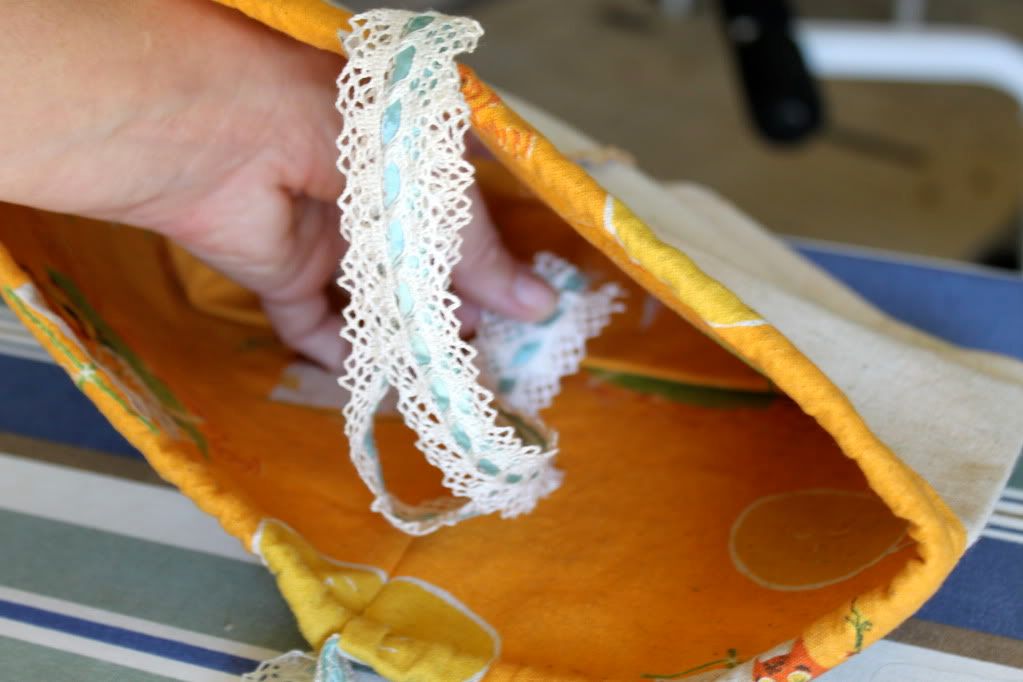
There you go:

Pin in place:
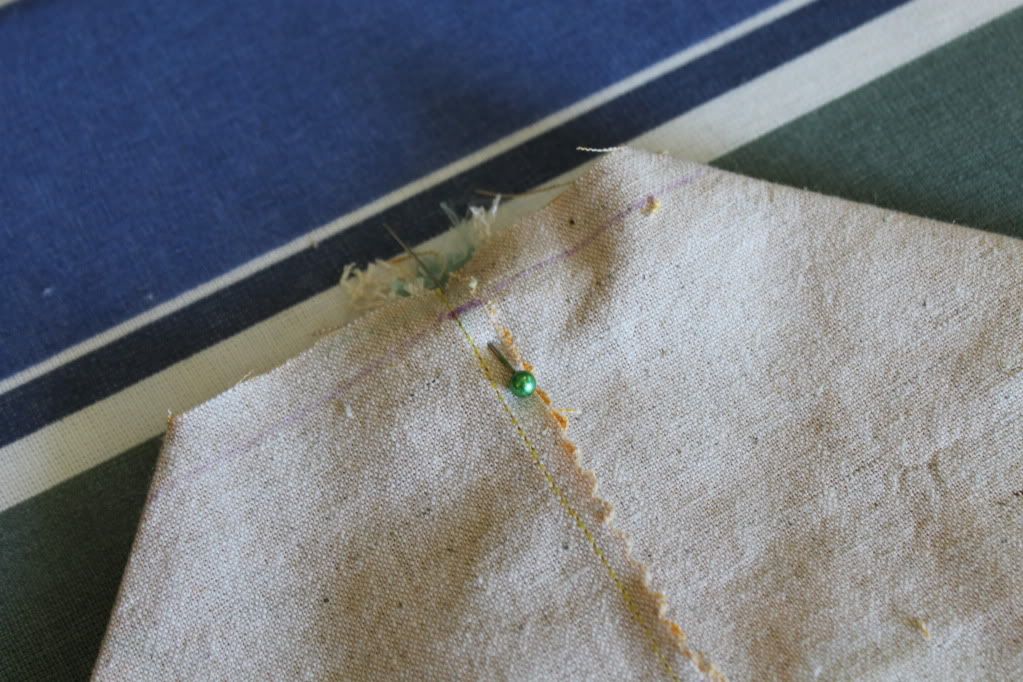
Repeat on the opposite side, so now you have each strap pinned into a triangle point:
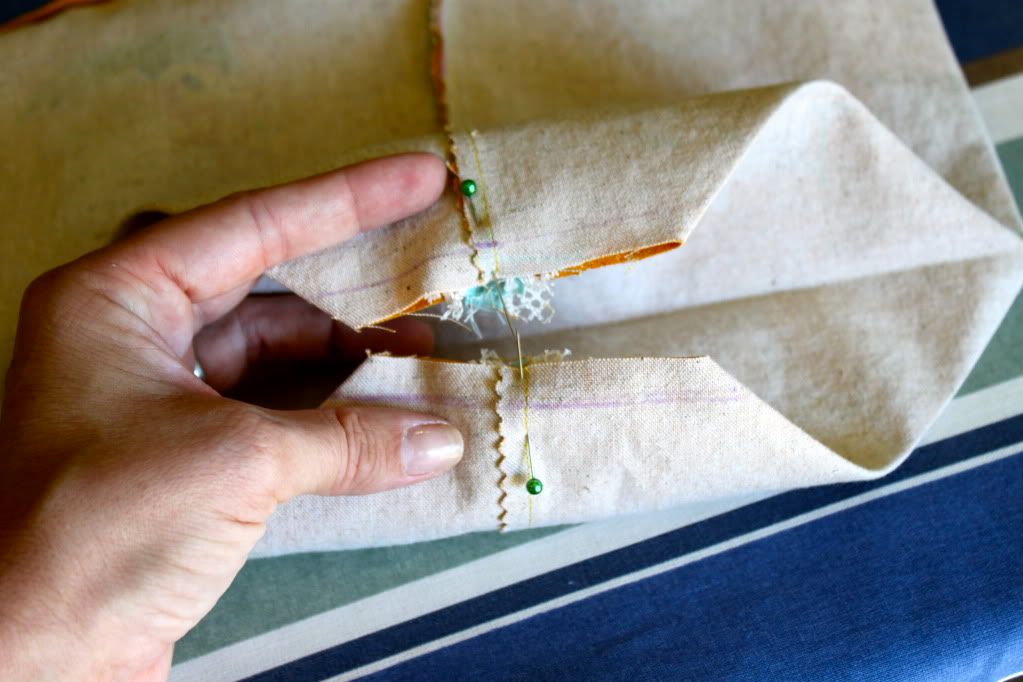
Sew in place along the line you drew:
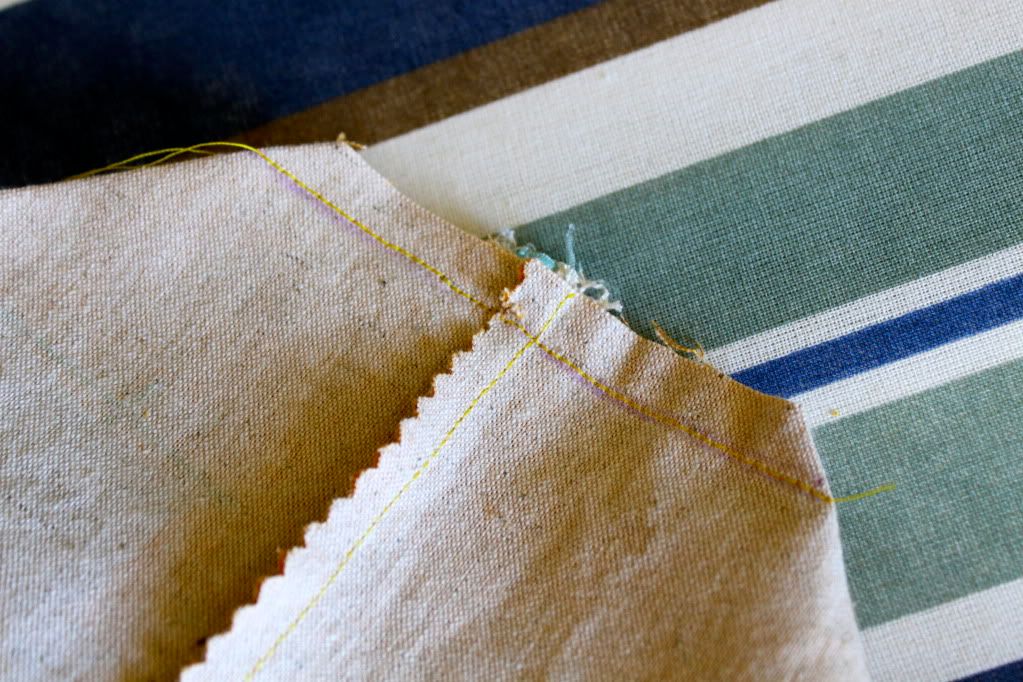
Finish the edges with pinking shears and turn inside out.
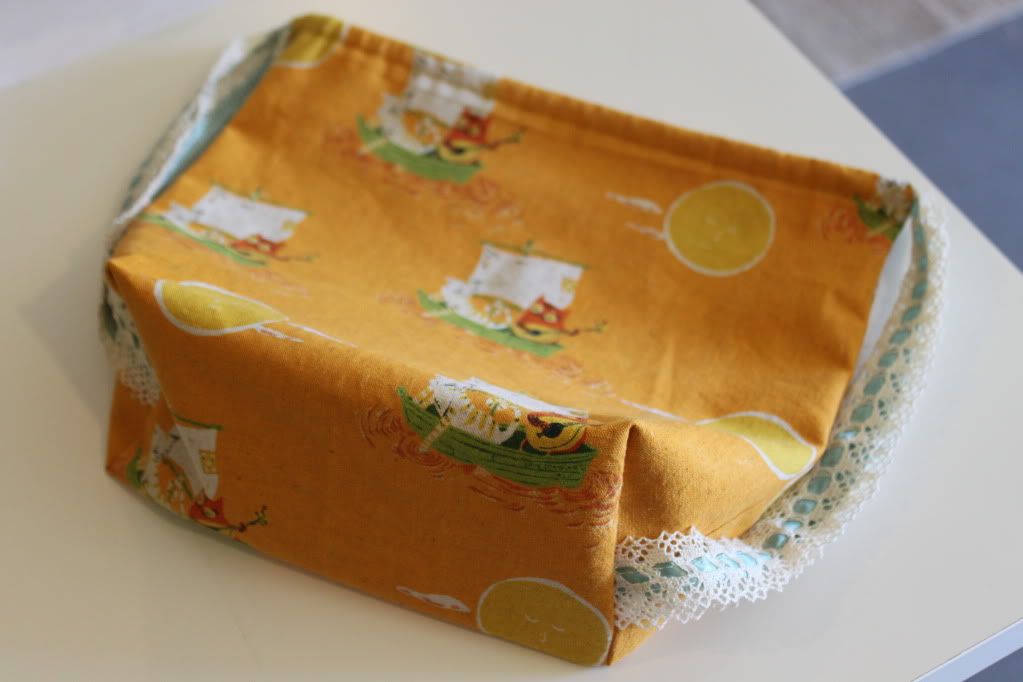
Pull the straps to close the bag:
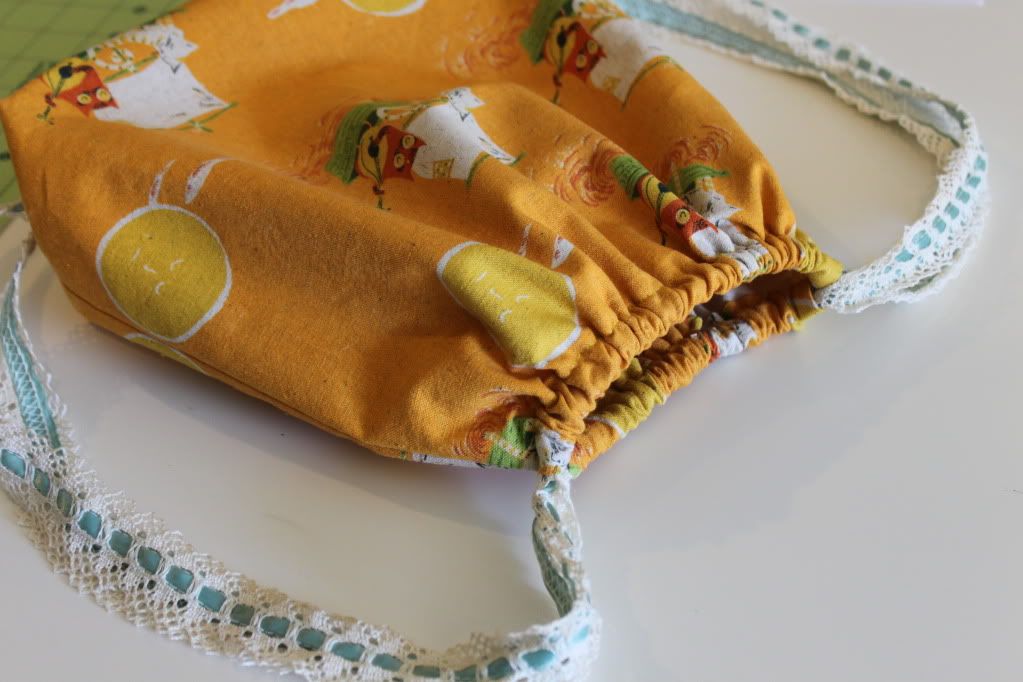
You're done! Pretty simple, right?
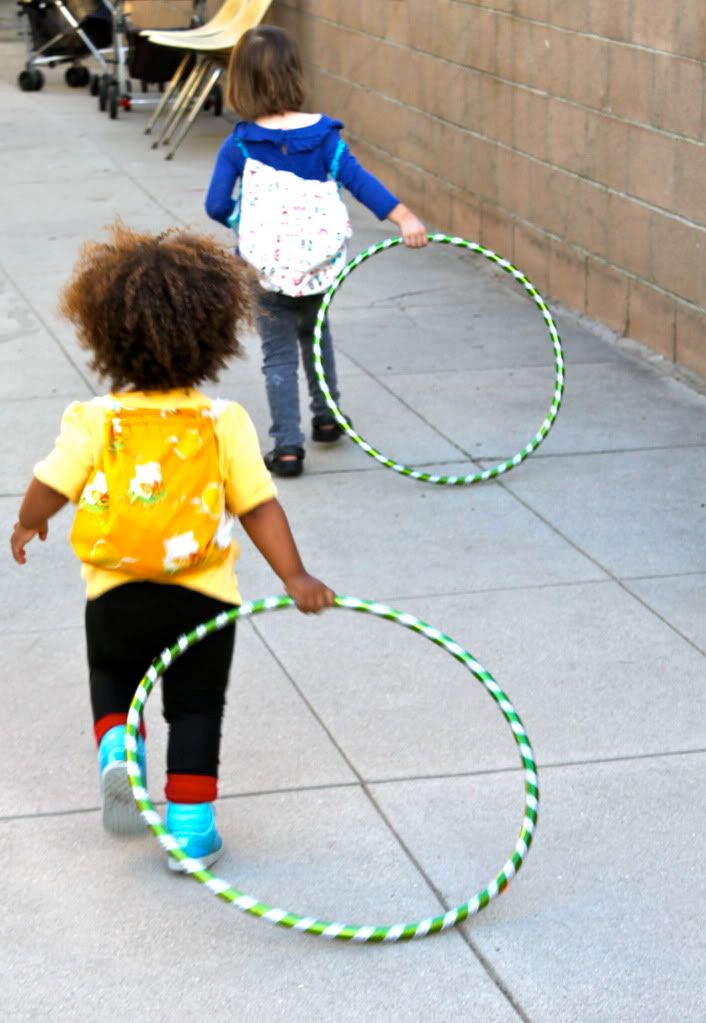
Give to cute girl, let cute girl stuff with toys and play:

So, what do you think? Will you try it?
Labels: Accessories, All Things Boy, DIY, Gifts, In One Evening, Kids, Organization, Sewing, Under $5

36 Comments:
I just might try it! :) Now all I need is a quick trip to the fabric store ;)
Prefect timing as always. Thank you for posting such a great detailed tutorial. I just decided what I am going to make my neices and nephews (all 14) for Christmas.
Adorable!! what a great gift idea for the little ones. Thanks!
I am definitely going to try this one for holiday gifts, just as soon as I'm done with my fat quarter apron.
Love it! What a fun, quick project.
I have made similar bags before....but I love your ideas for cute straps, way more fun!
Lovely! I'm going to make one for my cute girl (and cute boy!) asap!
Thanks for the tutorial. I had wanted to make these, but couldn't figure out the logistics behind the strap attachment. I'm now ready to go! Thanks!
This is a great gift idea! I love the fabric you used. I also love my Lil' S. She is the cutest.
Another one on the list! I think I can do this during nap time today! oooh I have so many projects, I need to post some pics for you. Thanks for all the yummy ideas!
That is so cute! This is good for boys too. I think I know what to make for my neices and nephews for christmas. :) I was also wondering if maybe you ladies could make some more stuff for little boys? :) I would love to have a little girl someday but right now I just have my perfect little prince charming. :)
Perfect timing! I just bought a yard of ballerina fabric to make a drawstring bag for my 2.5-year-old's ballet gear. All i needed was a good tute - and behold! Y'all had just what I needed.
Love the painted face!
Wow, this is simply beautiful! Maybe it's the project I was looking for to try out my machine without breaking it ( or it breaking me... who knows!). I've got some beautiful fabrics with dragons, I could do on for my son, I'll love it, i'm sure.
JUST YESTERDAY I was thinking, "How do I sew a drawstring backpack?" And cha-ching! Here it is! Amazing!
ooh, I love it! So simple and so fun! I'm going to try one. :)
Can't wait to try this out! Love it!
so, I DID make one during nap time. super easy with your tute, and super cute, thanks! But, I feel like I need more than 2 yards of trim/ribbon. I used 1 yard for each strap... did you use 2 yards for each strap?? your straps look longer than mine turned out. maybe I just don't know how to measure a yard. sheesh!
perfect! i'm going to use this for bday present gift bags!
Hell to the yeah I'll try it! Love!
Guess what my 3 little kiddies will be wearing during this weekend's outing??? Hoooray!! Mommy won't have to carry 3 sippy cups AND a diaper bag anymore. :)
I did a similar version a couple of months ago for a friend's daughter as a ballet bag. I used ribbon for the straps and a pink gingham. Pictures here: http://dear-liza.com/2010/07/28/drawstring-backpack/
I didn't box the bottom, but that's a great idea. Next time I definitely will!
Okay, so I just started following your blog a few weeks ago. But I have to say, I love it and your projects! To the point that I've been bookmarking almost all of them. My to-sew list is getting longer and longer and it's almost out of control!
Thanks for being so generous and sharing your wonderful ideas with us!
Those are "sew" adorable!! I just love them! =) I want to make my Mary-Grace one! She loves bags. This would be a neat Christmas gift and put some goodies in! Her best friend could use one too! I could make them kind of match! CUTE!!
Yep, yep, yep. I definately going to give this a try. My girls LOVE to have bags to put treasures in!!! Too adorable and soooooo simple! THANKS!
Christmas presents for nieces done, thank you very much! I love this project.
thanks so much for coming up with great sewing ideas ... where would I be without your site ...i tried this last night (only took less than an hour to make - less the disturbance hahaha) and i just looove it.
even the proud owner loved it ... the size is great and not too big for the little person using it ... loooove it.
here was my take on your project... many thanks again.
http://thechefswife.blogspot.com/2010/12/making-zechys-bag-for-preschool.html
Jigi
Yay I finally got around to making this! I bought a fat quarter the other day, just because I liked the fabric, but had no idea what to do with it. In the end it's a bit smaller than this one, but my little one is pretty small herself too. And I think I have enough left over to make one for one of her dolls! This is such a cute and easy project. Thank you!
I'm making 6 of these bags right now for my daughter's 4th bday as their "goodie bags", along with the DIY coloring books. Super cute! The only change I've made is that I've used 3 yards of trim for each bag rather than 2 as suggested. The 2yds didn't really allow for long enough straps, in my opinion. I also used ric rac that was about 1 in (b/c that's as close as I could find to 3/4in) and it makes the bags more difficult to pull closed. I will def try to find 3/4" trim that I like next time - just easier for little ones to pull closed. What a great project and EASY!! Super fun and cute. Thanks again!
This was a great tutorial and I used it to make backpacks as party favors. These were the perfect size for 2-4 yr olds. I posted about your tutorial on my blog and showed pictures of the backpacks here: http://covetcollective.blogspot.com/2011/06/party-favors-drawstring-backpacks.html
Thanks!
-Lana @ www.covetcollective.blogspot.com
Hi - Love your idea, but how would u add a lining to the bag? :) Thanks.
I love it! I added a flap over the opening. It was super easy thanks for the tutorial!
My 10 yr old daughter just made one of these for her brother. She did a great job. Thanks for sharing the tutorial.
My 10 yr old daughter just made one of these for her brother. She did a great job. Thanks for sharing the tutorial.
This comment has been removed by the author.
oops! deleted previous comment by accident...
Wow what a great tutorial. I managed to make one for my daughter in just under as hour! Pic here...http://modernolivia.blogspot.com/2012/01/london-zoo-little-pink-backpack.html
Post a Comment
Subscribe to Post Comments [Atom]
<< Home