The Most Flattering Shirt Dress DIY
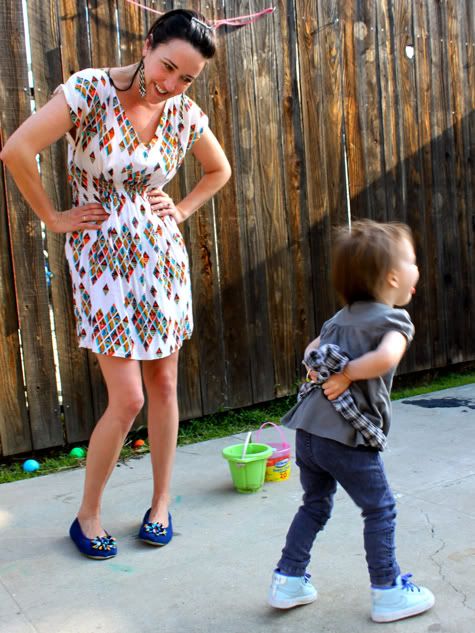
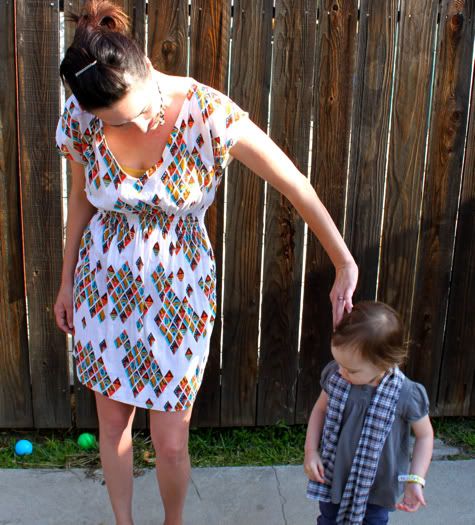
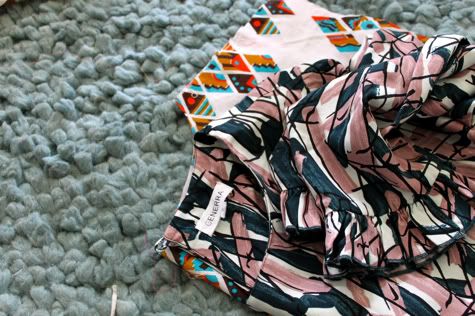
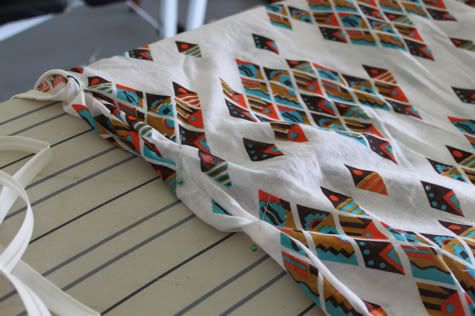
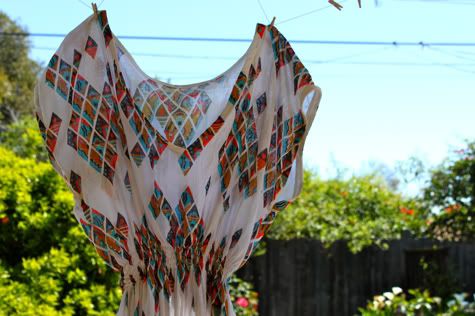
Hello my Hot Mess Mommy friends. Ever feel like little girls get all the cute dresses? Well, now it's your turn. I fell in love with this native-american-esque print gauze forever ago and finally decided to just cut into it. It's a simple v-neck shirred waist dress, flattering because: V-necks take the attention away from your giant post-baby boobs, and a shirred waist is never too tight and can be placed at your skinniest part (flabby baby belly=hidden). You can totally make this.
If you need to get your bearings for shirring with elastic thread check out the Simple Shirred Summer Dress pattern and the Smocked Sundress pattern, then come back here for the full tutorial on sewing yourself The Most Flattering Shirt Dress after the jump...
The Most Flattering Shirt Dress
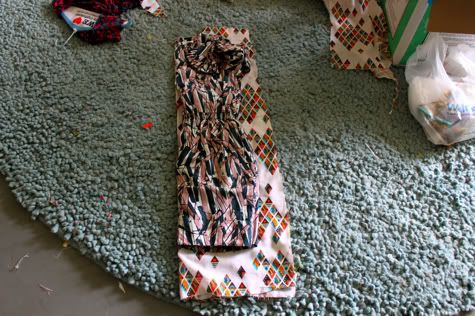
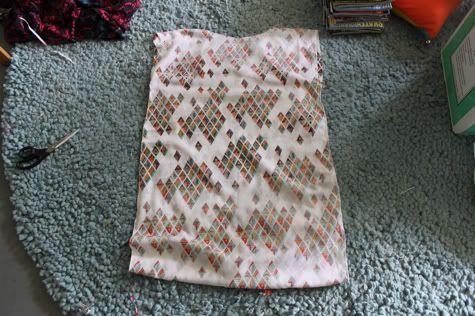
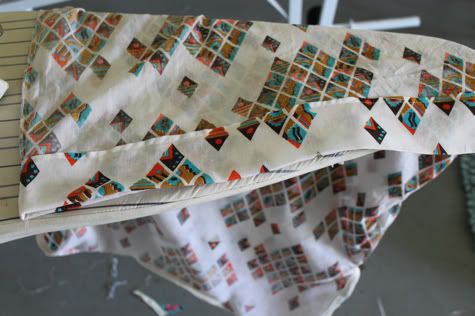
1. Grab a dress that fits you well that doesn't have stretch. Fold your fabric in half (i had two yards but depending on your size and the length you want, you could use 1.5 yards). Fold your dress in half and lay it on top with the folds lined up. Cut a big rectangle around it, adding width to the waist and several inches to the length. Cut a little 1/4" notch where the bottom of the armhole should go:
2. This is the back panel of your dress, so also cut a high neckline. You don't need to add extra room here for a seam or anything, but do add a 1/4" at the shoulder:
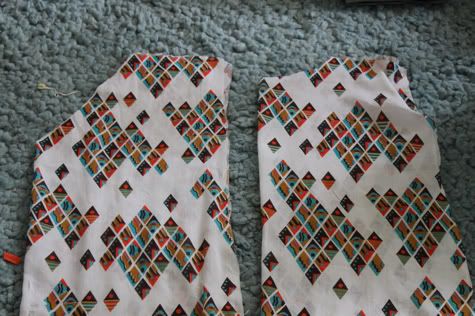
3. Using your first panel as a guide, cut another panel the same size for the front of your dress. Cut a nice v-neck shape into this panel and also notch where the bottom of the armhole should be. Your final neckline will be the same shape as your cut, so you don't need to add a seam allowance. Hold it up to your chest and make sure your boobs aren't hanging out:
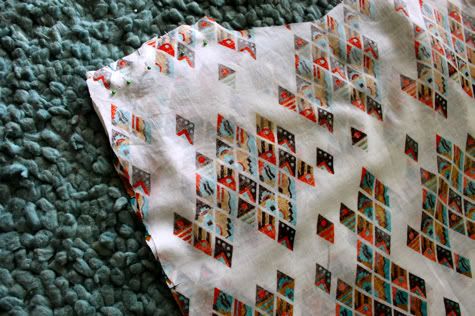
4. Pin your two panels right sides facing at the shoulders:
Sew each shoulder together and finish the edges by serging, sewing with a zig zag stitch, or cutting with pinking shears:
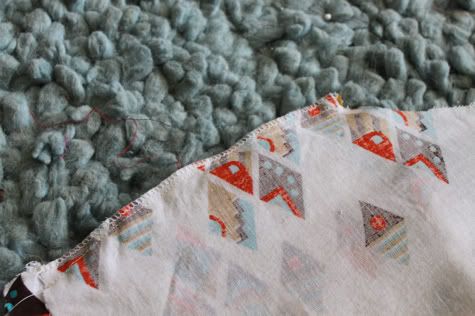
Now we want to sew up the sides, so just check that your notches marking the bottom of the armholes line up and pin:
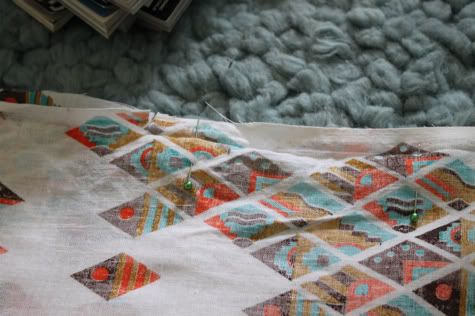
Then sew up both sides and finish the seams (of course stopping at the armhole notch. I know you probably wouldn't sew your armholes closed but it's worth a reminder):
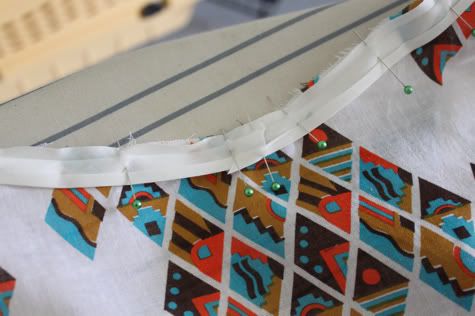
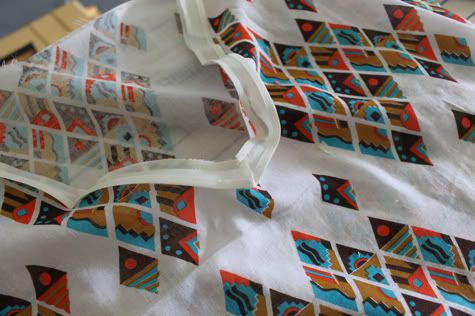
5. Now grab your single fold bias tape. Unfold it and starting at the back of the neckline, align one edge to the right side of the dress and pin in place, all the way around the neckline:
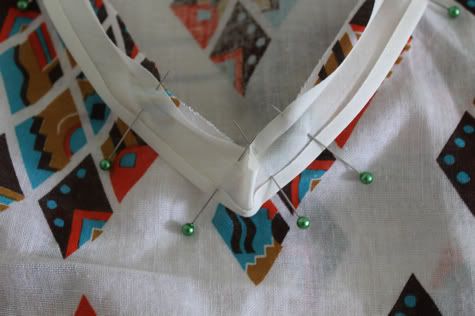
on the front at the point of the V just let it stick out like this:
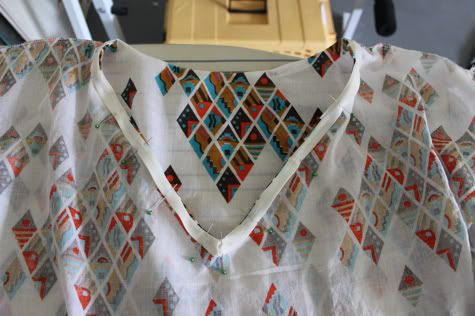
Sew in place along the fold:
Snip the excess off at the v:
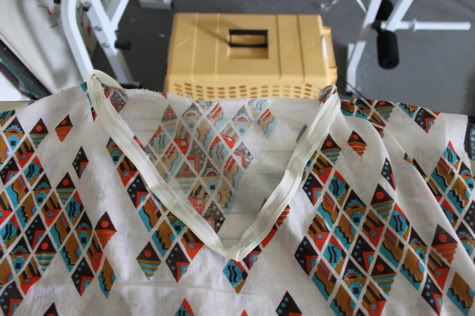
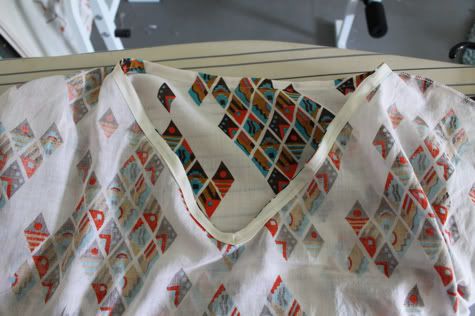
Turn your dress inside out and flip the bias tape around to the inside, folding it back up. Pin in place:
Sew it on along the edge of the bias tape:
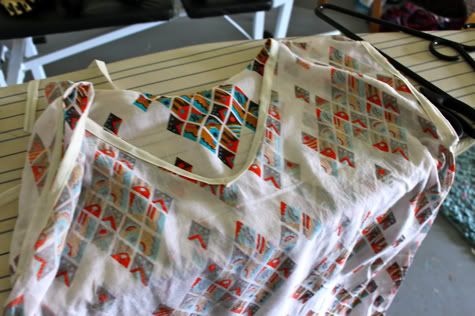
6. Repeat the same bias tape process on both armholes:
7. Now it is time to turn your dress inside out and try it on. It's going to be kind of tent like. Put a belt on and adjust the dress so you like the way it looks with the belt, making sure the side seams are actually at your sides. Put a pin on each side above the belt and below the belt. This is marking where you are going to shirr:
Also mark where you want your hem line to be with a pin on each side.
8. Now let's hem before shirring, it's easier. For this gauze I thought a thick hemline would be nice, and add a little weight to keep it from flying up. I made mine too short as you can see in the pics, so don't be in a rush, try it on a few times to be sure. So I trimmed my dress a bit, folded 1/4" and ironed, then folded 3" and ironed, and sewed in place:
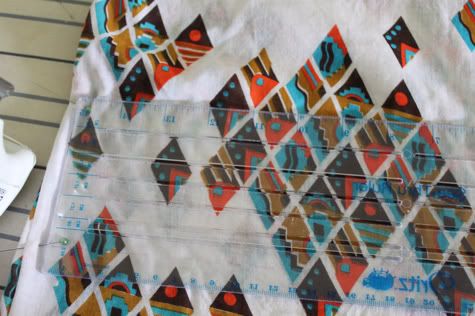
9. Now the waist. Use a ruler and a washable marker to draw a straight line across the dress from the top pin that you marked on the left to the right. Repeat on the front and back of the dress. If you are nervous about sewing in a straight line, you can keep drawing lines all the way down to the bottom pin that you marked. Or you can just draw one at the bottom pin marking so you have a clear idea when to stop shirring:
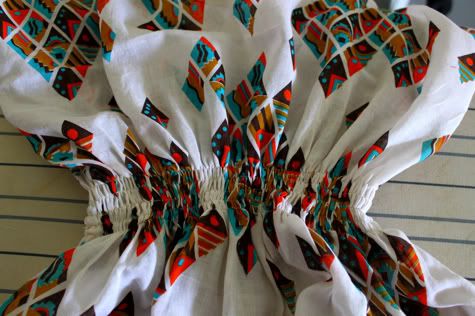
10. With elastic thread in your bobbin and sewing thread in a coordinating color on your spool, sew across all the way around your dress at the top line. Back stitch at the beginning and end of each row, but you don't have to cut the thread between lines. Continue sewing shirring lines 5/8" or so apart until you've shirred the entire waist that you marked (I did five lines):
11. Try the dress on. I found the area from under the arm to the shirred waist was a little puffy for my taste, so I turned the dress inside out and took it in a little by sewing diagonally from the top of the shirred waist to the armhole. You decide. You can also rock it with a belt and a sexy look on your face like this:

Girl you are done!
Go play! And if you just aren't ready for a shirred waist, check out our Hot Mess Mommy Tunic Dress.
Labels: Clothing, Gifts, Hot Mess Mommy, In One Evening, Serging, Sewing
posted by Jaime @ 9:33 AM
![]()

40 Comments:
That's cute! I cracked up when I read the part about "giant post-baby boobs" though - I never got those. :(
Definitely filing this idea away for future reference though!
So cute! So if I'm a real real real beginner, how long will this take me? I'm predicting at least five hours.
I'm a super-duper beginner and don't get how to tackle this, but man, I love your site so much. I can't WAIT to get good enough to do this stuff! I'm starting with applique and so far so good!
I've seen this dress in action and approve this message.
can you please make a tutorial on how to do that sexy face you've perfected? Mine never turns out as Elvis-y as I want :(
I love it! Too cute!
HAHAHAHA! I had been looking at this on my phone til now so I didn't see the last photo. I'm like, what is Jessica talking about??? "Elvis-y" lol.
I love this dress. Make me one.
What an awesome dress!!! The shape is perfect! It looks to be a fairly easy sew, too.
I linked to your tutorial on Craft Gossip Sewing:
http://sewing.craftgossip.com/tutorial-sew-the-most-flattering-shirt-dress/2010/04/14/
--Anne
That is a fantastic print!
I have major issues shirring fabric, but I'll try using the bobbin winder trick and setting a longer stitch length as you suggested. Thanks for that tip!
i
love
this.
Not a mama, but definitely a hot mess. Going to give this a shot as soon as I find some fantastic fabric! Thanks for the great ideas!
I completely love this. Not sure what is making the sleeves fit you as if they are really sleeves. I use shirring to turn boy handmedowns into girly shirts. Maybe I'll use a castoff dress shirt of my husbands to try this out. (He's 13 inches taller than I am.)
This is a fantastic tutorial. i've never known you could use bias tape like that...duh! That print is great, too, and I'm no longer intimidated by shirring. Thanks!
So cute!
Next time I'm over I'm going to steal that dress. Haha!
OH MY GOD. Everything about this post is fantastic. I WILL be making this very very very soon. It's summer, and Pilates has made my legs look fantastic. And I'm still post-baby fat. Boo. Yay for hot-mess mommies!
Your rack looks better than mine. As usual.
I tend to wear dresses that are more like shirts anyway, and I just love the print of this. These types of dresses are very flattering for all figure types. You look great! Will have to give this one a shot. Thanks!
I can't even handle it! I love it, and I want one to wear every single day of the week!
just made the top, yay! I like how mine turned out, I'll be posting it in the next few days. :) Thanks for the tute!
Thanks for the great tutorial. I might try this sometime if I get a new fabric that I like. It doesn't look like that complicated at all. Let me see if I can do it. hehehe.. It looks good on you! :) First visit!
Adin B
http://itssewtasticmama.blogspot.com/
such a great dress, and i love your blog already.
This is totally cute! Any idea how I could modify this for maternity? Does the front just need to be longer?
nannersp - yes i would make the front wider and longer, maybe even cut it in an elongated u shape!
hi i loved this & made it too.
http://armcandyforyou.blogspot.com/2010/06/shirred-shirt-dress.html
I really missed laughing AND reading a tutorial at the same time! 2 very practical things that seem to feel good together. I usualy laugh AND cry while makeing mine. LOVED the outcome by the way! Greetings from Mexico! Clau
www.handmadeconamor.blogspot.com
This is gorgeous! So simple but it looks really pretty. I wanna give this a go :) Your fabric is really lovely too.
I knew I had to make myself this dress as soon as I saw your tutorial. I too wanted to hide, or at least disguise, my giant post-baby (and still nursing) boobs. This dress surpassed all my hopes. I linked to your tutorial on my blog. Thanks for the laughs and the guide.
http://finallyfinishedcrafts.blogspot.com/2010/06/most-flattering-shirt-dress-absolutely.html
I made this dress and it is AWESOME!! I love it, love it, love it. Thanks for the great tute!
Thank you for this fabulous tutorial! I made my first shirt, and the smocking was just as easy as promised (especially with a good steam ironing to shrink it up!)
http://birdandbicycle.wordpress.com/2010/08/28/fashion-is-danger/
Thanks for the tute! I added pockets to mine. :)
http://emilyflippinmaruna.wordpress.com/2011/02/19/birthday-business/
This comment has been removed by the author.
Thanks for the tutorial! I had this bookmarked forever and I finally got around to making it: http://dohdums.wordpress.com/2011/06/07/1-dress-down-a-few-more-to-go/
It's going to get a lot of wear this summer!
Just made my own and I'm loving it! I've blogged about it and added a link to your tutorial! http://ejewelrydesigns.blogspot.com/2011/07/summer-sewing.html
These are some very beautiful and easy patterns! I'm going to try them out!
lmao. I make sexy faces too! The dress is awesome. I wonder if it would work well with jersey knit?
This comment has been removed by the author.
OMG! I have been trying to shear now for 3 hours and it won't work! Have watched every tutorial possible and it just won't do it! Am going to try smocking instead but my friend's picking me up in 15 mins and I'm not showered! Aghhhh! LOL!
BTW - can you just confirm the settings you would have on for thread width, length and tension? Thanks a million! :-)
Gave up! Did a bit of gathering and added a belt! see the results at my blog: http://asewingadventure.blogspot.com/
THANKS for the inspiration!
:-)
I made this dress today, yayyyyy!! Thought I'd show you the end result: http://luckybydesign.blogspot.com/2011/08/continued-adventures-in-sewing-shirred.html
Thank you so much for the tutorial! Loved it!
I made this dress today, with nursing in mind. Thanks for the great tutorial and here is my finished result with my tweaks to it!!
http://sewingvixen.blogspot.com/2011/09/fashionable-nursing-dress.html
Post a Comment
Subscribe to Post Comments [Atom]
<< Home