How to Assemble Party Favor Bags
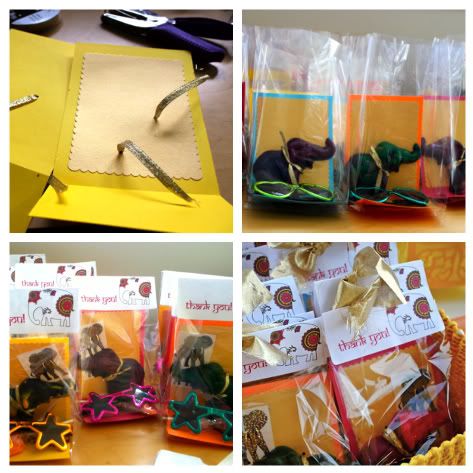
One of my favorite parts of throwing a kid's party is putting together the favor bags! Of course this one featured elephants galore, but you can use the same DIY to create a custom gift bag for your party. This DIY will show you how to turn a boring cello bag into a stand-up favor gift the kids will love. After the jump I'll show you How to Assemble Favor Bags using paper and ribbon!
How to Assemble Favor Bags
1. You'll need some cello treat bags which you can find at Michael's or Paper Source. Mine were 3 X 5 X 10, but you can use any size. You'll also need some card stock. Cut your card stock to the width of the bag, and the height you want plus the depth of the base (so I cut mine 11" long by 5" wide). Then score the card stock so you can fold it to create a base for your bag (I scored mine 3" up from the bottom):
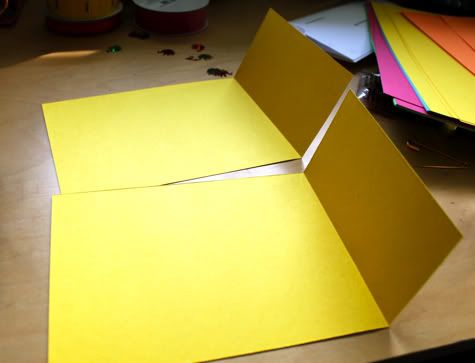
2. You can glue another decorative element to the back of the bag, in this case I used a gold ric rac edge card stock. You could also stamp, sticker, paint, whatever. I then used a hole punch to create holes to thread ribbon through.

You can use that ribbon to tie your heavy favors so they stand up in the bag:
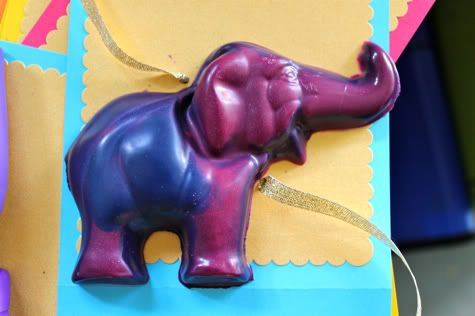
In my case elephant crayons:

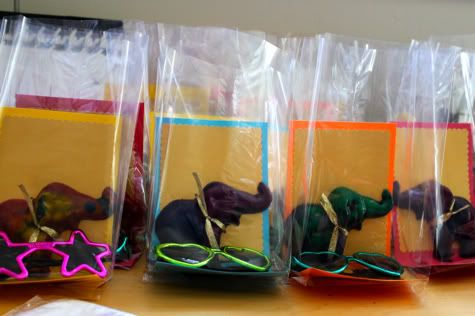
3. Then go ahead and slip your creation into the bag (with the seam of the bag in back of course) and fill the bag up with goodies. Now the bag will stay upright and display your treats:
4. Print out a cute label and fold it over the top. You could also use card stock, but the label is a nice way to easily keep the top of the bag closed:

And for extra cuteness, punch a hole and tie some ribbon or fabric through!

5. Display them all in a cute basket or tray:

I also made up a simpler treat bag using flat cello bags. I bought some cheap bracelet sets at Forever 21 and separated them into smaller groups, added some elephant-shaped confetti, tied with some pretty ribbon, and added an elephant sticker printed at home:

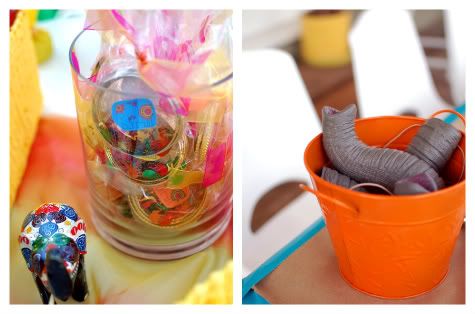
Our favor bags included a homemade giant crayon shaped like an elephant, a pair of shiny sunglasses, a couple elephant stickers, a homemade elephant lolly, and some elephant confetti. The snazzy elephant graphic from Yes, Please Designs completed the cuteness. We also made a little treat bag for the grown-ups in attendance with some shiny bangles, and a few elephant trunks
scattered about lent a silly touch:
And the shiny sunglasses were 8 for $2 at Wal Mart. I loaded the leftovers into a bowl and the kids loved wearing them at the party!

Labels: Gifts, In One Evening, Inspiration, Kids, Paper, Party, Toys

4 Comments:
love it!
fabulous tutorial!
I saw this party on the hostess blog and you did an incredible job! Love it!!
My son's bday party is on friday- this is so helpful!
Post a Comment
Subscribe to Post Comments [Atom]
<< Home