body { background:#fff url("http://www.blogblog.com/dots/bg_dots.gif") 50% 0; margin:0; padding:0 10px; text-align:center; font:x-small Verdana,Arial,Sans-serif; color:#333; font-size/* */:/**/small; font-size: /**/small; } /* Page Structure ----------------------------------------------- */ @media all { #content { background:url("http://www.blogblog.com/dots/bg_3dots.gif") no-repeat 250px 50px; width:700px; margin:0 auto; padding:50px 0; text-align:left; } #main { width:450px; float:right; padding:50px 0 20px; font-size:85%; } #main2 { background:url("http://www.blogblog.com/dots/bg_dots2.gif") -100px -100px; padding:20px 10px 15px; } #sidebar { width:200px; float:left; font-size:85%; padding-bottom:20px; } #sidebar2 { background:url("http://www.blogblog.com/dots/bg_dots2.gif") 150px -50px; padding:5px 10px 15px; width:200px; width/* */:/**/180px; width: /**/180px; } } @media handheld { #content { width:90%; } #main { width:100%; float:none; } #sidebar { width:100%; float:none; } #sidebar2 { width:100%; } } html>body #main, html>body #sidebar { /* We only give this fade from white to nothing to browsers that can handle 24-bit transparent PNGs */ background/* */:/**/url("http://www.blogblog.com/dots/bg_white_fade.png") repeat-x left bottom; } /* Title & Description ----------------------------------------------- */ @media all { #blog-title { margin:0 0 .5em; font:250%/1.4em Georgia,Serif; color:#353; } #blog-title a { color:#353; text-decoration:none; } #description { margin:0 0 1.75em; color:#996; } #blog-mobile-title { display:none; } #description-mobile { display:none; } } @media handheld { #blog-title { display:none; } #description { display:none; } #blog-mobile-title { display:block; margin:0 0 .5em; font:250%/1.4em Georgia,Serif; color:#353; } #blog-mobile-title a { color:#353; text-decoration:none; } #description-mobile { display:block; margin:0 0 1.75em; color:#996; } } /* Links ----------------------------------------------- */ a:link { color:#488; } a:visited { color:#885; } a:hover { color:#000; } a img { border-width:0; } /* Posts ----------------------------------------------- */ .date-header { margin:0 0 .75em; padding-bottom:.35em; border-bottom:1px dotted #9b9; font:95%/1.4em Georgia,Serif; text-transform:uppercase; letter-spacing:.3em; color:#663; } .post { margin:0 0 2.5em; line-height:1.6em; } .post-title { margin:.25em 0; font:bold 130%/1.4em Georgia,Serif; color:#333; } .post-title a, .post-title strong { background:url("http://www.blogblog.com/dots/bg_post_title.gif") no-repeat 0 .25em; display:block; color:#333; text-decoration:none; padding:0 0 1px 45px; } .post-title a:hover { color:#000; } .post p { margin:0 0 .75em; } p.post-footer { margin:0; text-align:right; } p.post-footer em { display:block; float:left; text-align:left; font-style:normal; color:#996; } a.comment-link { /* IE5.0/Win doesn't apply padding to inline elements, so we hide these two declarations from it */ background/* */:/**/url("http://www.blogblog.com/dots/icon_comment.gif") no-repeat 0 .25em; padding-left:15px; } html>body a.comment-link { /* Respecified, for IE5/Mac's benefit */ background:url("http://www.blogblog.com/dots/icon_comment.gif") no-repeat 0 .25em; padding-left:15px; } .post img { margin:0 0 5px 0; padding:4px; border:1px solid #cca; } /* Comments ----------------------------------------------- */ #comments { margin:0; } #comments h4 { margin:0 0 10px; border-top:1px dotted #9b9; padding-top:.5em; font:bold 110%/1.4em Georgia,Serif; color:#333; } #comments-block { line-height:1.6em; } .comment-poster { background:url("http://www.blogblog.com/dots/icon_comment.gif") no-repeat 2px .35em; margin:.5em 0 0; padding:0 0 0 20px; font-weight:bold; } .comment-body { margin:0; padding:0 0 0 20px; } .comment-body p { margin:0 0 .5em; } .comment-timestamp { margin:0 0 .5em; padding:0 0 .75em 20px; color:#996; } .comment-timestamp a:link { color:#996; } .deleted-comment { font-style:italic; color:gray; } .paging-control-container { float: right; margin: 0px 6px 0px 0px; font-size: 80%; } .unneeded-paging-control { visibility: hidden; } /* More Sidebar Content ----------------------------------------------- */ .sidebar-title { margin:2em 0 .75em; padding-bottom:.35em; border-bottom:1px dotted #9b9; font:95%/1.4em Georgia,Serif; text-transform:uppercase; letter-spacing:.3em; color:#663; } #sidebar p { margin:0 0 .75em; line-height:1.6em; } #sidebar ul { margin:.5em 0 1em; padding:0 0px; list-style:none; line-height:1.5em; } #sidebar ul li { background:url("http://www.blogblog.com/dots/bullet.gif") no-repeat 3px .45em; margin:0; padding:0 0 5px 15px; } #sidebar p { margin:0 0 .6em; } /* Profile ----------------------------------------------- */ .profile-datablock { margin:0 0 1em; } .profile-img { display:inline; } .profile-img img { float:left; margin:0 8px 5px 0; border:4px solid #cc9; } .profile-data { margin:0; line-height:1.5em; } .profile-data strong { display:block; } .profile-textblock { clear:left; } /* Footer ----------------------------------------------- */ #footer { clear:both; padding:15px 0 0; } #footer hr { display:none; } #footer p { margin:0; } /* Feeds ----------------------------------------------- */ #blogfeeds { } #postfeeds { padding-left: 20px }

Prudent Baby

Get sewing how to, sewing tutorials, and sewing help to learn sewing. We offer sewing tutorial for sewing moms.

Wednesday, November 9, 2011

The Beginner's Baby Dress with Puff Sleeves Pattern
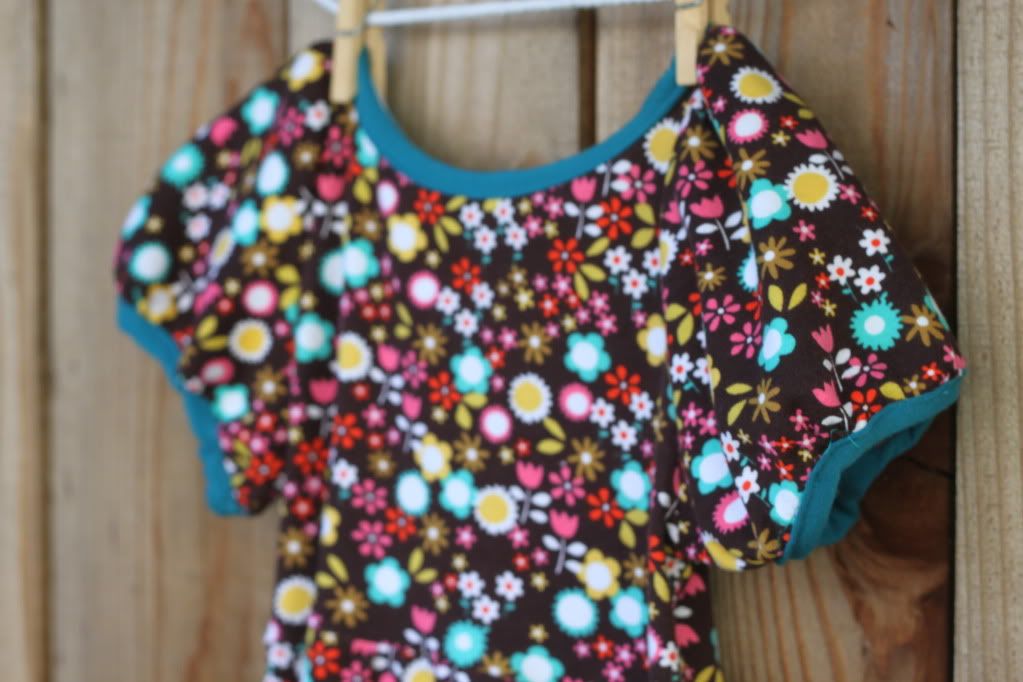
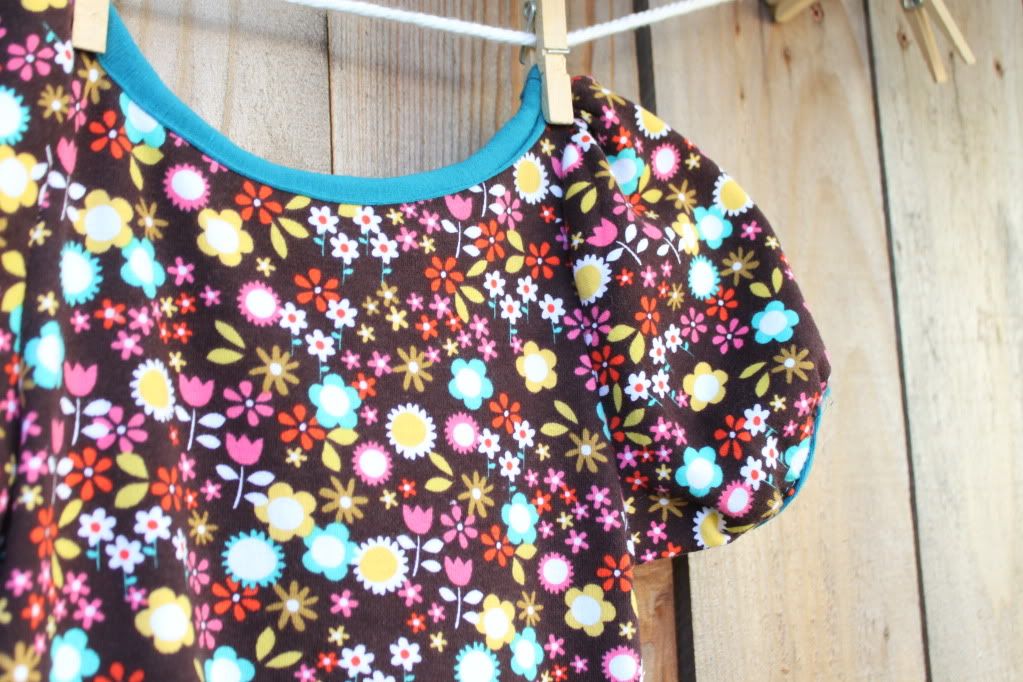

We started by showing you the basics of How to Sew with Knit Fabrics. Then we gave you a Beginner's Jersey Baby Dress tutorial with a free downloadable pattern.
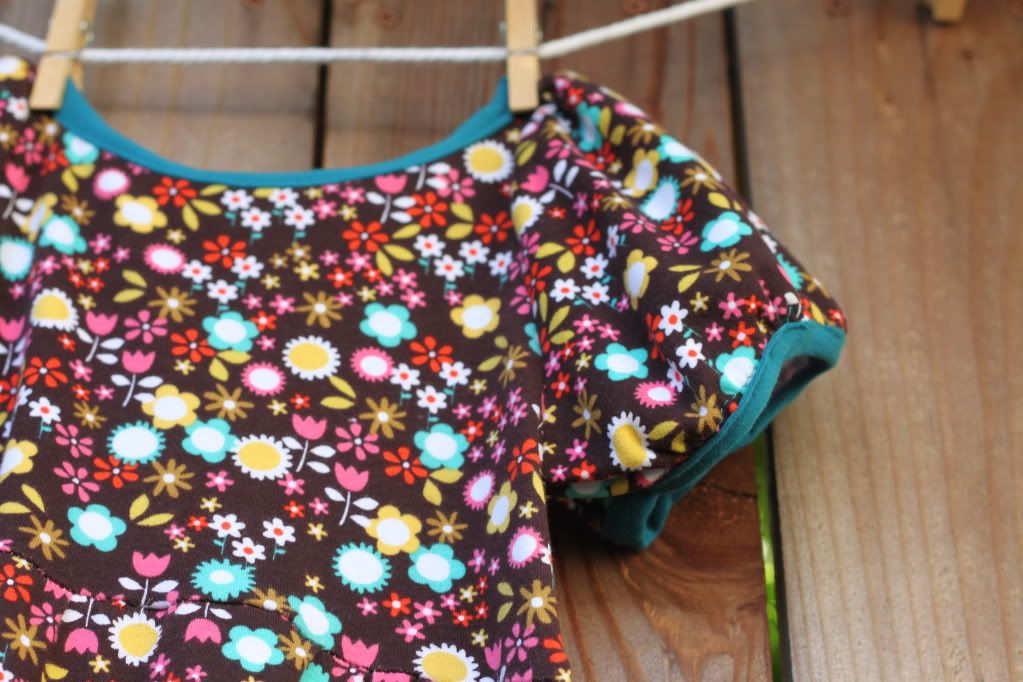
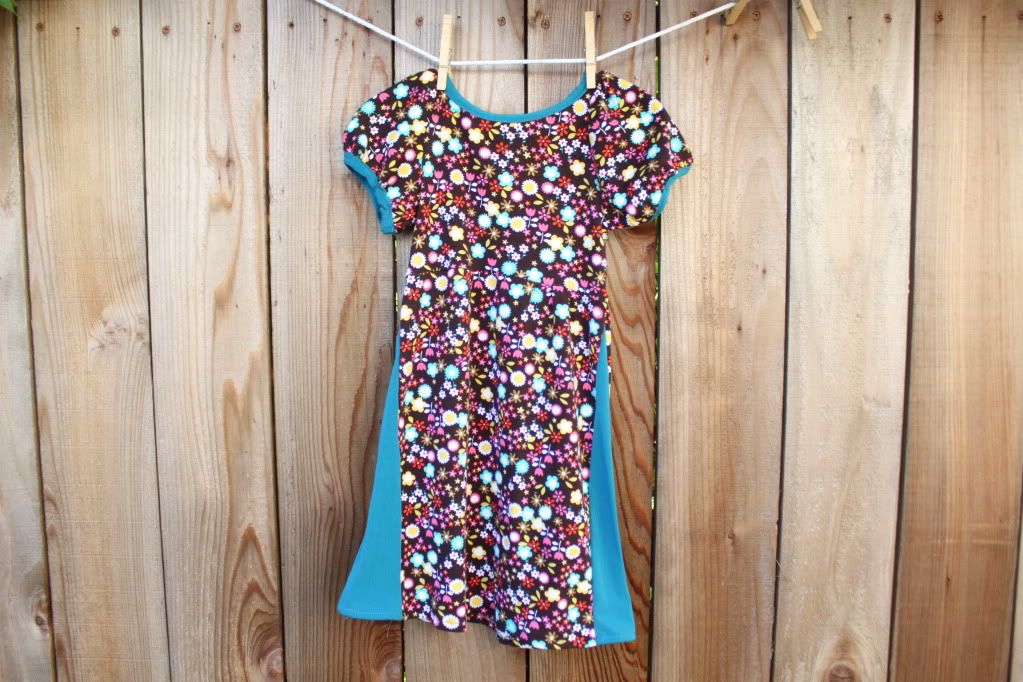
Now I've taken that pattern and added some short puffed sleeves to it. Check out the sleeve pattern and tutorial to learn how to attach the sleeves and make your own version of this sweet little dress.

How to Sew Puff Sleeves on a Knit Jersey Dress

For this dress I used some Patty Young Knits I had from Fabricworm. So, first make yourself a bodice by following the steps in this post: Beginner's Jersey Baby Dress. Skip finishing the two arm holes - just skip those steps but do everything else the same until your bodice is assembled. It will have unfinished armholes and a finished neckline. You can attach the skirt before or after the sleeves, that's up to you!

Then download and print the puff sleeve pattern: Jersey Dress Puff Sleeve Pattern.

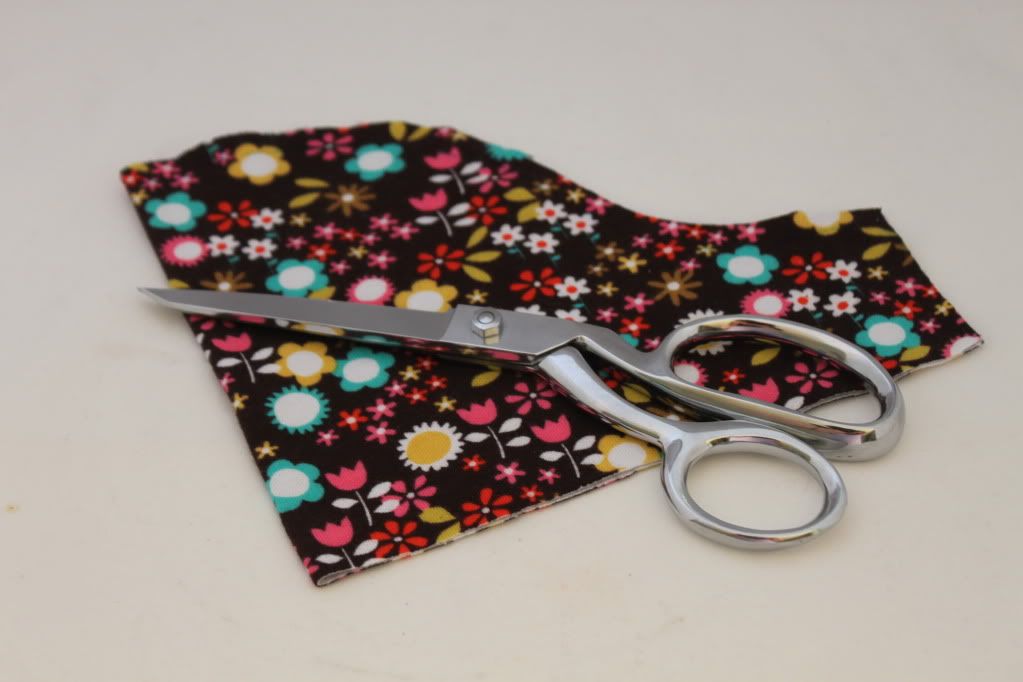
Cut out the pattern, trace it onto your fabric twice and cut out two pieces.
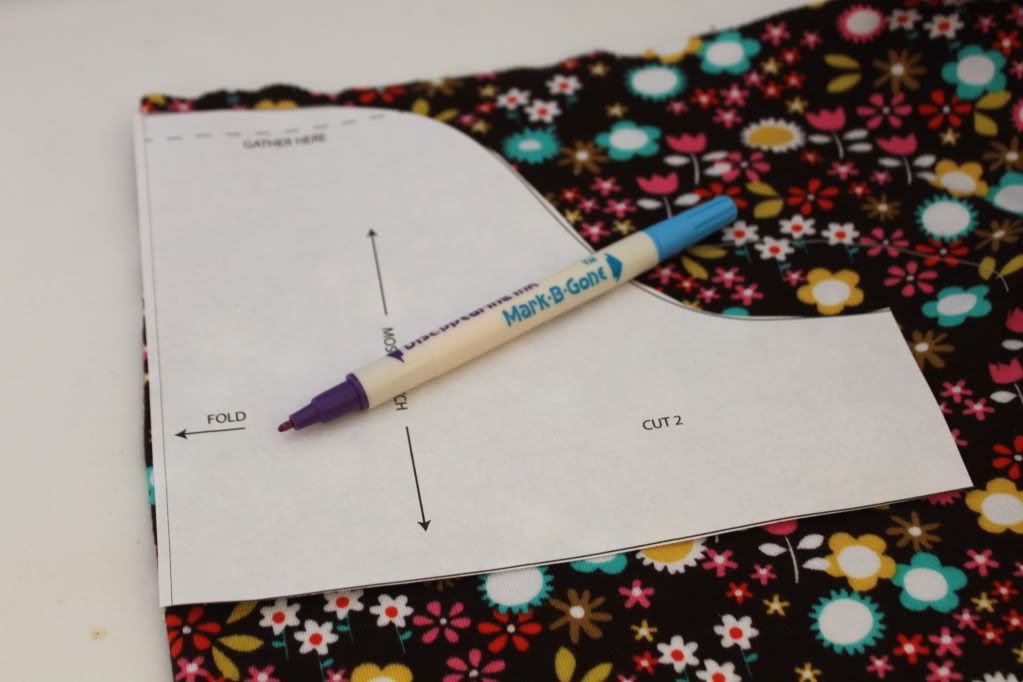


Open up each sleeve and mark the dotted line as shown in the pattern


Sew a basting stitch (straight stitch set to a width of 5), leaving at least a 6" length of thread on each side, across the line you just drew:
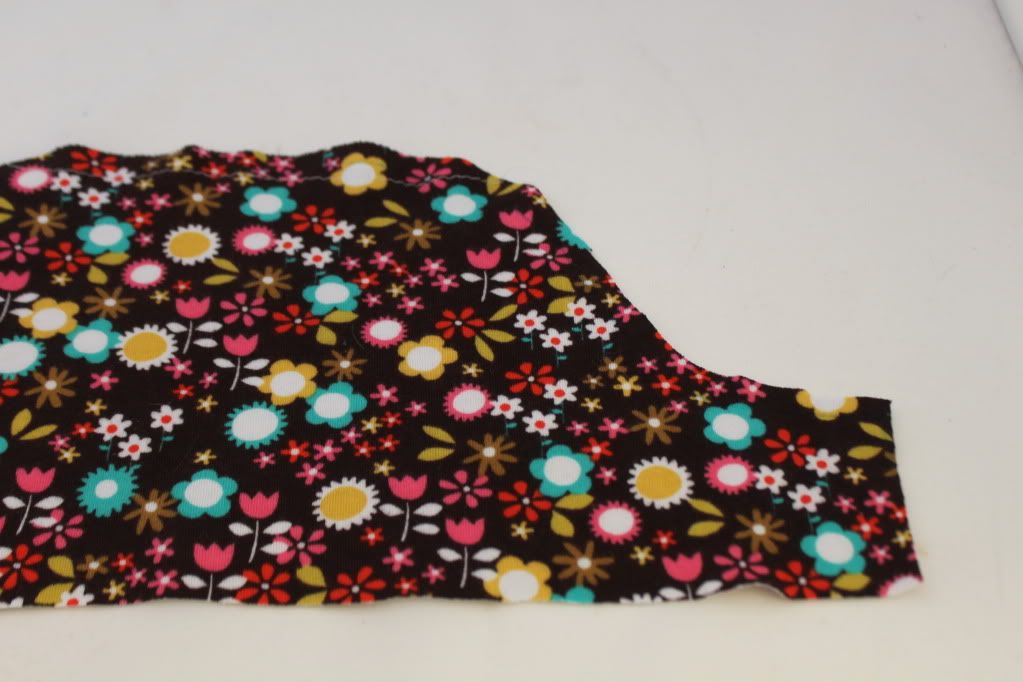

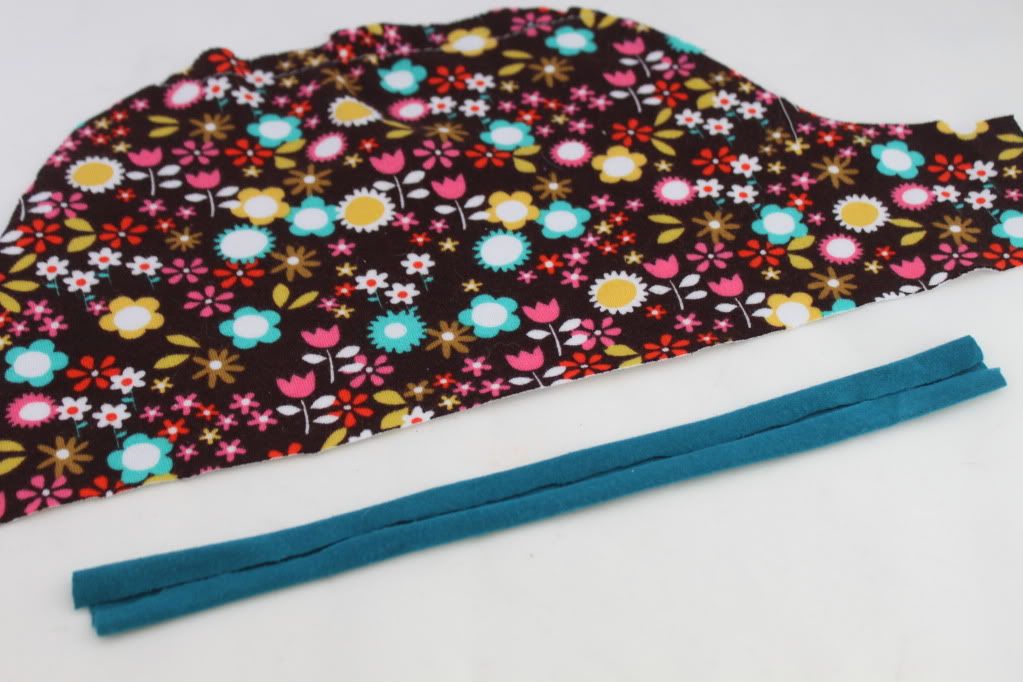
As per the notes on the pattern, also cut out your rectangle of fabric for the cuff. You can make it wider if you want a thicker cuff (it might be easier to make it an inch or so wider), you can also make it in the same or contrasting fabric.
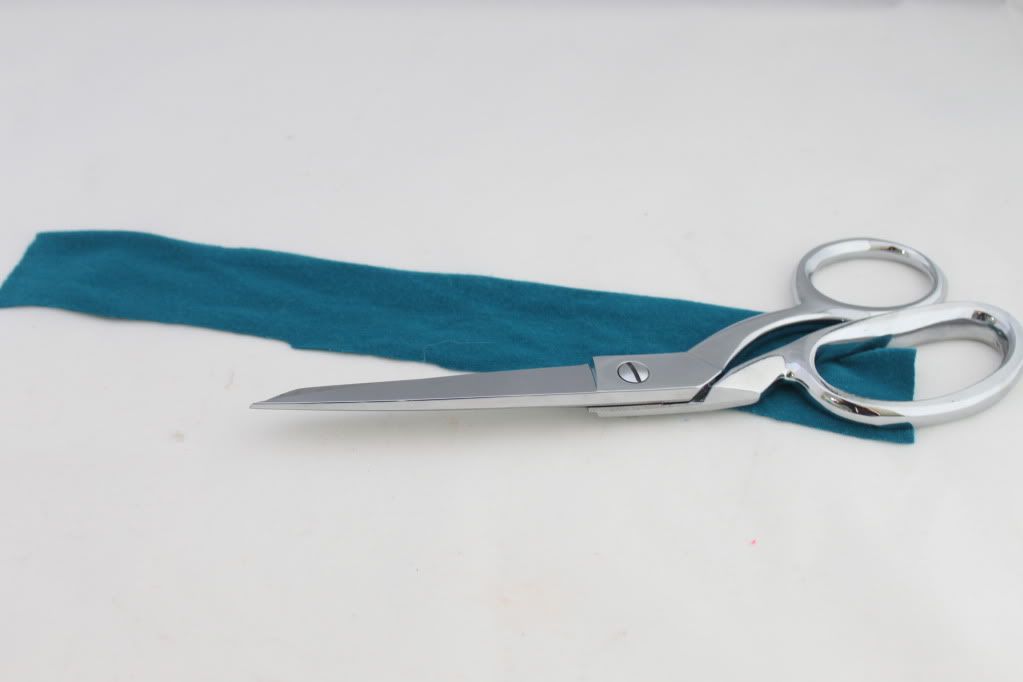

Iron each long side into the center, like a piece of bias tape:
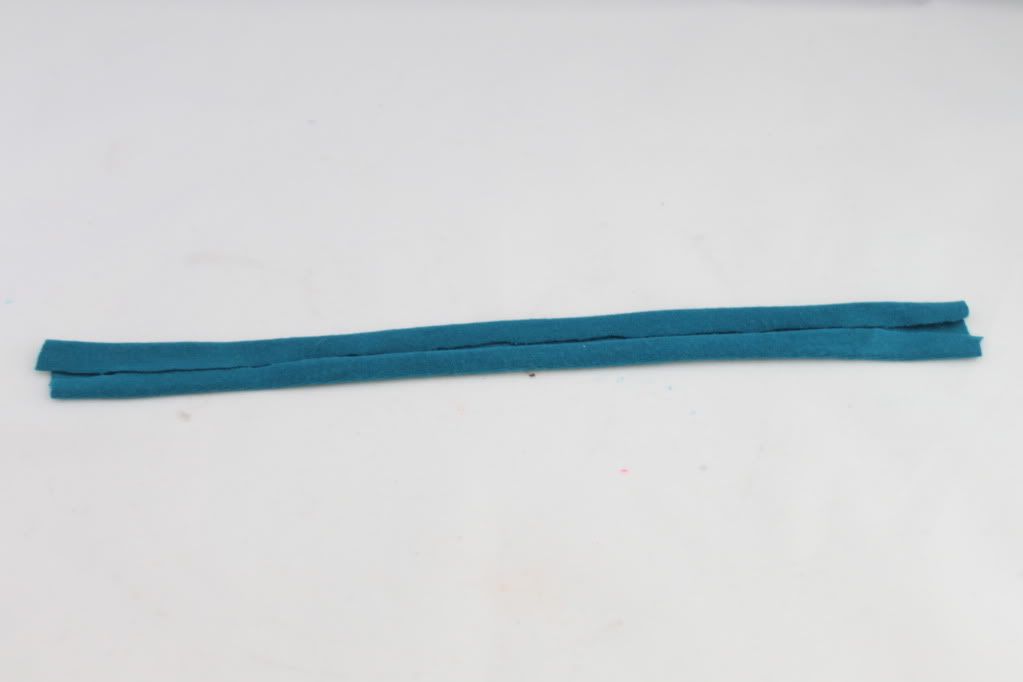

You will see that your cuff is much shorter than the width of your sleeve

Sew another basting stitch along the long flat side of your sleeve
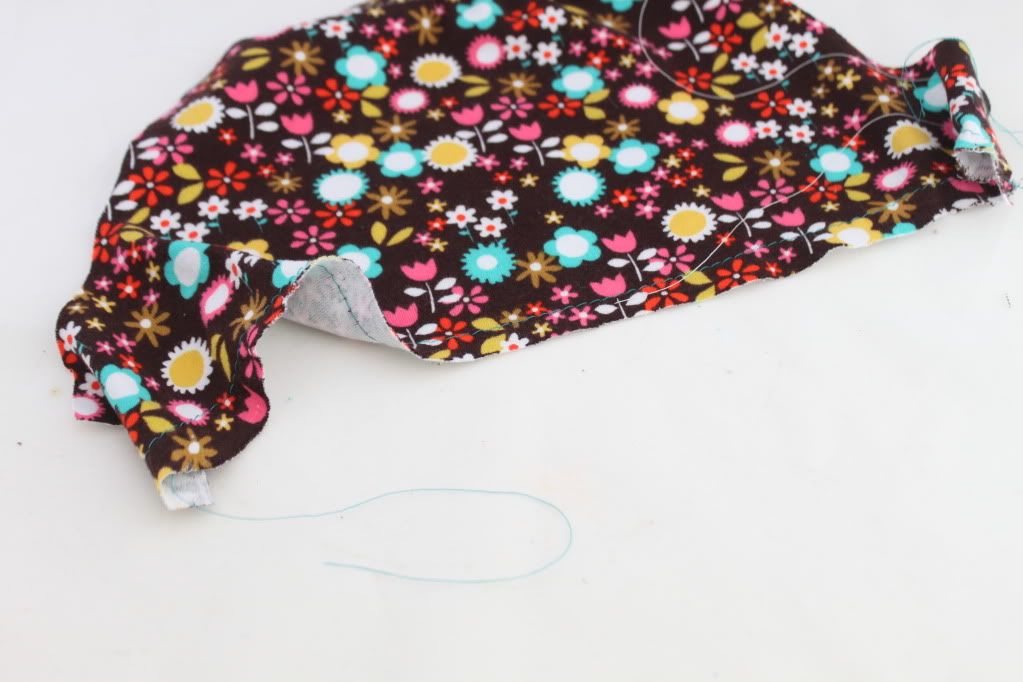

Pull the bobbin thread to gather until the sleeve is the same width as the cuff:
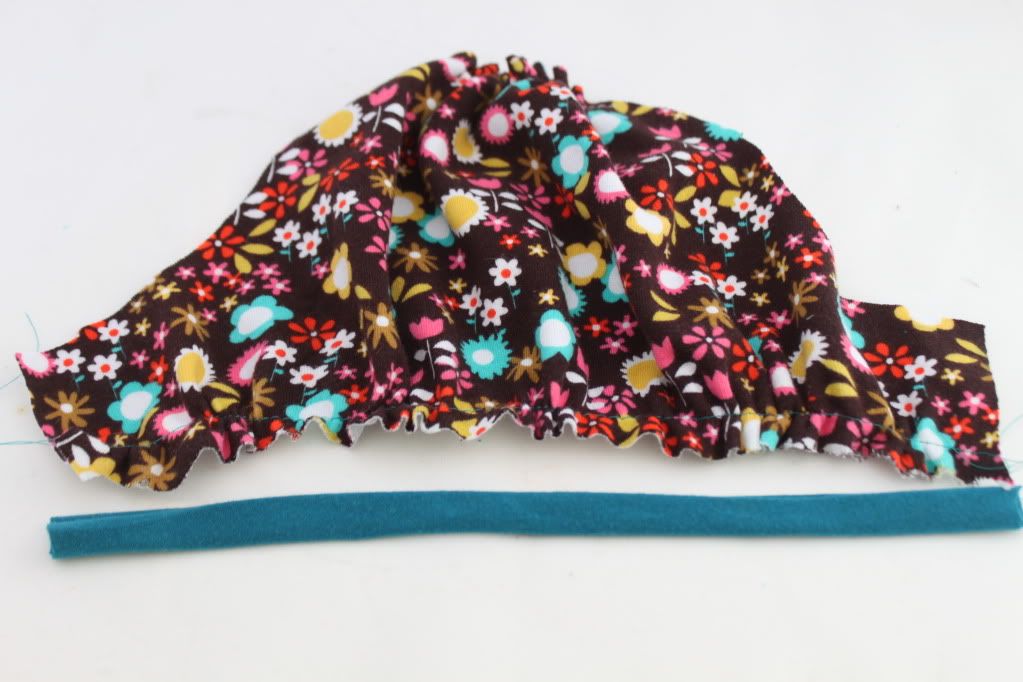

Pin the cuff around the sleeve edge, encasing the unfinished edge of the fabric
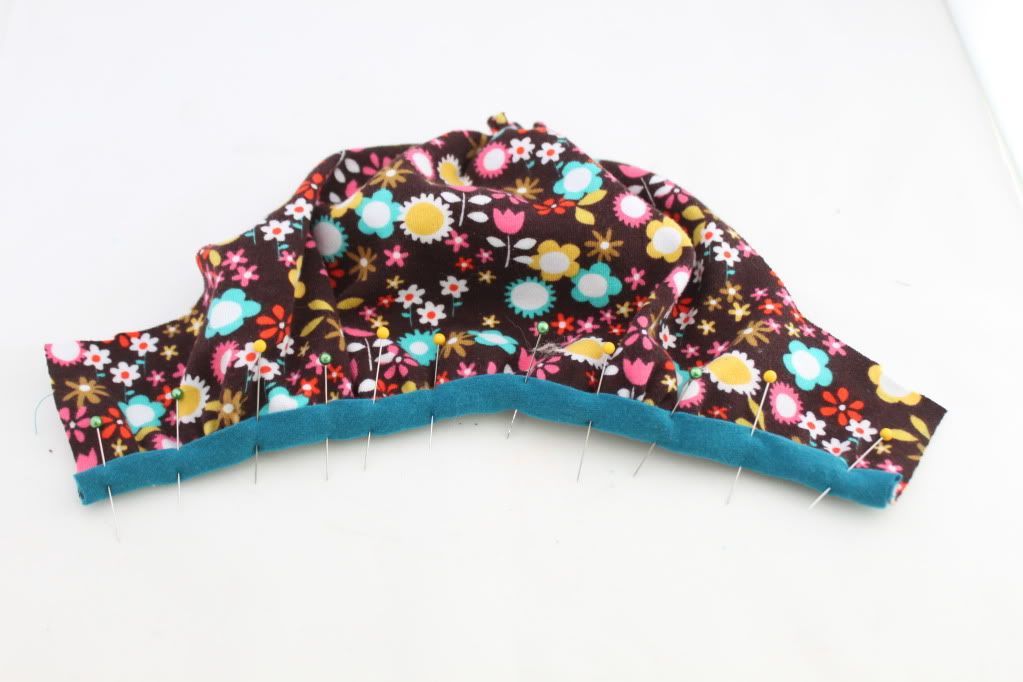

Sew in place
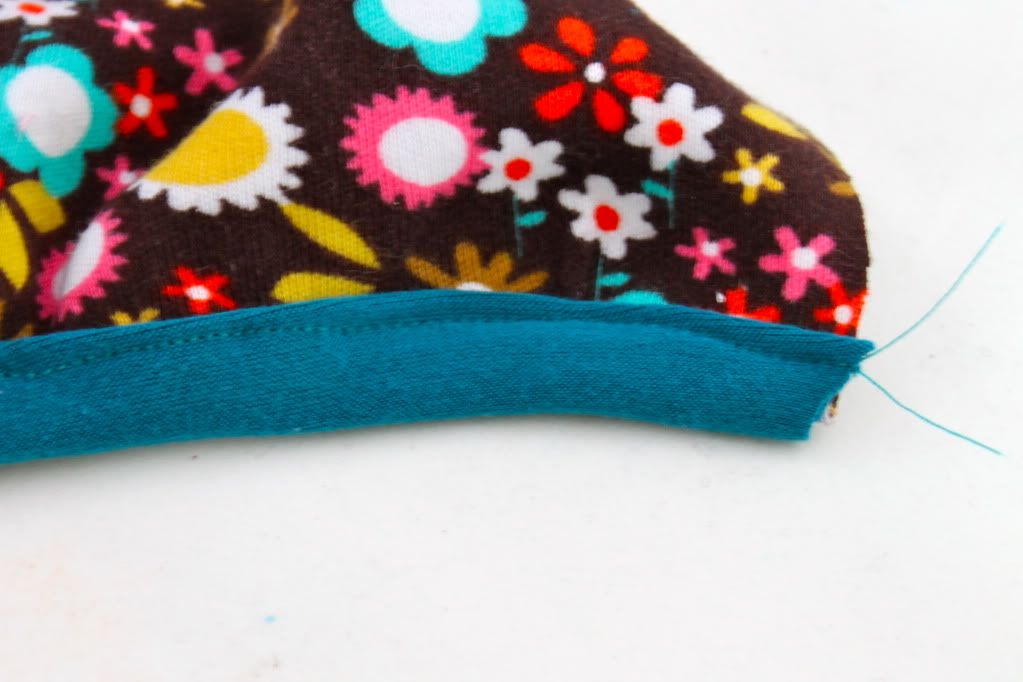

Bring the two short sides of the sleeve together right sides facing and sew
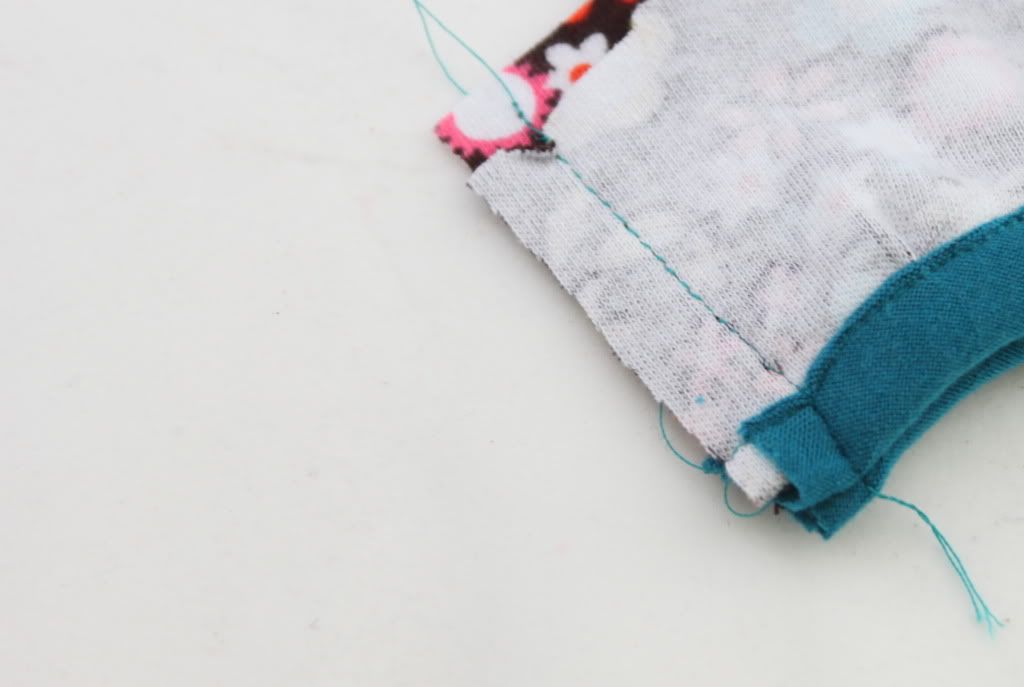

Now get your bodice
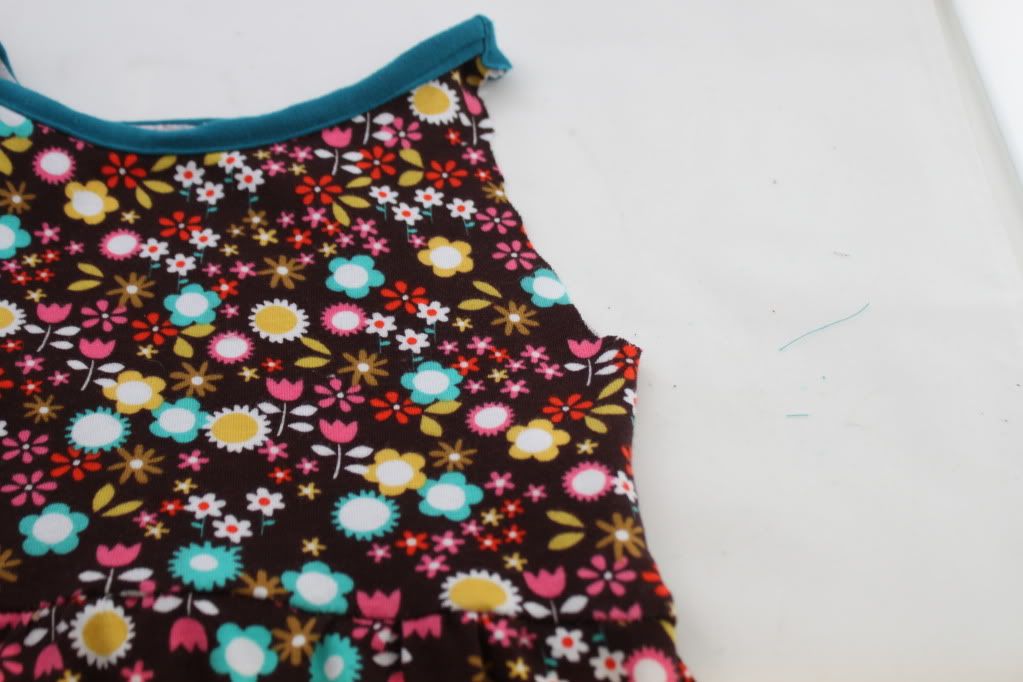

Turn it inside out


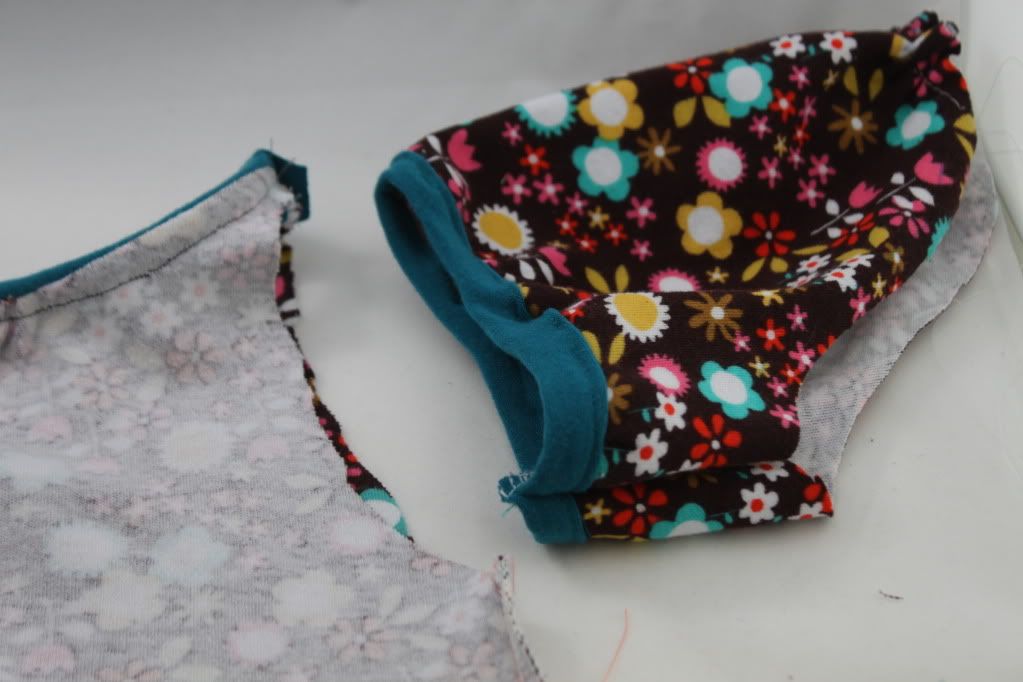
Keep your sleeve right side out
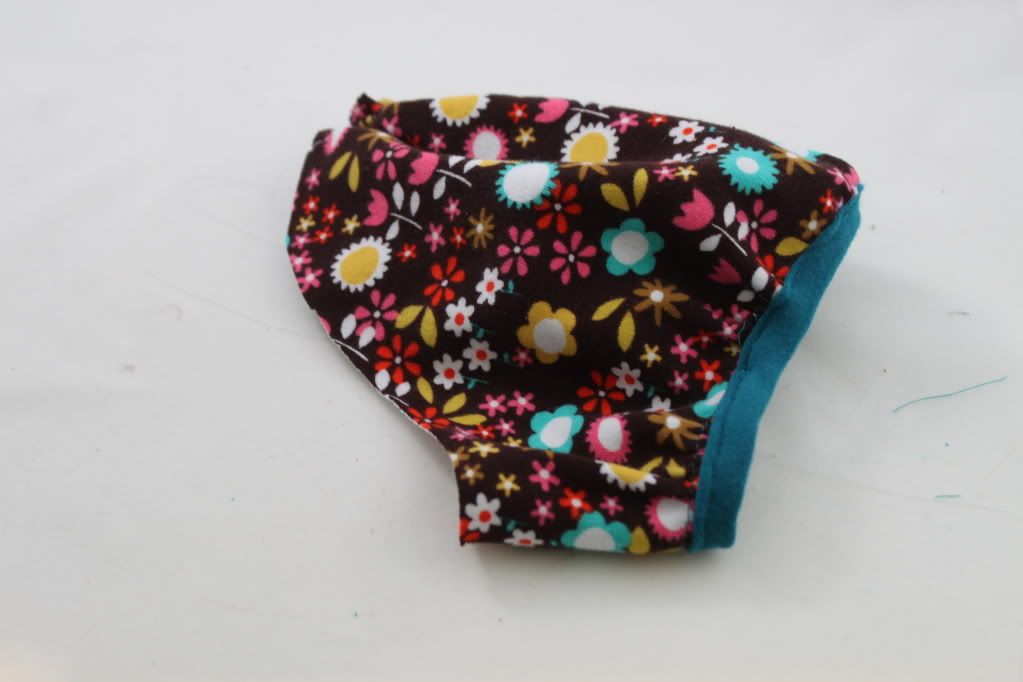

Point the cuffed end towards the arm hole of the bodice:

Insert the sleeve and pin the edge of the sleeve to the edge of the arm hole
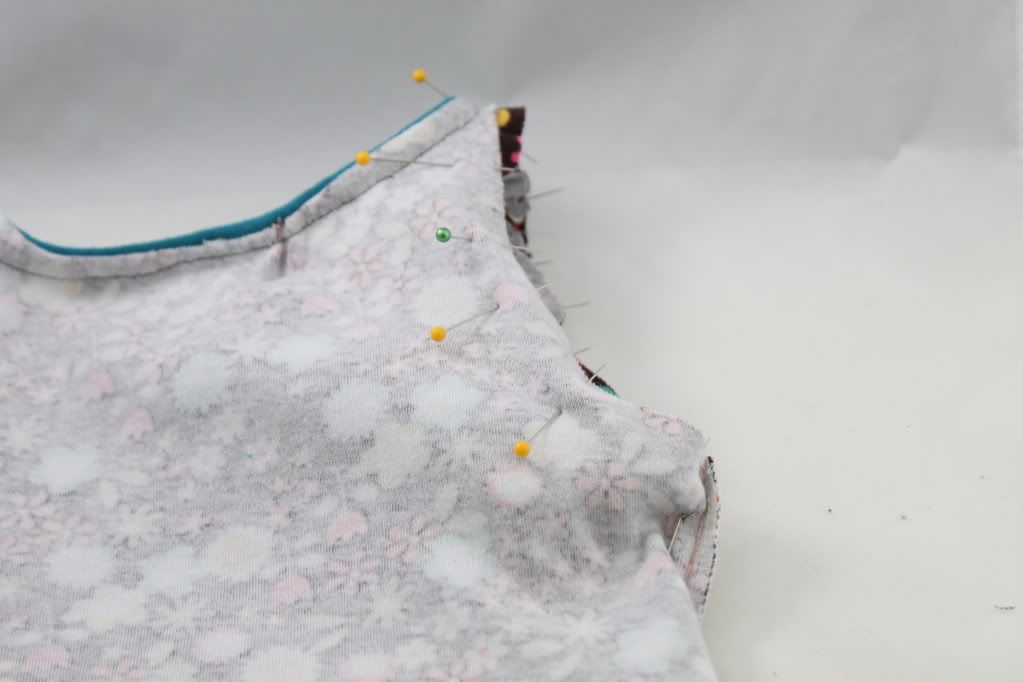

Double check you did it correctly, with right sides of fabric facing each other


Sew in place
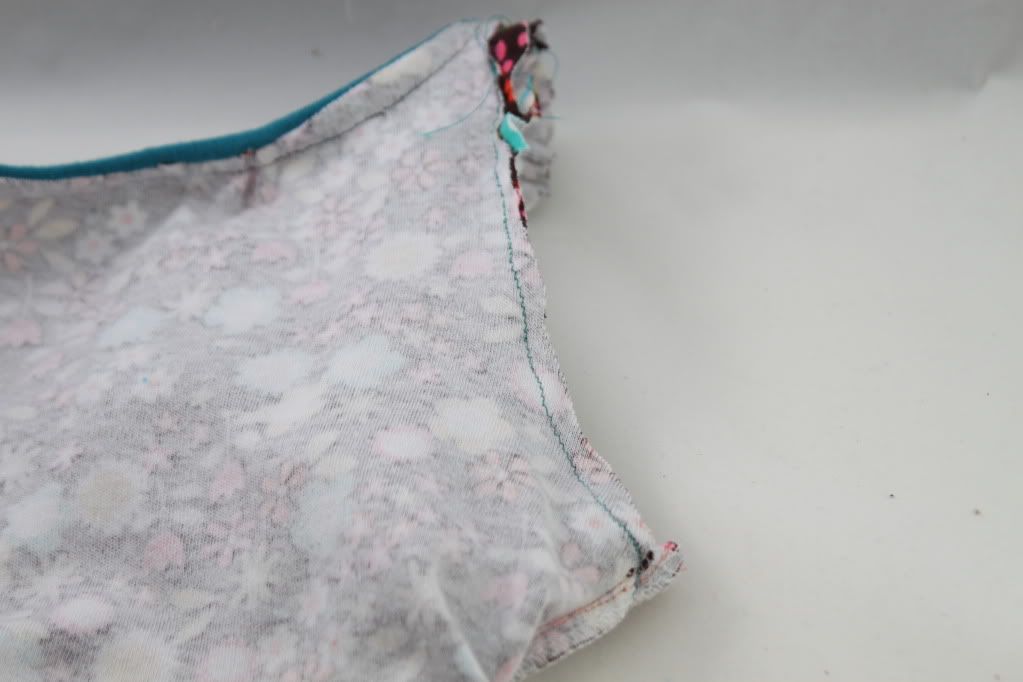

Serge the seam if you like
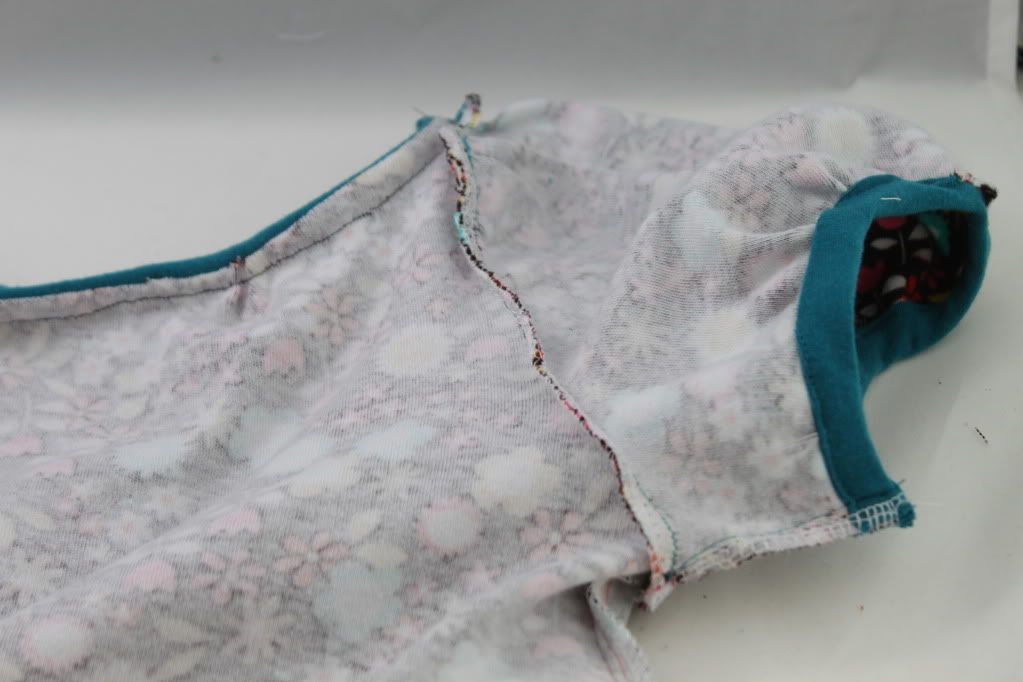

Repeat on the other sleeve
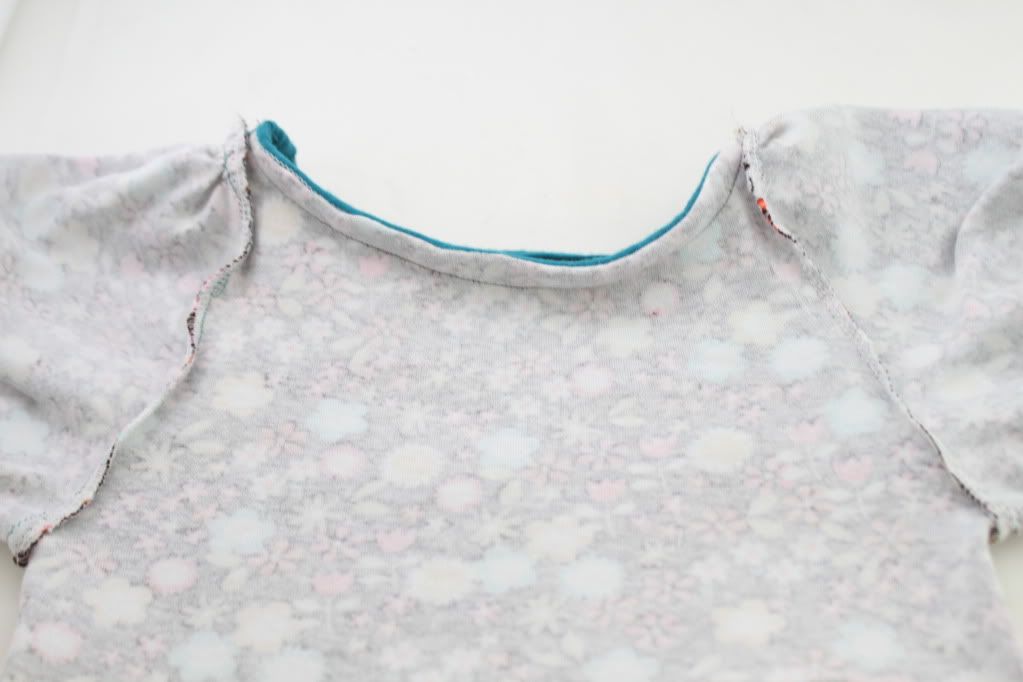

Done!


On this dress, I also sewed some contrasting panels on the sides of the skirt just for fun
Labels:

5 Comments:

Blogger Bethany said...

Super cute! My niece just had a baby, I think this will be a perfect dress to make for my new Great Niece, Cadence Lei. - Bethany

November 9, 2011 at 9:15 AM  
Blogger Annie said...

Cute dress! I am adding this to my to-do list. Thank you for the tutorials! I love all of your tutorials!

November 9, 2011 at 2:05 PM  
Blogger Emily said...

I started working on this last night. I think there is an error on the pdf, though. It says to cut out two rectangles 15"x10" for the cuffs. This really confused me. At first I thought it was supposed to say 15"x1", so I cut that out, but then when I got to that step, I realized it was supposed to be 1.5"x10". I think? Maybe my copy just didn't print clearly though. Thought I would bring it up in case anyone else has a similar problem.

November 11, 2011 at 10:49 AM  
Blogger Jaime said...

whoops! we will correct that Emily, it is supposed to say 1.5!

November 14, 2011 at 10:56 AM  
Blogger Cassandra said...

That's so cute! I'm pinning this one to my long list of to-do's!!!

November 27, 2011 at 3:53 PM  

Post a Comment

Subscribe to Post Comments [Atom]

<< Home