How to Make A Mason Jar Pincushion with Bonus Embroidery Fun!
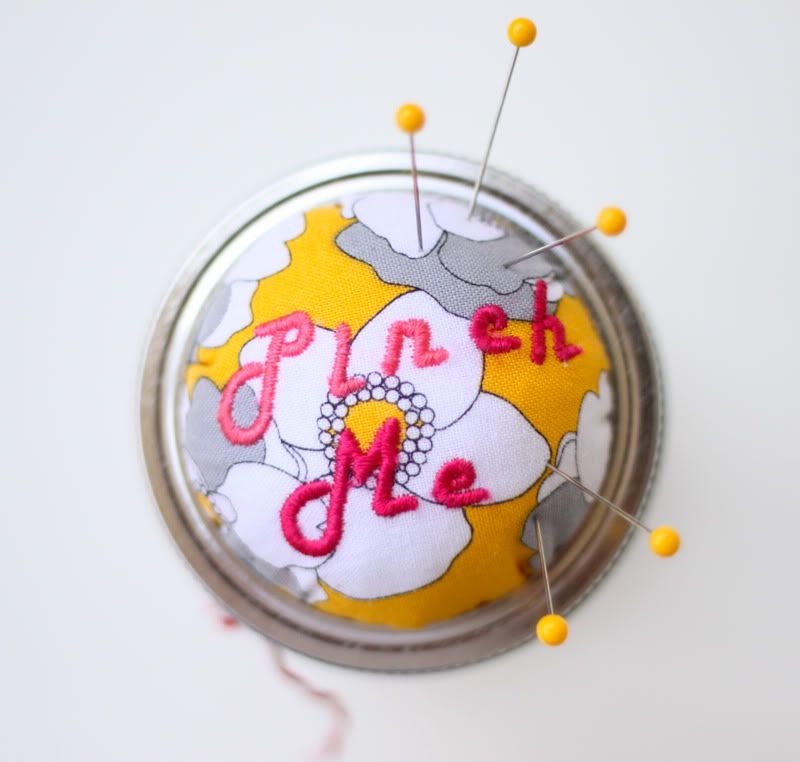
Last week I showed you how I organized my sewing supplies using Mason Jars. So to be all matchy-matchy, I decided to update our baby food jar pincushion by making a new mason jar pincushion - which is even easier because it's no-sew!
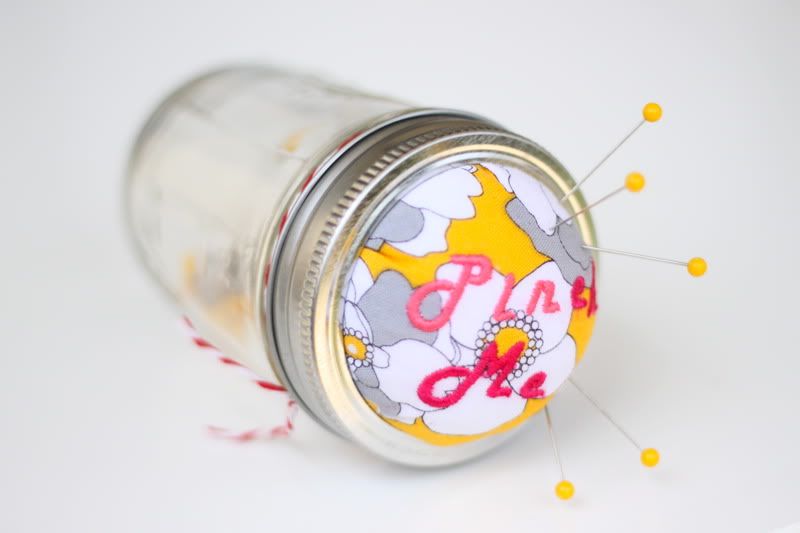
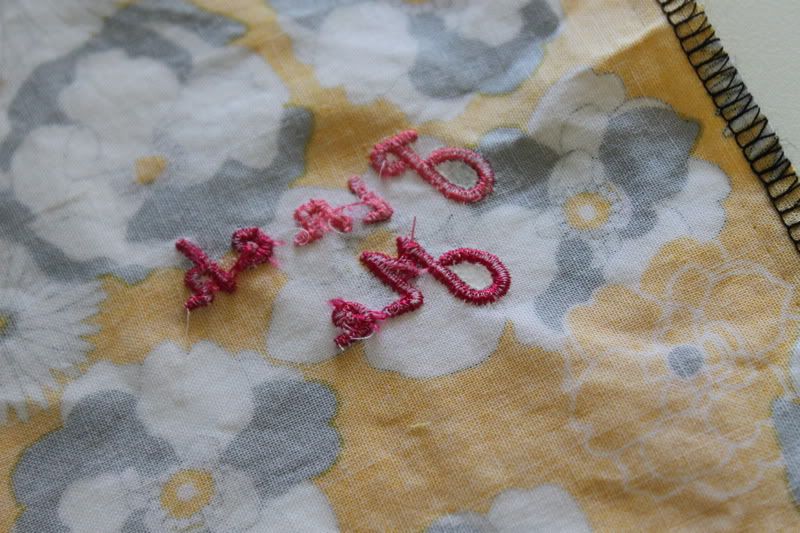
I downloaded a fun new font, then hooked my computer up to my new Brother Innovis 2800D Embroidery & Sewing Machine and created a pattern for the words "pinch me" (can you tell that I made the "pin" a lighter shade of pink then the other letters?). If you don't have an embroidery machine and want to put some words on your pincushion, you should check out our beginner's hand embroidery tute. I'm obsessed with embroidery!
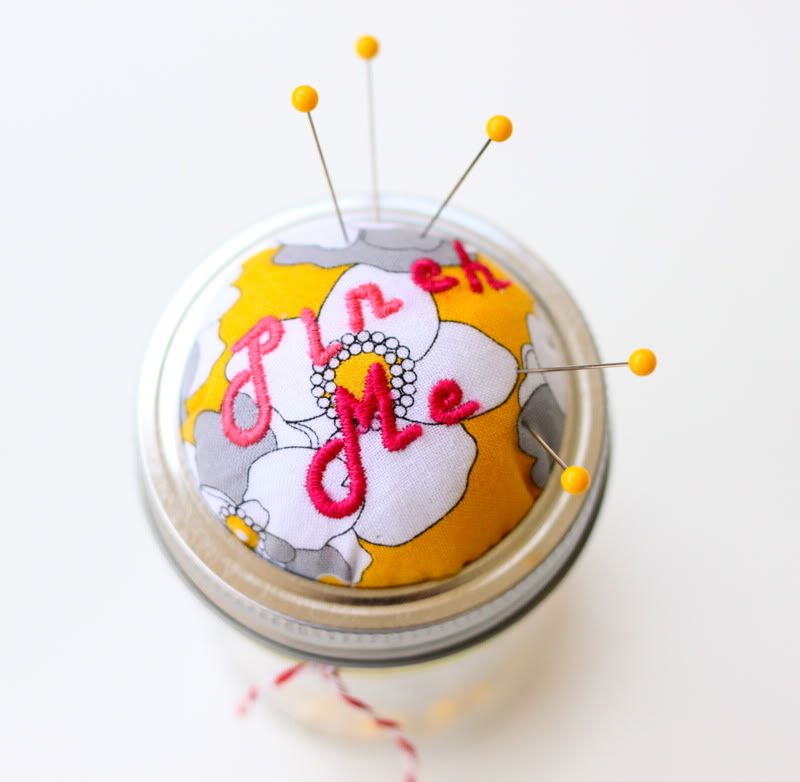
I'll show you how the machine works and I'll tell you how to make your own Mason Jar Pincushion in a jiff after the jump...
How to Make a Mason Jar Pin Cushion with Bonus Embroidery Fun
First I picked some pretty fabric, this is Robert Kaufman Night and Day 3 Cluster Floral in Yellow from Fabricworm (same beautiful cotton I used for the Pretty Potholder tute). I placed that and some tearaway stabilizer in my 4" hoop.
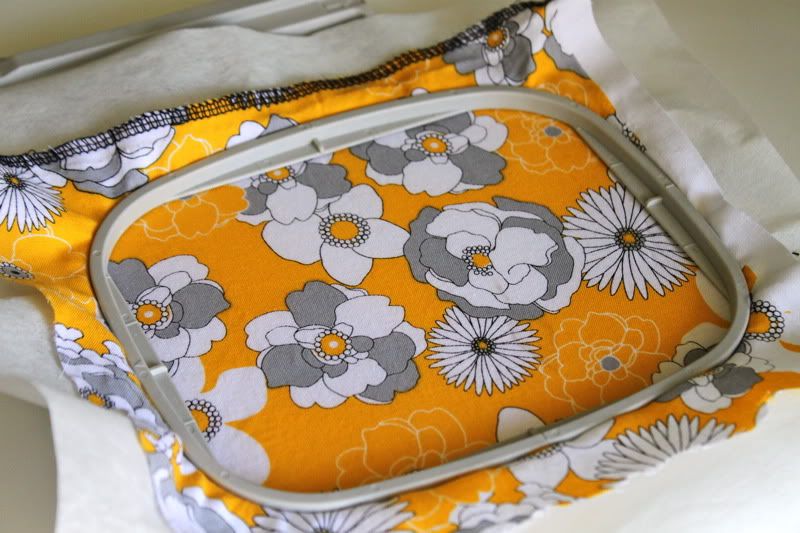
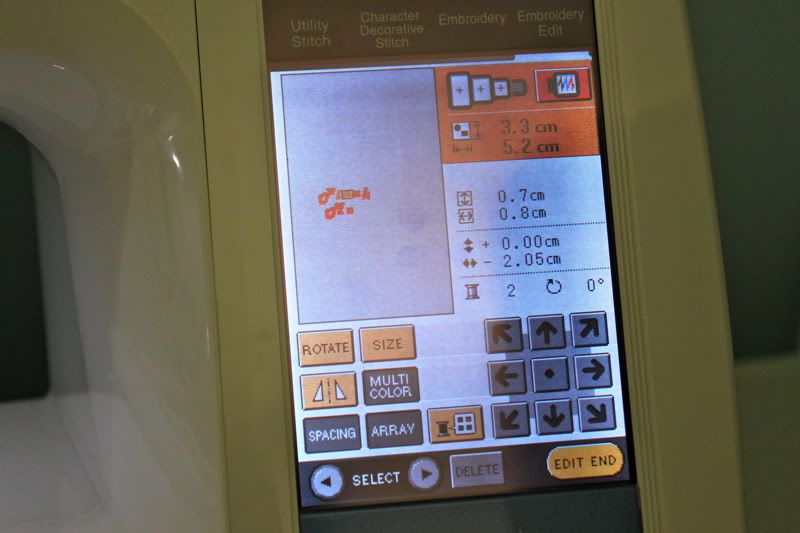
Then I set my artwork up on the machine. This is way easier than you think, you just plug your computer in and drag the files to the machine on your desktop, and it shows up on the machine's screen. Then you use the on screen buttons and prompts to adjust the placement, color, rotation, etc.
Thread that baby up and let it work its magic!
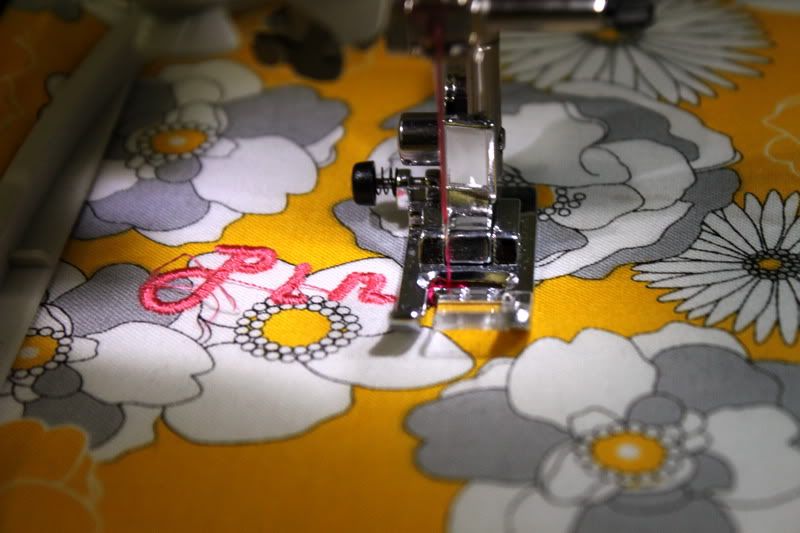
Here it is right out of the machine.
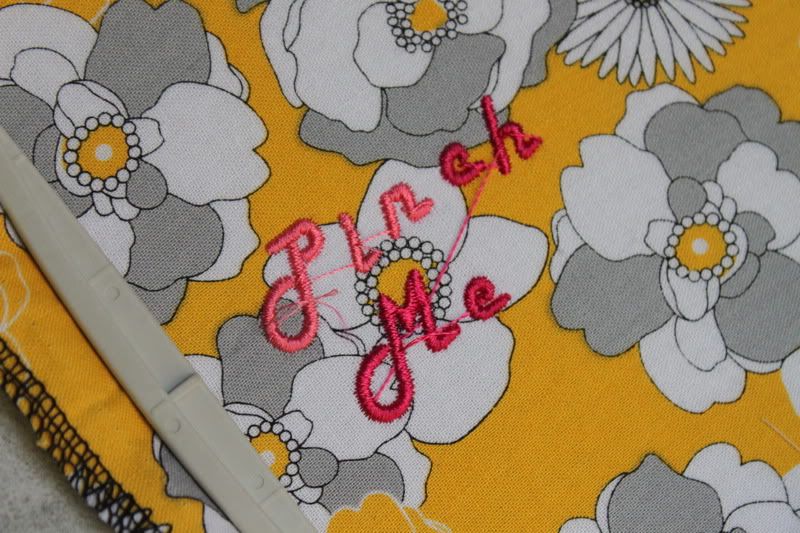
And here is the back.
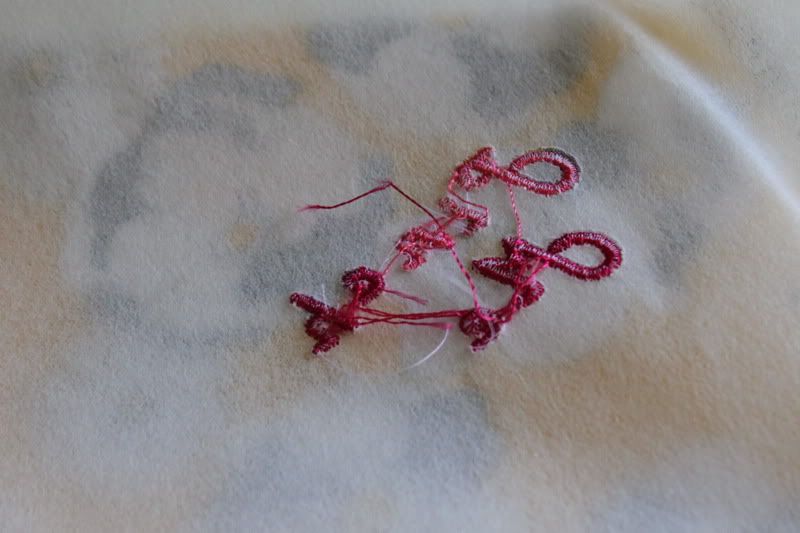
So I trimmed all of my threads and tore away the stabilizer. Now it's ready to go!
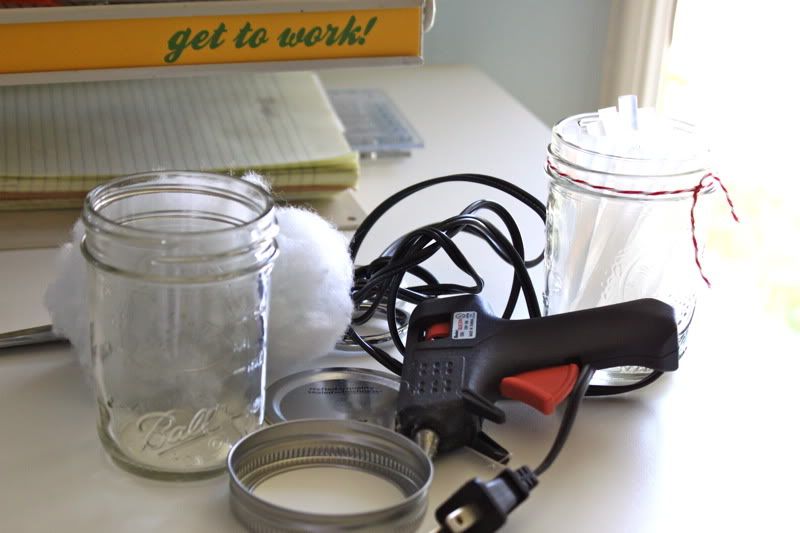
So to create your mason jar pincushion you need a mason jar, obvs. You'll also need some hot glue, batting, and a paper & pencil.
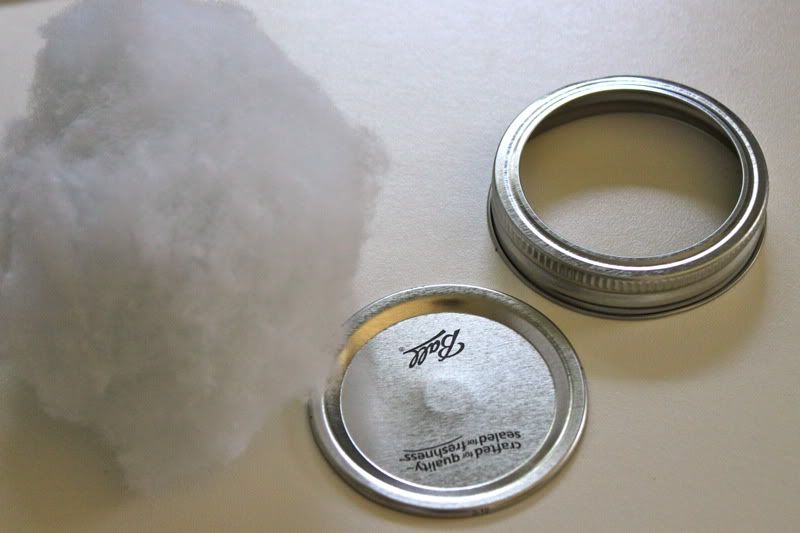
Start by popping the lid apart.
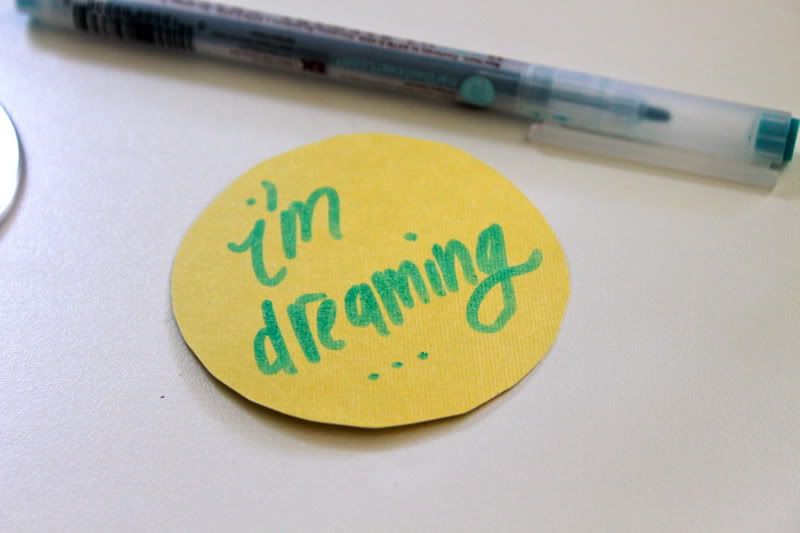
Trace the lid onto some card stock, then cut out the circle. Bonus points if your friend Jacinda gave you awesome pencils with your name on them.
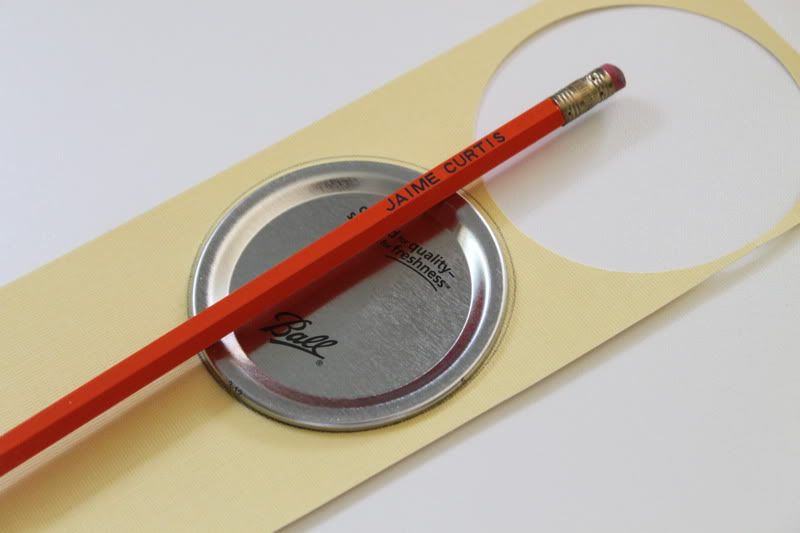
I wrote myself a little note on the other side. Probably should have embroidered it for extra fanciness!
Trim your fabric down to a couple inches wider than the circle. No need to get all specific.
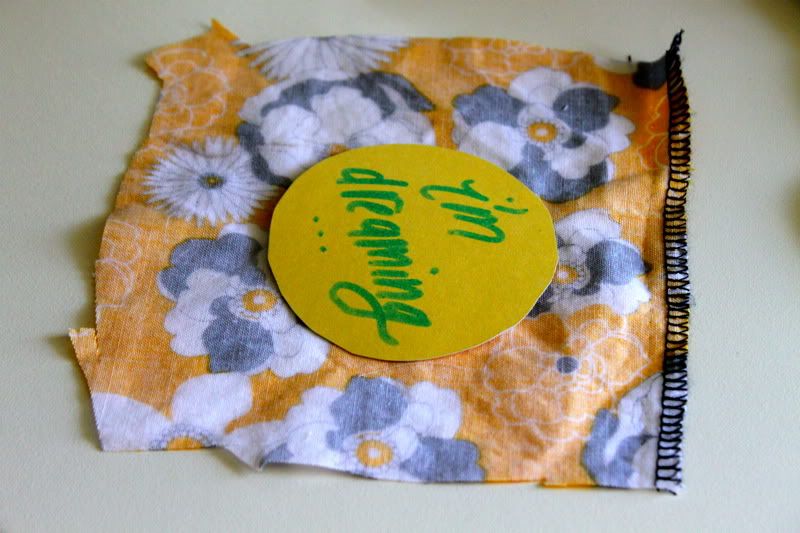
Now to assemble. So first your fabric (right side up), then your batting, then the base of the lid. Push through the rim of the lid...
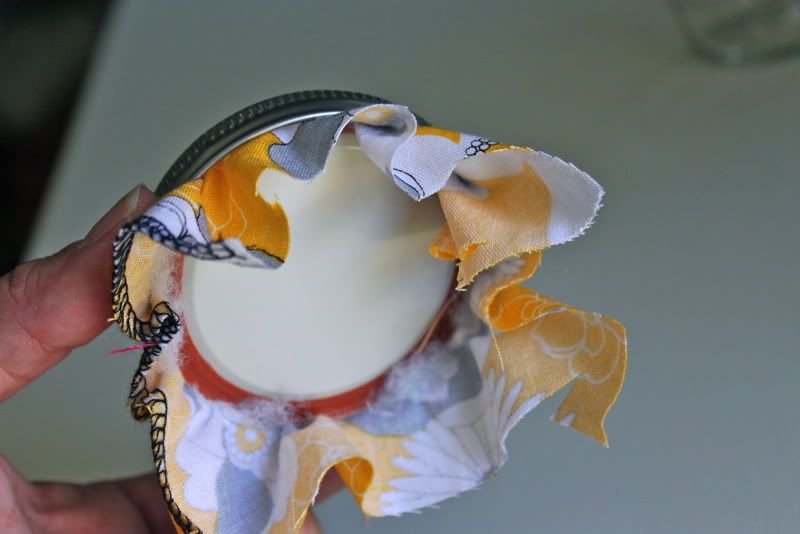
See it starts to push out the other side.
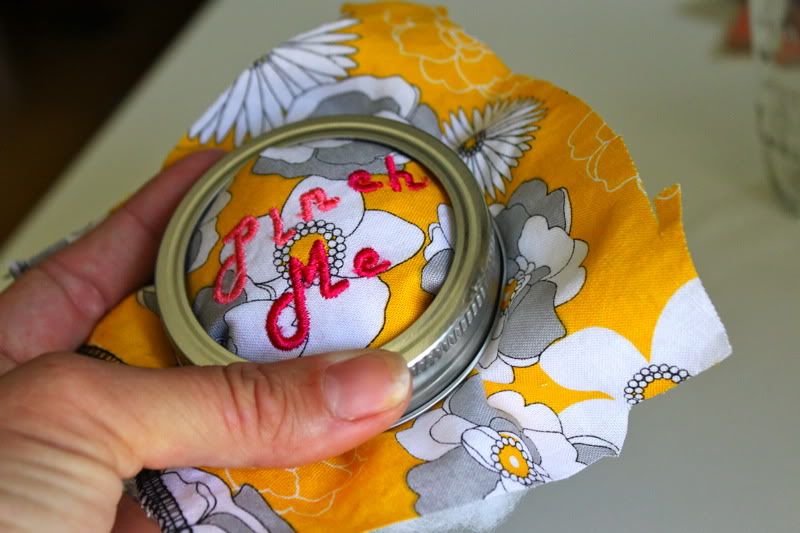
Pop it all the way through. Adjust your fabric so it's not pulling or gathering in any one spot too much.
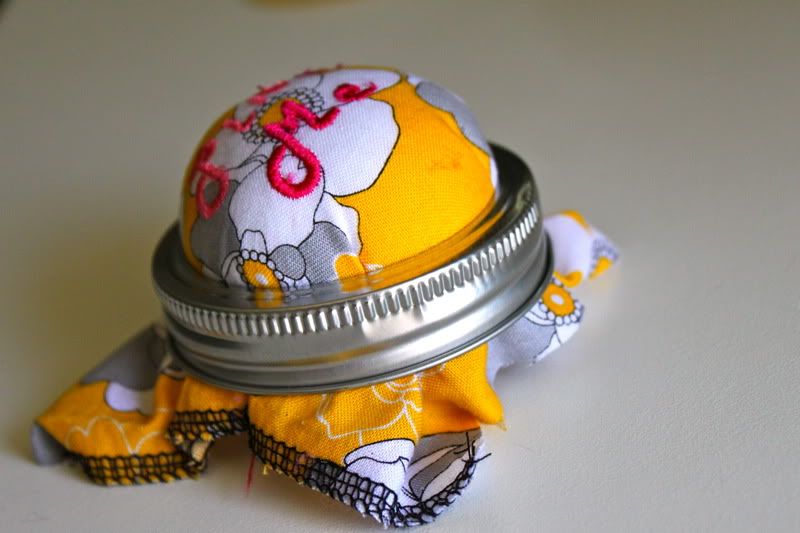
Turn the lid over, trim the excess fabric, and hot glue it all down.
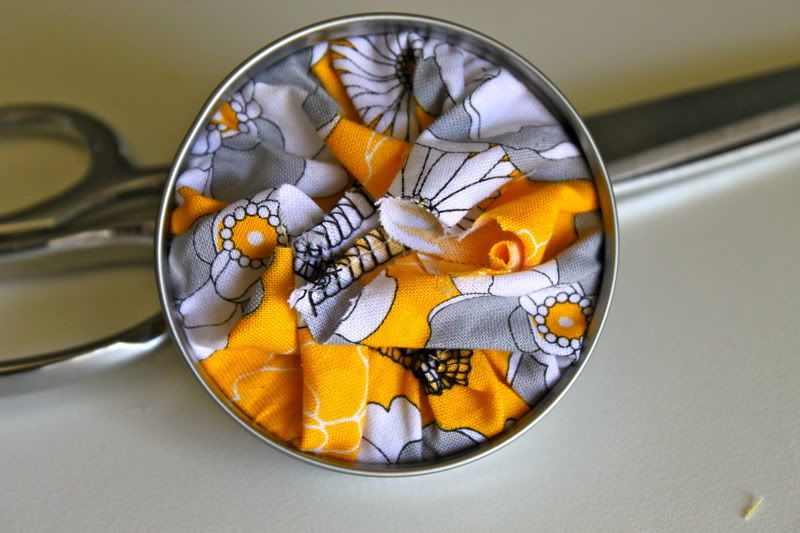
Take it back out.
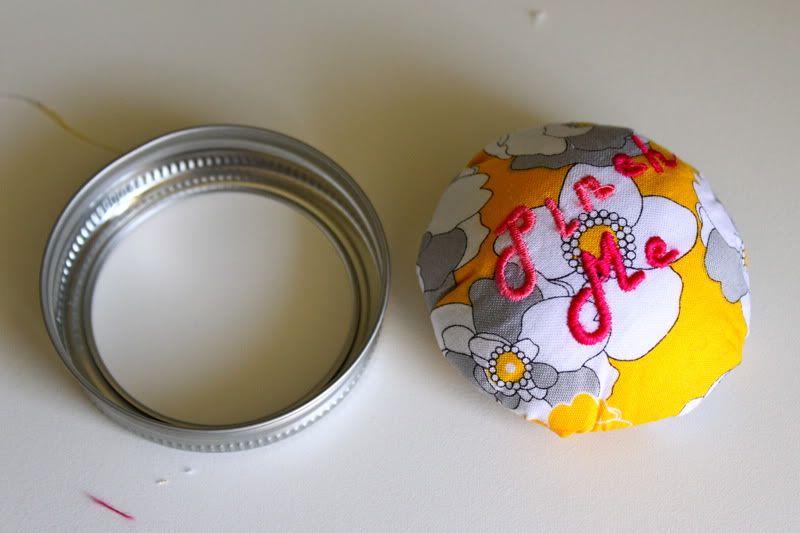
Glue the paper circle to the back.
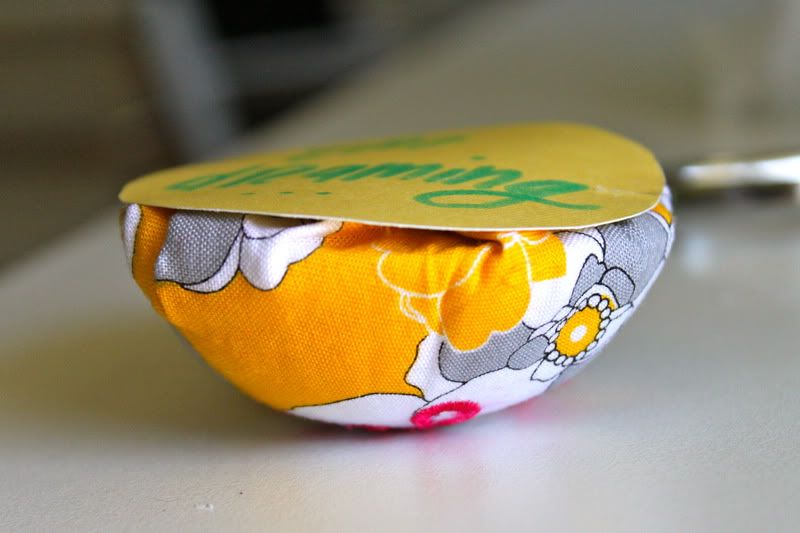
Put some glue around the inside of the rim, then push your pincushion back through. Done!
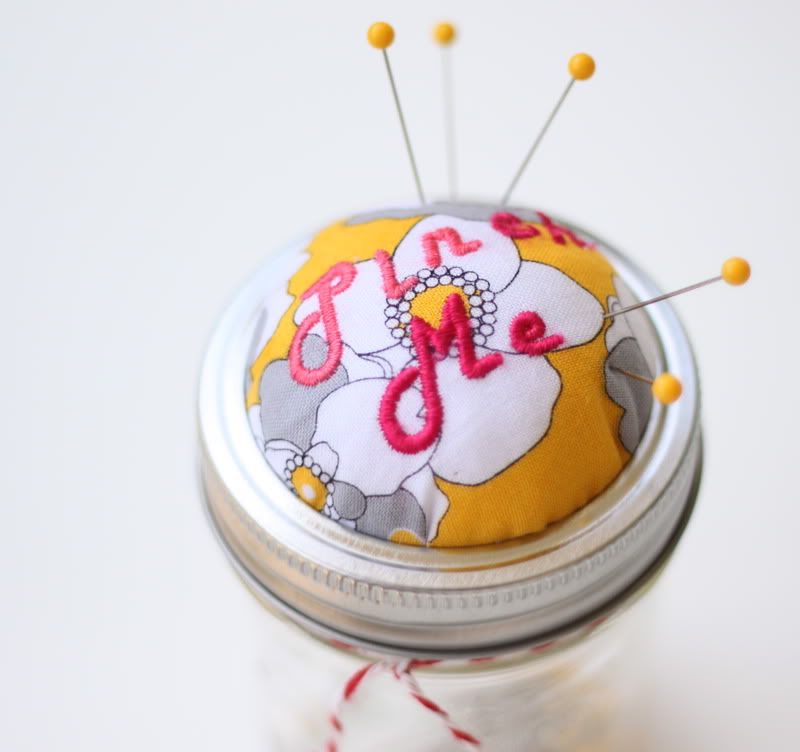
Fill with pins and get to work!

So, what do you think?
Labels: DIY, Embroidery, Sewing, Supplies, Under $5, Under an Hour

17 Comments:
That is EXACTLY what I have wanted to make but didn't know it. My dogs keep getting my "tomato pin cushion". I've gone through 3 of them. This is double duty, holding the pins AND the pin cushion. Thank you!
I've been following you for awhile now at stitchedsewsweetly.blogspot.com
I have all my pins in the box they came in and have had to pick them all up off the floor more then once now because it popped open. Gonna put them in a mason jar with a quick pin cushion top first thing this morning!
This is so cute! I was going to make the baby food jar one, but now I'm going to make this!
Seriously I am drooling over that machine!! Does it go between sewing and embroidery fairly easily?
I LOVE this project! I've been rockin the tomato for too long. I think it's time for a change!
YEAH!!! I so need this- no more loose pins at the bottom of my sewing basket waiting to poke me and no more digging through the whole basket to find them!!
What I think is... I need that sewing machine!
I adore this! Everything about it!
super cute! my craft room (a.k.a. kintting, sewing, and paper craft room) is in need of organization. love this idea, i will have to use it!
Super cute idea!!!
I hope when you did the embroidery you actually had the embroidery foot on the machine, not the all-purpose sewing foot... :) Very cute idea for a useful pincushion/pin storage.
I've been wondering how to store my pins. This is excellent!
I have never liked my tomato! Looks like a fun project for tomorrow at nap time. Thank You!
This has been identified as the Tutorial of the Day on my blog, The Crafty Artisan. I have posted a photo and a link sending my readers to your web site.
Happy Crafting!
http://wiserunning.com/blog/2011/05/16/tutorial-mason-jar-pin-cushion/
LOVE that fabric!
did you have a problem with the lid not fitting back on your jar with all that fabric?
Sarah- I had trouble getting my lid back on! I think my fabric was too bulky and my paper too. I'm thinking of making these as Christmas gifts so I might have to adjust that for the next one.
Great tutorial! I decided I wanted to make a pin cushion today so I searched for tutorials- I like yours (the final product) the best! Thank you!
Post a Comment
Subscribe to Post Comments [Atom]
<< Home